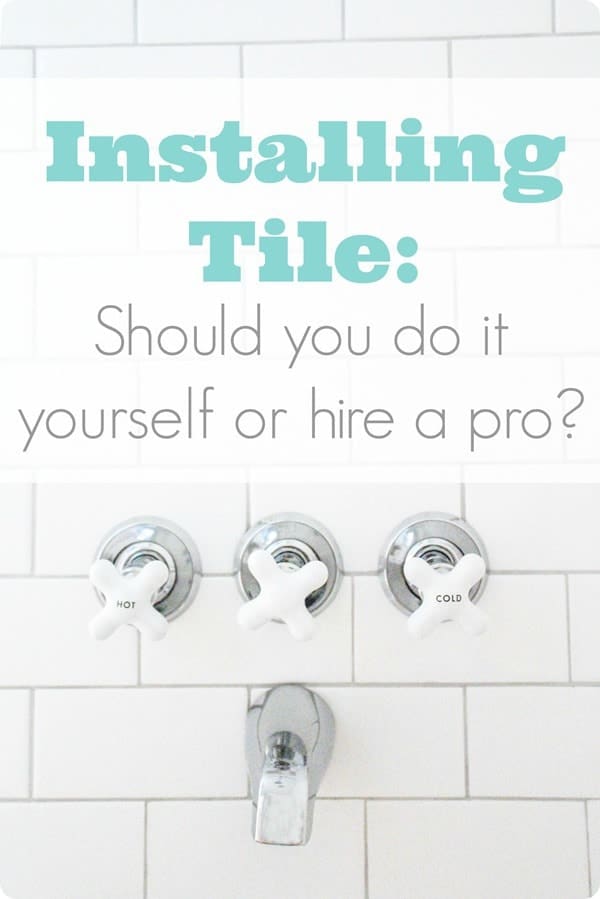
If you’ve ever considered redoing the tiling work in your shower, or perhaps adding some in the first place, then we have no doubt that you’re familiar with the fact that “subway tiles”, or those standard sized, square ceramic tiles that we’ve all seen in hotels and most homes, are the most common thing. They’re also trending right now for their ease of installation and how low maintenance they are to keep clean! We noticed recently that the main shower in our old little house could really use some retiling and we’re determined to do it ourselves rather than calling a contractor, so we’ve had our eyes open recently for all kinds of tips, tricks, advice pieces, and resources that might help us figure out the best way to tile, the best kinds to use, and what kind of style we’re aiming for.
1. Beginner’s tips and tricks for installing subway tile
Are you actually completely new to the idea of DIY home renovations, even the small kind, and retiling your shower is about to be the very first home project you tackle? In that case, we have a feeling you might find a resource like this one from , which outlines a whole list of useful tips and tricks for tiling beginners, very useful indeed!
2. Tips and tricks for choosing the right kinds of subway tiles
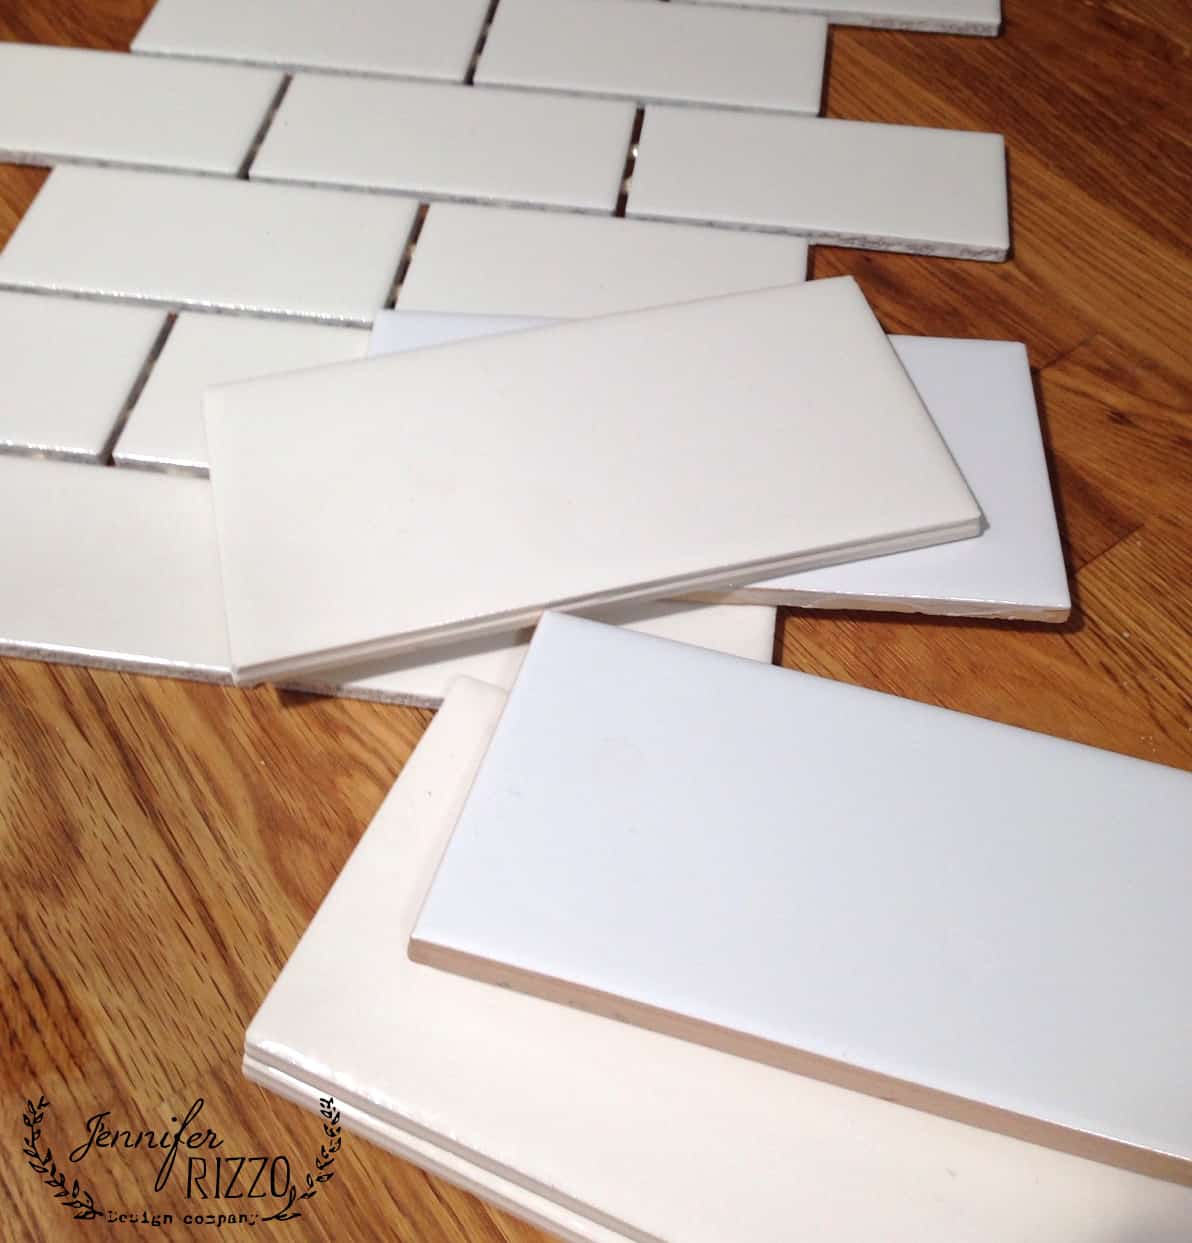
Perhaps you feel surprisingly confident in the concept of actually installing the tiles because you’ve already done a lot of research about that but now you’ve been to the store and seen just how many kinds of subway tiles are available, so you’ve come home feeling like that is where a little more learning could be done? In that case, we’d definitely suggest taking a read through resources like this discussion of pros, cons, tips, and tricks for different types of subway tiles, featured on .
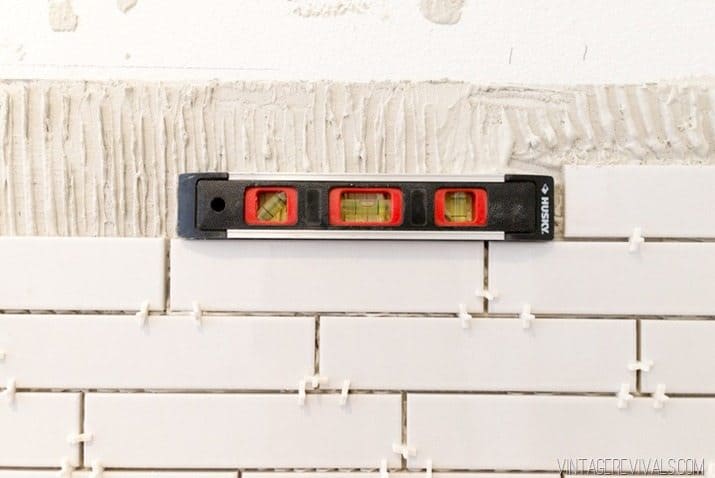
3. The biggest do’s and don’ts of subway tiling
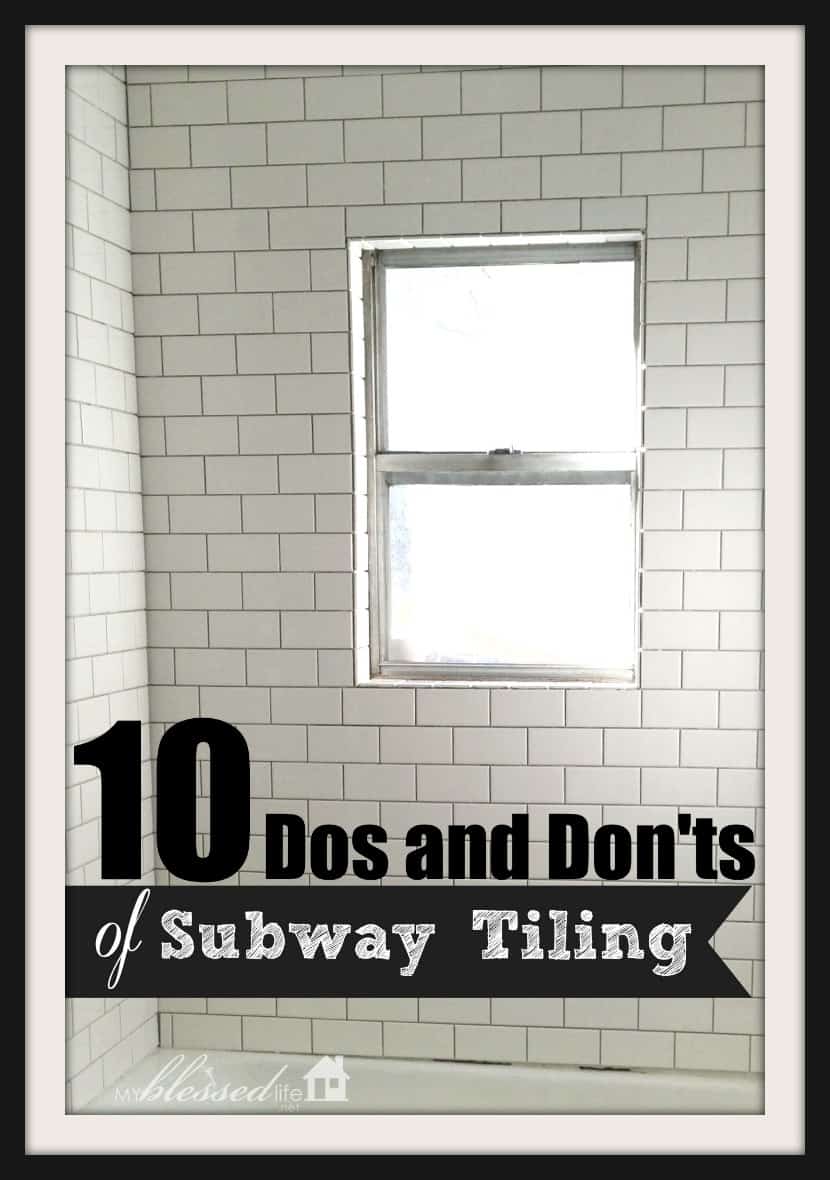
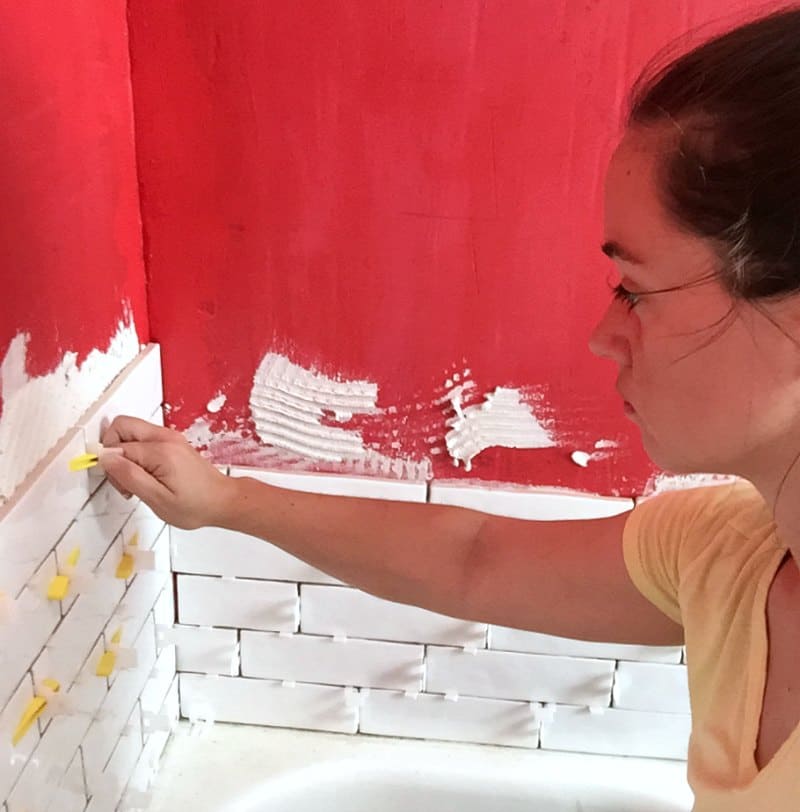
Just in case you’re feeling almost ready to tackle the project but you’re also totally open to some last pointers from people who have experience before you get started, here’s a fantastic list of do’s and don’ts outlined in detail on ! For example, they suggest, from experience, that you do make sure the very first row of tiles you lay is perfectly level and straight, since that’s the line you’ll be following all the way up, from there on out. On the other hand, they urge you to make sure that you don’t apply too much mortar underneath your towels with your trowel, or it’ll squeeze out between the tiles and affect how they sit on the wall.
4. Work with existing ledges for guidance
If you’re going to start doing research and looking for tips on how to subway tile your shower, why not seek out resource that will help you with the specifics to get you started? You can read all of the general information you want, after all, but sometimes it’s nice to have really clear instructions of the very first fundamentals before you start learning about the rest of the process. That’s why we’d suggest looking at ‘s discussion of how to work with the existing ledges you already have in your shower space for guidance when it comes to that all-important straight line we were just talking about above!
5. DIY subway tile kitchen sink backsplash
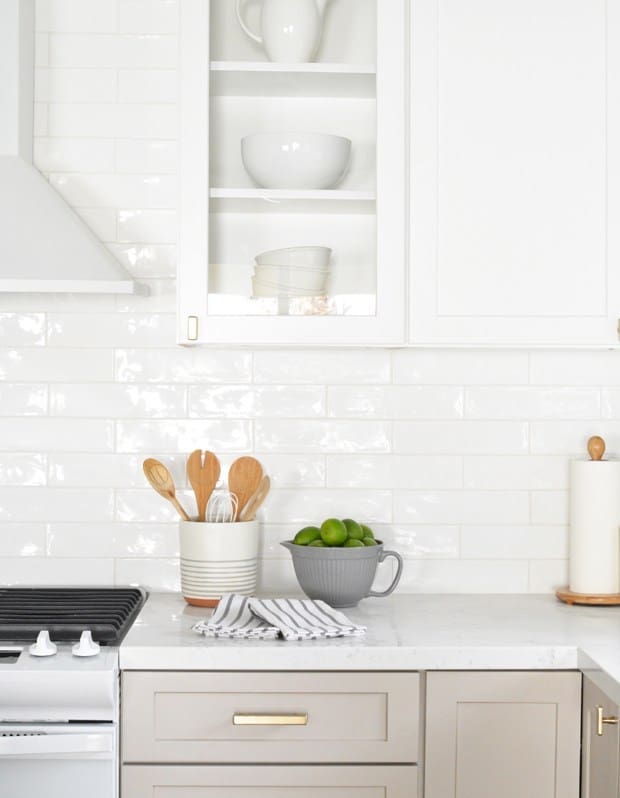
Have you actually come to the end of your subway tile project as far as your shower is concerned and now you’re looking around and realizing that you have so many tiles leftover you could practically tile a whole second shower? Well, instead, why not turn your attention to another area of your house? This tutorial from , for example, walks you step by step through the process of using those very same tiles to transform the sink backsplash in your kitchen.
6. Larger backsplash that extends across the kitchen
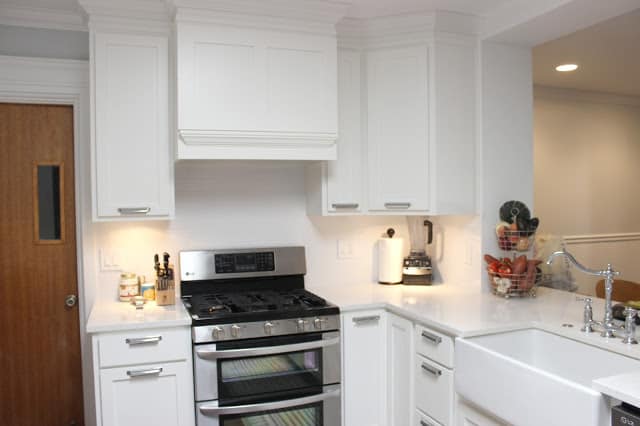
If you’re going to start tiling parts of your kitchen in addition to your shower (or perhaps instead of), would you rather extend that backsplash we talked about across the whole counter area, rather than just doing the area behind the sink? Perhaps, like you see in the photo, your kitchen actually doesn’t feature a wall behind the sink so your attention is on the area around the stove instead. In either case, has you covered for a bit of information and guidance on making that happen.
7. Easy, faux removable subway tile backsplash
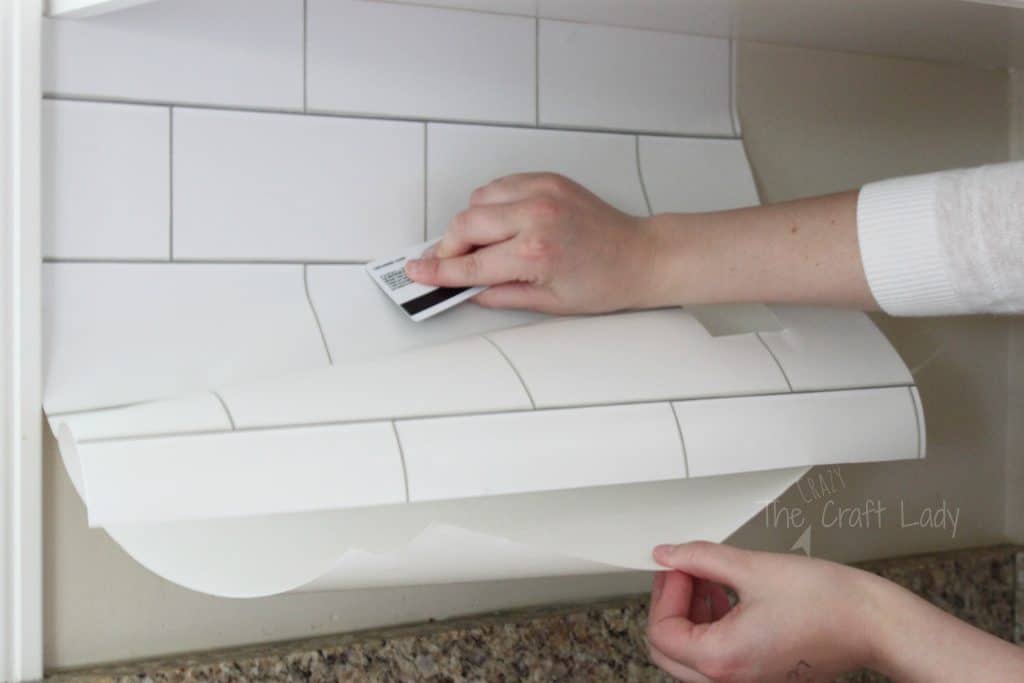
Perhaps you’re very interested indeed in making the subway tile backsplash happen but you’re actually just not sure sure about this whole mortar and ceramic tile idea because you’ve heard there are actually simpler alternatives out there? In that case, we’d definitely suggest taking a look at how got a similar aesthetic using sticky backed, removable “faux tiles” that look like subway tiles, rather than mortar and the real thing.
8. Faux subway tile painted backsplash
Are you actually kind of in love with the concept of mocking the subway tile aesthetic somewhere in your house, be it the kitchen or the bathroom, but you’re just not sure you want to tackle the sticky backed stuff we mentioned earlier? Well, particularly if you’re already pretty skilled in hand painting, we have a feeling you might get along a little better with something like this tutorial from that teaches you how to neatly paint the subway tile effect instead.
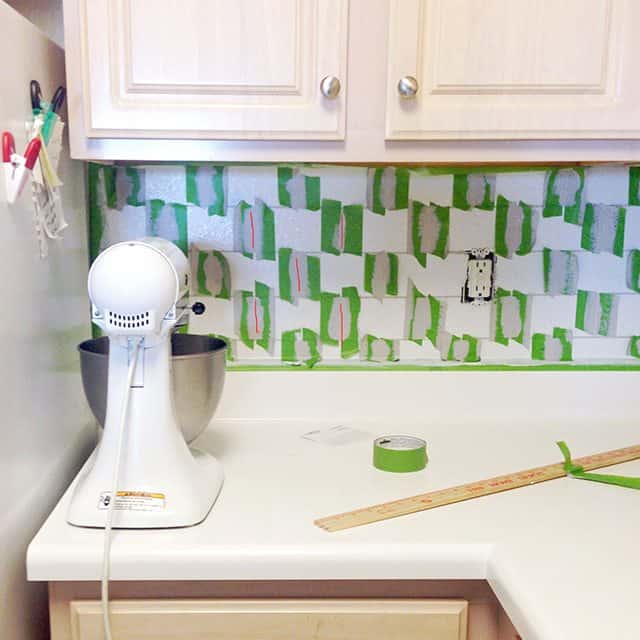
9. Faux subway tiling made of particle board
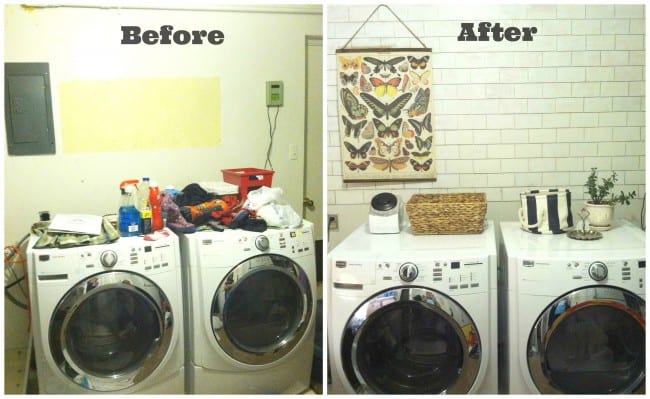
Did you know that there are actually all kinds of faux ways to get the awesomely tidy subway tile effect you love so much stretched across very large surface areas without actually having to reach for your mortar and trowel? Well, just in case you’re looking for the one that’s the most affordable but still looks great when you’re done, here’s a whole tutorial from that teaches you how to make a mock subway tile out of particle board. This method is particularly useful if you’re looking to transform an entire wall, like you see in this laundry room.
10. Full DIY subway tile shower renovation
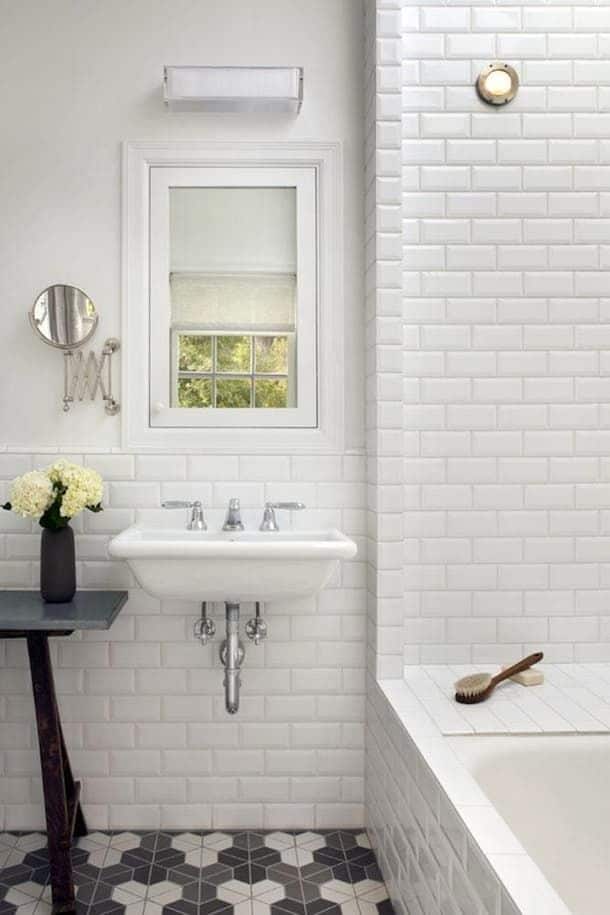
Perhaps you really are just looking to do a standard bathroom makeover using subway tiles but you’re interested in extending them further than just the inside shower walls because you love how they look and they’re simple to clean? In that case, we have a feeling this tutorial from might be a little more up your alley! We love the way they discuss tips for tiling the outside of the tub and the wall around the sink an addition to the walls inside the shower itself.
11. How to carefully subway tile around glass
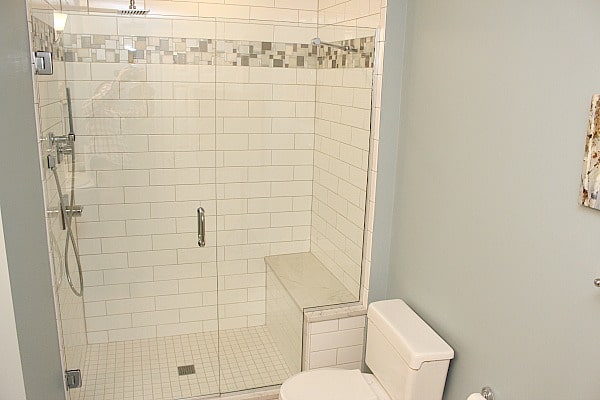
Have you been aiming to start your shower tiling soon but you’re looking specifically for some advice on working around glass, since your shower has glass doors? We can certainly understand that, since mortar is actually quite hard to get off just about any surface if you don’t know it’s there and accidentally leave it for a while. That’s why we were pleased to come across this discussion of that precise issue on !
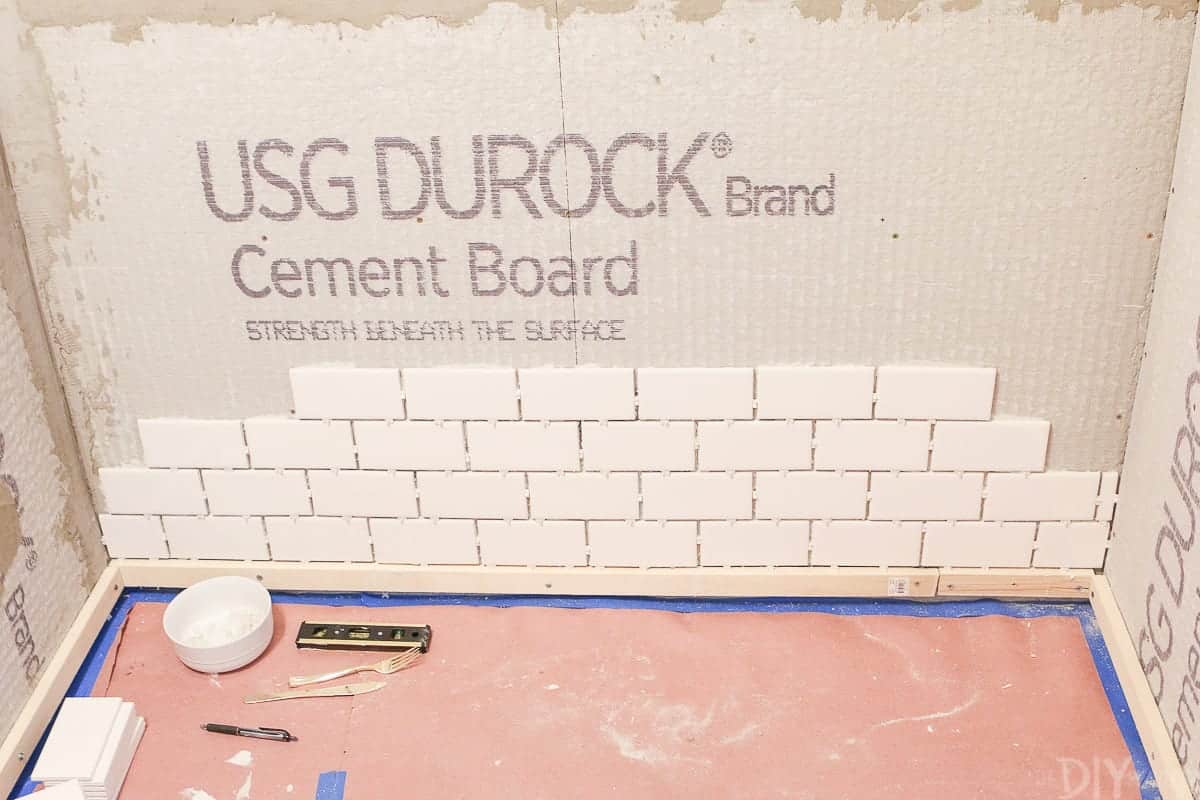
12. How to tightly install subway tiles for waterproofing
Is your biggest worry in your subway tiling process that you won’t get them placed tightly enough and sealed properly in between and then you’ll end up with mould problems later on down the road? Well, that’s a totally valid concern and something a lot of people have through about, which is why decided to address it and tell you what they did to avoid having any problems. Their outline is really clear and precise, which we love!
13. Tips for installing subway tiles around windows and electrical outlets
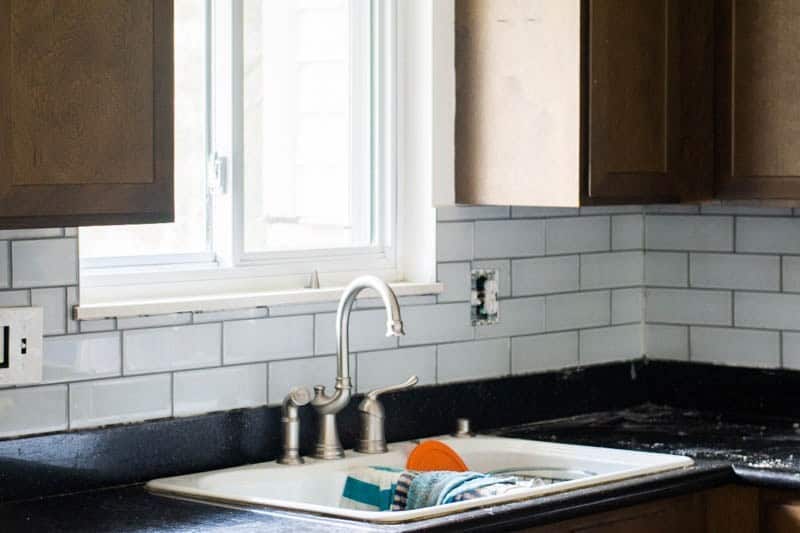
As you can probably tell by now, one of the biggest challenges when installing subway tiles is absolutely keeping everything straight and even, just to make things fit right and sit neat and tidy. That process gets even more difficult when there are roadblocks in your way, like the windows and electrical outlets you might run into when you’re trying to tile a kitchen backsplash! That’s why decided to talk about some of the advice they have to pass on from when they did their own.
14. Common mistakes made in subway tilling
Just in case you’re still feeling like you need some last minute tips before you dive right in, here’s a fantastic list of common mistakes made in subway tiling, outlined in detail by ! They walk you through some of the things people often have trouble with because of their technique and show you how it can be fixed pre-emptively so you don’t have that problem in the first place. Their discussion of how to space your tiles to avoid the common mistakes of placing them either too close together or too far apart is the perfect example of what we mean.
15. How to properly caulk your subway tiles
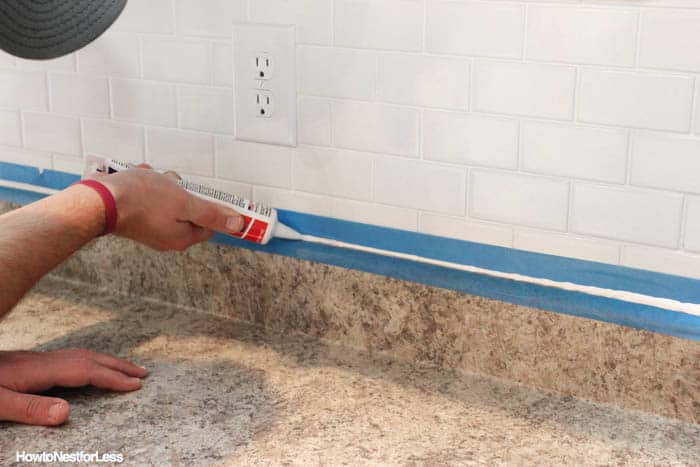
Now that you’ve finished your tiling process, regardless of where it is, are you actually hoping to caulk beneath the bottom row to really keep the part that will experience the most moisture from getting stray water in and collecting mould over time? Well, if you feel like you could use a bit of guidance there too, this tutorial from is here to help you out.
Do you know a fellow home crafter and DIY enthusiast who is intent on installing their own subway tiles but who you’re convinced could use a little bit of guidance along the way? Share this post with them so they have all kinds of help to look through before they get started!
The post appeared first on .


