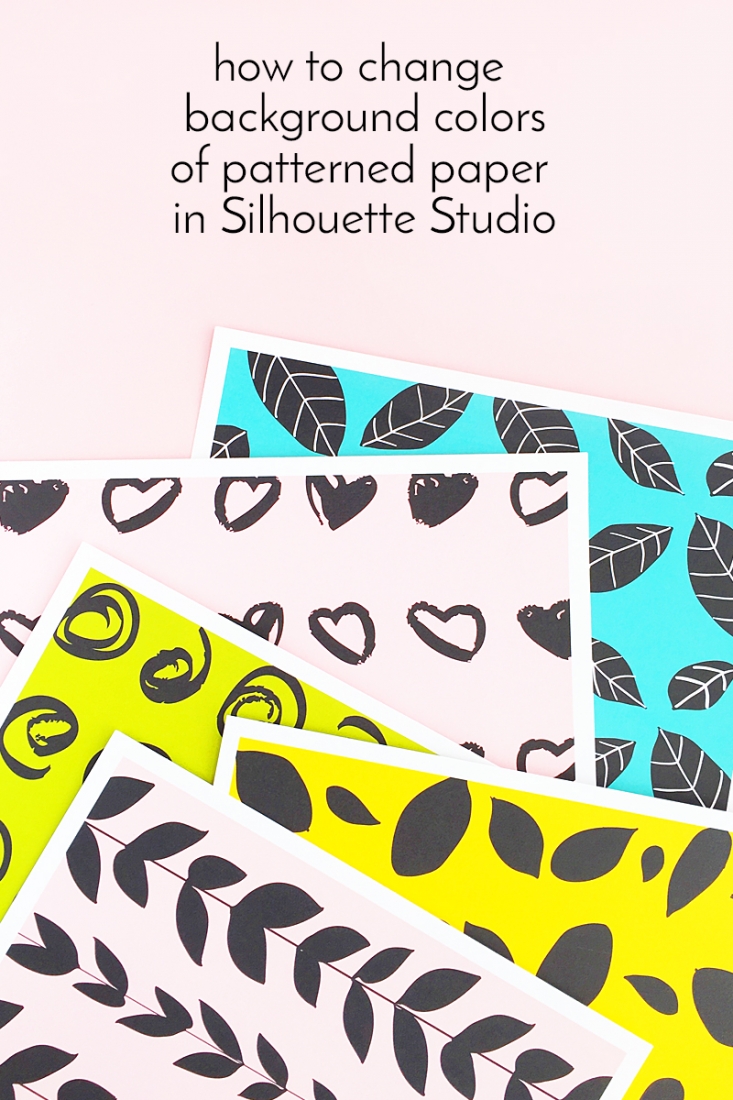
I love paper. I love patterned paper. I’m always printing paper and stashing them away for future crafty projects. Today, I wanted to share a tip (ooooh – a Tuesday Tip!) on how to easily change background colors in Silhouette Studio. There are times when I do not have the right shade of colored cardstock that was bought in a craft store, so what do I do? I change the background with these simple tools! Read on for the full tutorial!
Want the latest scoop delivered to your inbox?
The What
- (there is a free version!)
- Silhouette cutting machine or craft knife and cutting board
- White Cardstock or Printer Paper
- Printer
- Optional – Patterns (I got )
The How
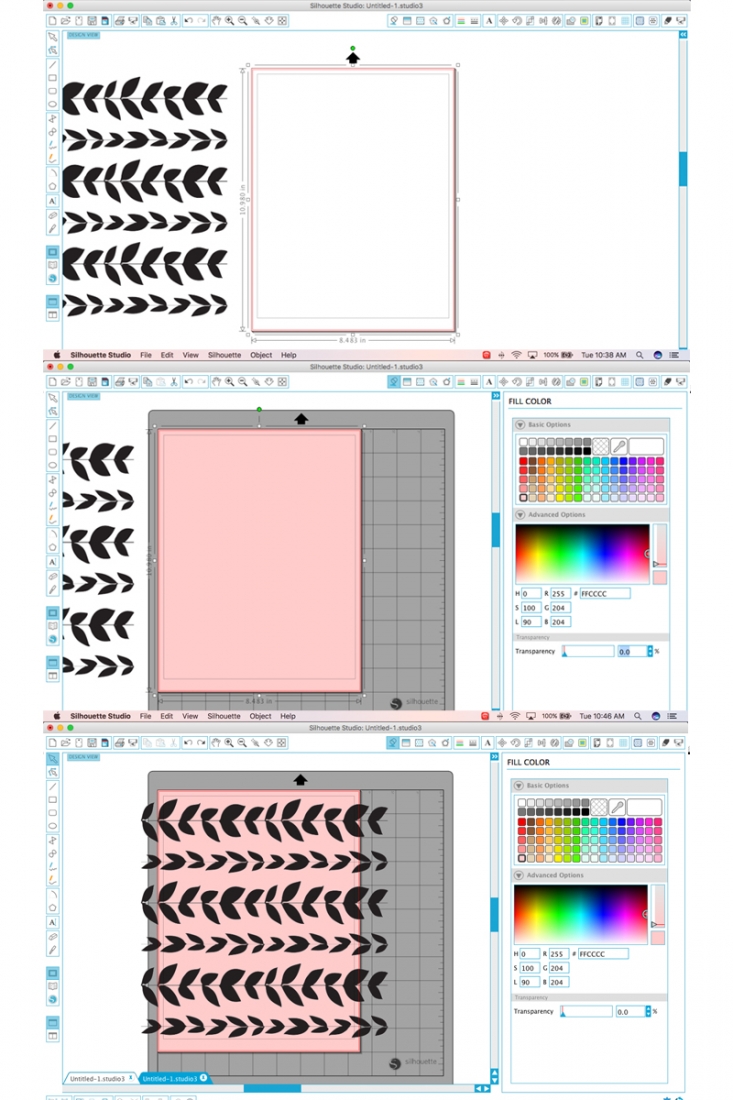
- In Silhouette Studio, use the rectangle tool to create a rectangle the same size your page, set to No Cut
- Fill the rectangle with whatever color, shade or hue you want your background to be
- Optional: If you are creating patterned paper, merge your pattern (.png file) onto the document and resize then place it on top of your background. You may need to right-click then select Bring to Front or Bring Forward options so that it is not hidden behind the background
- Send to print using the best quality option of your printer (if it’s available)
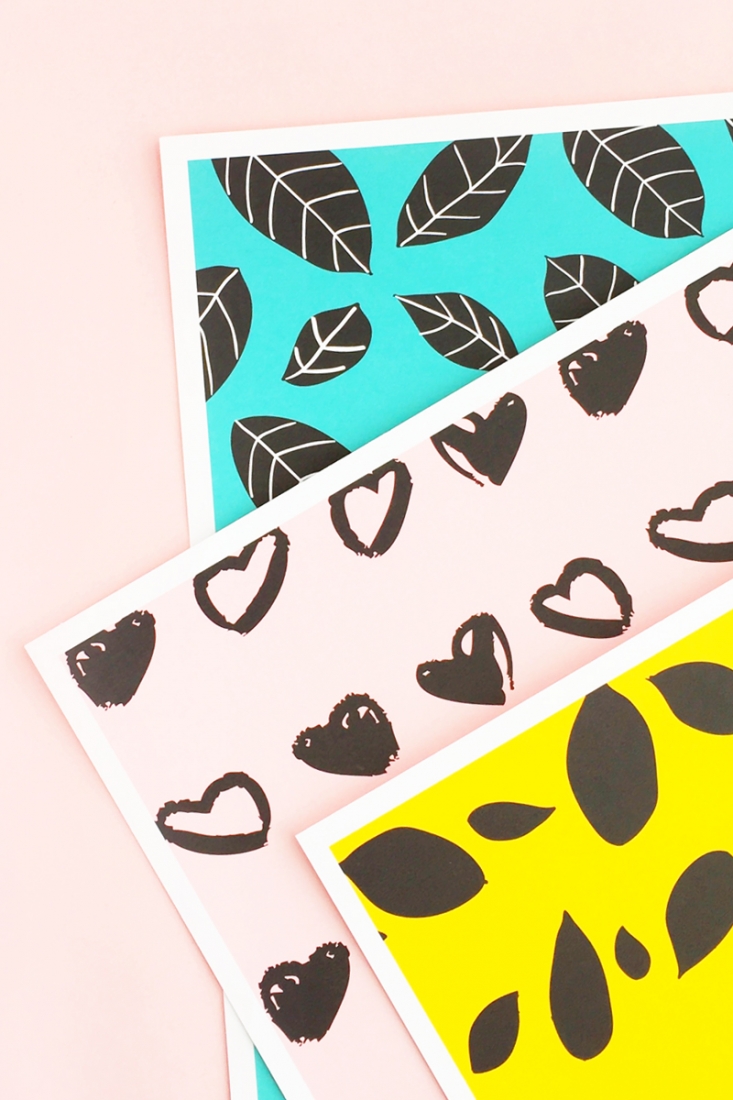
And now you have some pretty paper to play with in lovely shades and hues. What will you make with your lovely prints? Tell me in the comments below!

Looking for some more inspiration? Take a look at my other !
The post appeared first on .


