I’m all about creating a simple, natural and budget-friendly home. And so I rarely buy expensive art and never buy cheap big-box decor for my walls. Instead, I find or make unique and more meaningful things myself.
Like stick art.
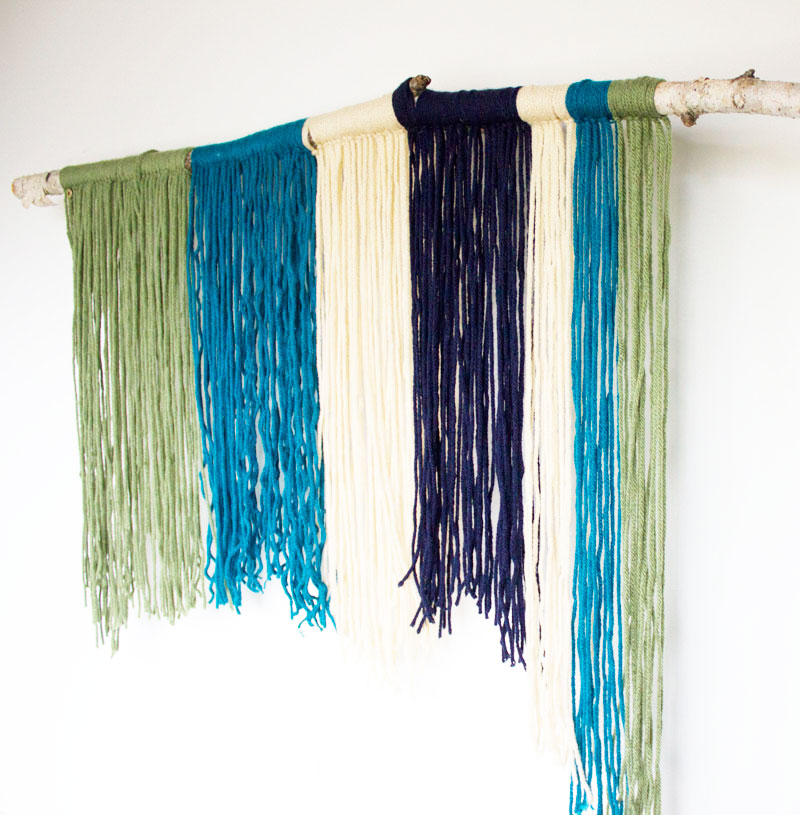
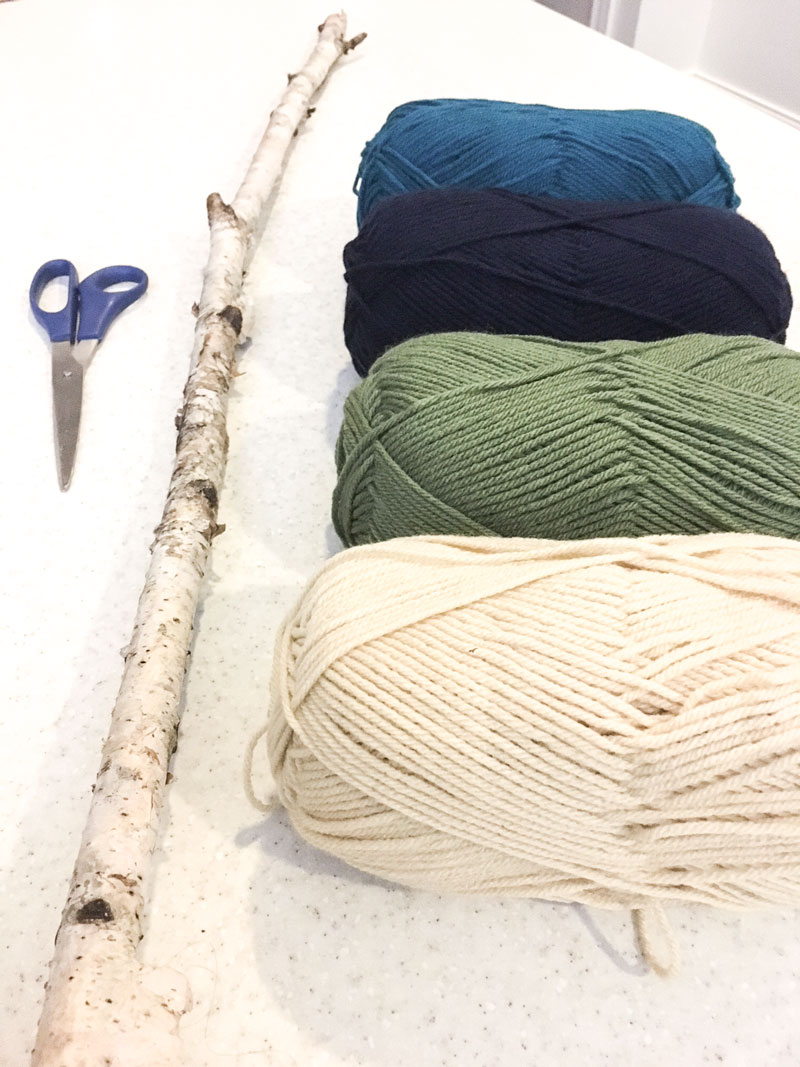
I wanted something colourful, so I bought 4 skeins of yarn and found a birch stick that had come down in the woods around my parent’s home in rural New Brunswick. I didn’t really know what I was doing so just tried something and went with the flow. I think it turned out pretty cute!
Here’s what I did.
- I cut the stick to length for the size wall space I needed (I used a hand saw).
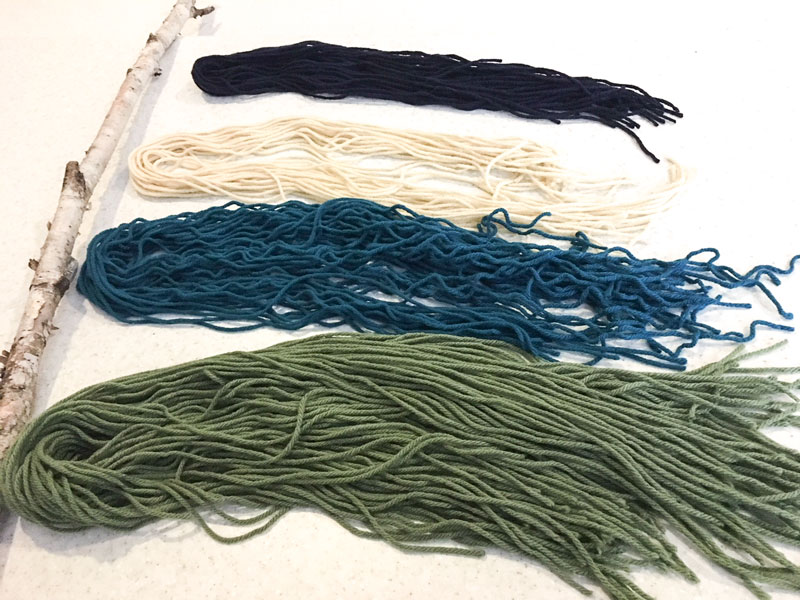
- I cut a bunch of lengths for each colour yarn – double the length you want them to hang, because you’ll get two strands hanging from each cut piece. The amount of pieces of each colour depends on how wide you want each colour to be on your stick – get creative and lay them out and adjust as you go.
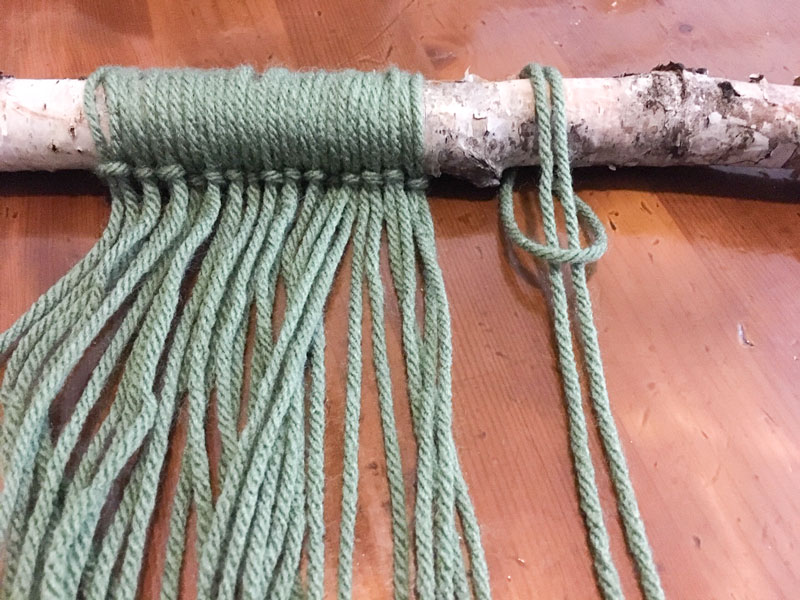
- I doubled the piece of cut yarn, and made a loop under the stick, then threaded the to ends through the loop, pulling tight to the stick.
- I kept doing this one by one across the stick, changing to the next colour along the way.
- I hung the stick by two screws left out from the wall enough to catch the stick. You could also use small cup hooks screwed into the wall (if your stick fits them) or curtain rod brackets. I used screws because I wanted something small that would disappear behind the yarn.
- Finally, I used scissors to cut the hanging yarn to the length and pattern I wanted on the bottom.

Easy, natural, unique and inexpensive. Do you think you’ll try it?


