
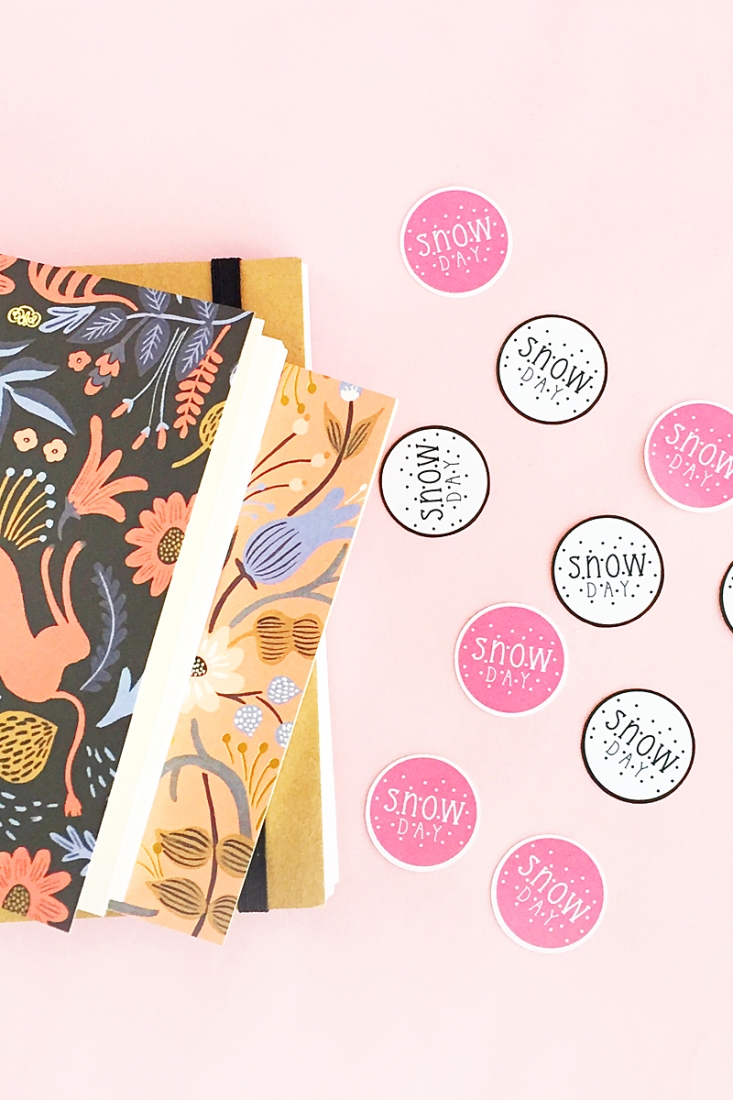
Taking a break from the Christmas prep this weekend to share these quick and easy print and cut DIY Snow Day Planner Stickers. We had a light dusting of snow yesterday and I know there will be more coming our way. This post is for those of you who love to decorate your planners with pretty stickers. Read on to make your own!
The What
- (there is a free version!)
- Silhouette cutting machine (I used my brand new !)
- Cutting mat
- Printable sticker paper
- Printer
- design (you can grab your copy for free during Silhouette’s 12 Days of Christmas event)
The How
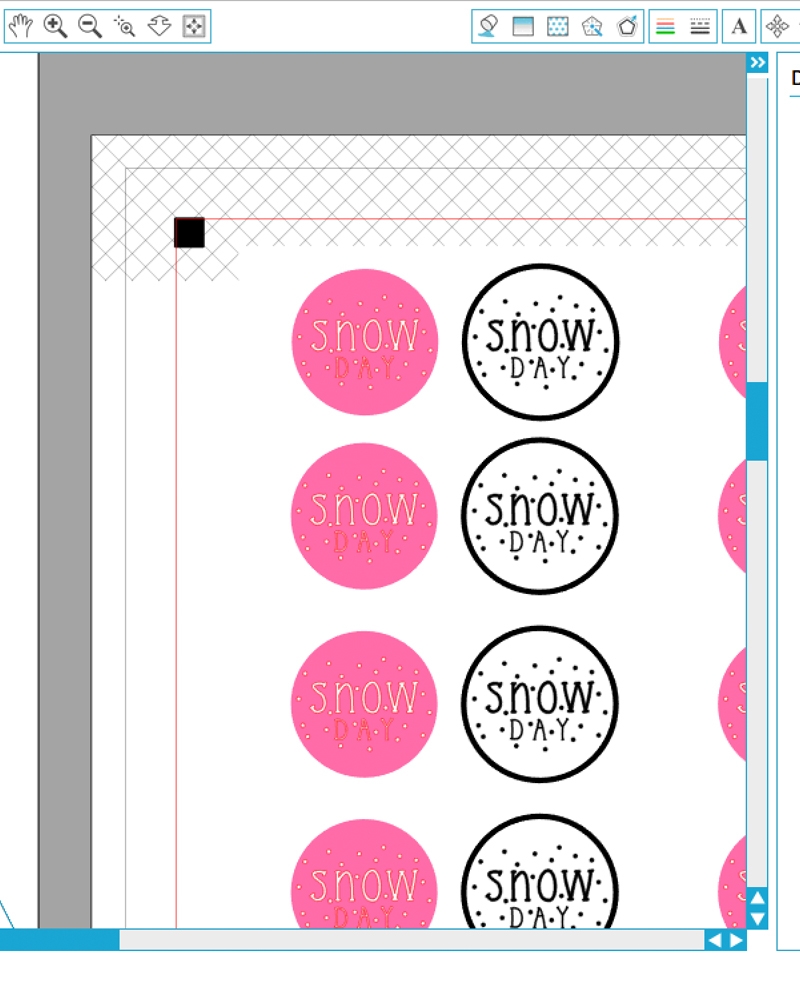
- In Silhouette Studio, open your Snow Day design
- Ungroup the design and set the Snow Day (and snow flakes) to No Cut
- Change the color of filled circle and resize the entire design to the size of stickers for your planner
- Add a border by thickening the line and changing the line color (I used black and white for mine)
- Group everything together and make as many copies as you need
- Show the registration marks
- your Snow Day stickers using sticker paper settings
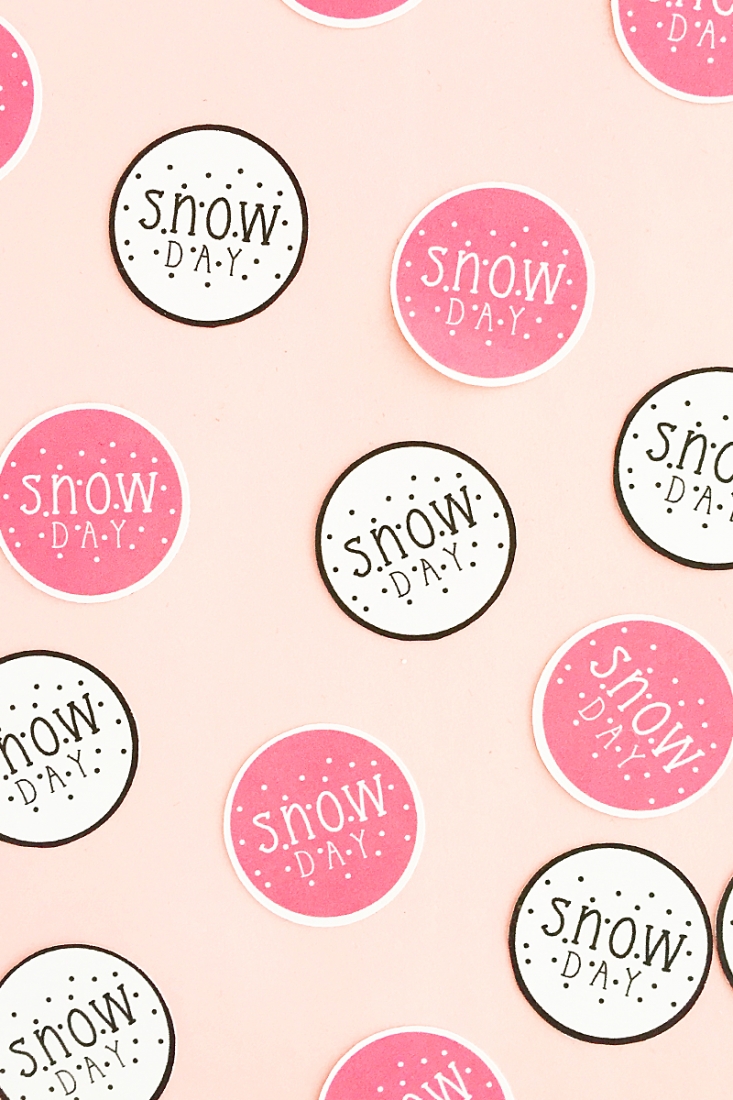
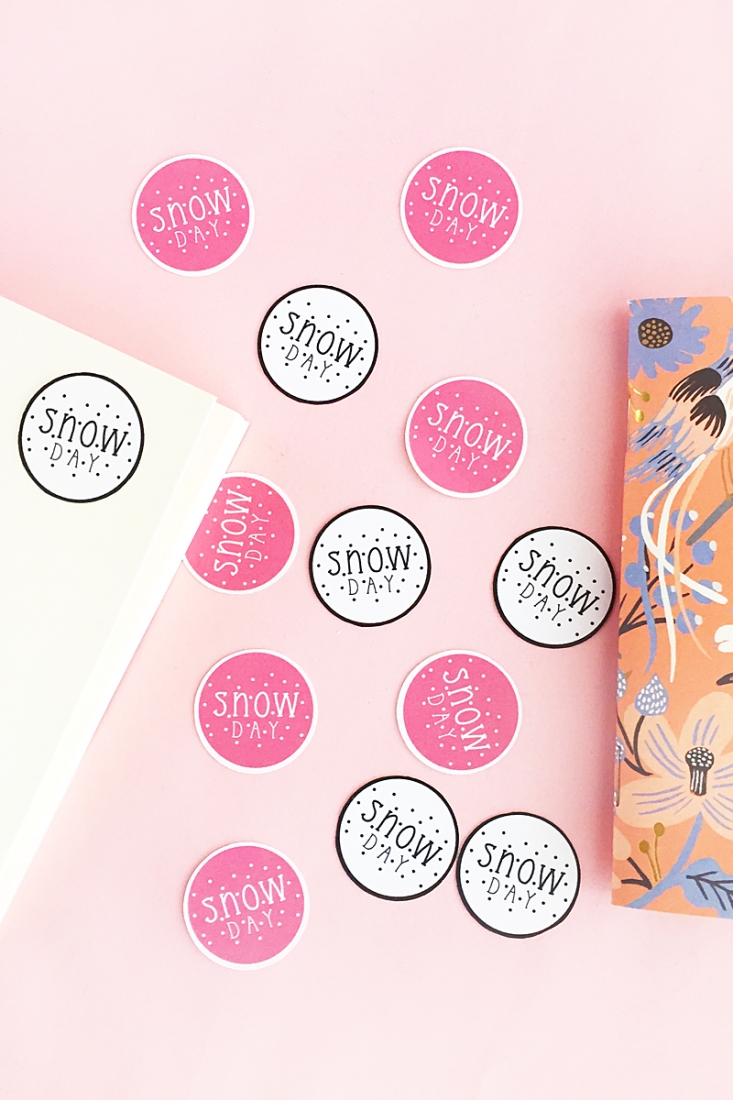
And that’s it! You now have some cute stickers to mark your productive and fun snow days. Which colors did you use?

This post is brought to you in partnership with . I adore my Silhouette cutting machines and all the other products I have used from Silhouette. This awesome partnership allows me to share great bundles and deals, as well as fun projects, like this one.
Looking for some more inspiration? Take a look at my other .
The post appeared first on .


