
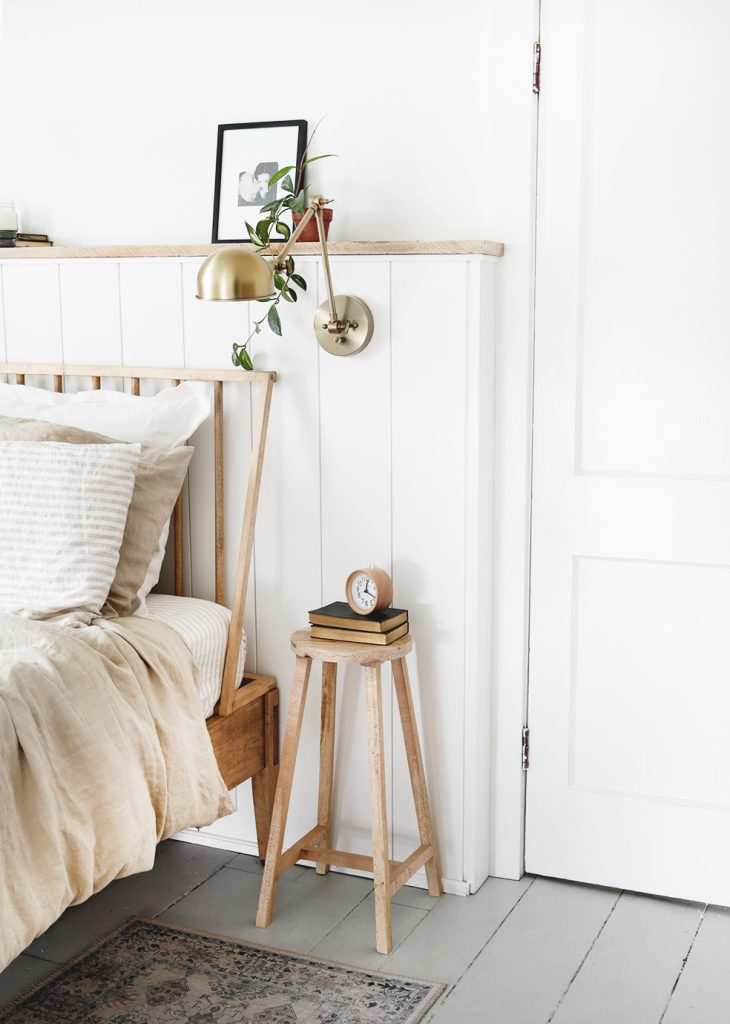
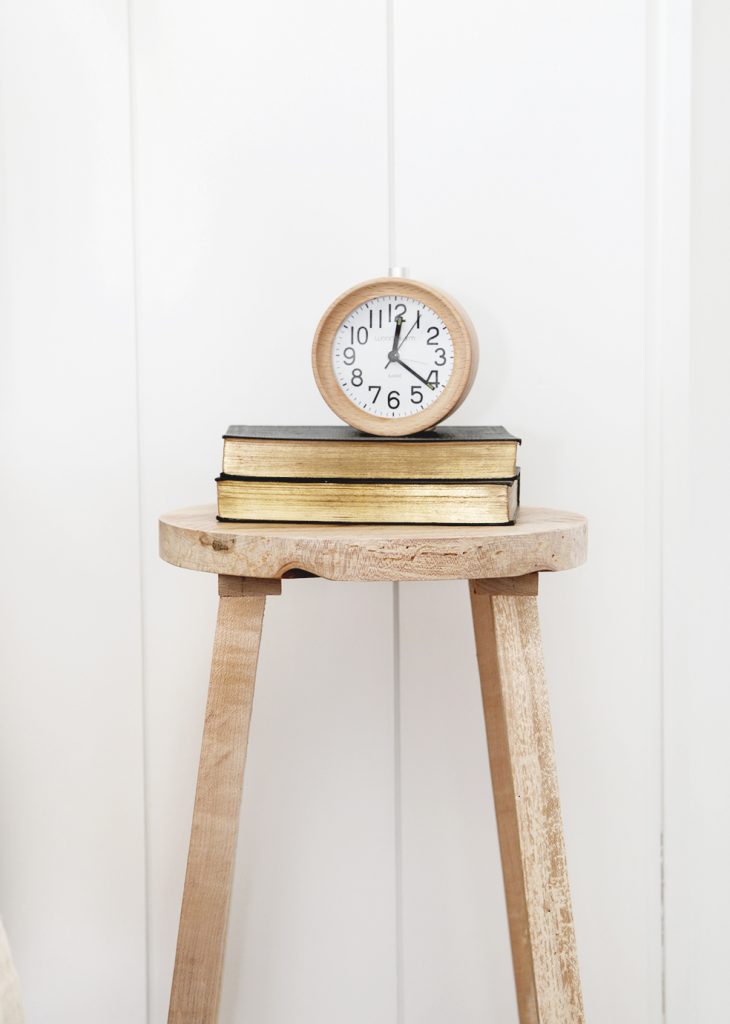
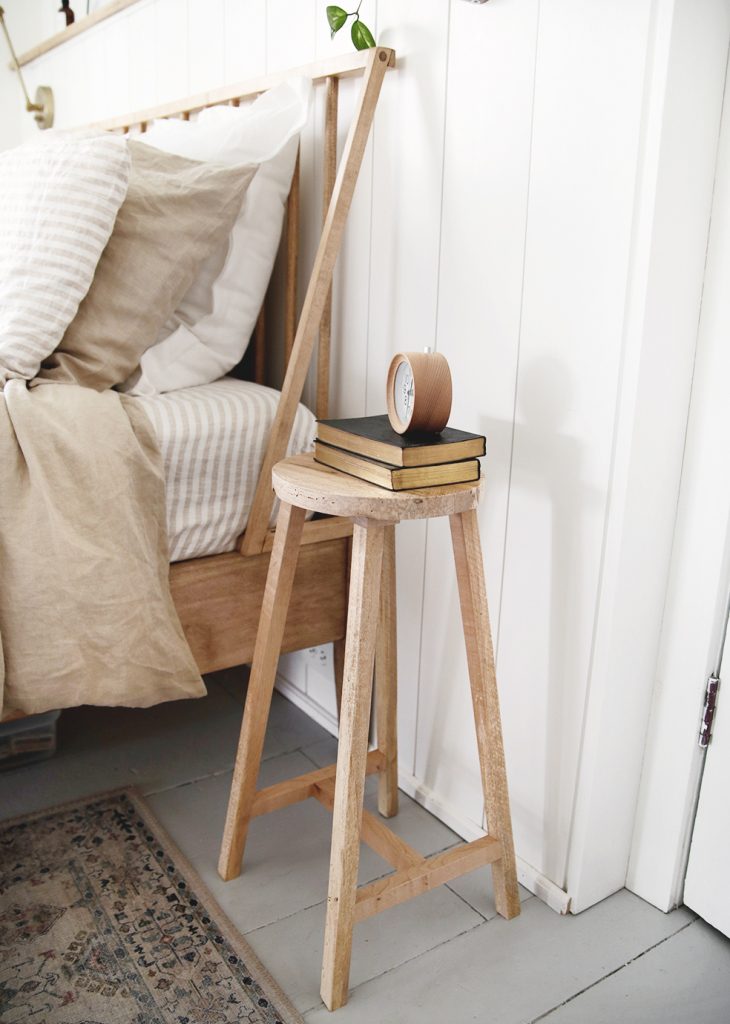
Trying to decide on nightstands in our bedroom was probably the hardest decision in our . Should we design & make our own? Should they match? Should they be wood? If so, the same wood? So many choices!! I often tend to overthink things when designing/decorating spaces, then realize in the big scheme of things, it’s not that big a deal…if I don’t like it, I can just try again! So after much deliberating, this DIY simple wood stool was decided on for Mike’s side of the bed.
I like to try to keep the night stand for Mike’s side simple and small…so he has less space to collect things (which he tends to do when given empty space)! Haa! (A few years ago, we made this for him, again simple and small!). He’s spent the last couple years since we switched rooms with no nightstand at all and didn’t seem to mind. He said he really only needed somewhere to set his phone, so he wasn’t looking for much space. When we made over , we used a stool as a nightstand, and I liked that look, so we decided to make our own wood stool to use as a nightstand in our room. I love how this simple stool turned out and it’s worked perfectly for Mike.

Materials:
- wood board (we used maple)
- table saw
- compound mitre saw
- jig saw
- drill, drill bits
- sander/sandpaper
- stationary belt/disk sander
- pocket hole jig
- pocket hole screws
- 1-5/8” drywall screws
- 1-1/4” drywall screws
- wood glue
- clamp
- clear polyurethane

Directions:
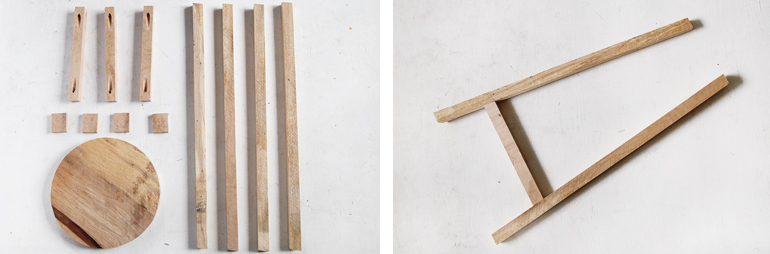
Using the table saw, cut 5 pieces 30” long by 1” wide. Our board was 1 inch thick, so we ended up with pieces that were 1” by 1” by 30” long.
Using the compound mitre saw, cut four of the pieces to 23” long with a 17 degree compound angle at each end. This is done by setting the saw head and the table angle to 17 degrees.
Using the mitre saw with the saw head set back to 90 degrees and the table angle set to 17 degrees, cut three pieces 9-1/8” long from the remaining piece; each end will have an opposing angle.
Cut a piece from the board 1-3/8” wide by 1/2” thick and around 10” long, using table saw. Use the mitre saw to cut 4 pieces 1-1/2” long from this piece.
Mark and cut a 10” circle out of the remainder of your board using a jig saw; cut a little wide of the line so that you can sand to the line. (If your board is not wide enough to cut your bench top out of, glue pieces together until you get the desired width).
Using a stationary belt/disk sander, sand your circle to the marked line.
Lay out sets of legs with one of the 9-1/8” cross pieces between them, make sure the angle on the legs is oriented correctly so that they will sit on the floor and the bottom of the stool top correctly.
Measure up from the bottom of the legs 4” and make a mark. Using a drill and a pocket hole jig, drill a pocket hole in the bottom of each end of the three cross pieces.
Lay out sets of legs and cross pieces. When attaching the cross piece to the leg (the cross piece bottom is at the 4”mark), you can clamp a piece of wood to the leg so that the cross piece doesn’t slide down. (The wood you’re clamping will need to be cut at a 17 degree angle).
Apply glue to the end of the cross piece and attach to the leg using a pocket hole screw. Repeat on the other leg. (You might need to screw in most of the way with the drill and then the rest of the way by hand because of the other leg). Repeat for the other set of legs.
Mark a center line on the cross pieces between the two legs. Attach the other cross piece using glue and screw at this point, using a clamp to keep it from moving as you screw it in.
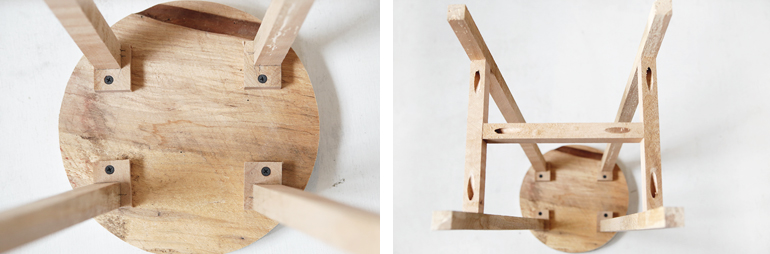
Drill and countersink a hole into the top of the 1-3/8” x 1-1/2” pieces so that you can screw through them into the top of each leg (using 1-5/8” screws), keeping the outside edges of the piece flush with the outsides of the legs. Attach them with glue and screws.
Flip the leg assembly over on a scrap piece of wood and drill and counter sink holes for the screws to attach the top. Place the round top top-side down and center the leg assembly and attach with screws (using 1-1/4” screws).
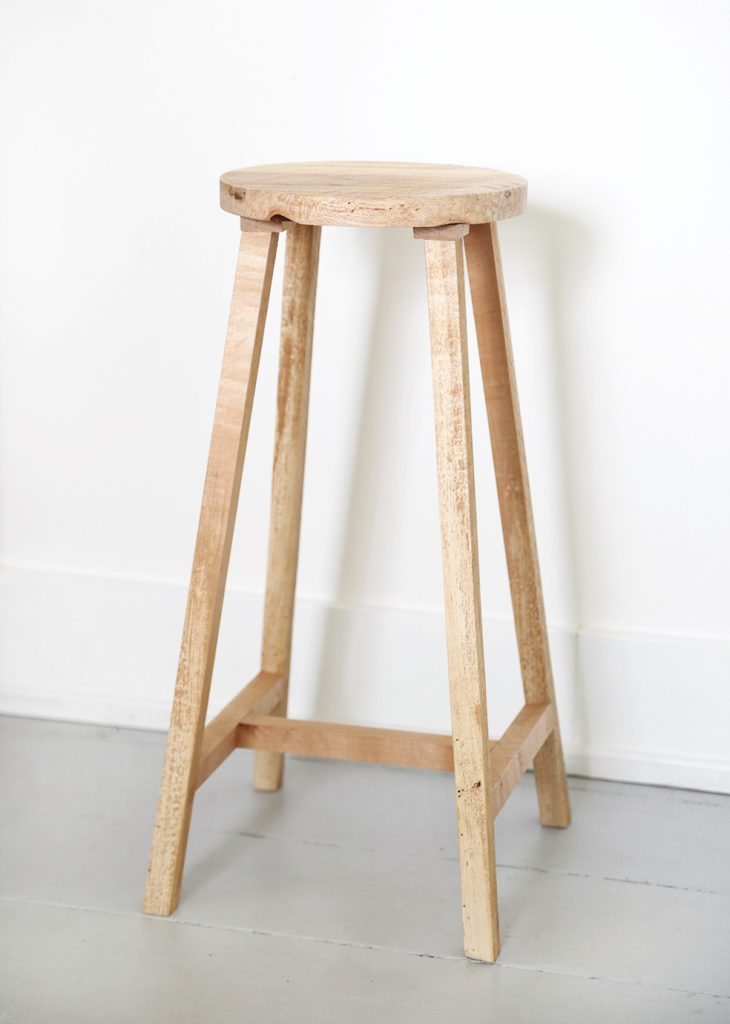
Sand the stool and apply finish.
You can see the whole bedroom , and we shared how we made the accent wall behind the bed .
-Manda
Sources:
– DIY | – c/o Magic Linen | – c/o Magic Linen | – c/o Magic Linen | – c/o Magic Linen | – Target | – Lamps Plus | – Amazon | Rug – Marshalls find
The post appeared first on .


