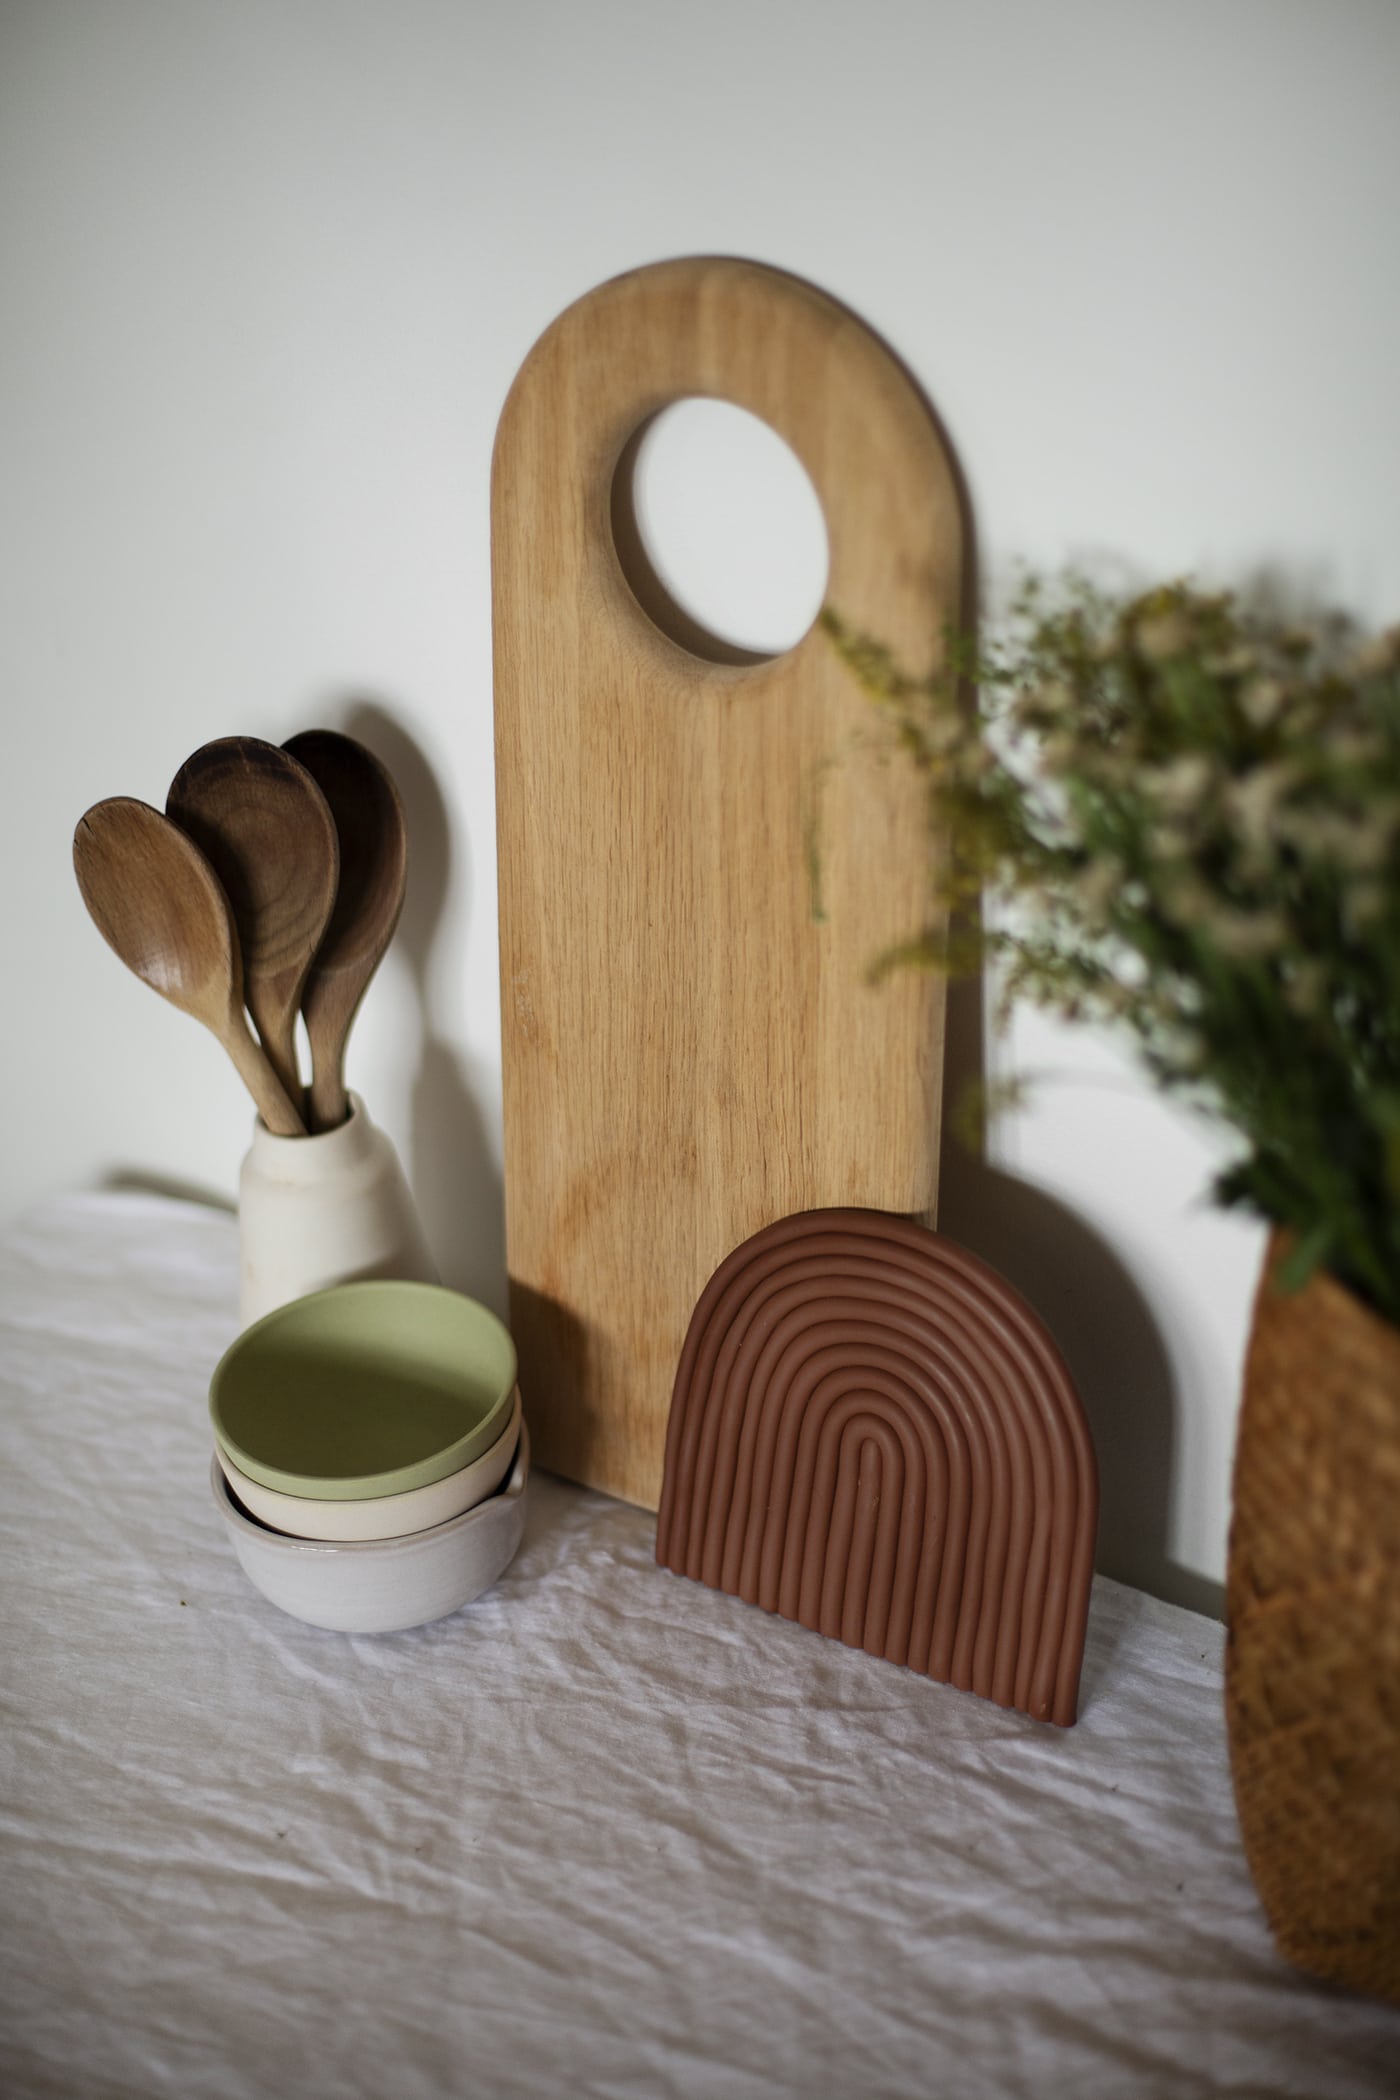
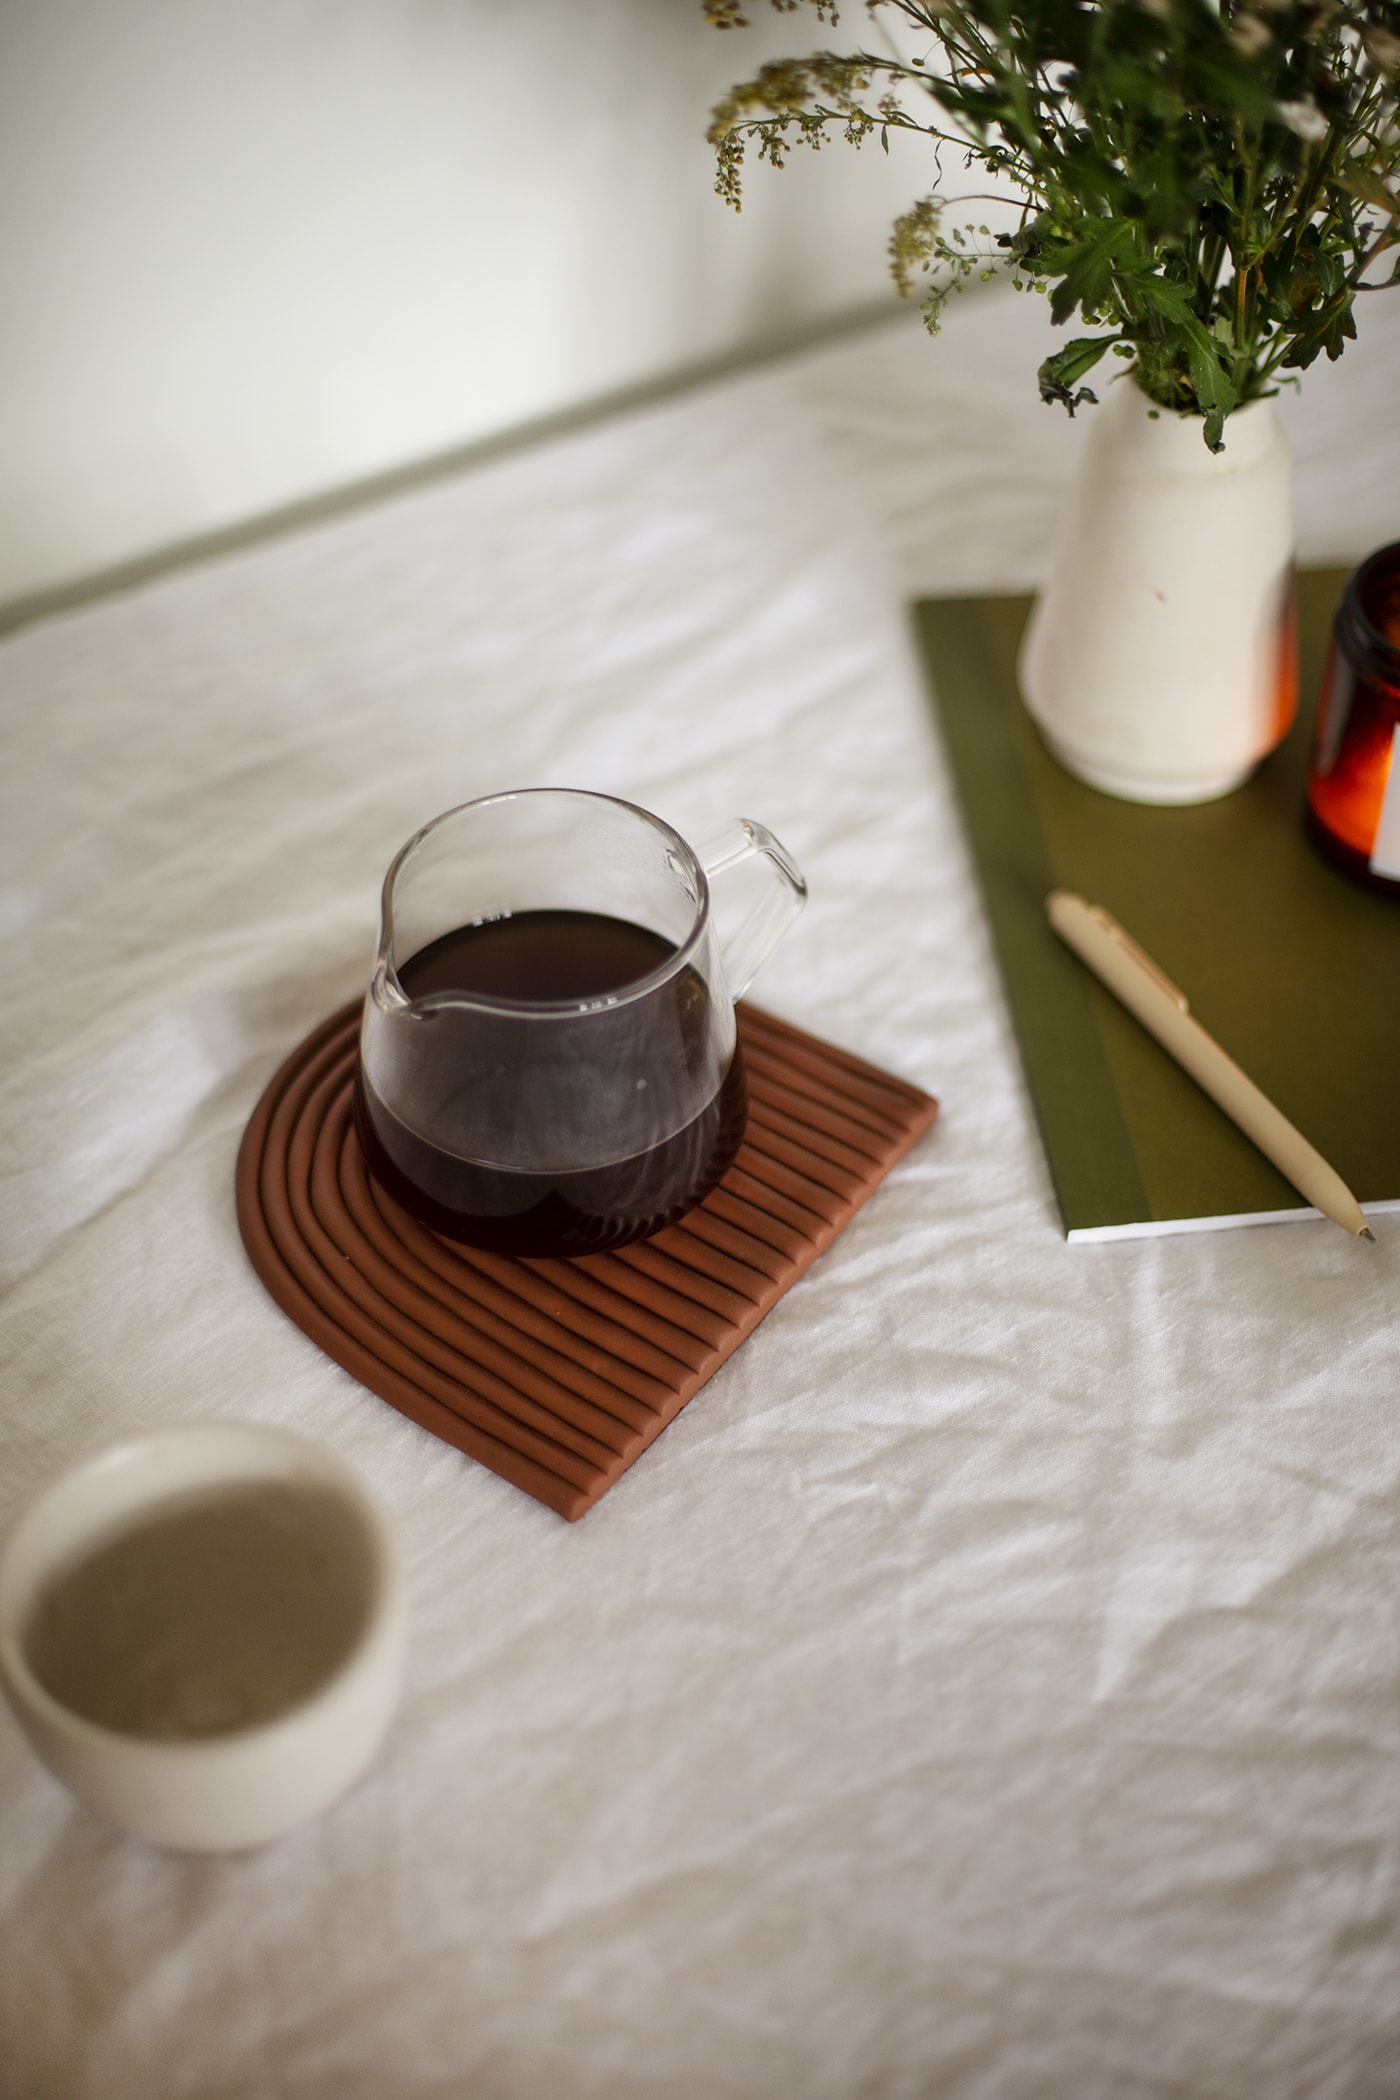
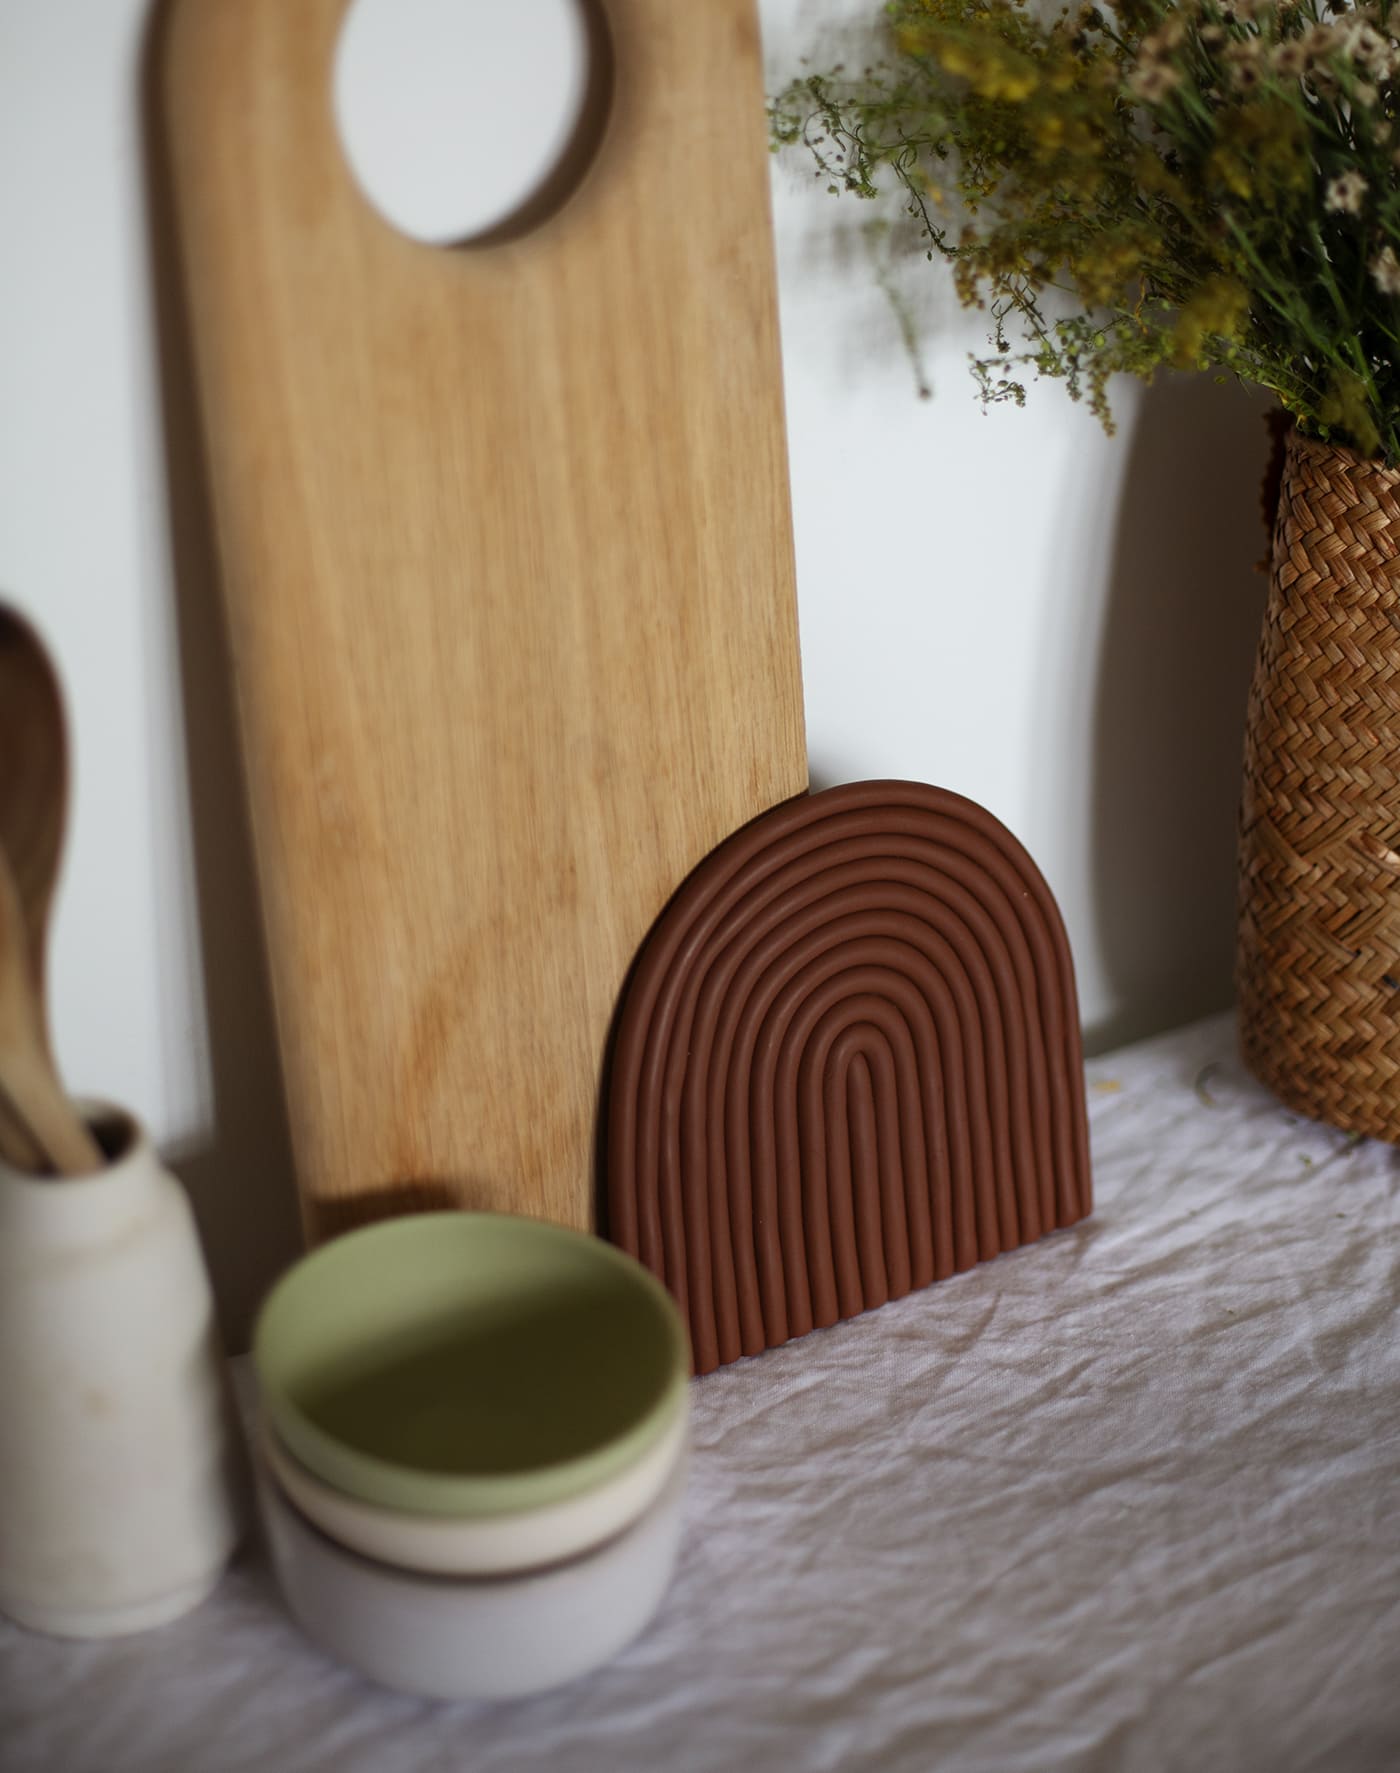
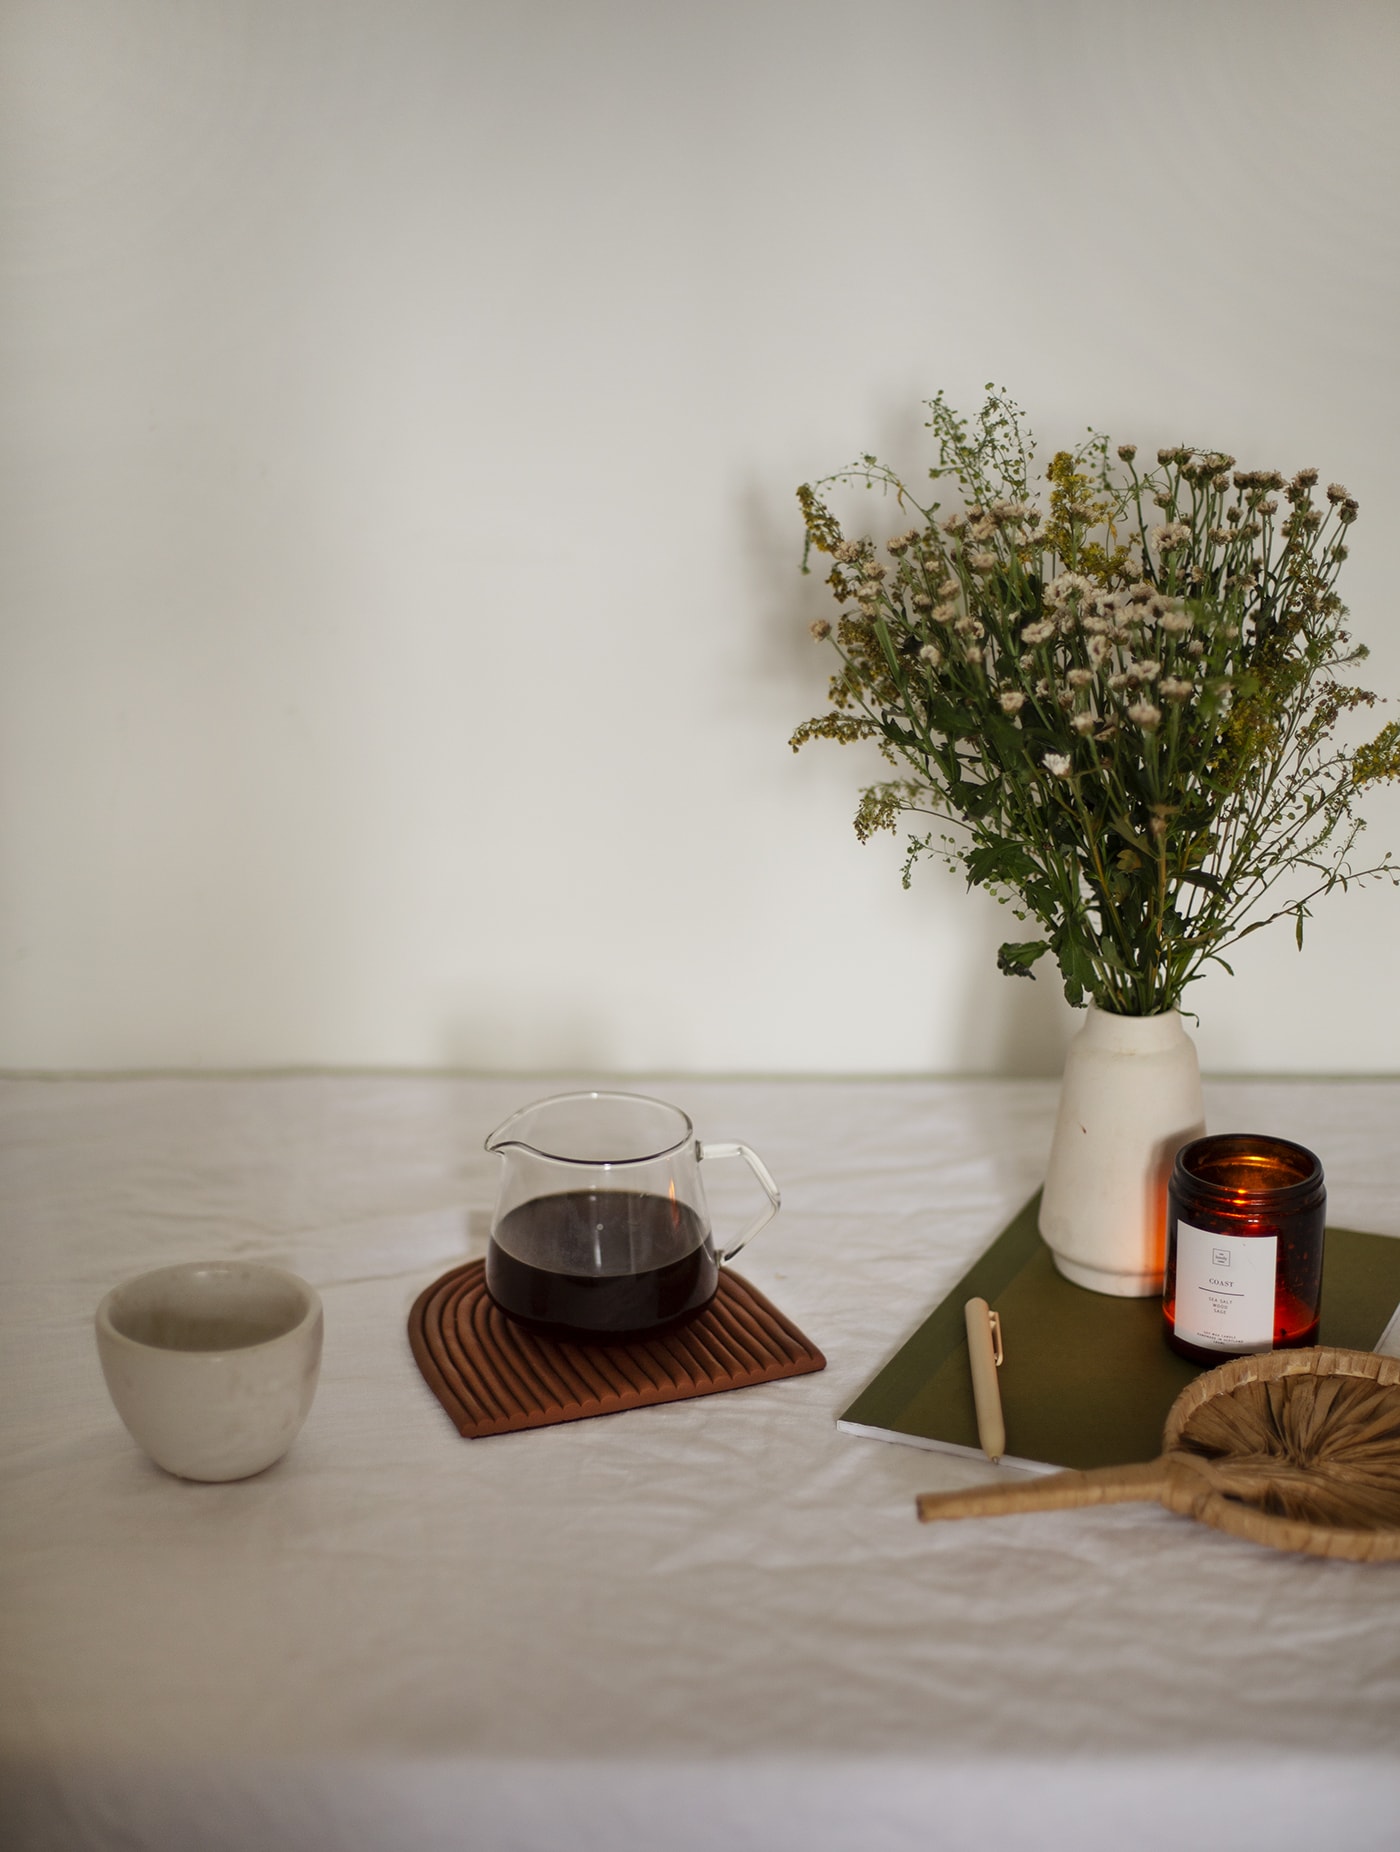
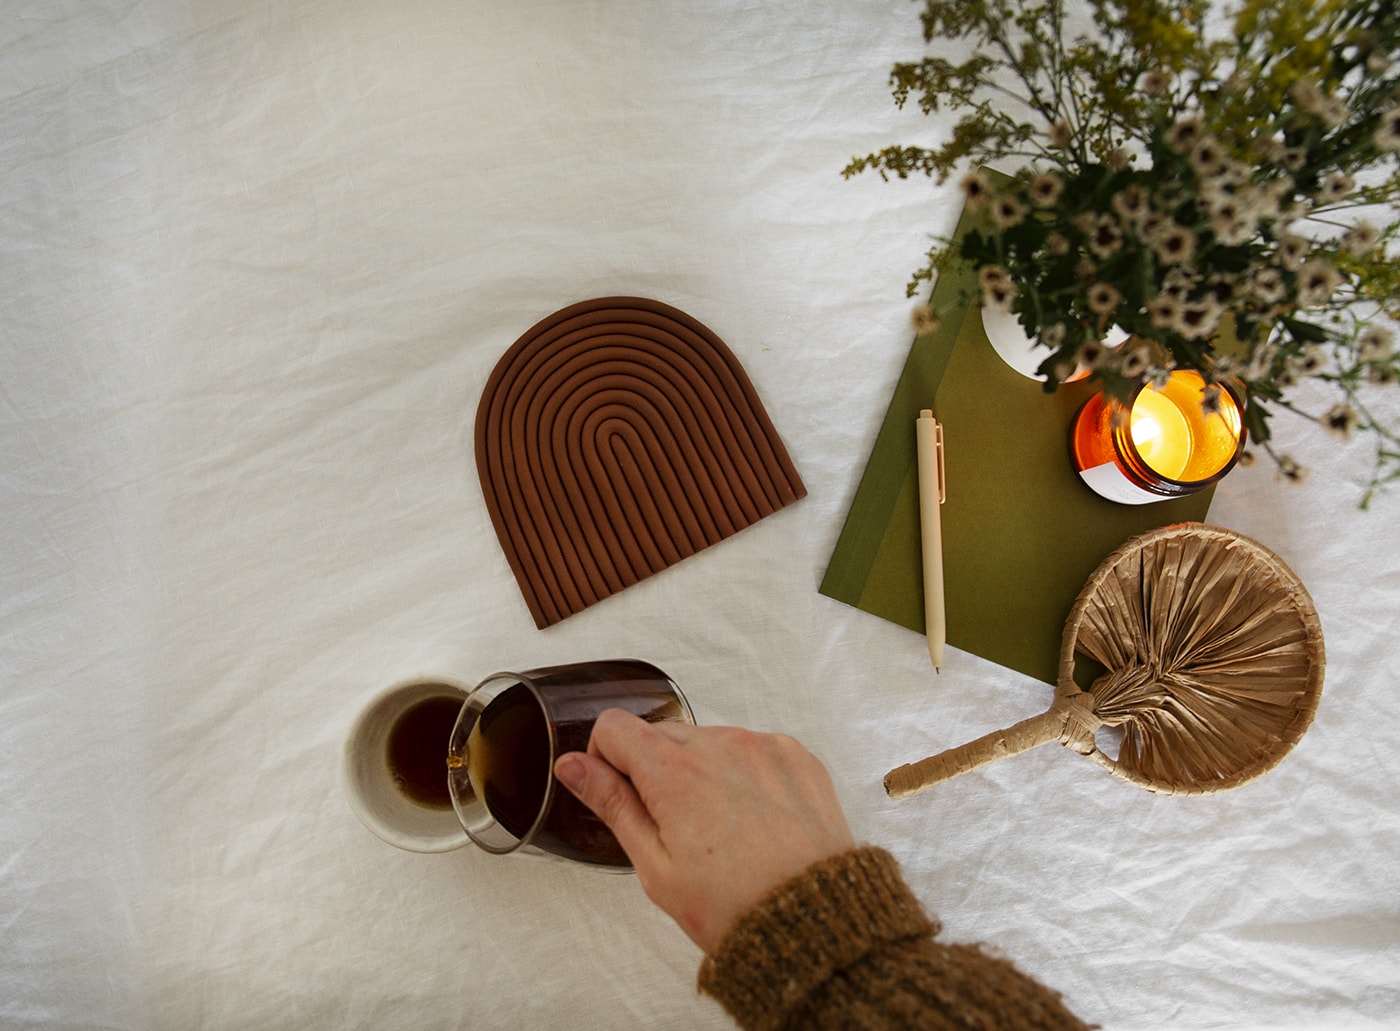
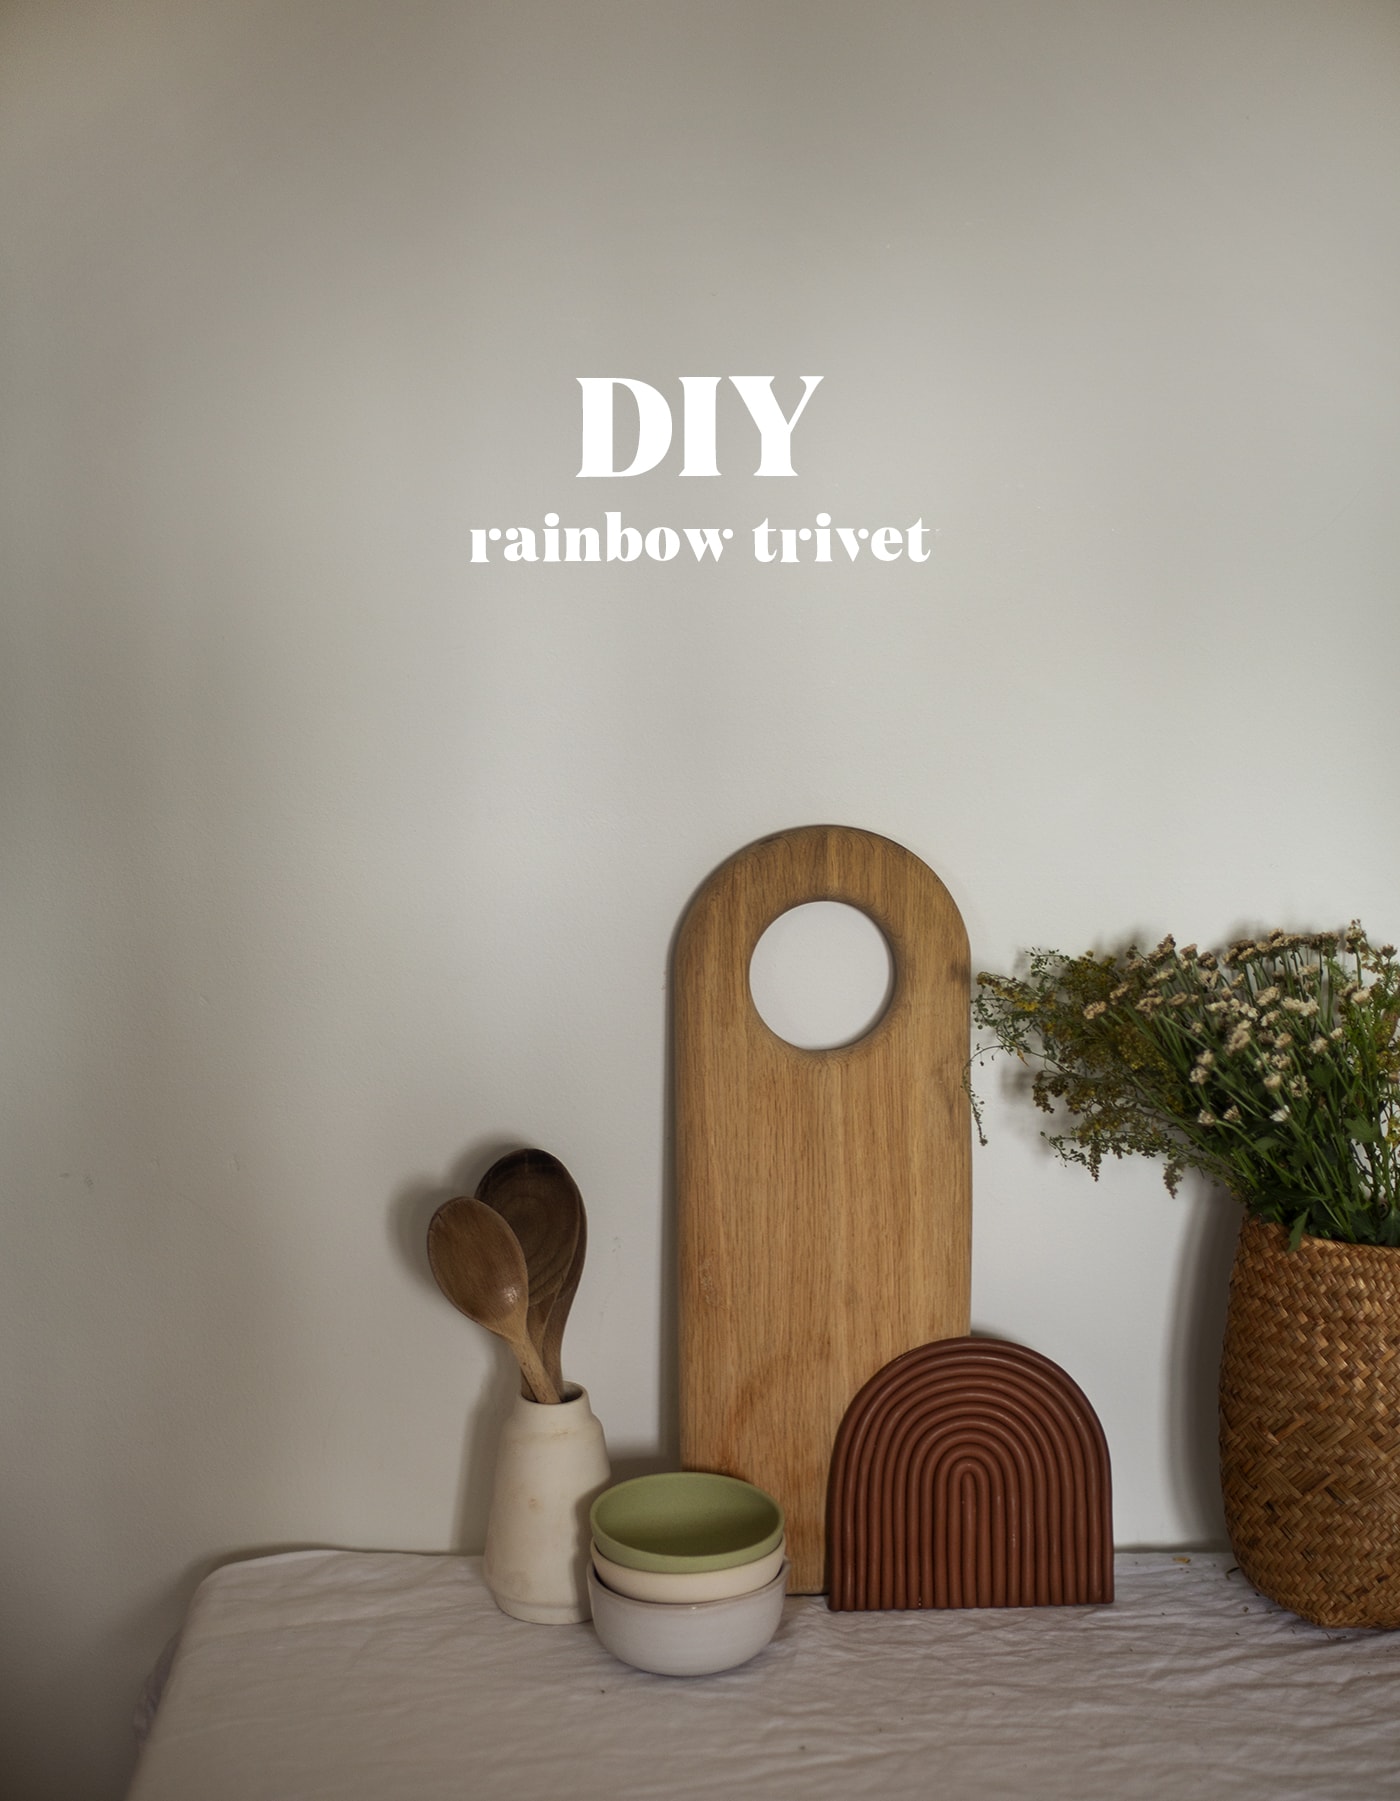
I’ve seen this style of trivet out there in the world to buy and as usual thought, I could make one of those. So I have!I love the final outcome, whether it’s for hot pots, plates, teapots, cafetieres or just to look pretty on your kitchen shelf. Even better is that it’s super easy to make so let’s jump in.

Materials
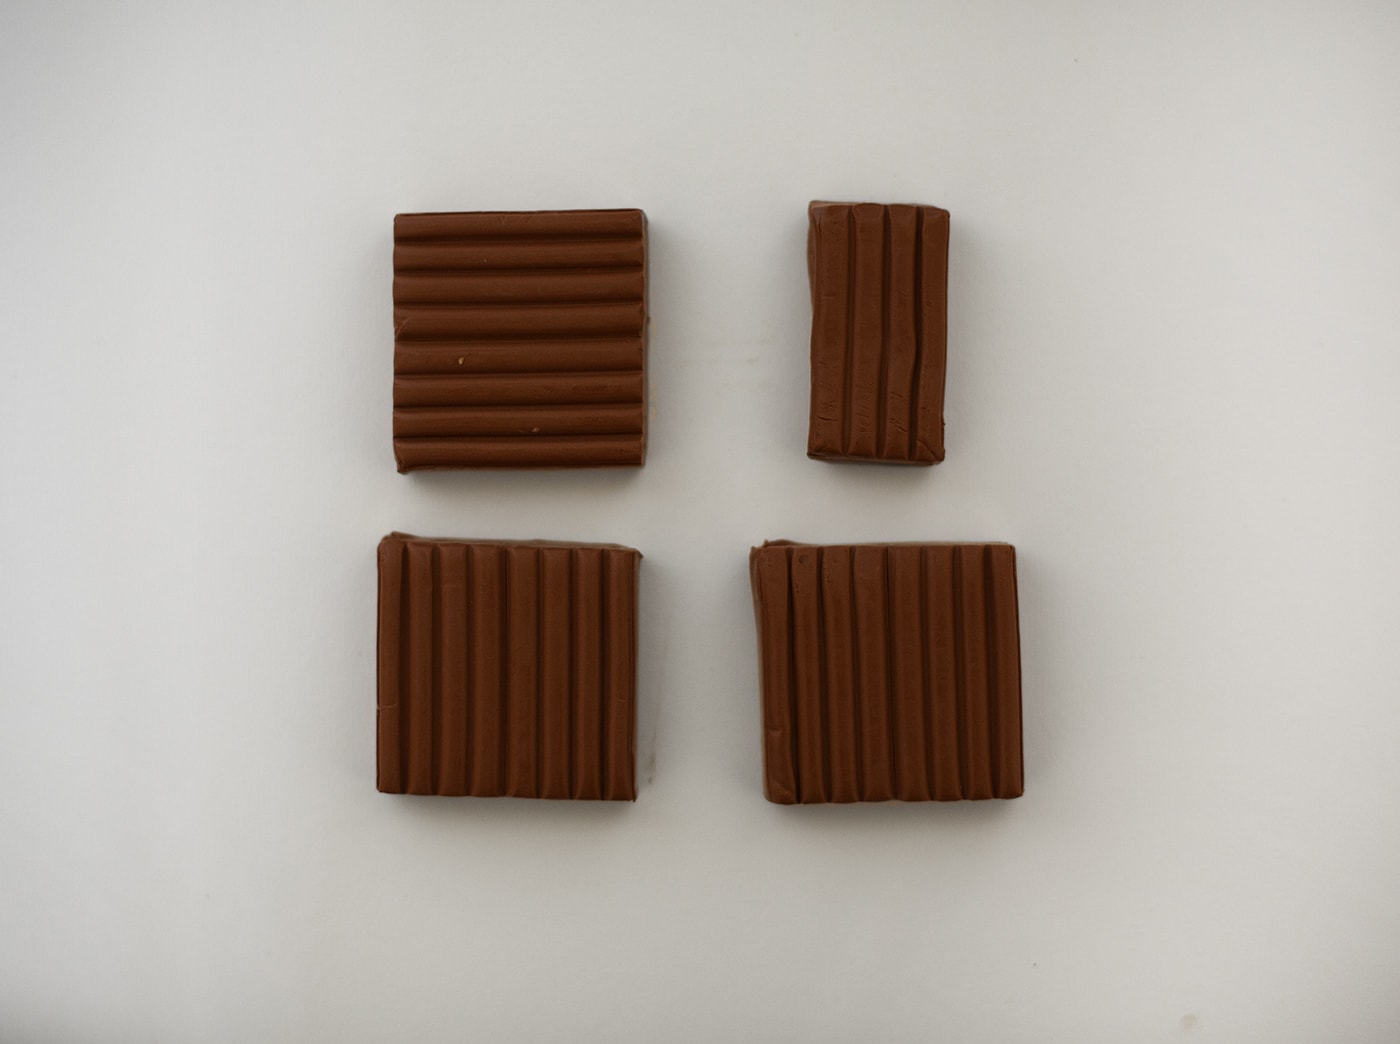
- Polymer clay (I used 3.5 57g blocks Fimo in ‘Caramel’)
- Knife
- Felt
- Pen
- Scissors
- Fabric glue
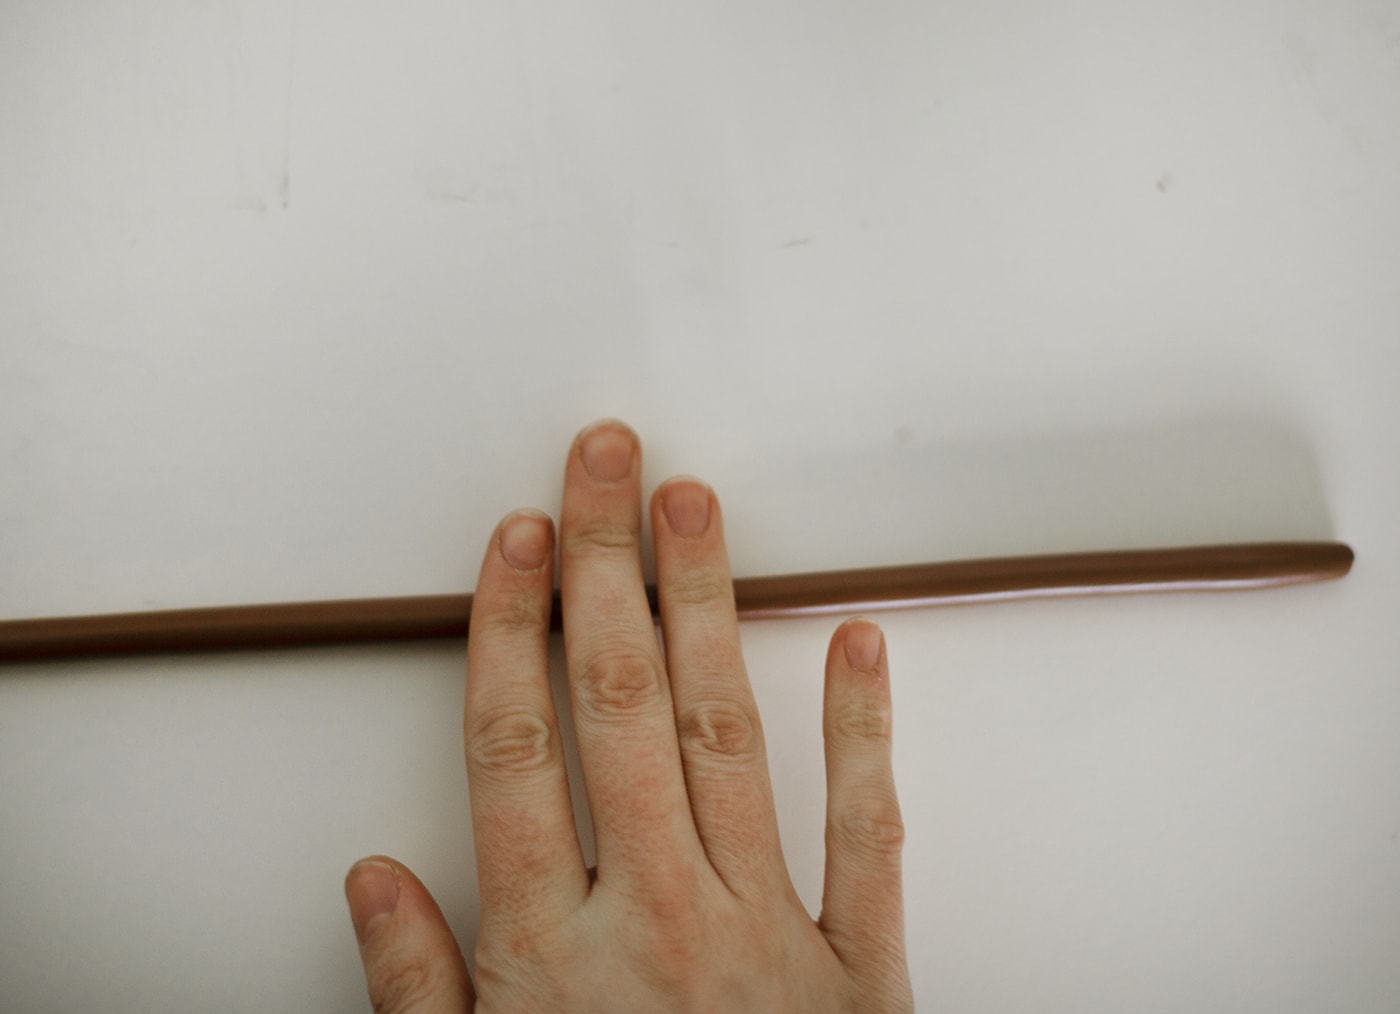
Take half a block of Fimo at a time and roll into a long sausage to roughly a centimetre in diameter. Gently roll up and down the fimo to make sure it’s even all the way along.
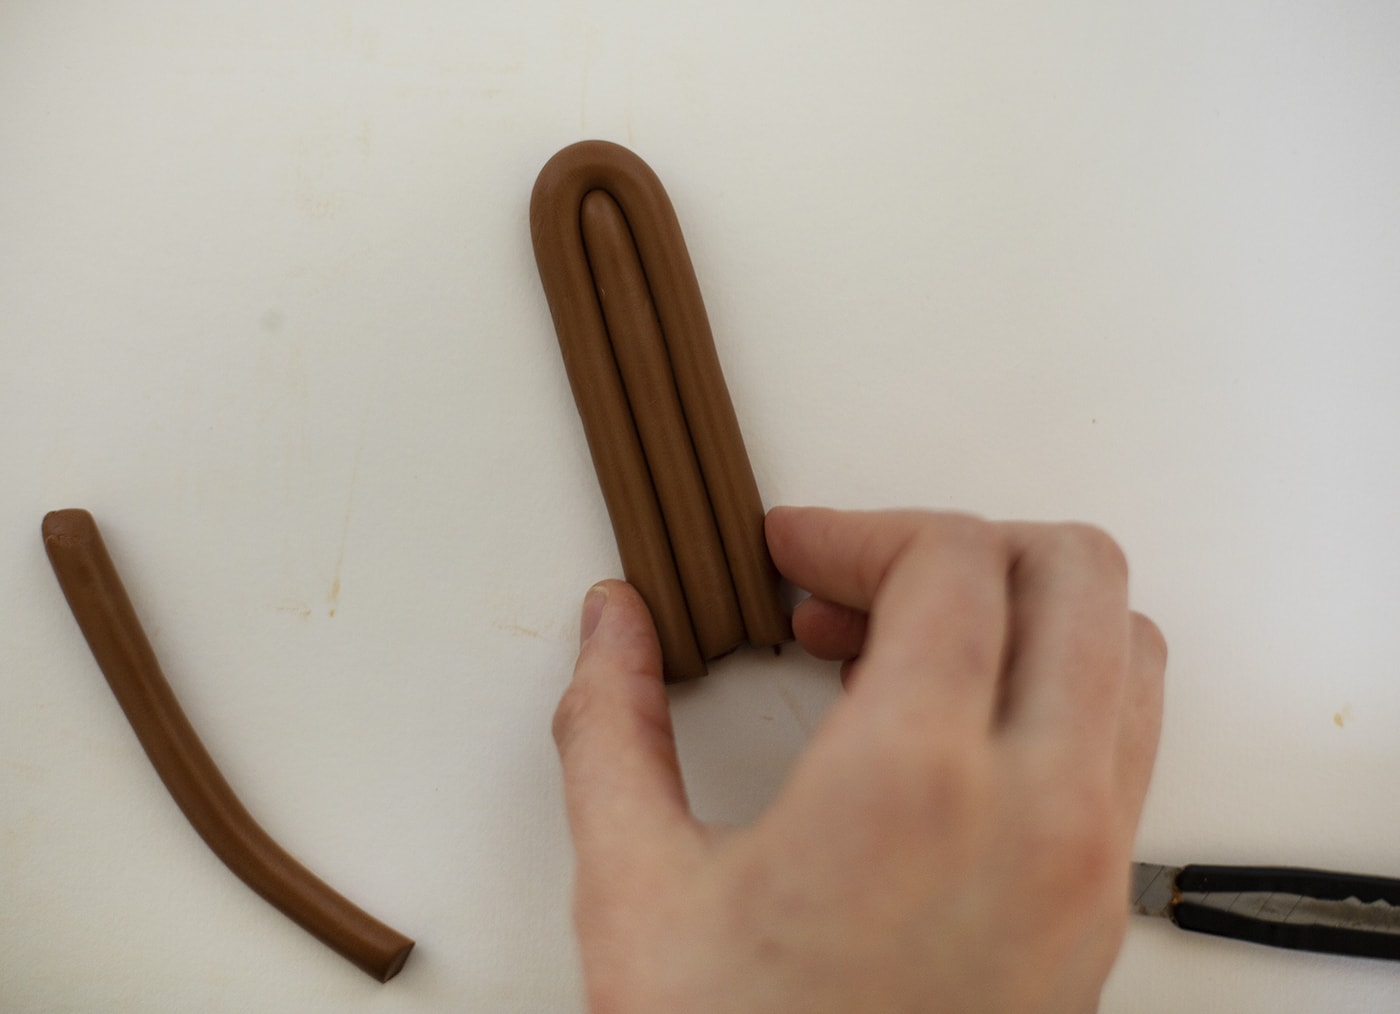
Cut a small section to begin with, to use as your centre piece. Make sure the inner end is rounded smoothly. Then start to wrap another length around the section, pressing very gently into the other and smoothing around as you go. Do not worry about the ends for now as you’ll cut them at the end.
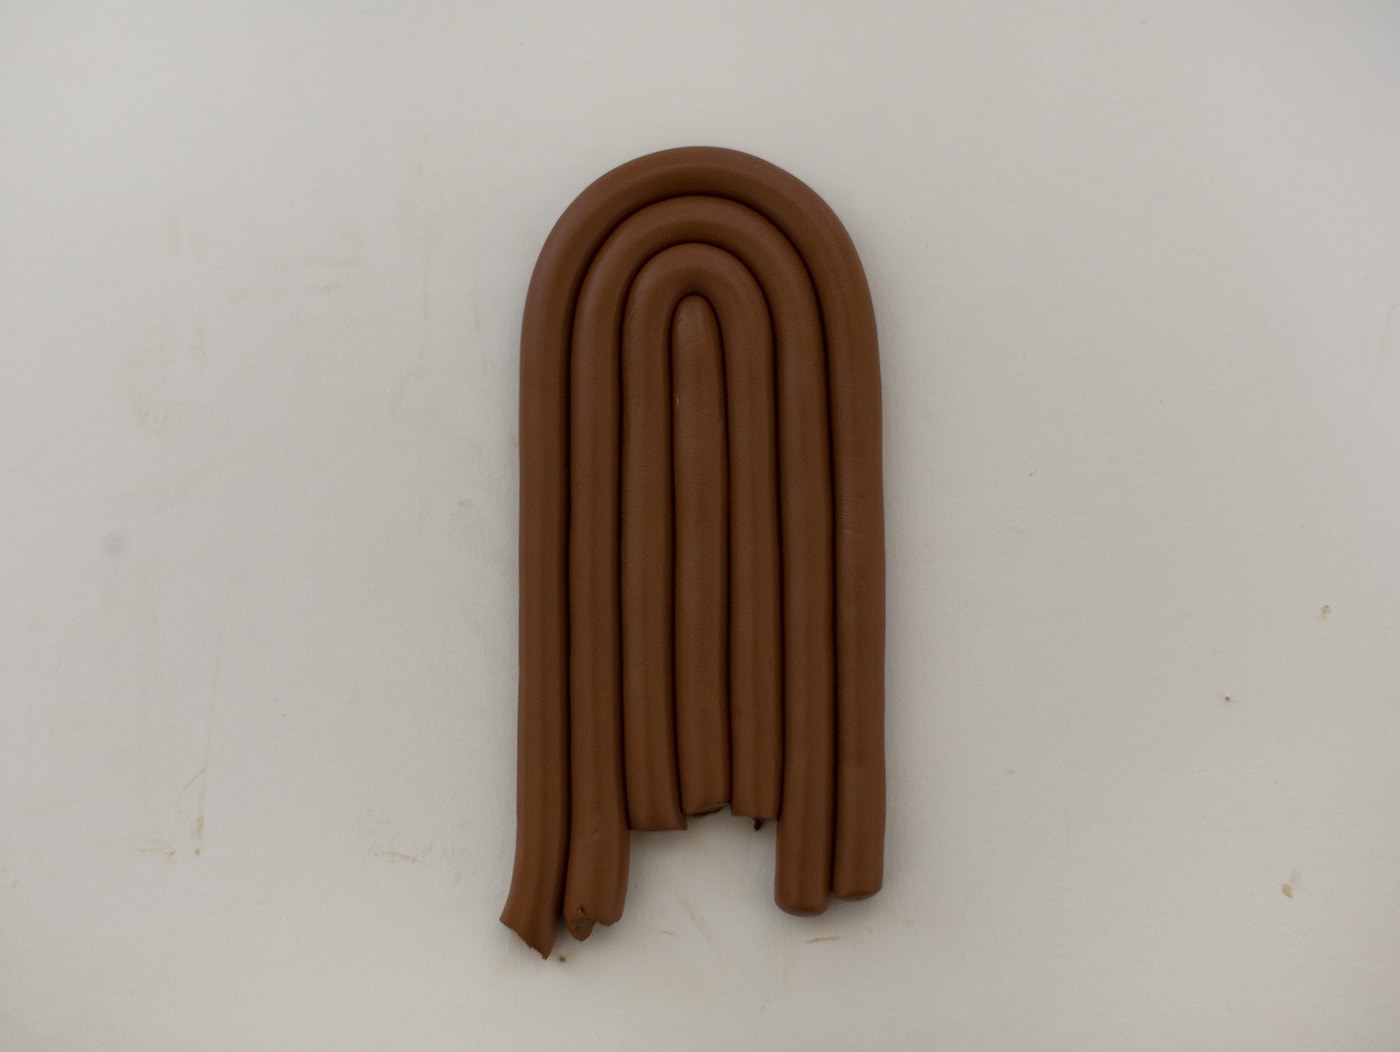
Continue this technique working your way outwards.
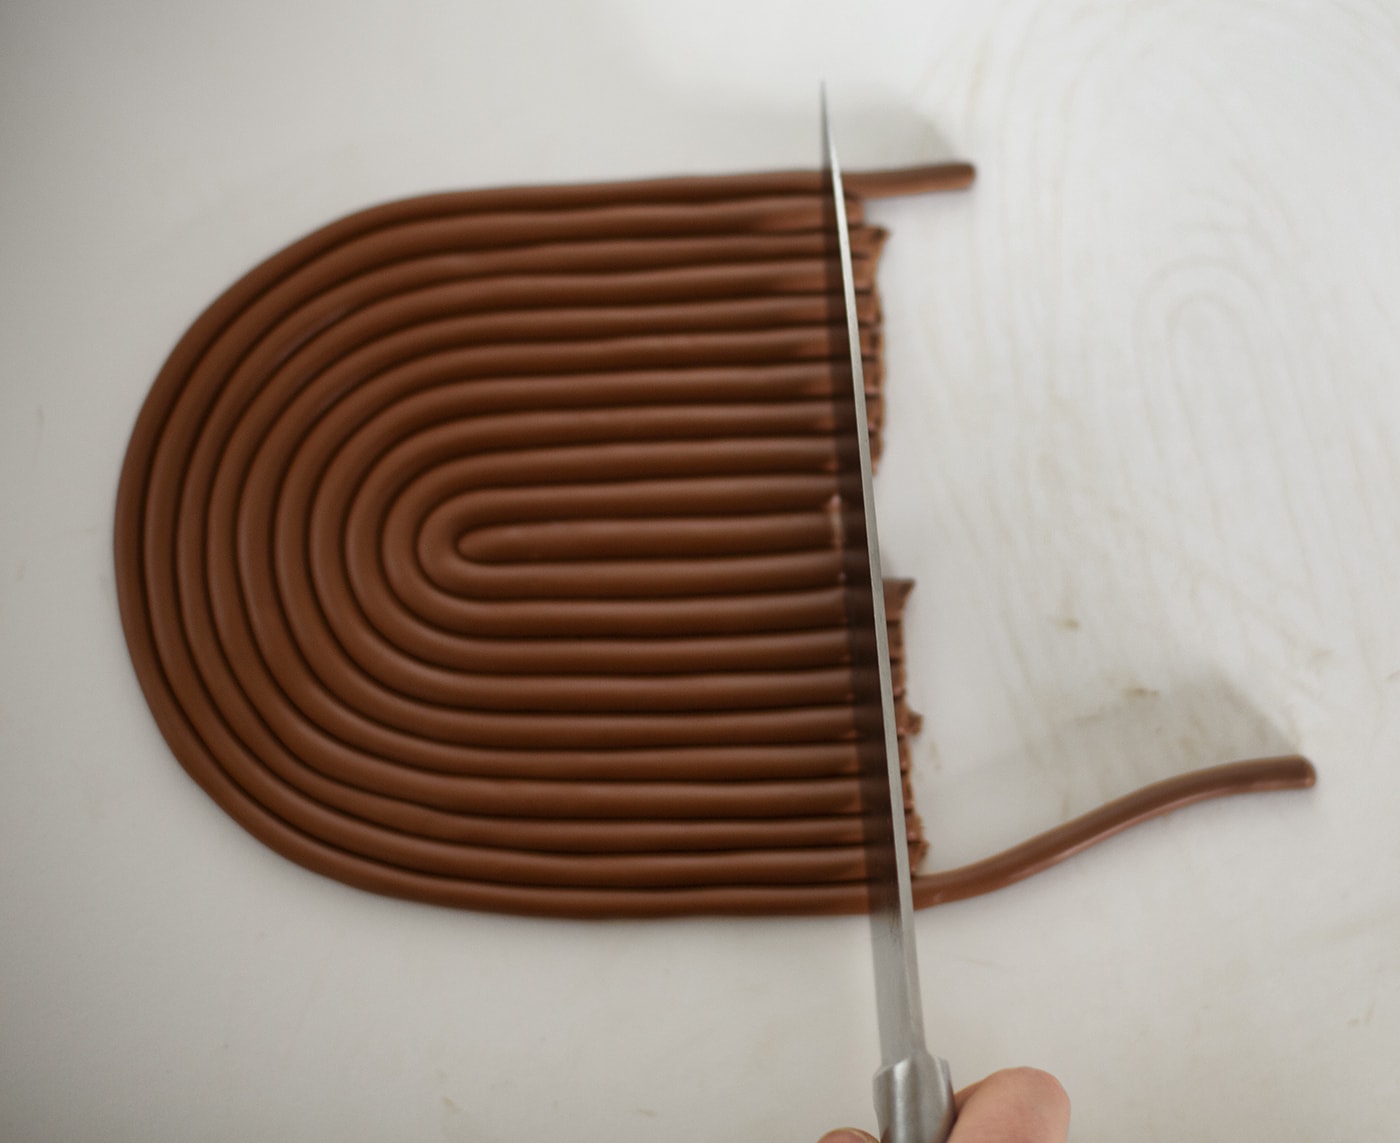
Once the trivet is your desired size, smooth your final piece around the edge. Apply a bit of pressure onto the whole thing to make sure the backside is fairly flat. Then use a knife to trim the bottom of the rainbow to give a straight, neat edge.

Carefully transfer to a baking tray and bake in a preheated oven, following the instructions on your polymer clay packet.
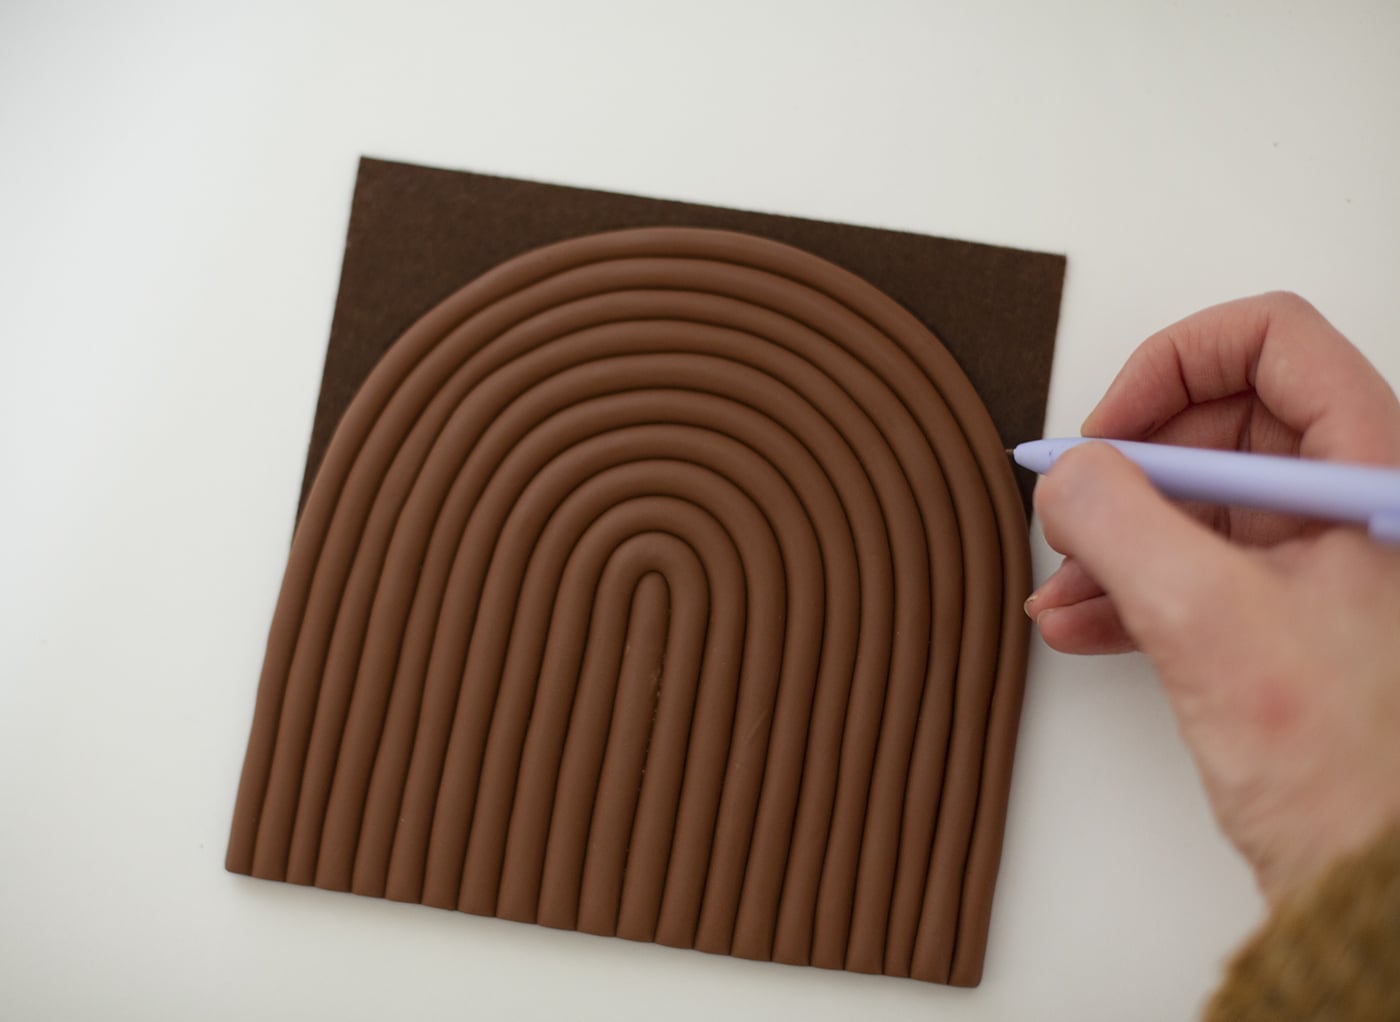
Once baked and cooled, place the trivet on the felt and draw around. Cut inside the line you’ve created so the felt is a bit smaller than your trivet.
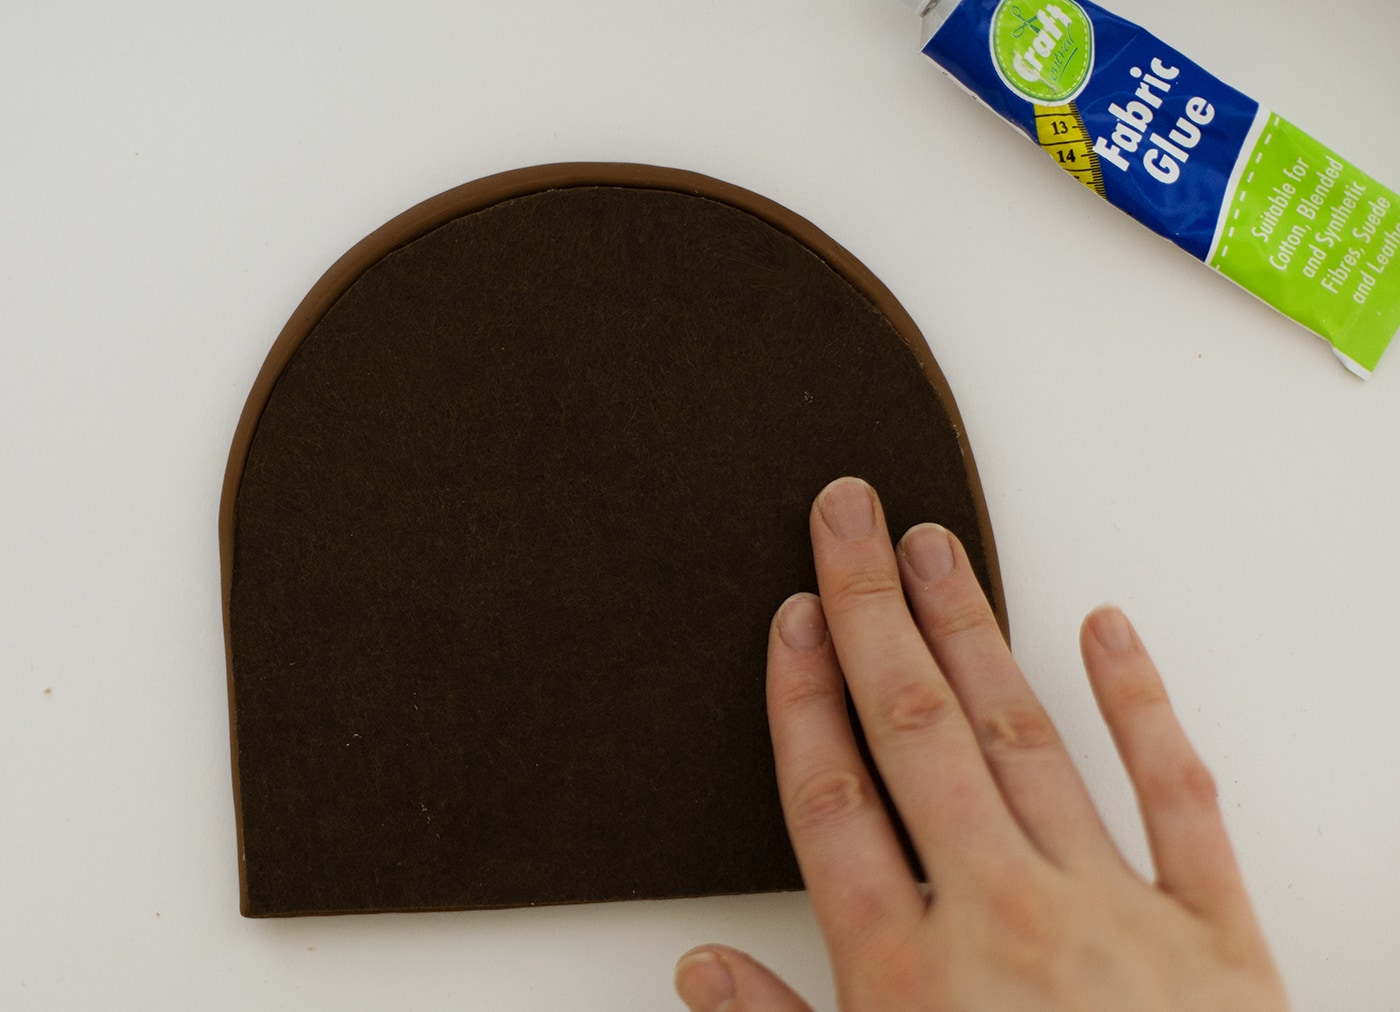
Apply fabric glue to the felt and stick to the back of the trivet, pressing down to fix.
The post appeared first on .


