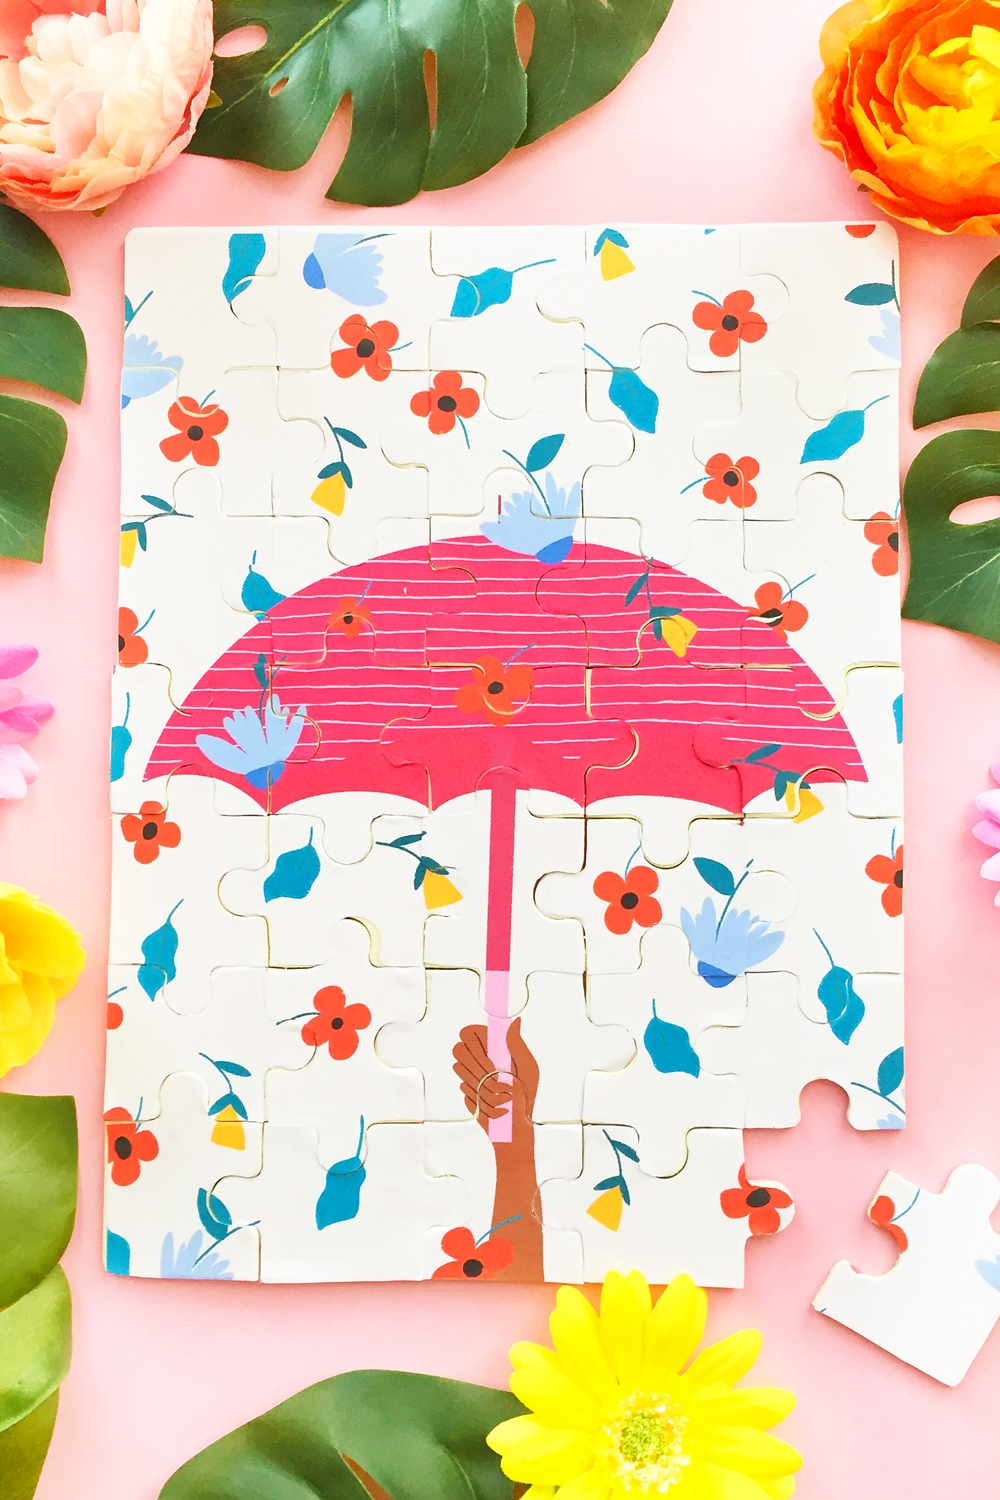
Okay, so not everything is going to be a complete winner. All in all, this DIY Puzzle was a fun project and I am here to share with you how I did it, and what I would recommend for better results. I started out with a blank wooden puzzle I bought from Michaels, then used one of my illustrations (you can see it here on ). As you can see from the images, some pieces did not turn out as well as others. Oh well. On the upside, once you make the puzzle, it will make a sweet and fun activity for little ones if you use their artwork. Especially if you use a smaller sized puzzle. Want to hear more? Read on for the full scoop!
*This post contains affiliate links for products that I use and love!
DIY Coloring Page Gift Wrap – Materials
- Artwork – kids’ artwork will be fun for this project – maybe something they did at school or daycare?
- Graphic software
- Pencil – for tracing each puzzle piece. I used a mechanical pencil because of its fine point
- Blank wooden puzzle. I got mine at Michaels, but if you want to try something smaller and simpler you can try something
- I used printer paper and glue, but I would recommend using or the more durable prinatble if you can
Instructions – DIY Puzzle With Artwork
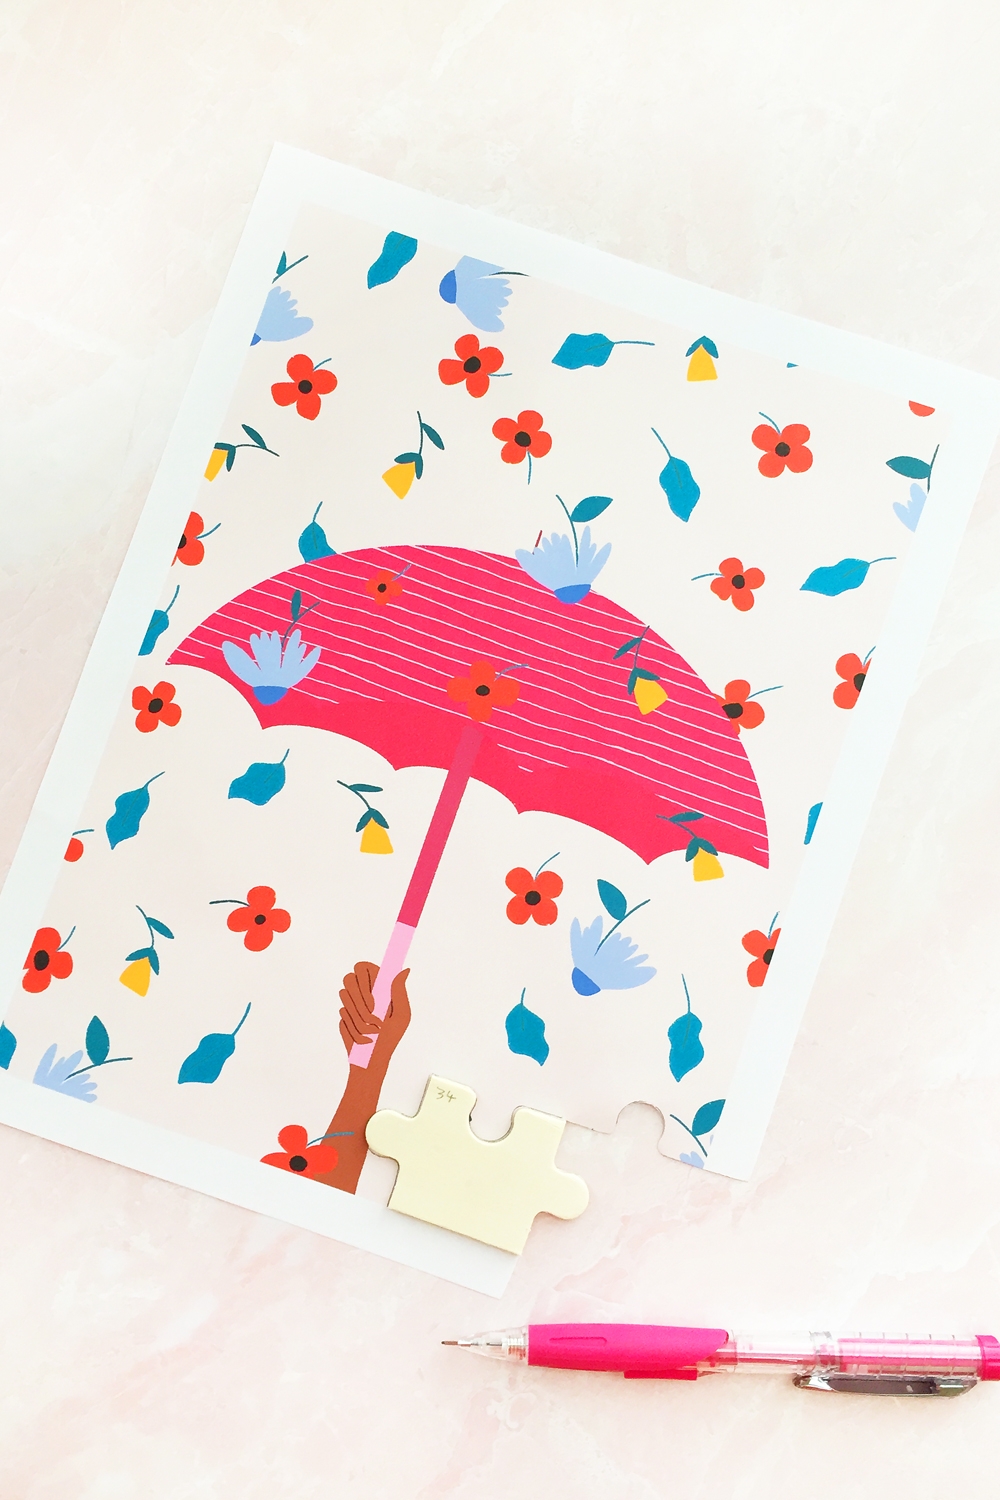
Prepare Your Artwork For Printing
- Measure the length and width of your puzzle
- Upload your artwork to the graphic software of your choice
- Resize the artwork to the dimensions from step 1 so that it would fit on your puzzle
Lesson learned – I would recommend doing a dry run before printing on your sticker paper or vinyl. Print a lower quality version on regular printer paper and follow the steps below to make sure that you got the right dimensions. It’s more work, but worth it!
Print Your Artwork
Send your artwork to print on a sticker paper sheet or printable vinyl sheet
Lesson learned – I used printer paper and glue which took forever to do, and the glue caused the paper to bubble in some areas – ugh.
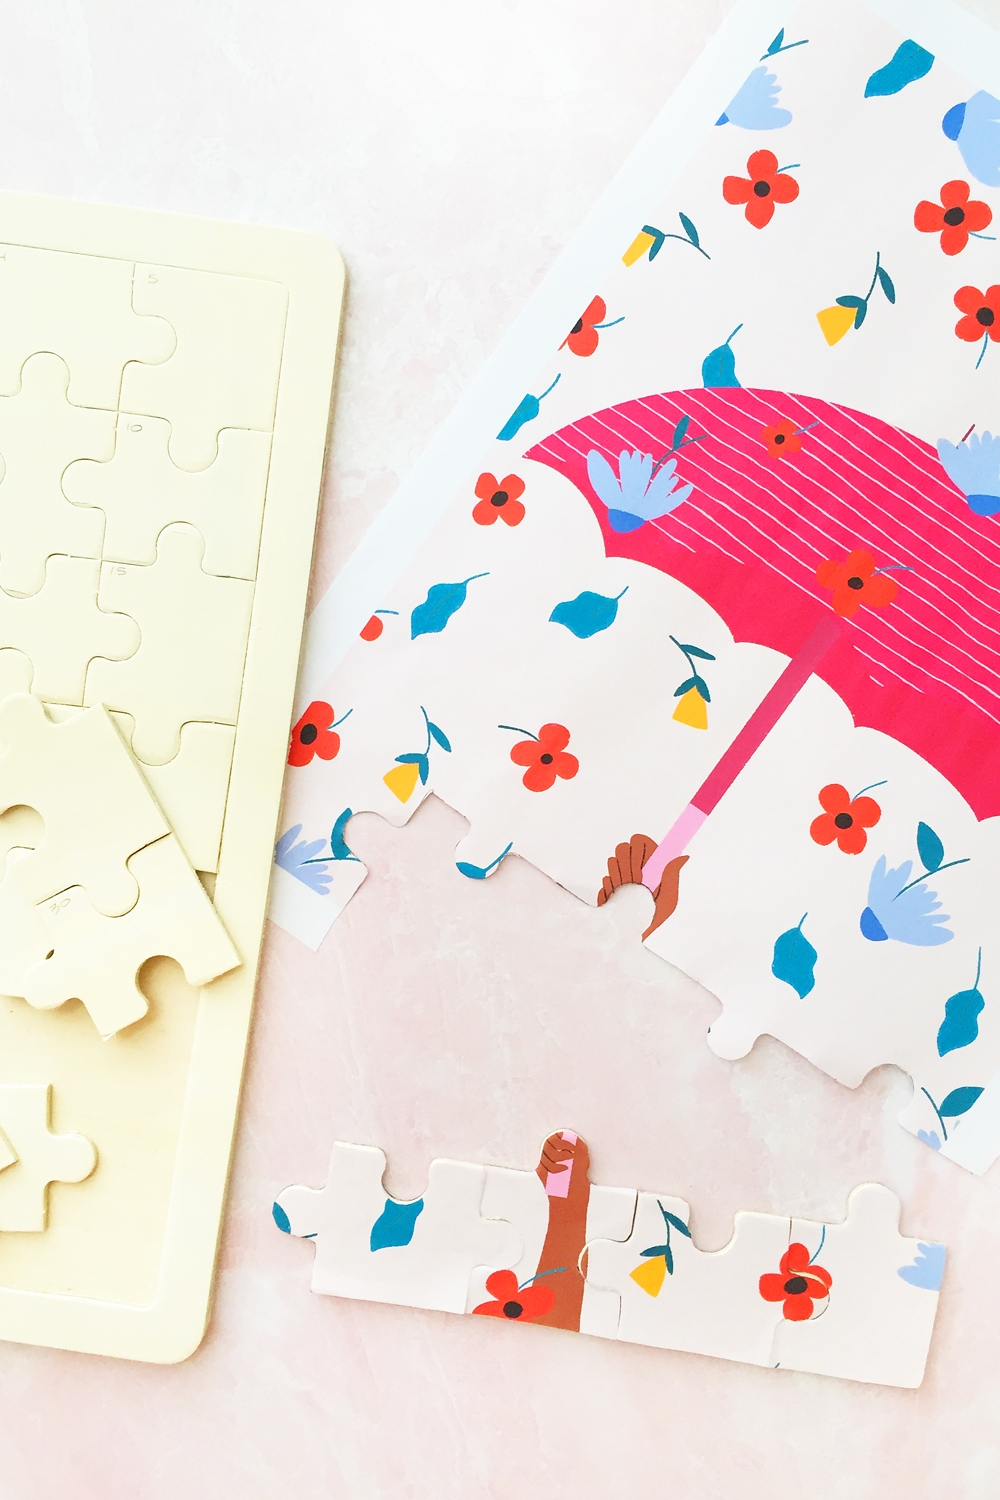
Trace And Cut The Puzzle Pieces
For each puzzle piece, starting with a corner and going from left to right
- Trace each puzzle piece on your sticker paper or printable vinyl. Stay as close as possible to the edges
- Make any adjustments as you move to each piece
- Carefully cut each puzzle shape and adhere it to its wooden puzzle counterpart
Lesson learned – because you will be tracing outside the piece, you should cut inside the lines for a more accurate cut
Build Your Puzzle
Once you have completed all the pieces, either build your puzzle as you go along, or at the end!
And that’s it! Hopefully with these little tweaks and lessons I learned from this project, your puzzles would have been easier and faster to make than mine! Let me know how they turned out and if your kids had fun with them.
Looking for some more crafty inspiration? Stay a little longer, and check out my other Happy Making!
The post appeared first on .


