
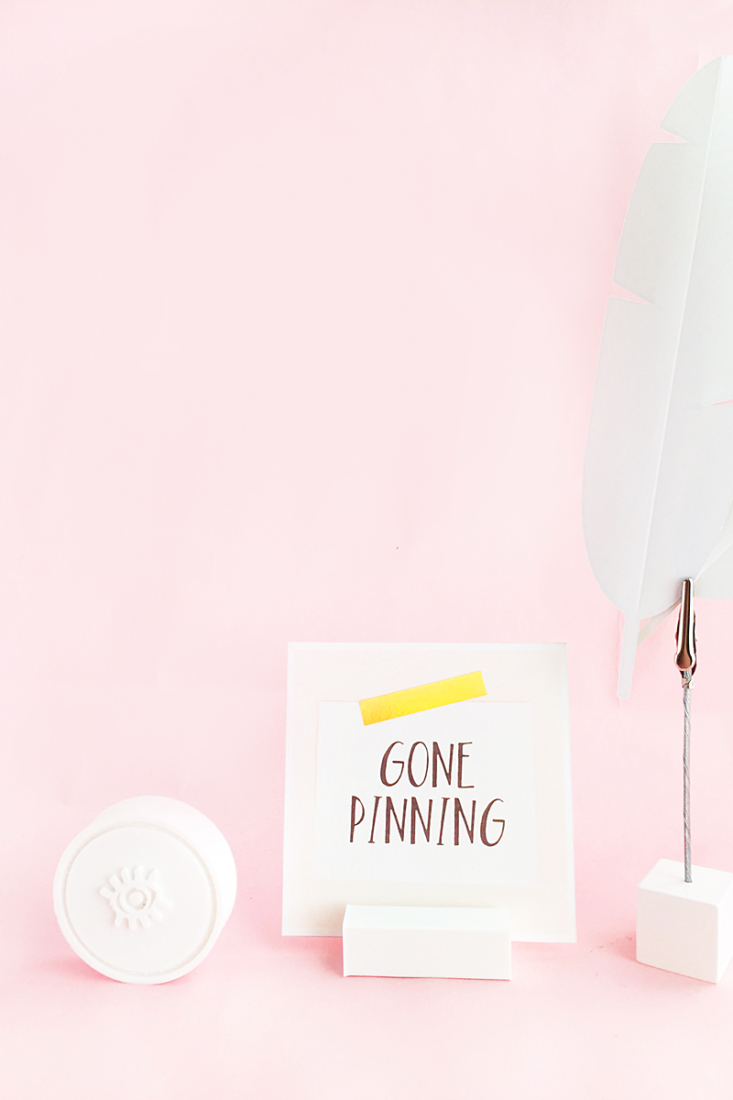
Well hello there. I’m back with another fun 3D project using simple shapes. This DIY Photo Holder was designed in 2D with 2 rectangles – believe it or not. I’m excited to share this one with you because this cute photo holder can be used for other things such as: a business card holder, place setting at your table, a message holder, a note card holder… you get it, right? Read on to make your desk or shelf a little more fun with this tutorial!
What You Need – DIY Photo Holder
- (there is a free version!)
- (comes with the 3D Printer)
- (comes with the 3D Printer)
- (comes with the 3D Printer)
- Silhouette 3D Software (comes with the 3D Printer)
*This post contains affiliate links for products that I use and love!
Instructions – DIY Photo Holder
If this is your first 3D project, I did and making your first project.
- In Silhouette Studio, Create 2 rectangles as shown below
- Select the 2 shapes then go to Object > Modify > Subtract
- Save your design
- In the Silhouette 3D Software, open your design from step 3
- A pop-up will appear: Import As
- Select Extrusion
- The design will appear in 3D
- Adjust the height – or just play with the dimensions on how thick or high you want your photo holder to be
- Select the 3D Print Tab on the right
- Select the Quality (I used the Standard option)
- Press Print. The machine will heat up and print – you will see the countdown of time as well
- Once the photo holder is printed, let it cool then remove the platform from the printer
- Use the spatula to gently remove your ring and any extra filament
Tip: If the photo holder is not completely smooth or has little strings of filament attached to it, cut off the excess filament and use an emory board (nail file) or sand paper to smooth the surface.


That’s it! All you have to do now is add some pretty photos, prints, business cards or notecards. What will you use your cute photo holder for? Tell me in the comments below.


Looking for some more inspiration? Take a look at my other !
The post appeared first on .


