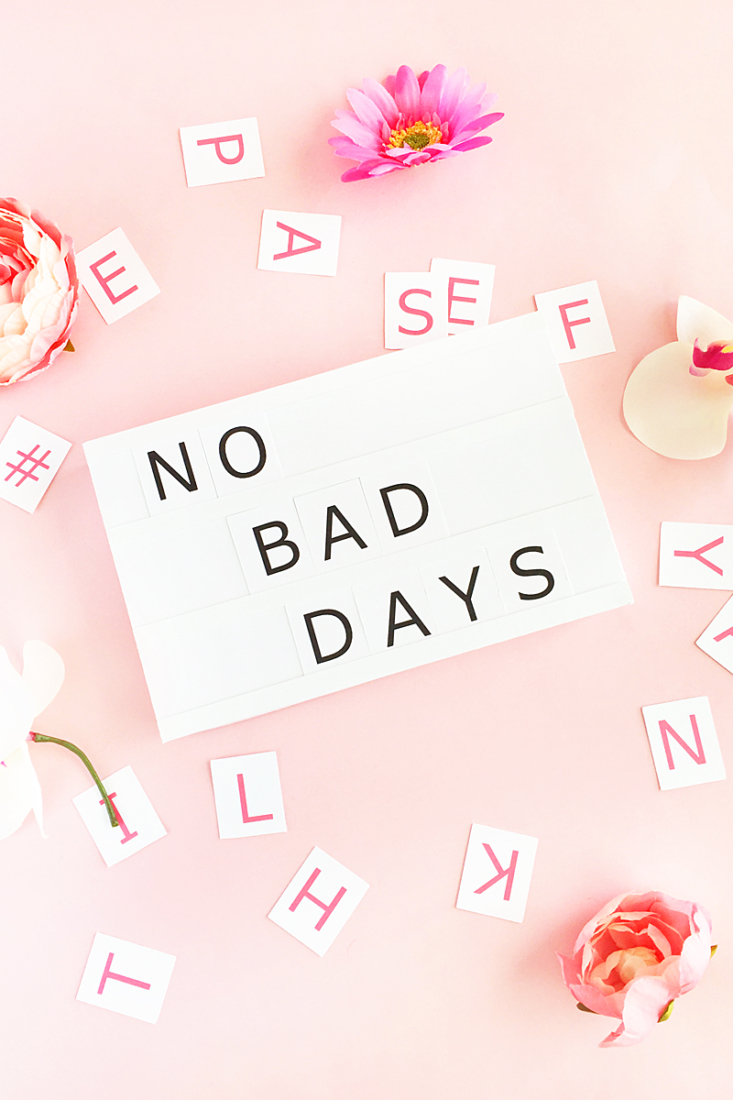
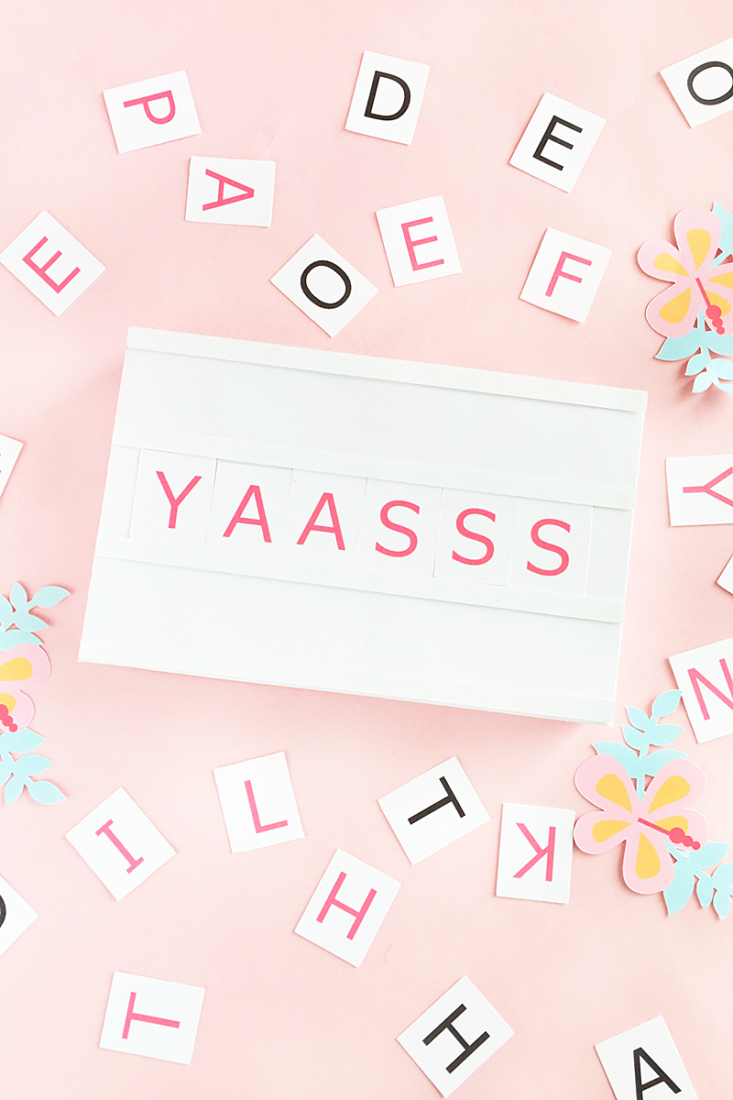
I’m excited to share this cute DIY Paper Message Box with you. Such a fun project to decorate your desk or shelf with a motivational quote. What’s even better is that you can make this as a gift box with a lovely message on the outside and fun gift inside. Also great for Instagram signs. I wish I thought of this when my babies reached milestones for taking pictures. So many ideas! Read on for the tutorial…
DIY Paper Message Box – The What
- (I used my CAMEO 3)
- (there is a free version!)
- A rectangle box design
- – this is like a thicker cardstock
*This post contains affiliate links for products that I use and love!
DIY Paper Message Box – The How
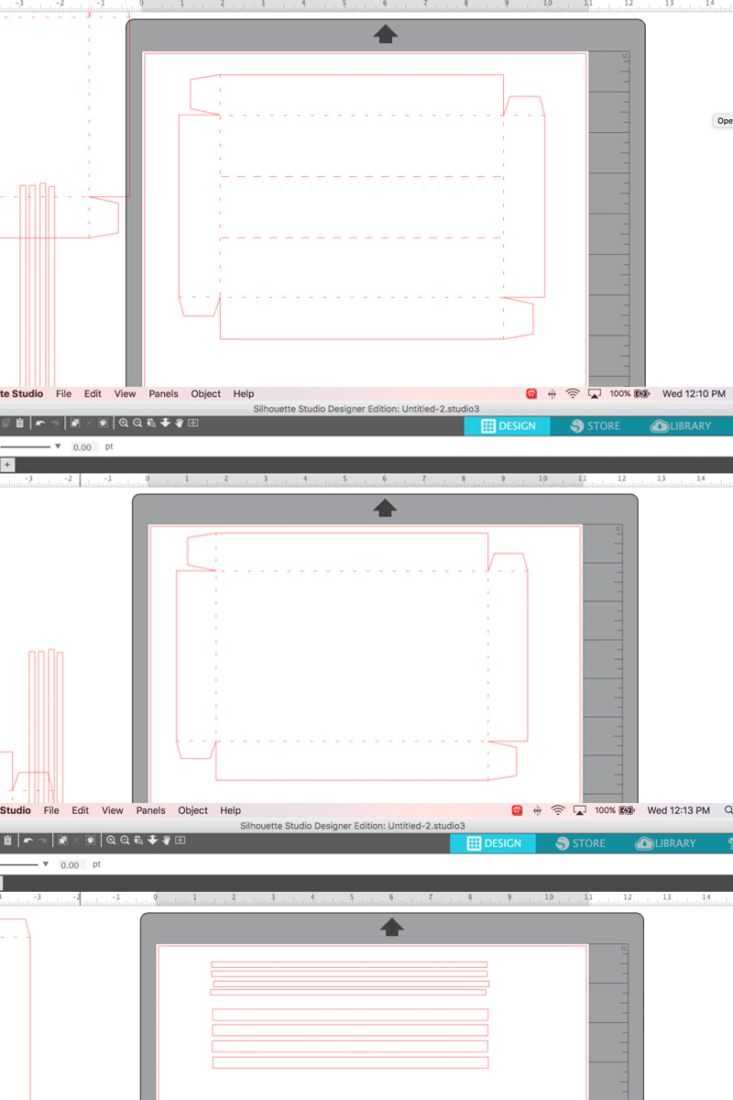
- In Silhouette Studio, open your rectangular box design
- Divide the top of the box into 3 sections using dashed lines
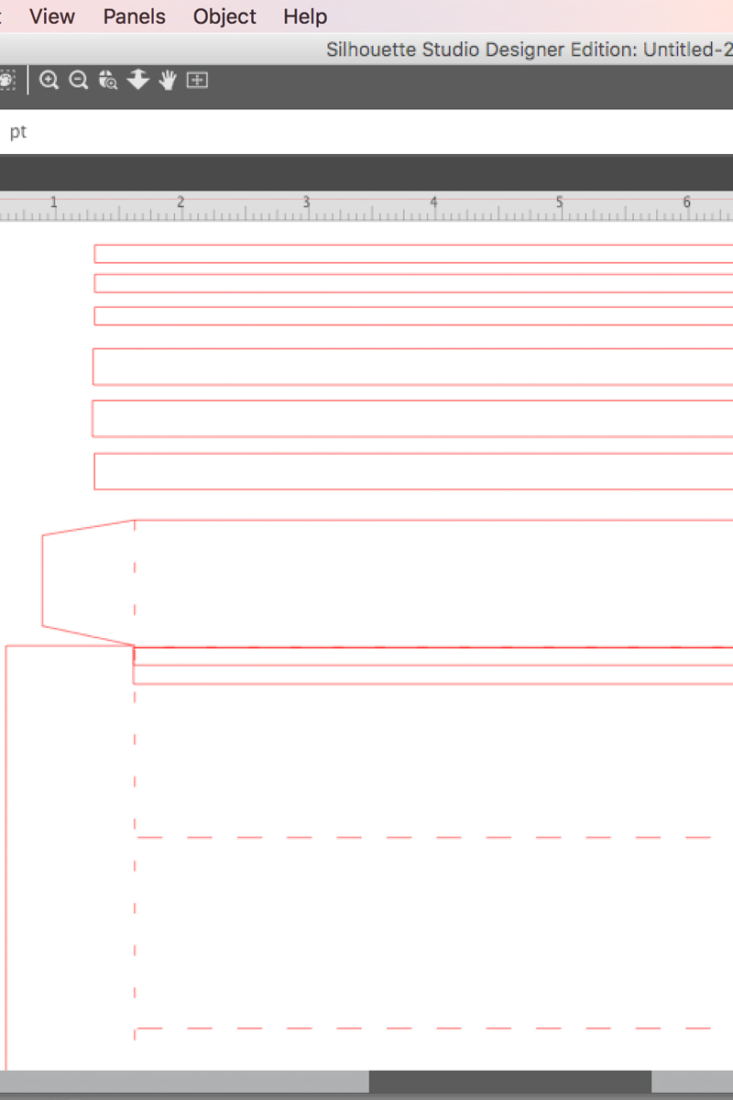
- Use the rectangle tool to create 8 narrow strips that will span the length of the top of the box. 4 of the strips should be half the height of the other 4.
- Load your bristol onto your mat and send to cut the box and strips using cardstock settings (I went a little deeper for the thicker material – blade set to 5 and depth at 33)
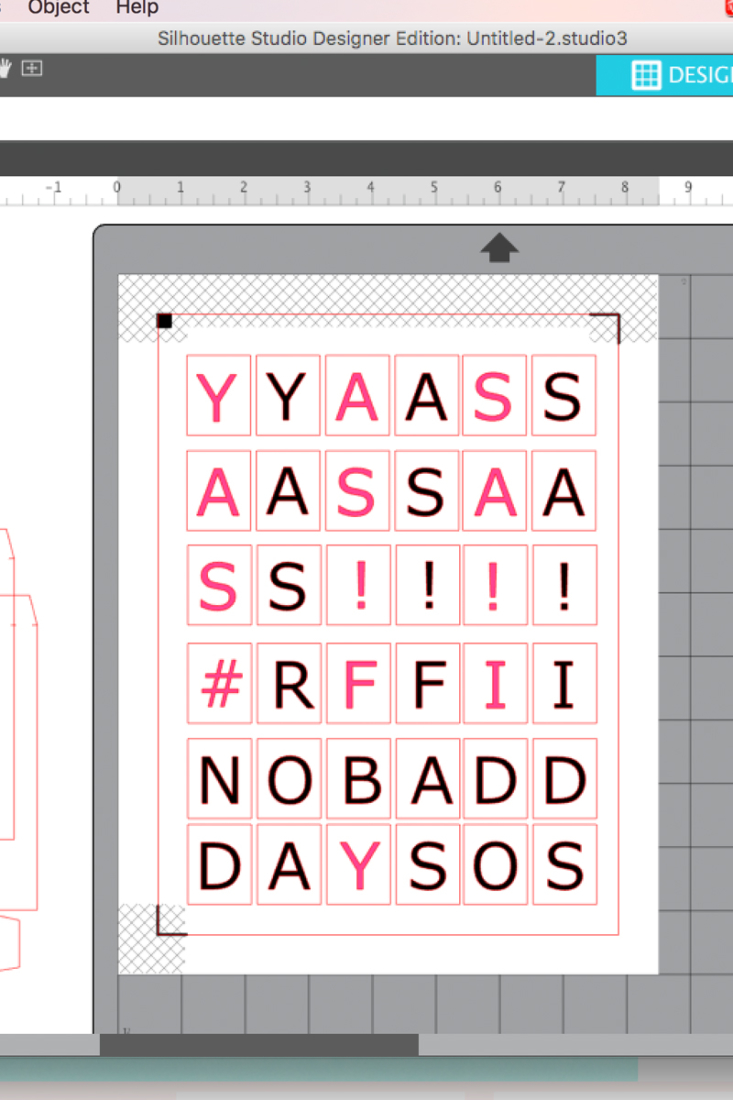
- Use the rectangle, text and Fill Color tools to create your letters as shown below then send to print and cut using the same settings above
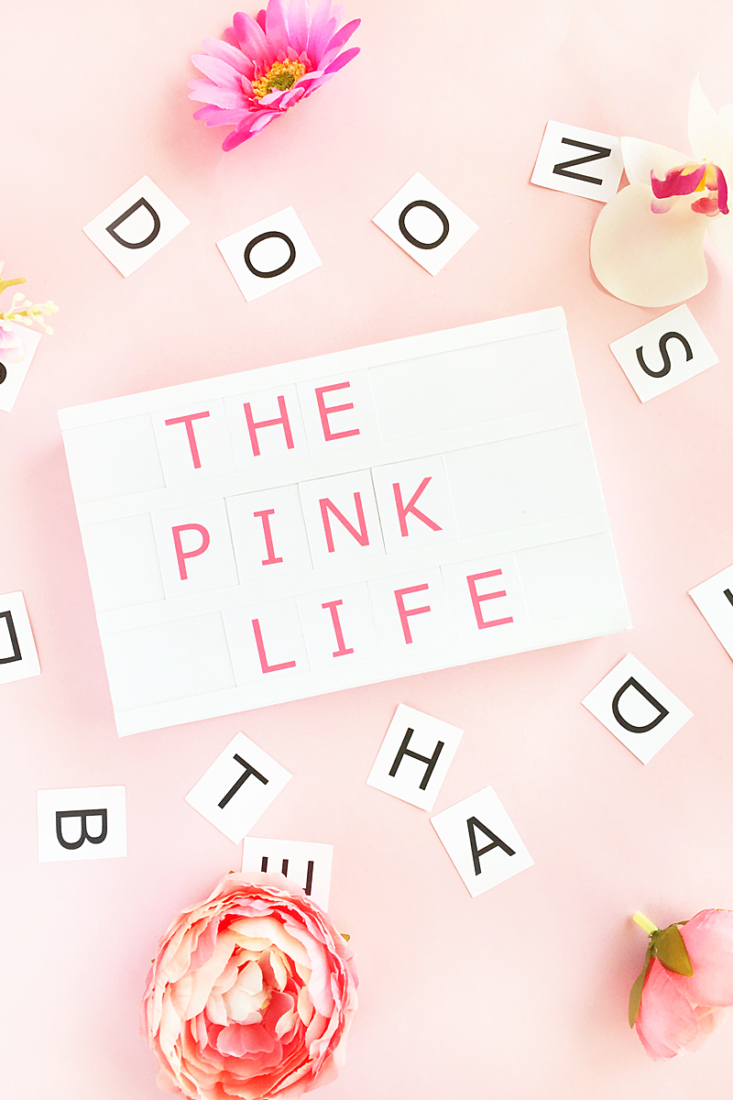
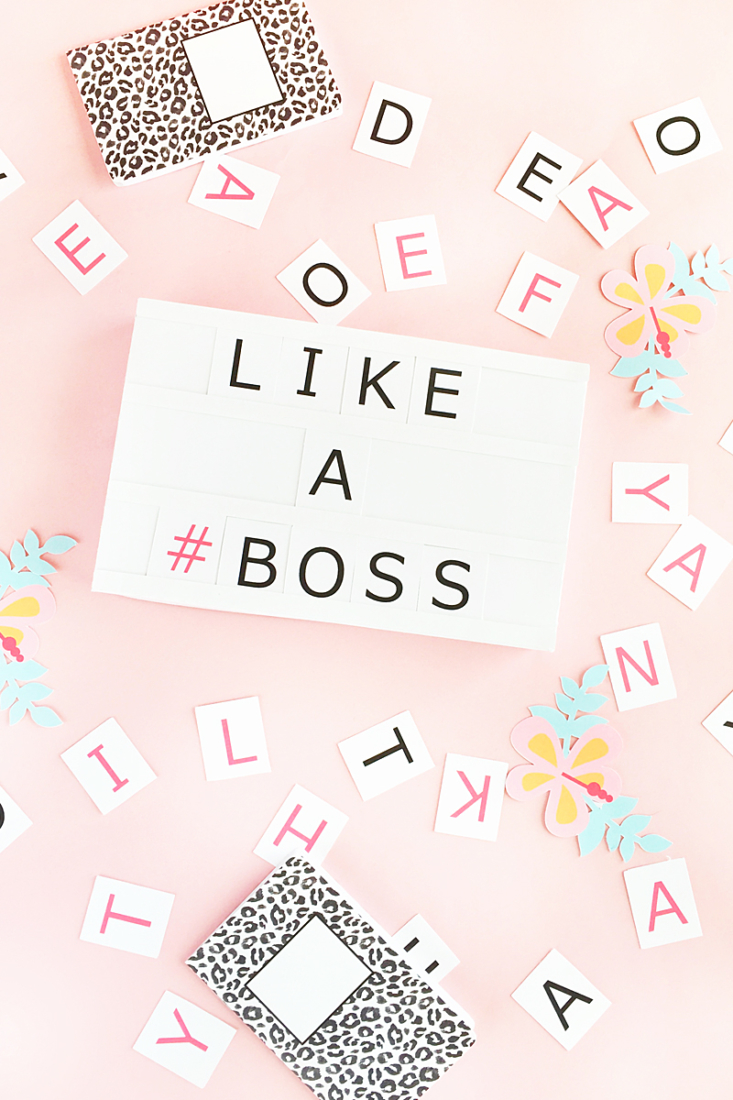
- Assemble your message box with glue, and compose your message
Note – the strips are used to create the area for your letters to slide into. The smaller strip is glued on each of the 4 dashed lines going across the top of the box. The bigger strip is glued on top of the smaller strip to create a lip with room for the letters to slide
Cute right?! You now have a sweet message box for your desk! Made out of paper! There are so many ways to use this little box. Tell me how you plan to use yours in the comments below!
Looking for some more inspiration? Take a look at my other !
The post appeared first on .


