I get asked all the time how I get inspired and keep coming up with ideas for the blog. The truth is, it’s another skill I have to practice and improve constantly. Over the 5/6/7 (who’s counting?) years I’ve been blogging DIY’s, one of the most important lessons I have learnt is how to take an idea and leave it alone.
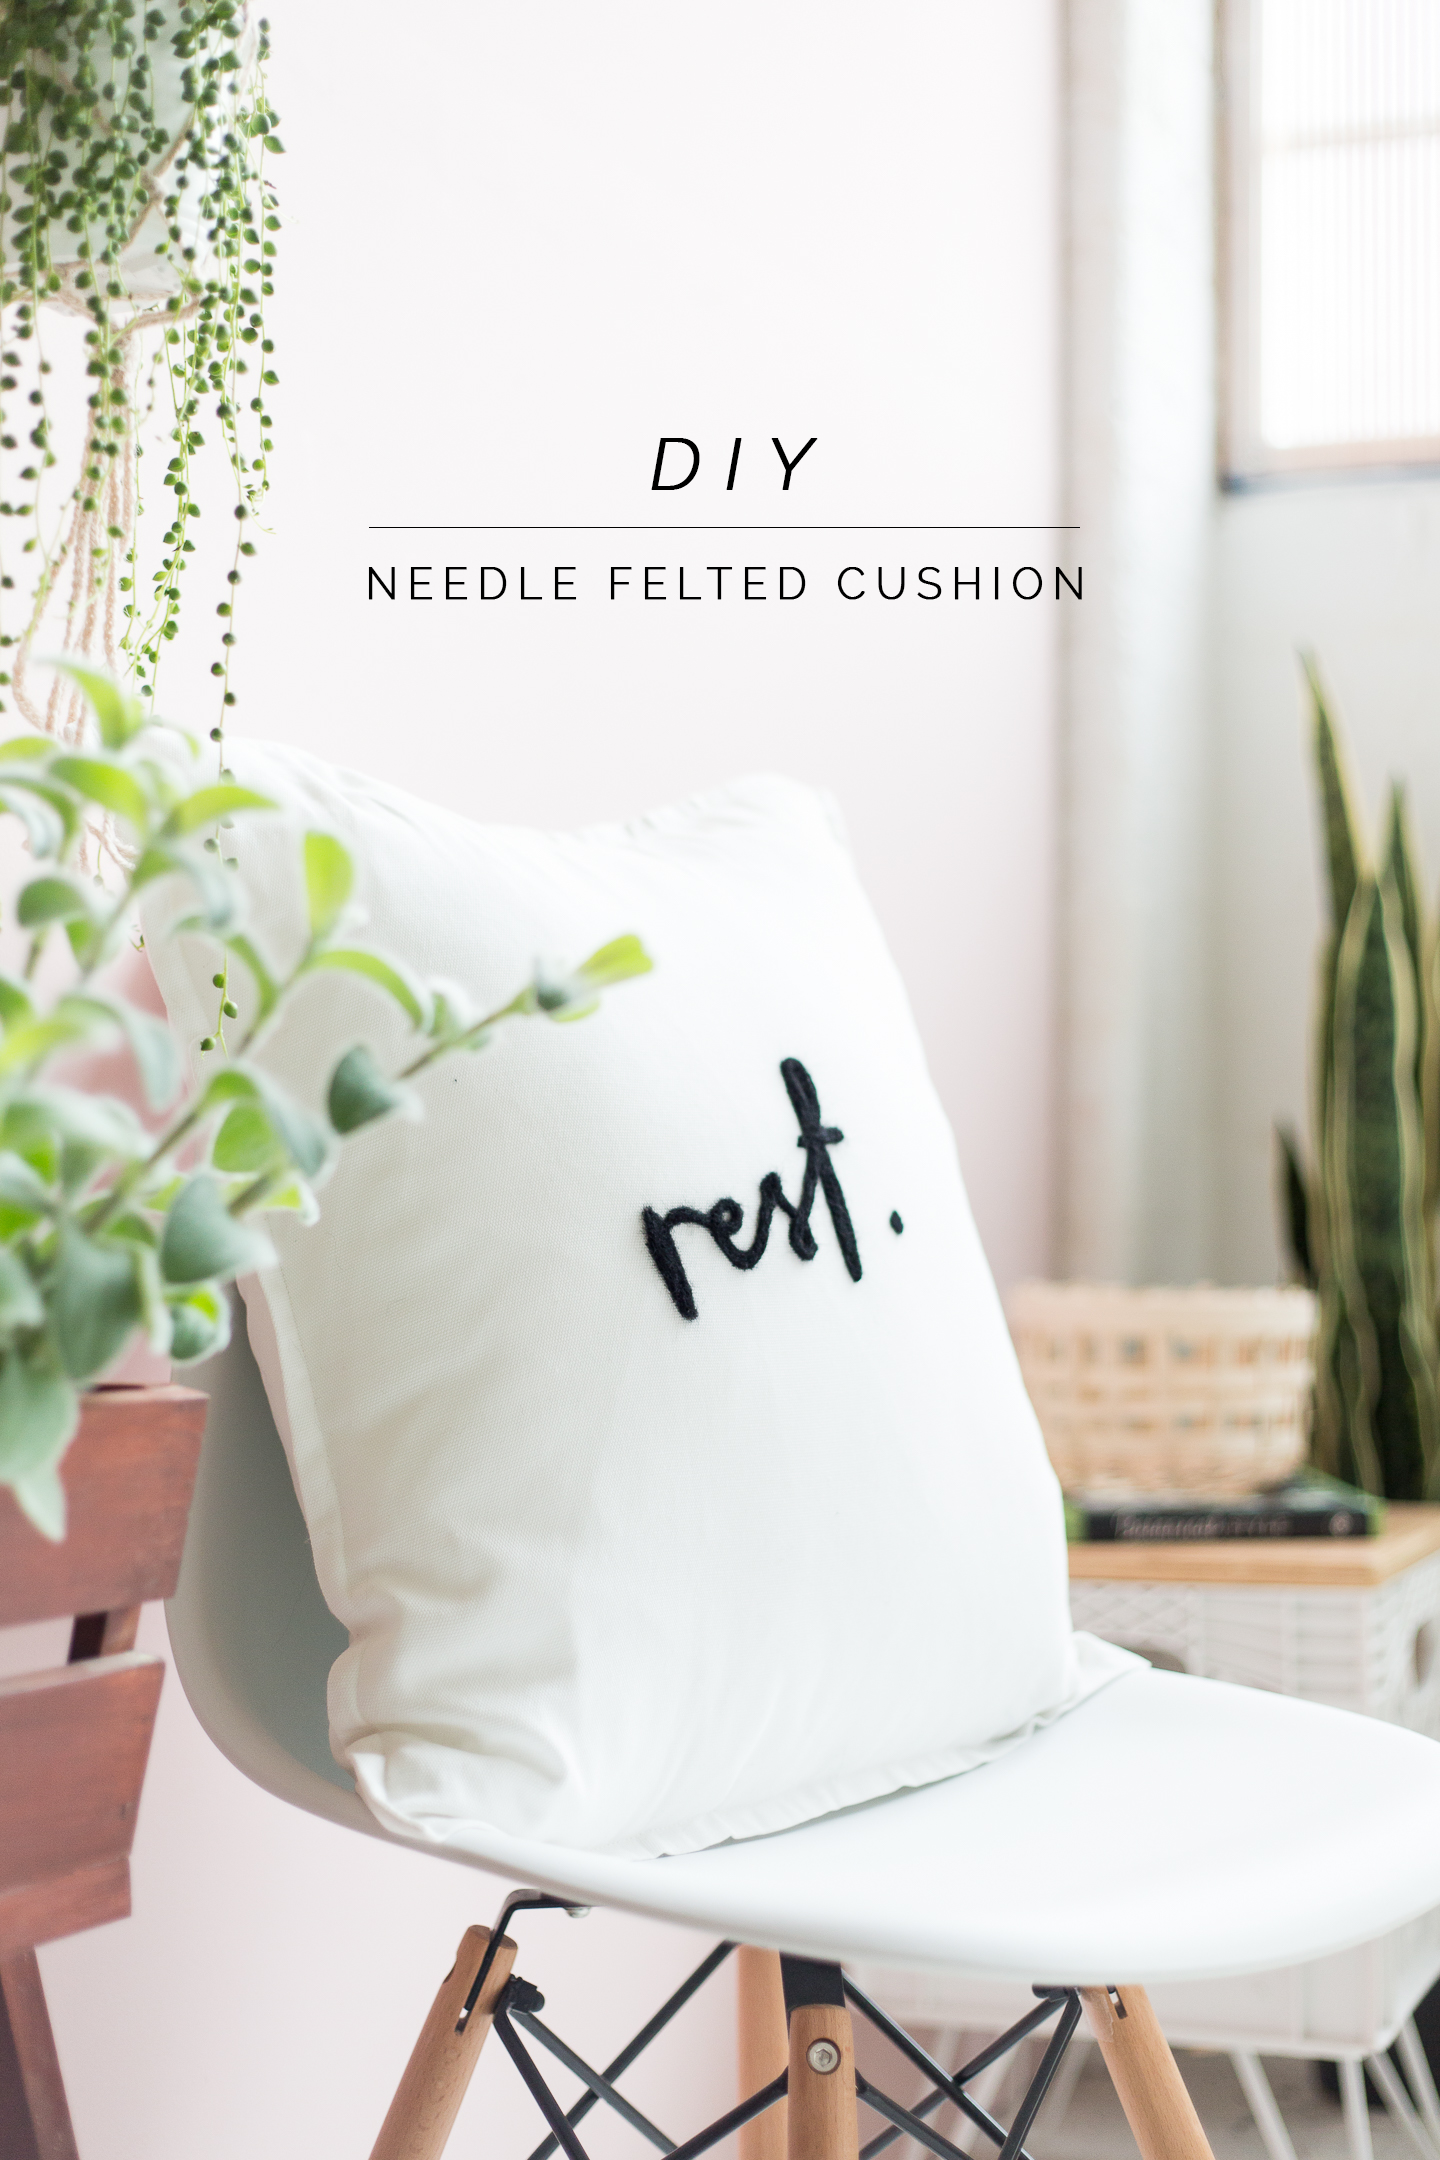
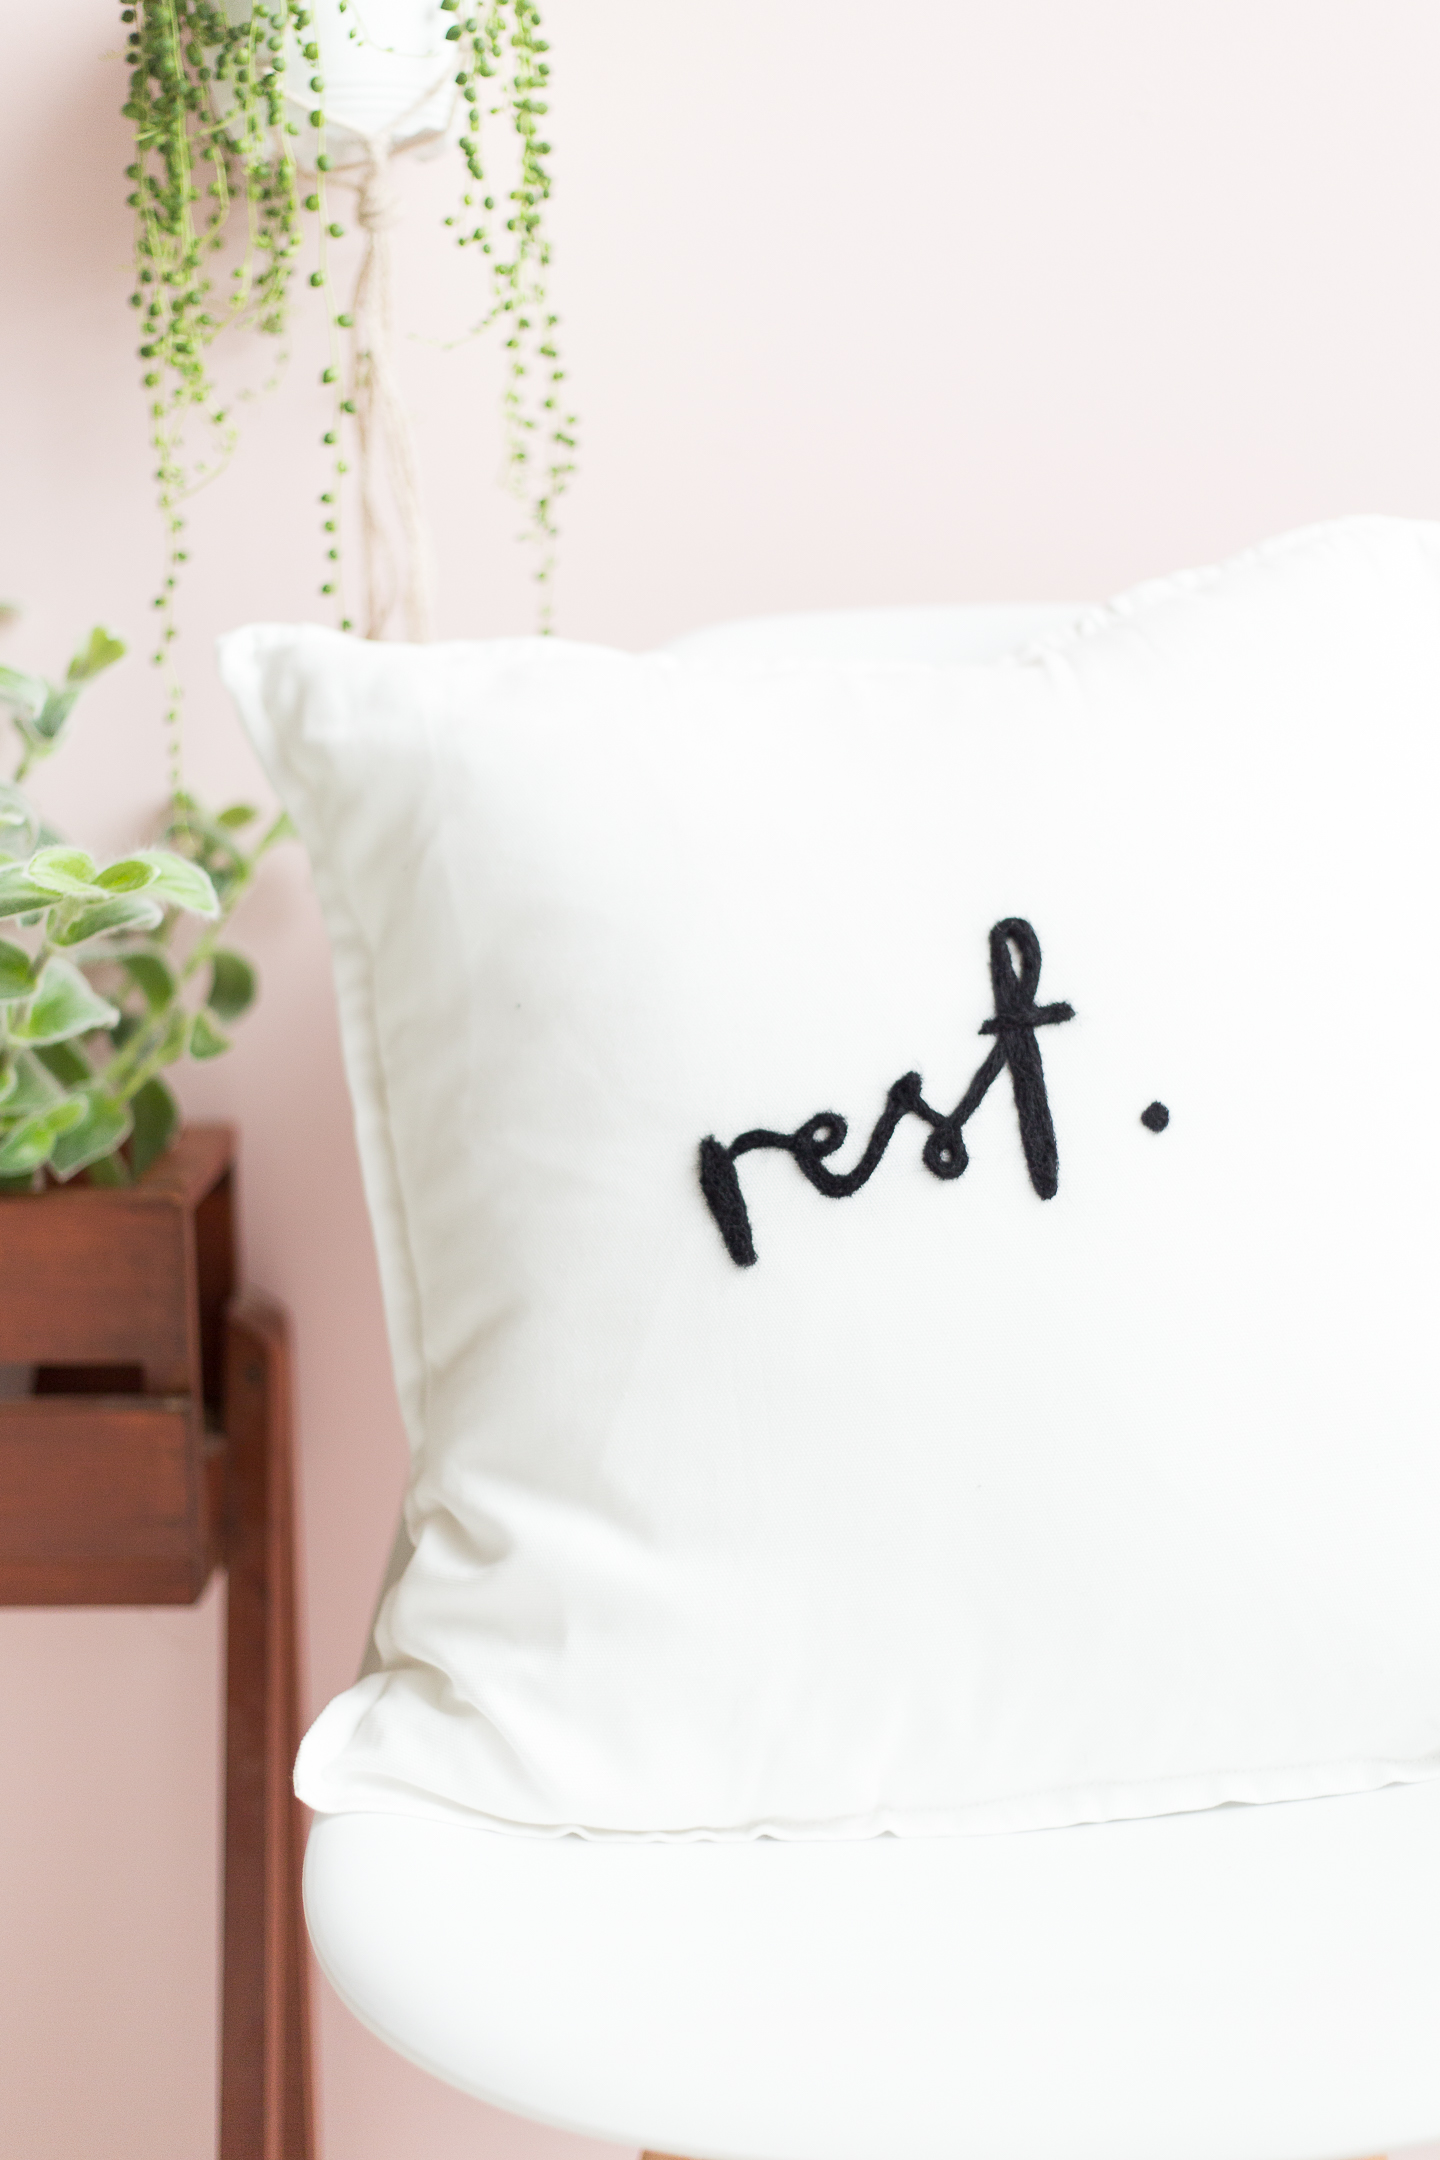
Before you start wondering what it is I’m talking about, this cushion is a prime example of how this way of working can work out. I actually bought the materials to create a needle felted cushion maybe 4/5 months ago. (I’ve literally just remembered it was for a Valentines DIY. I wanted to write block lettter XOXO on the cushion), but for some reason, it never materialised.
After that I went through way too many ideas for this needle felted cushion. Different patterns, shapes and words until one day it just clicked. Giving this tutorial space and letting is develop changed this idea from an average DIY to something I really love and want to make again and again.
And now you can too!
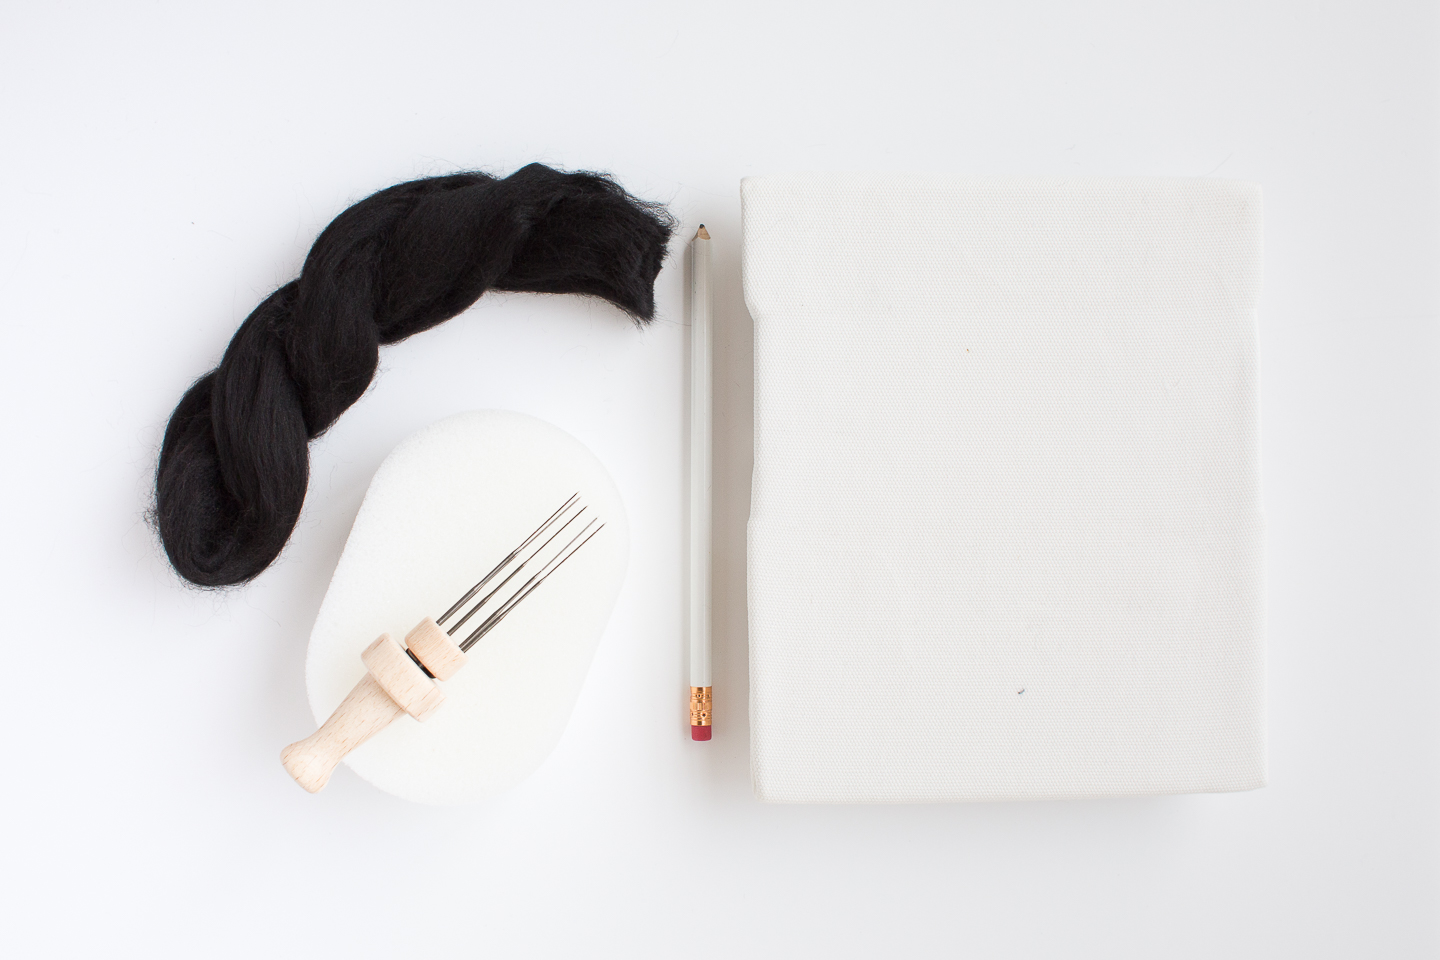
Materials | | Sponge | | Pencil
Tutorial
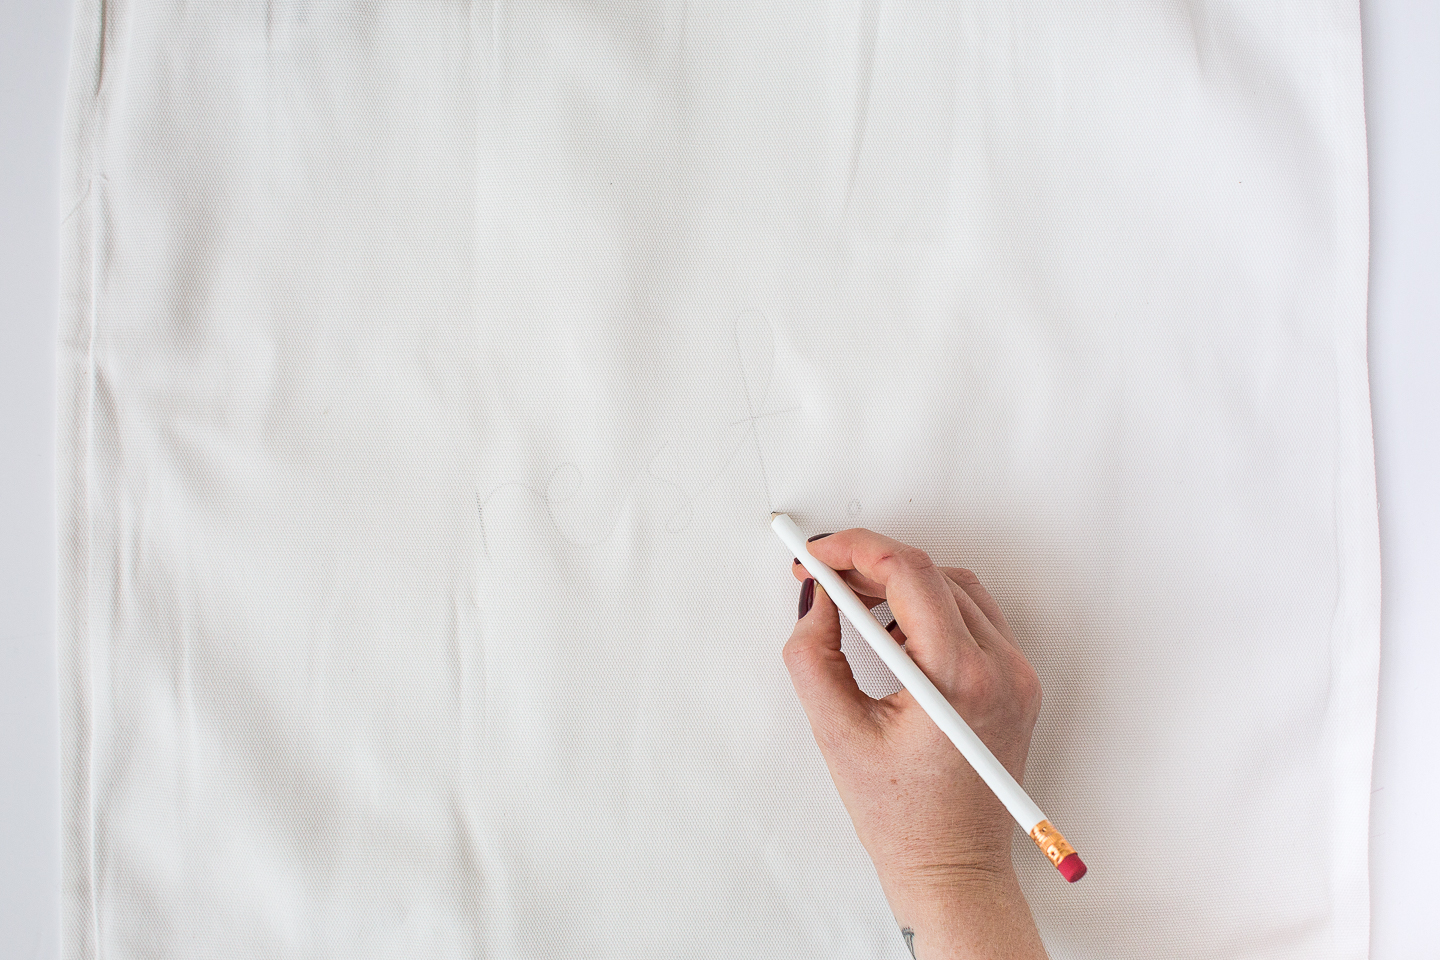
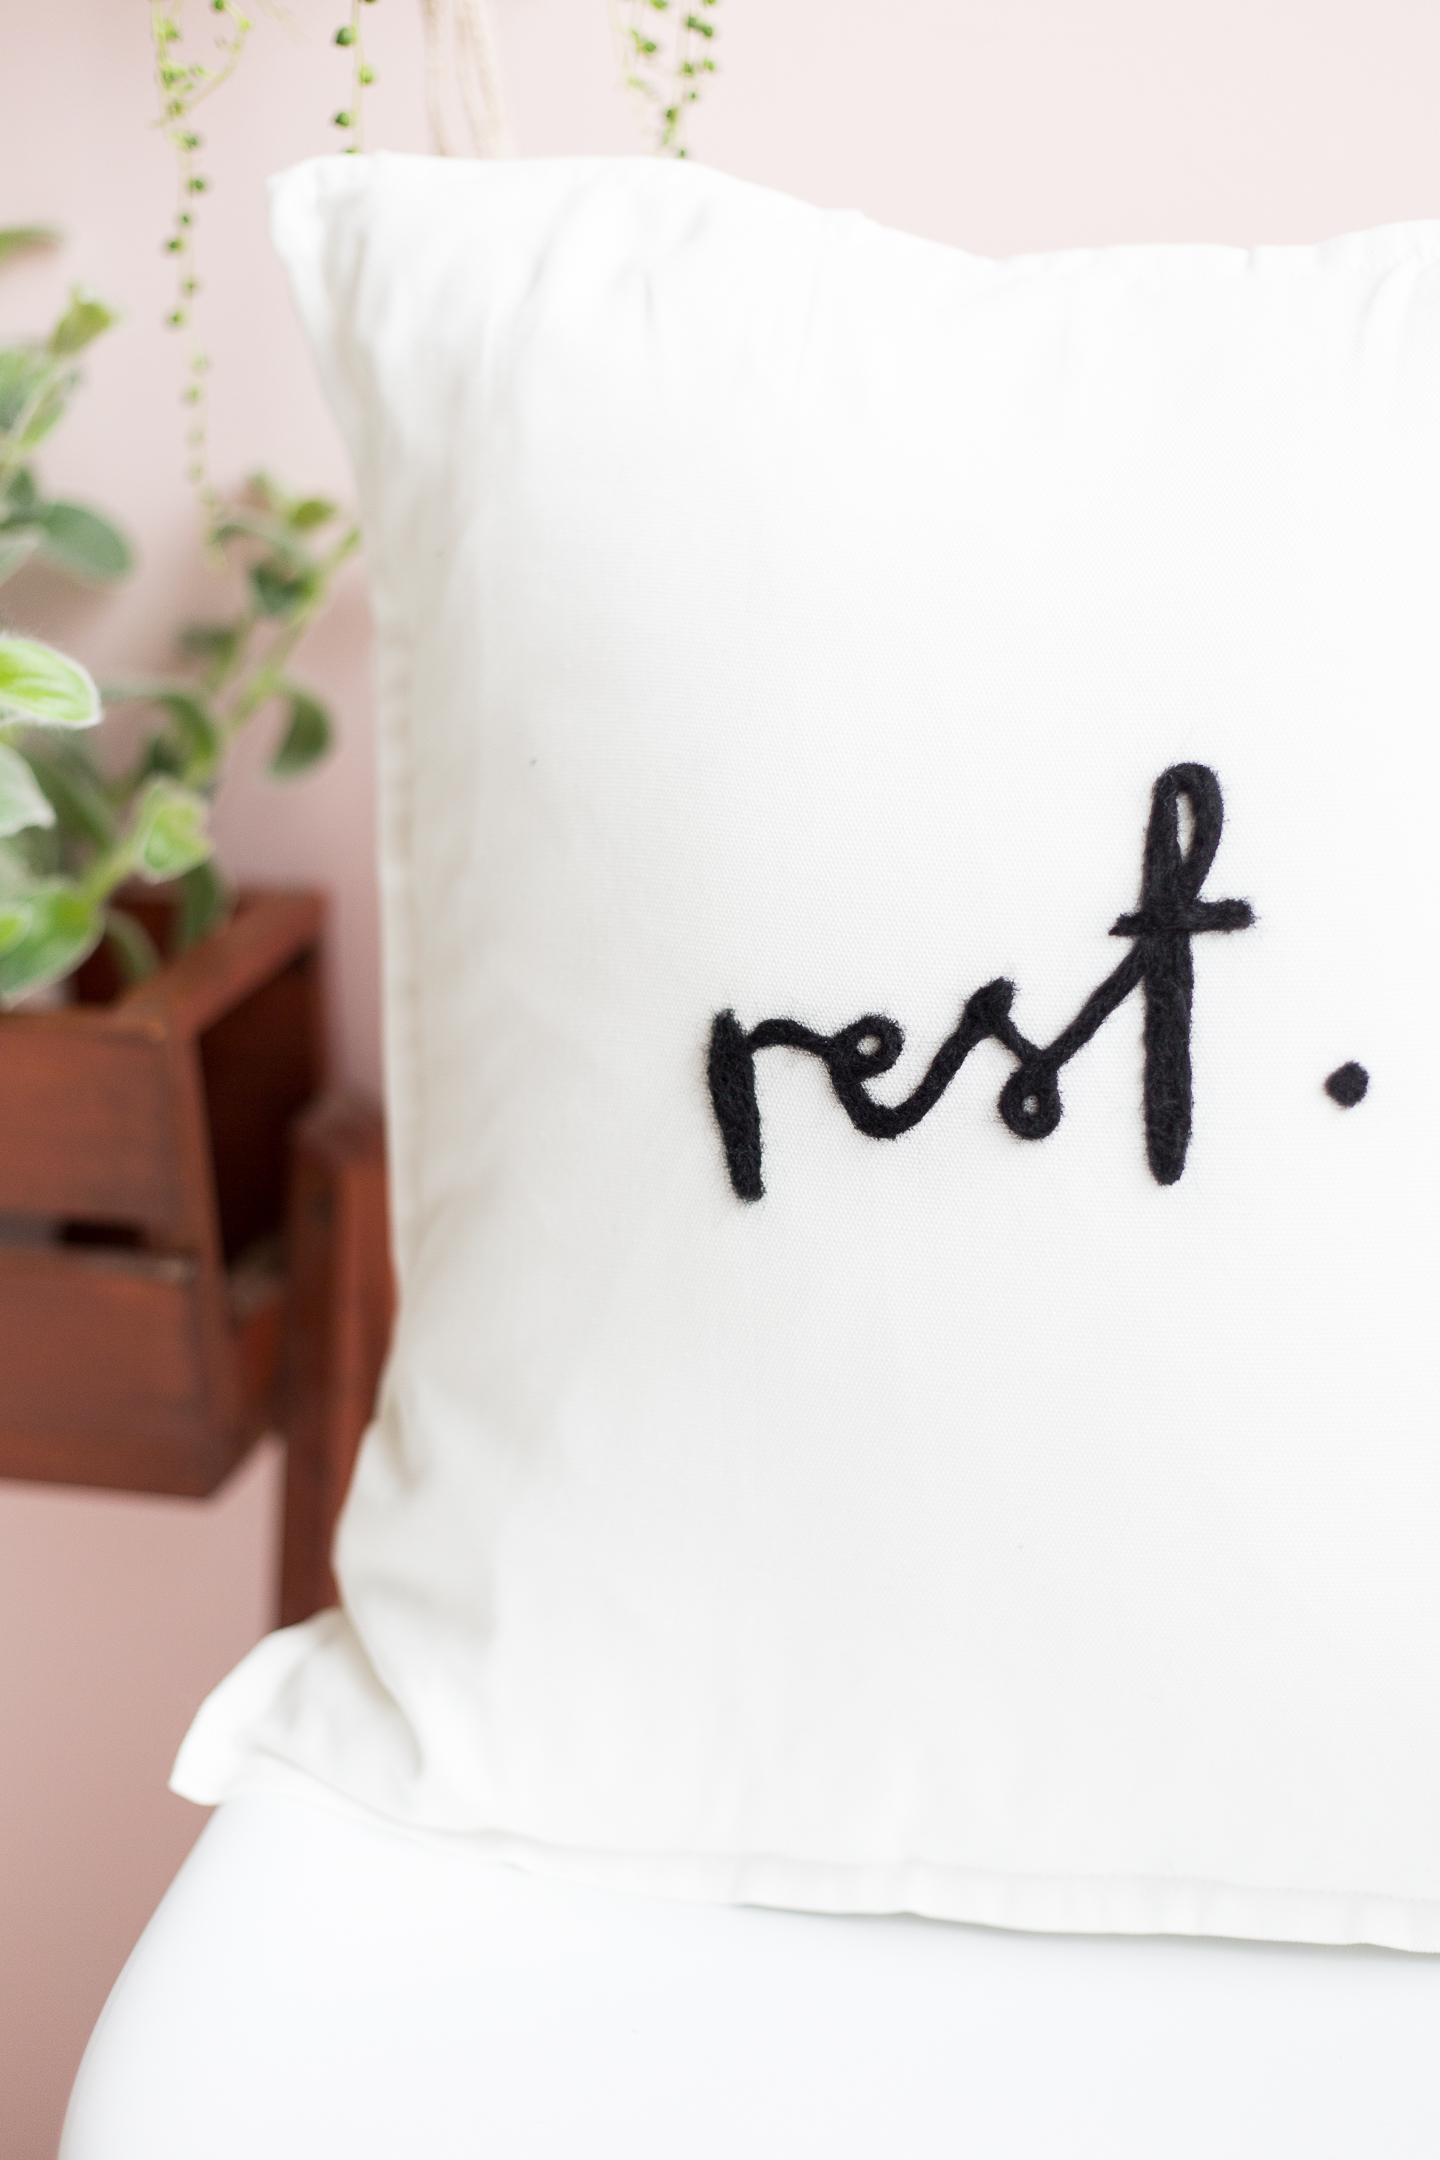
- Iron the cushion cover and using a pencil write out your chosen word. Don’t worry if you make a mistake. You can easily rub it out or just cover it with the felt later.
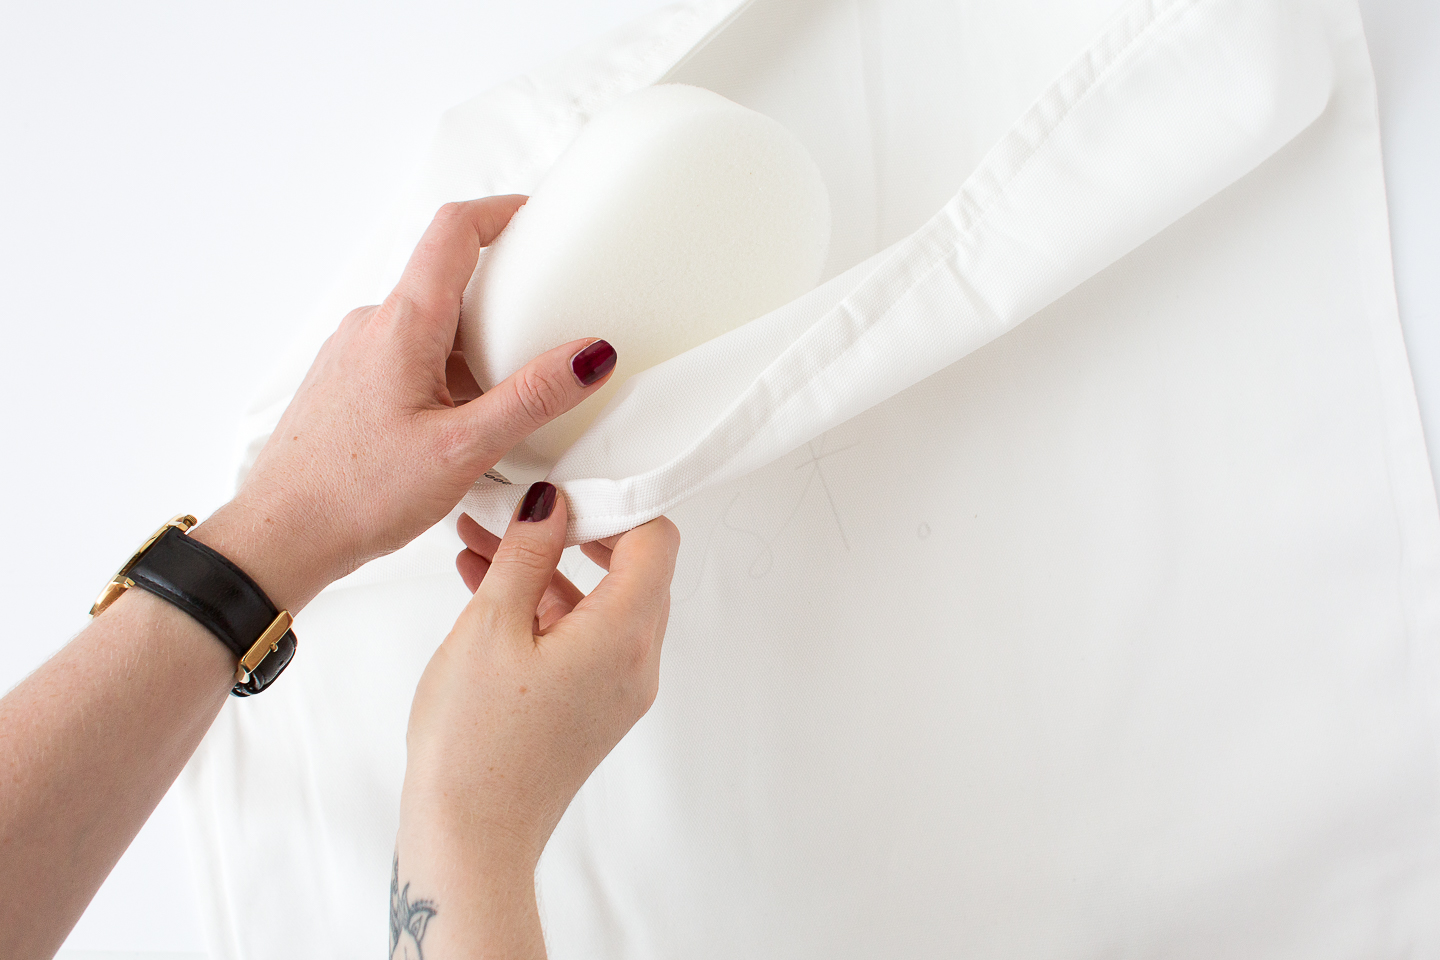
- Insert the sponge into the cushion. Make sure you always keep the sponge directly behind the surface you’re felting onto. If you don’t you might just felt the two sides of the cushion together.
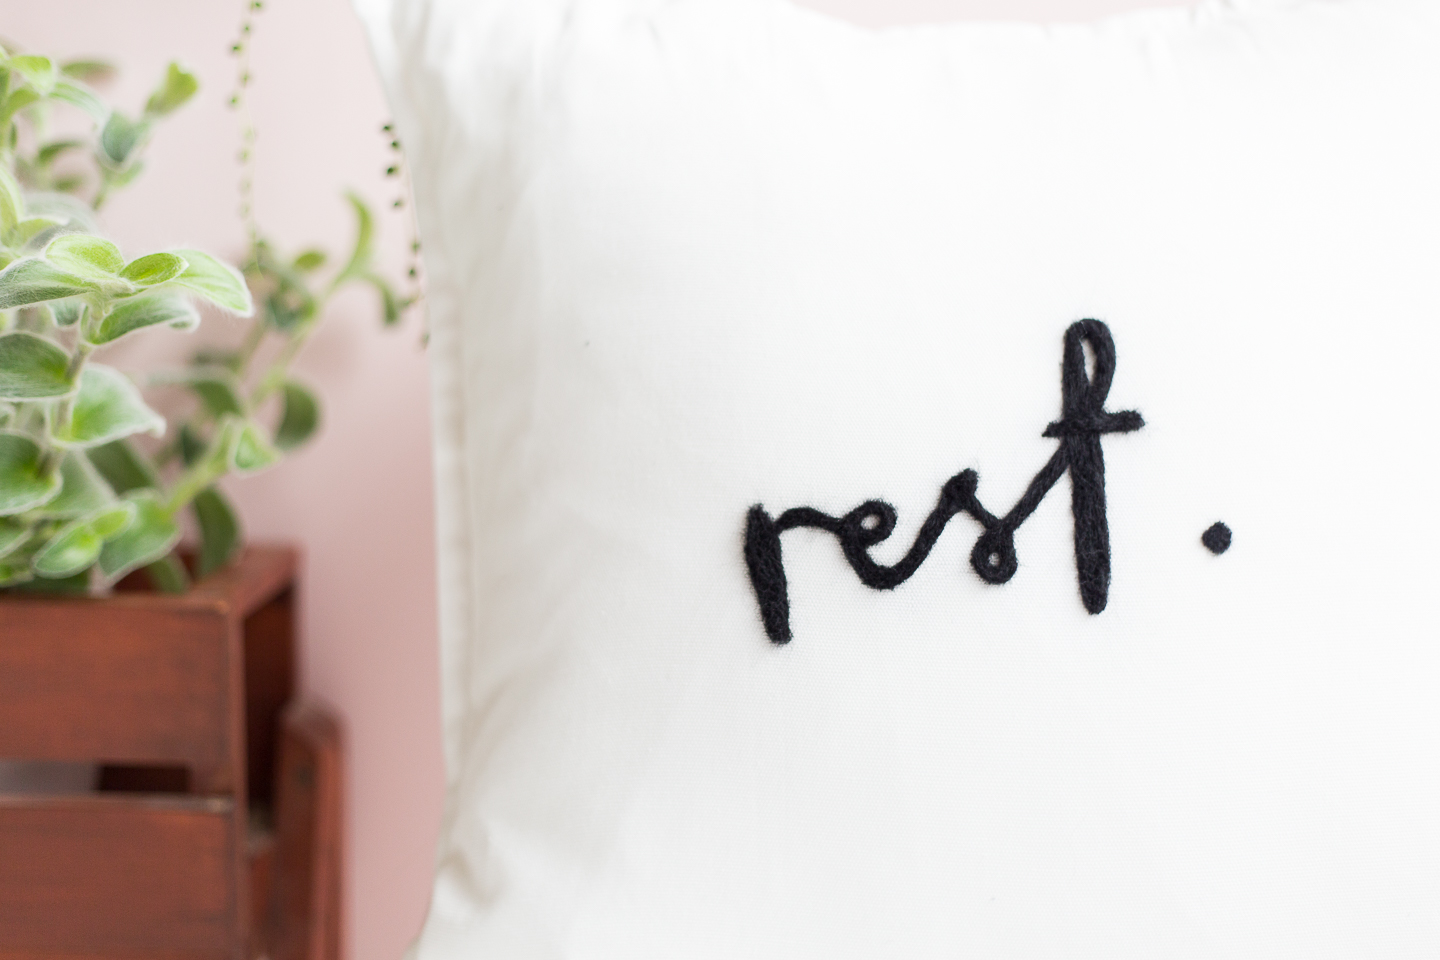
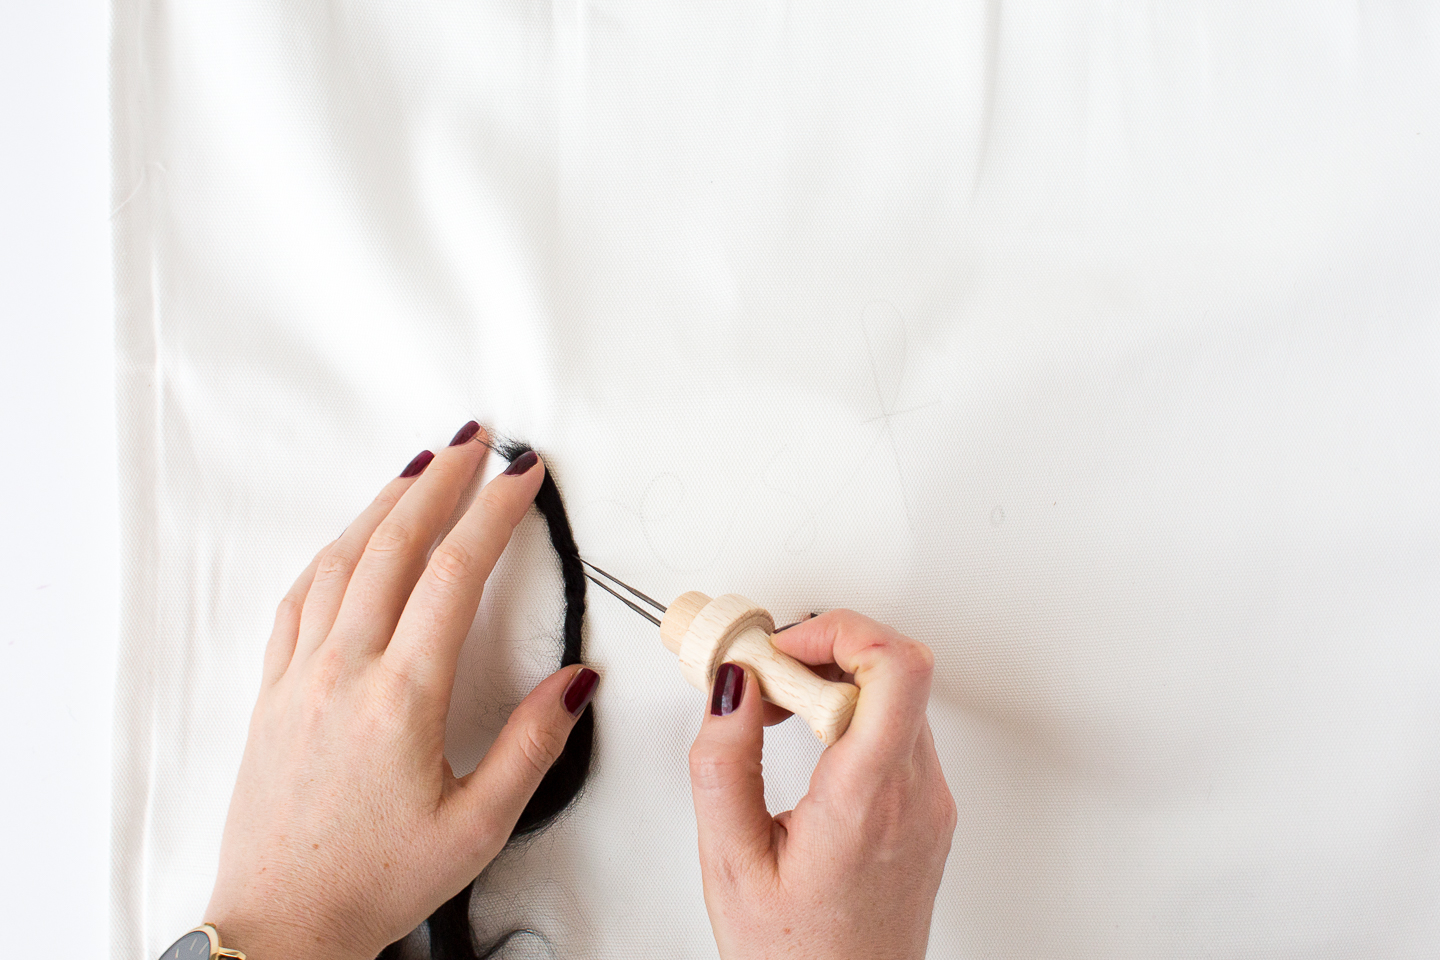
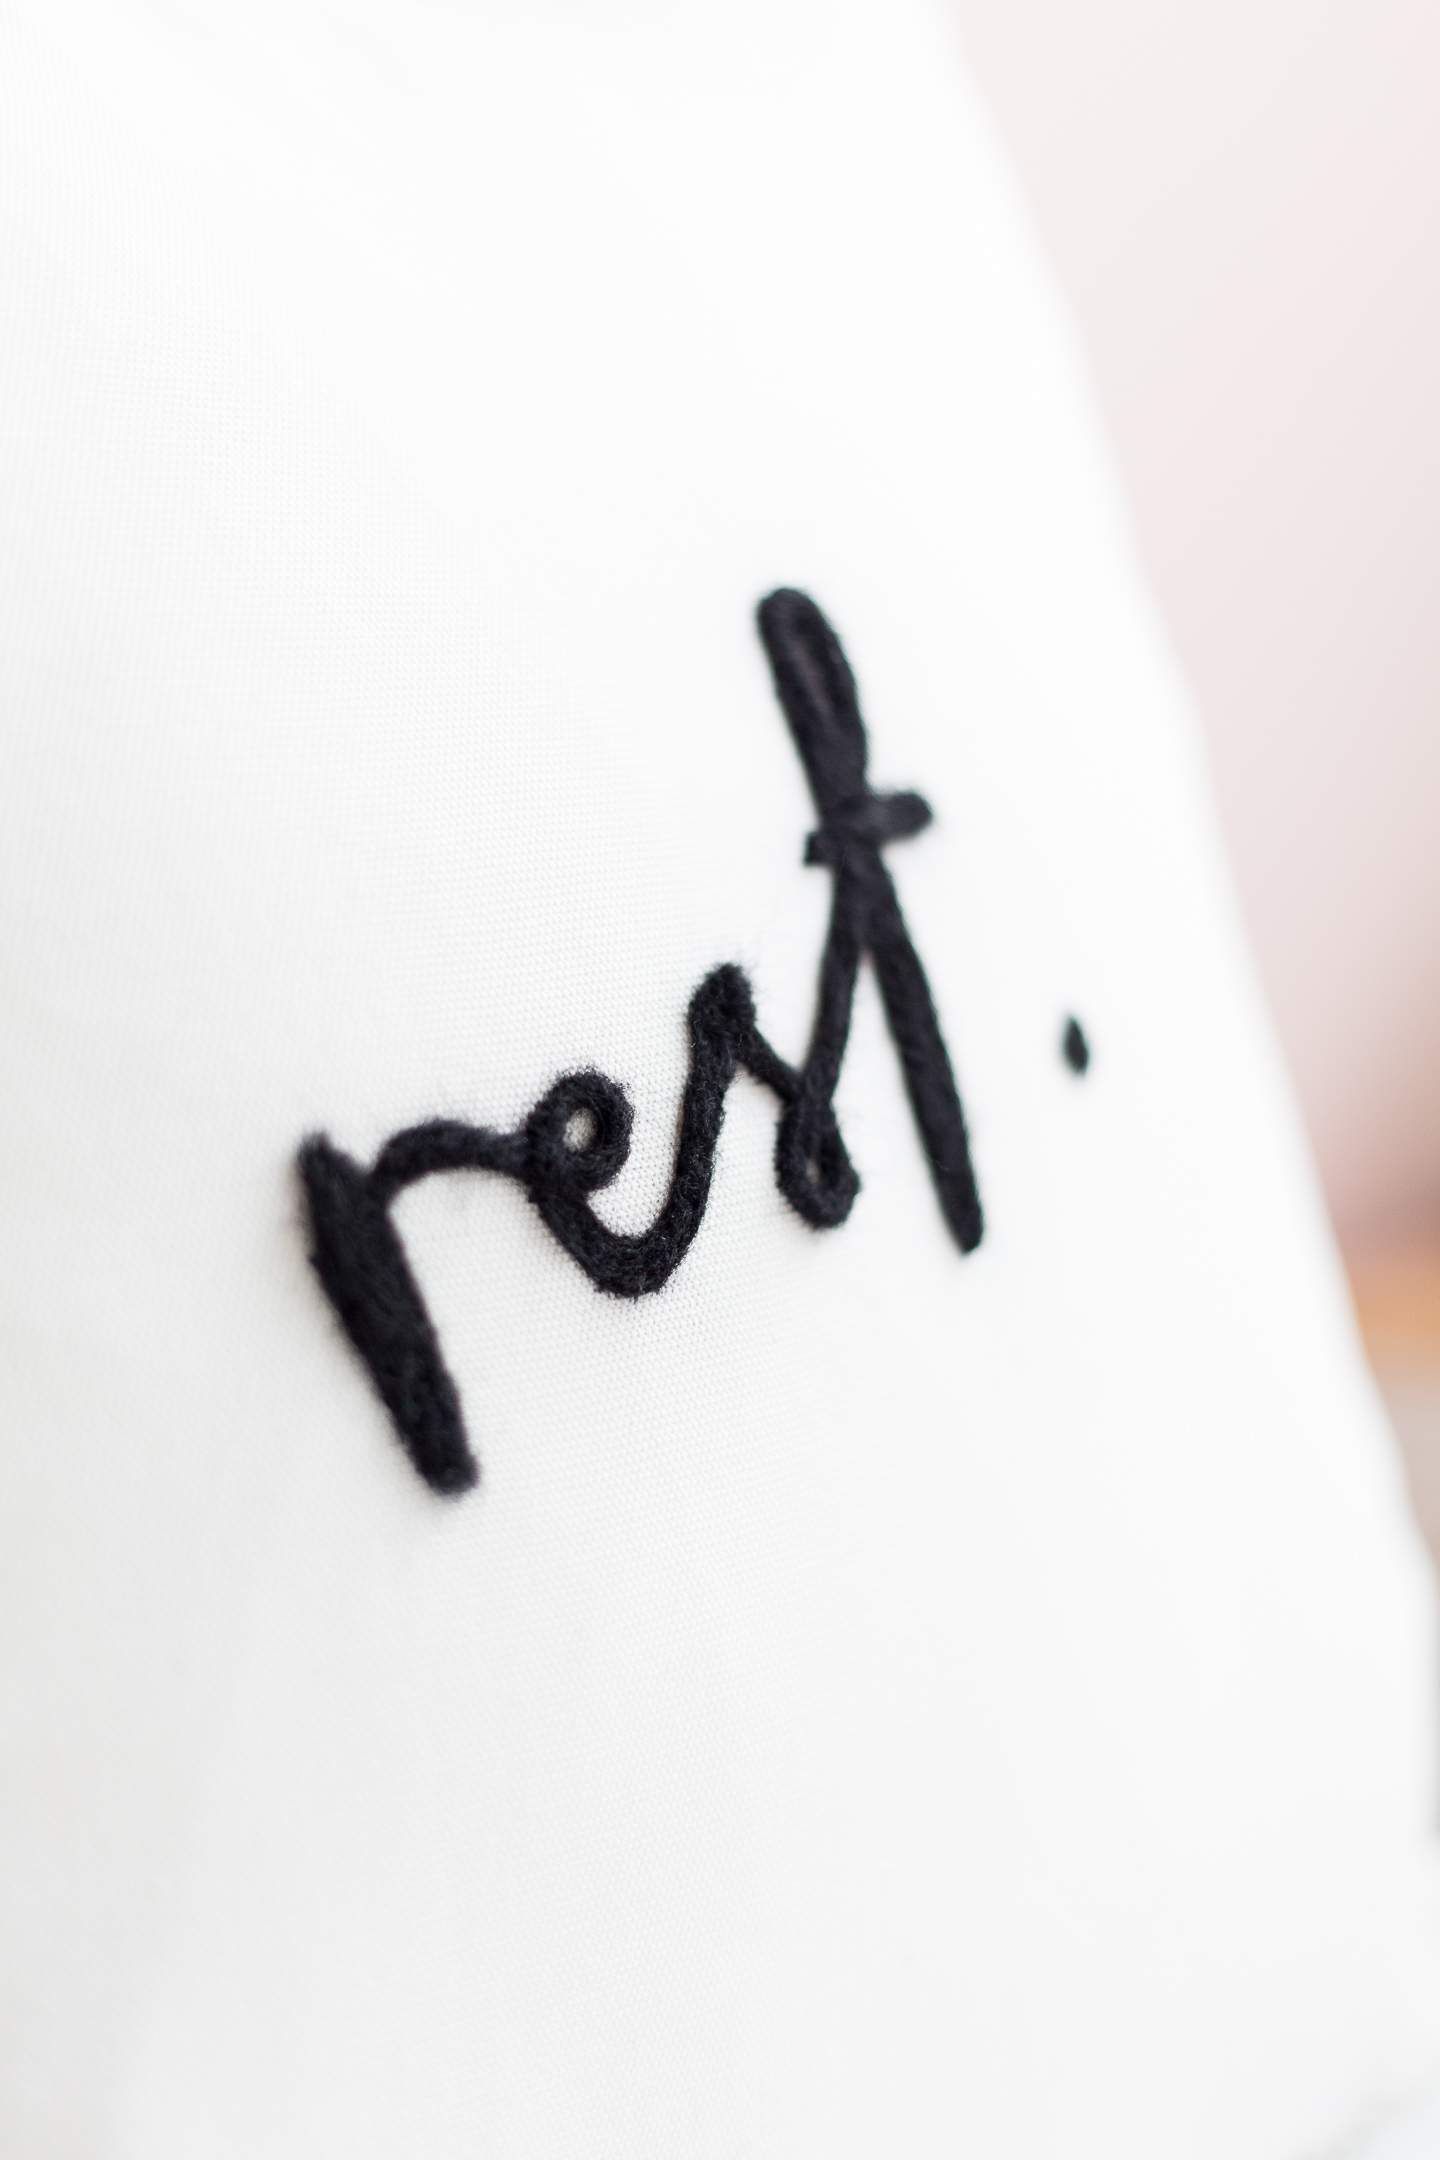
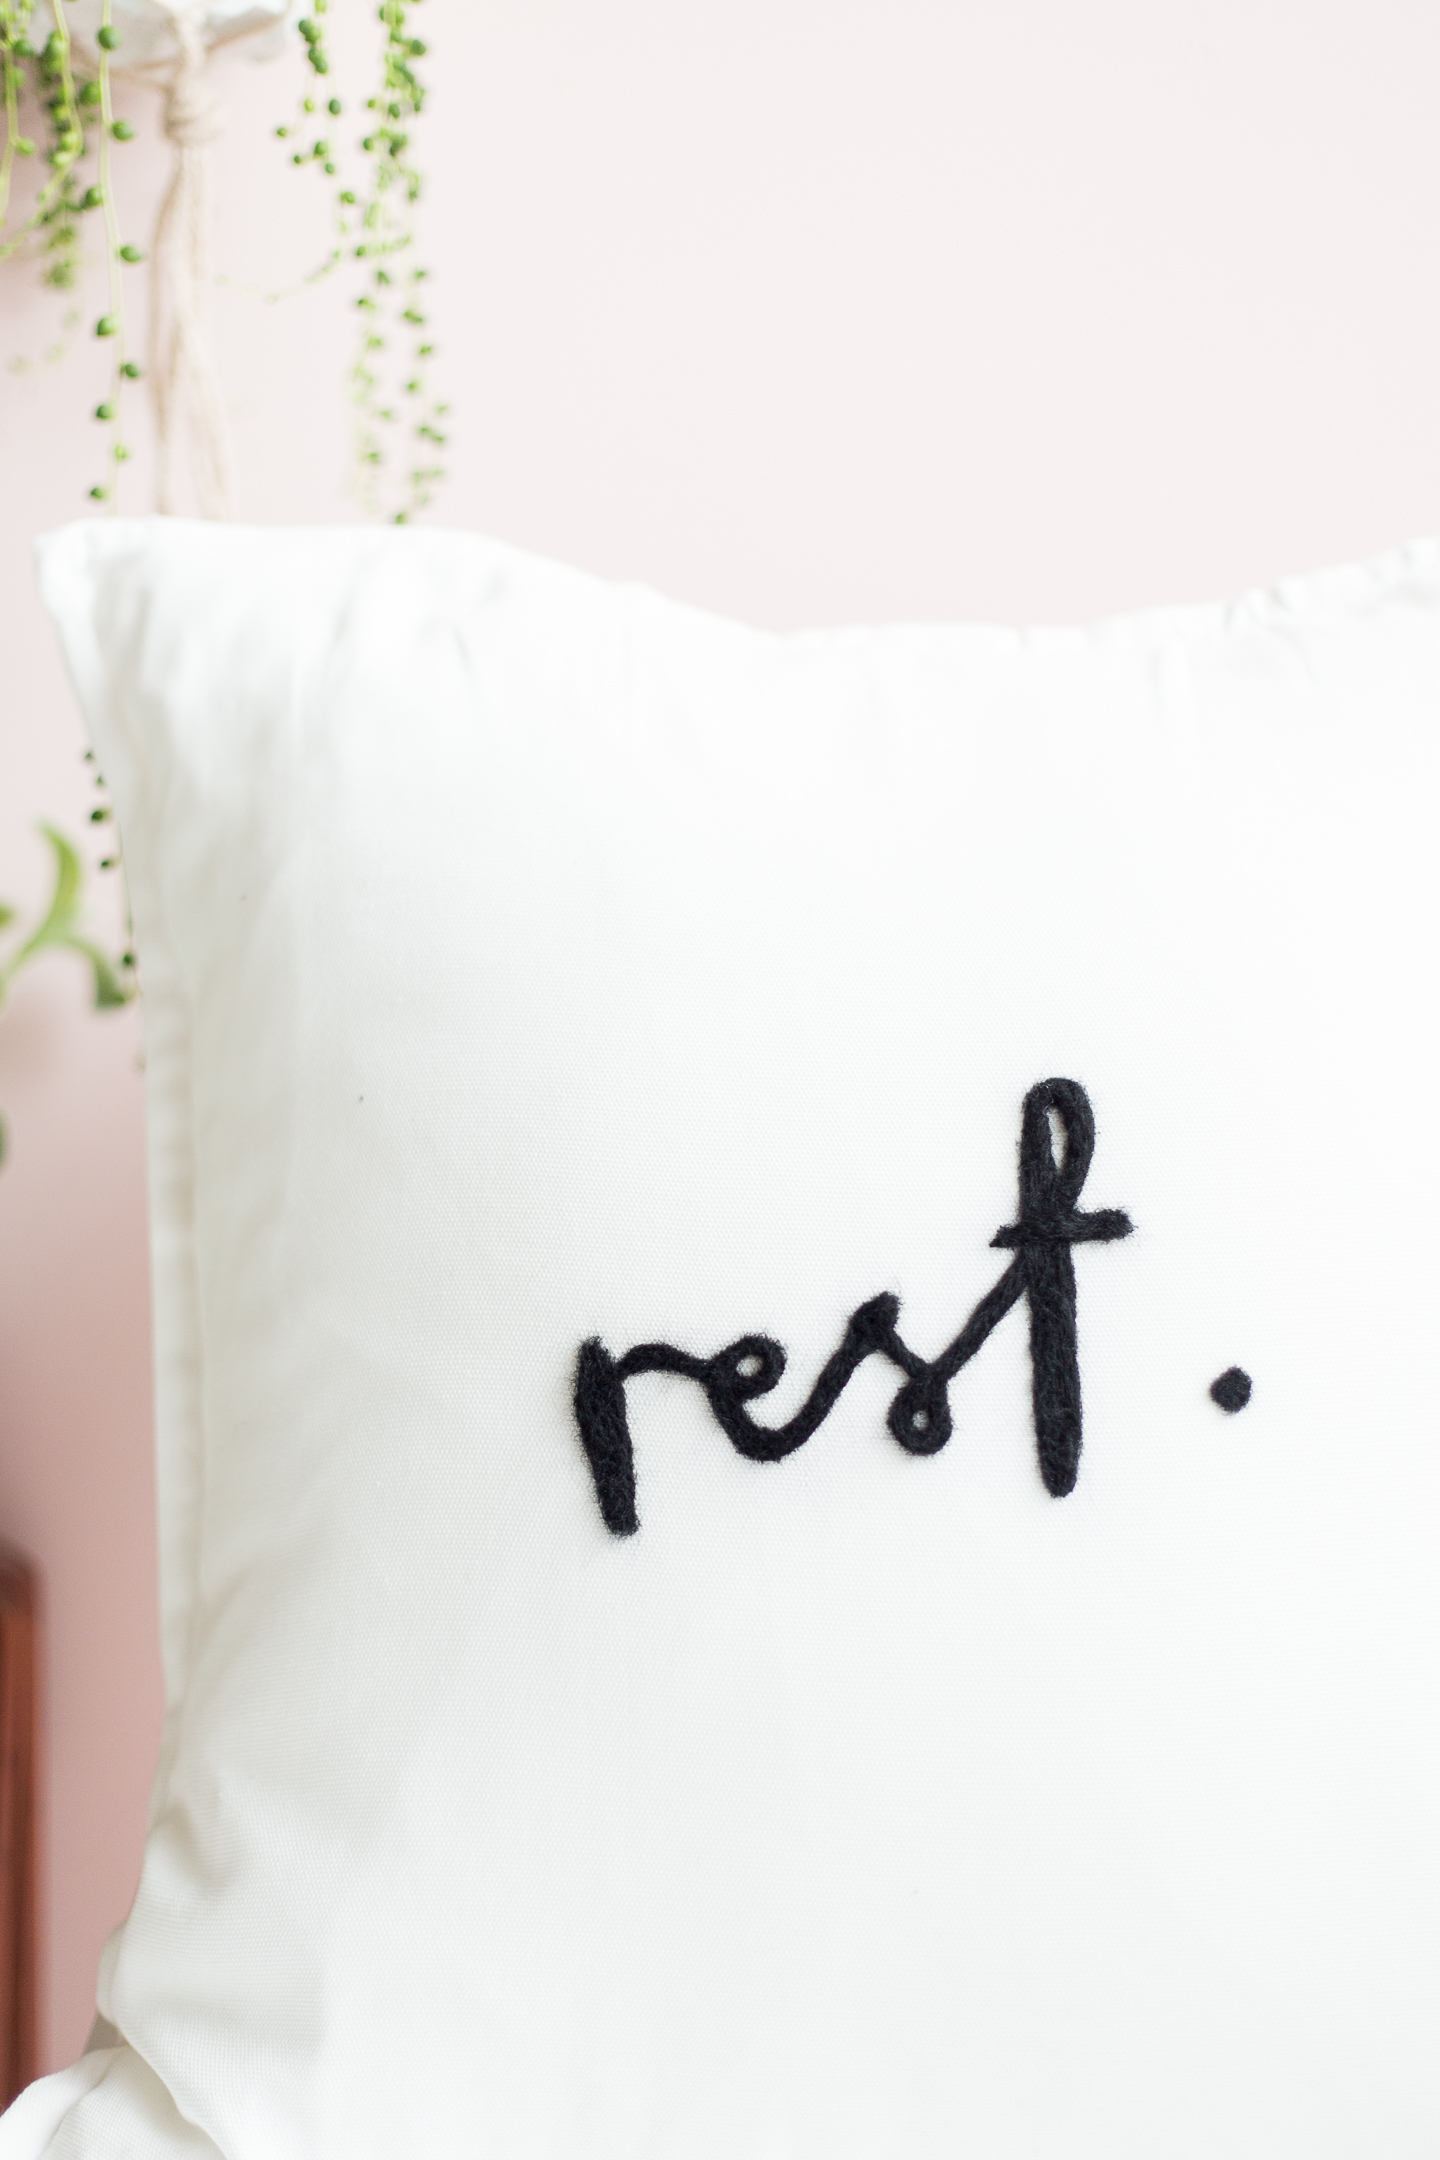
- Pull off a thin strand of felt from the ball. Lie it over the pencil markings and begin to stab it with you needle (I have used two needles in my holder for this). Watch me work out a little tension in the video below.
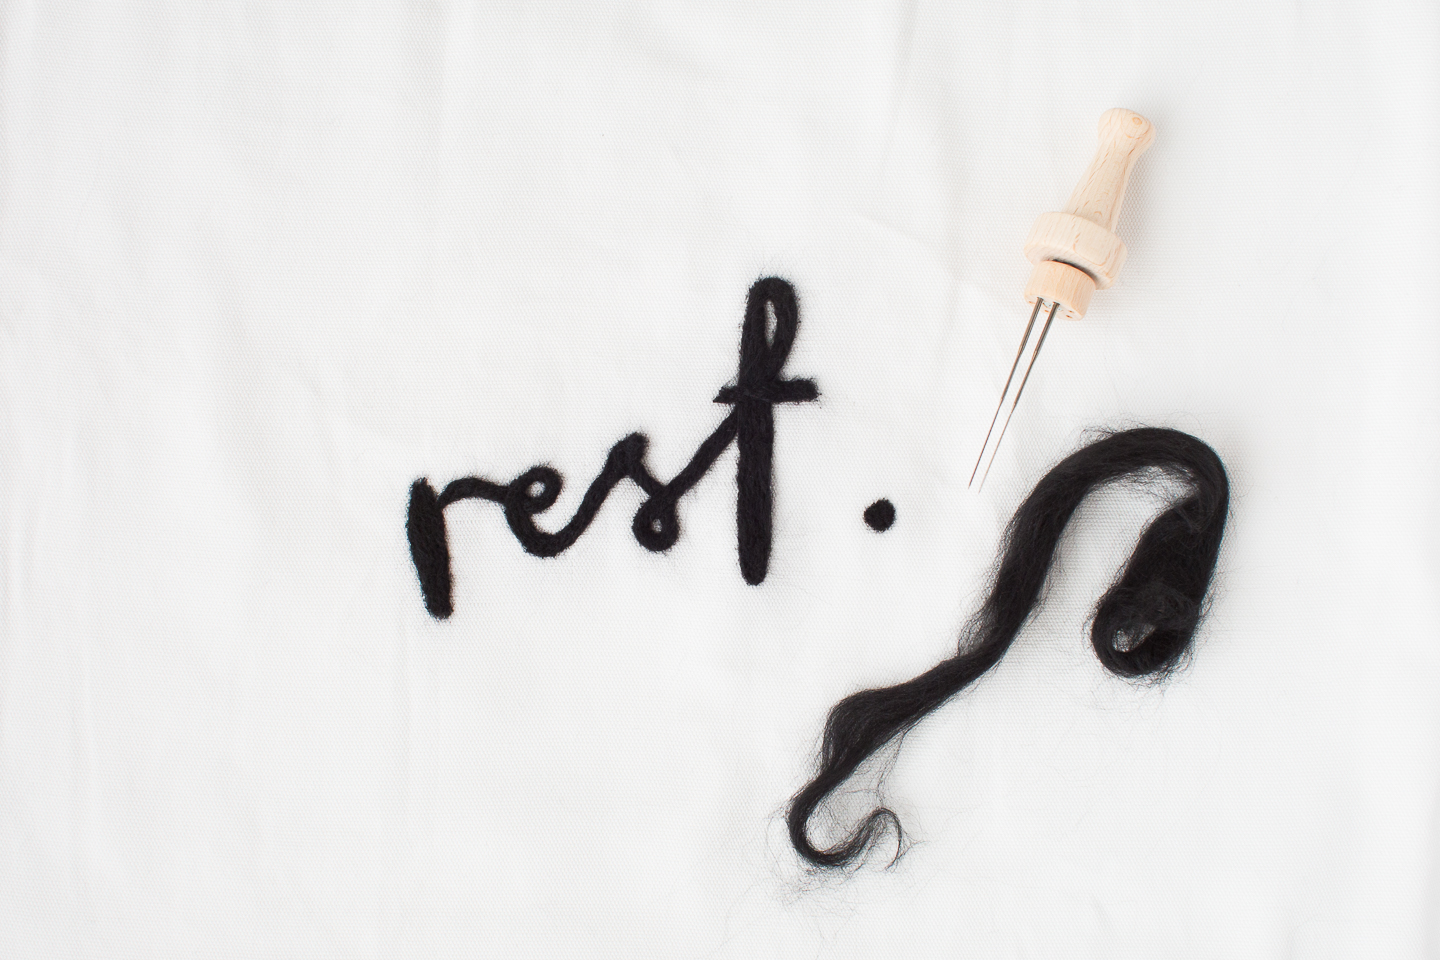
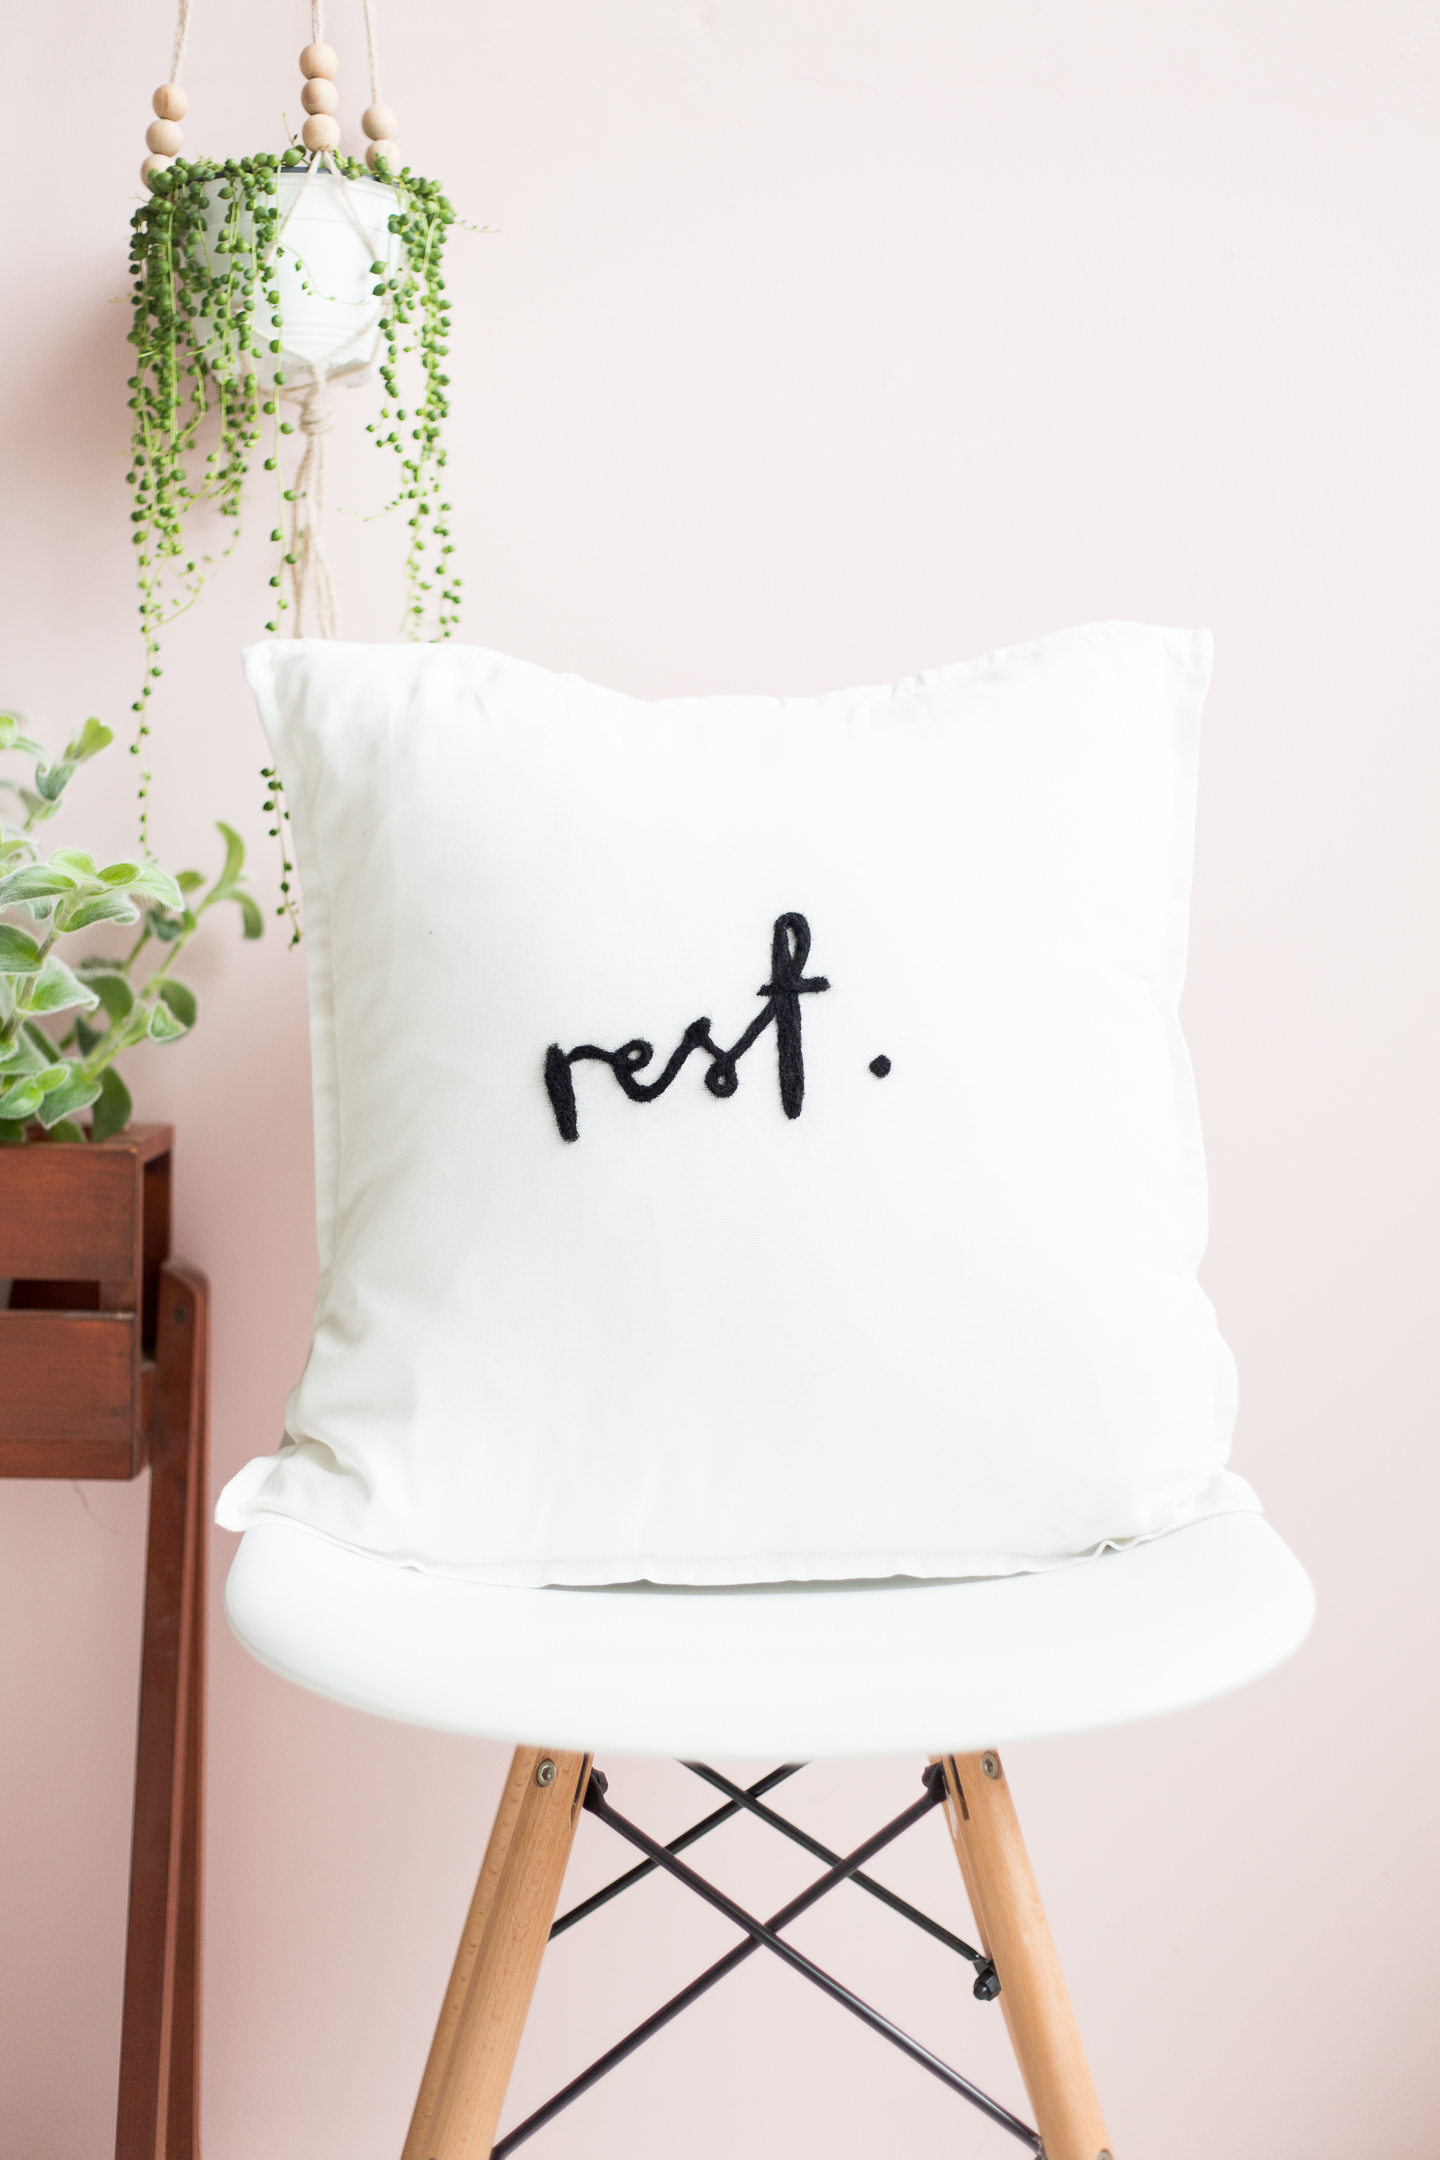
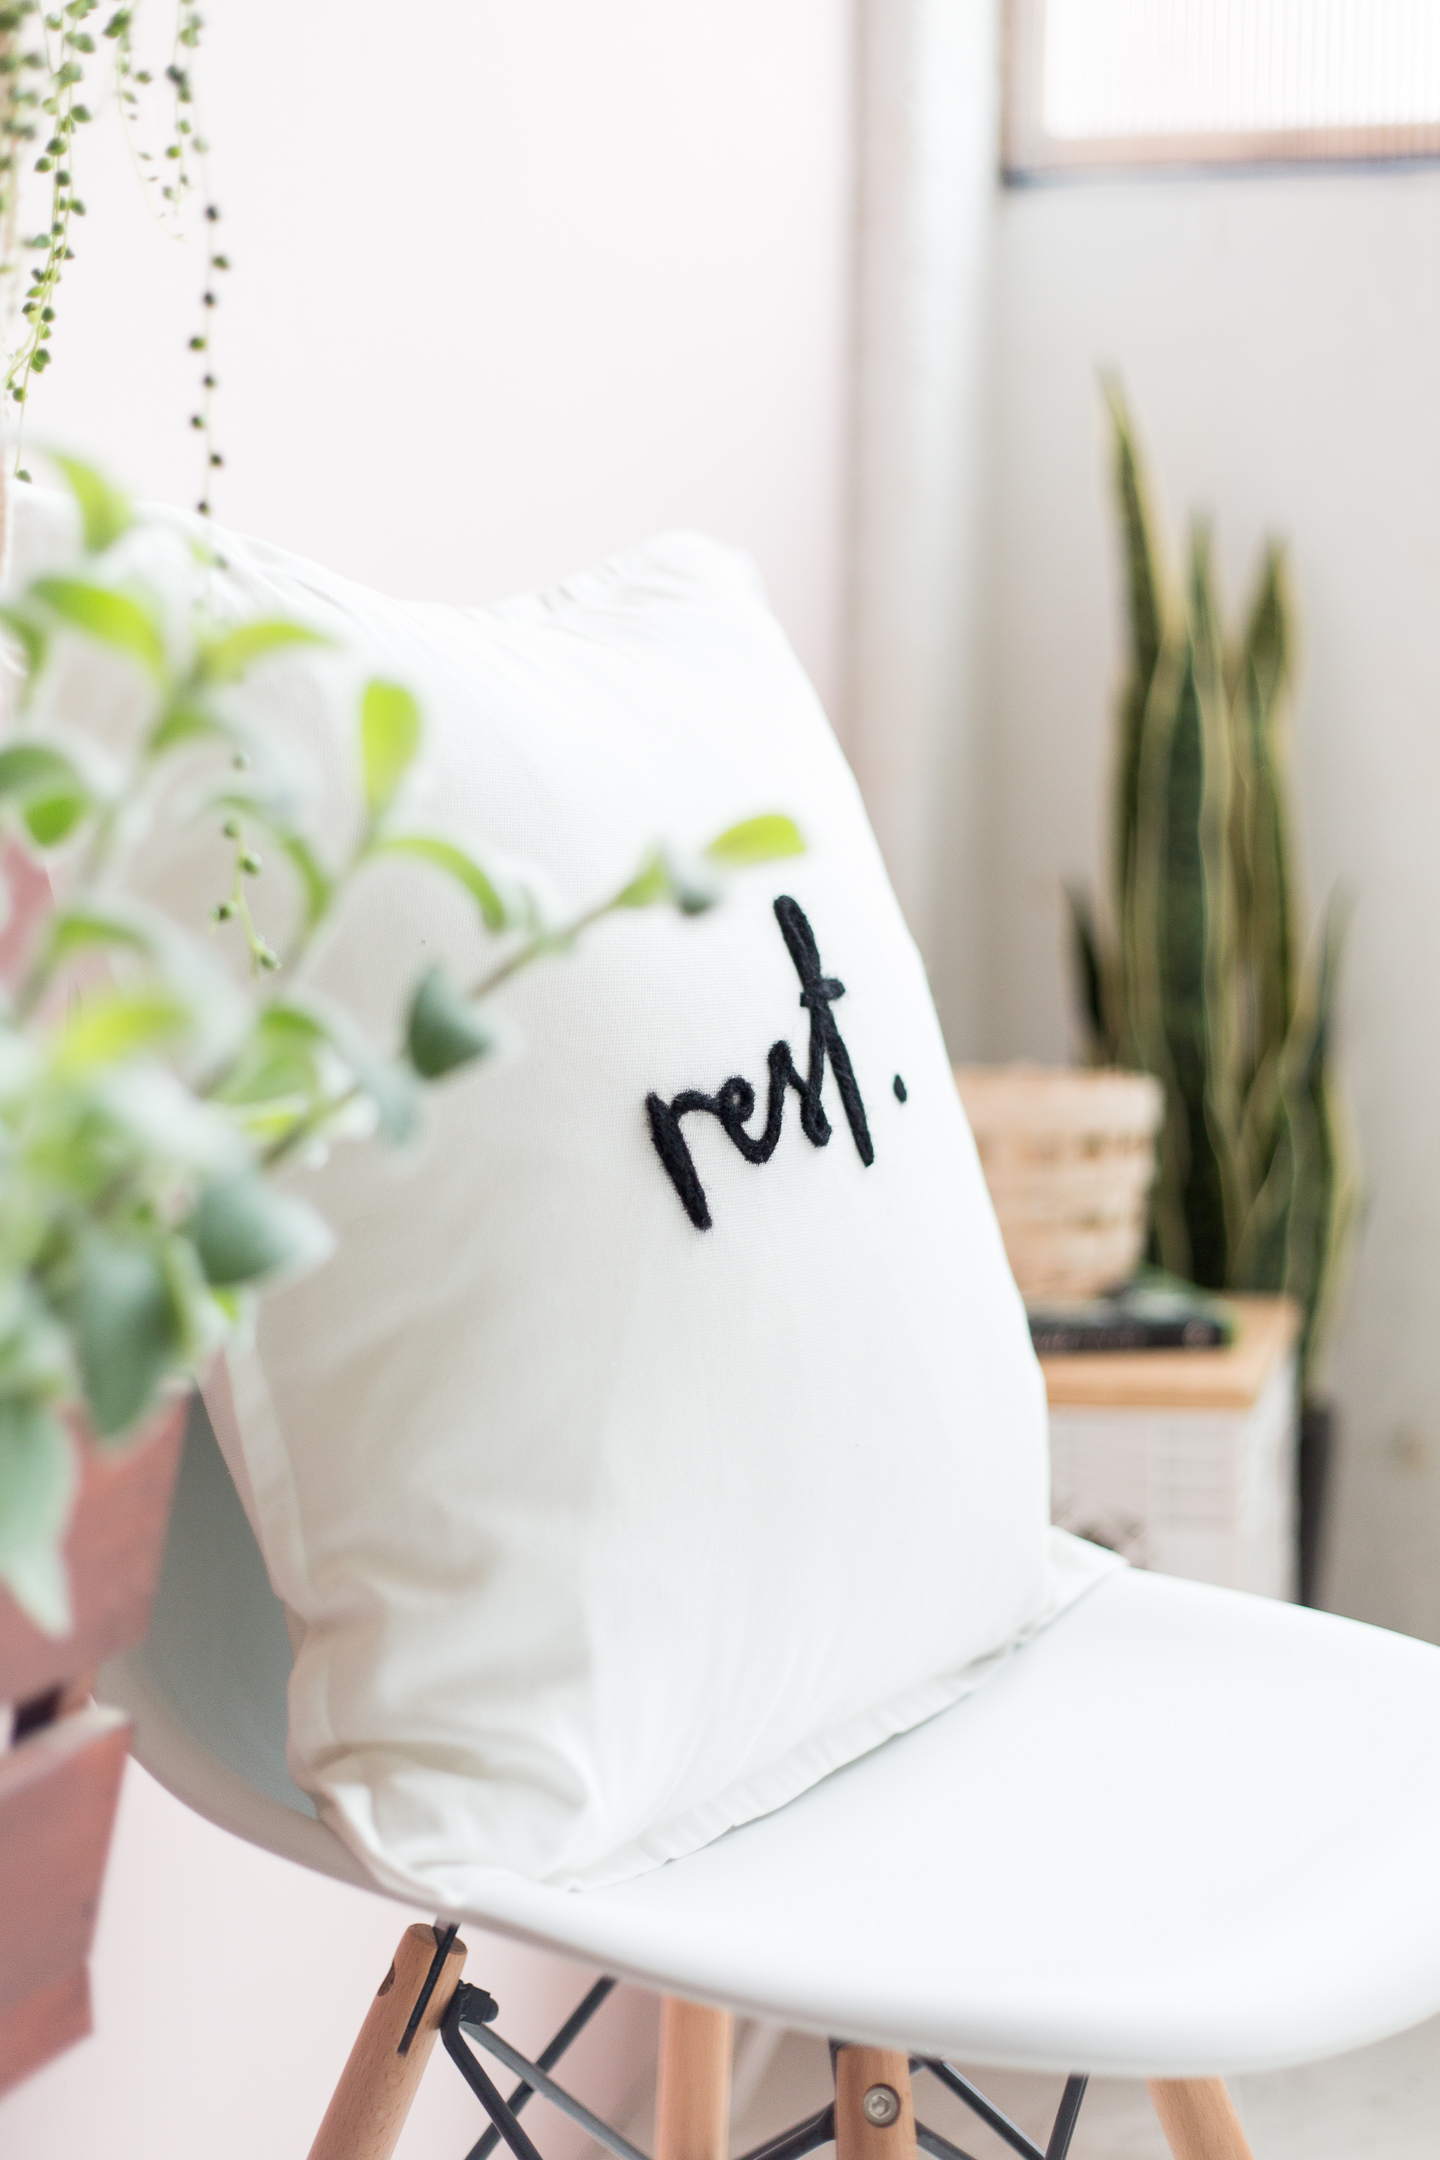
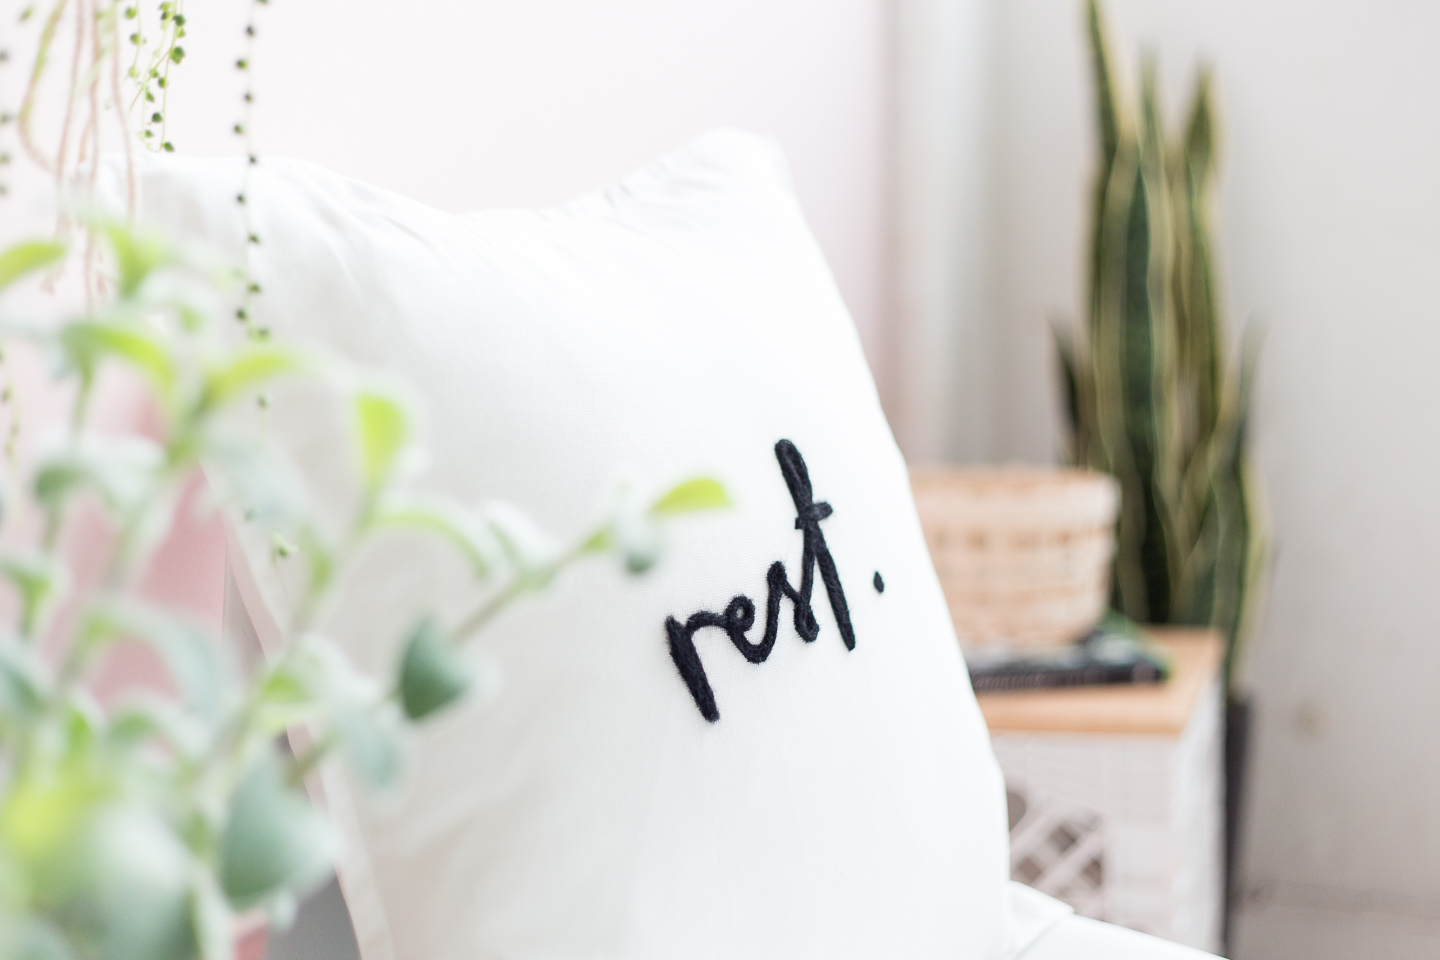
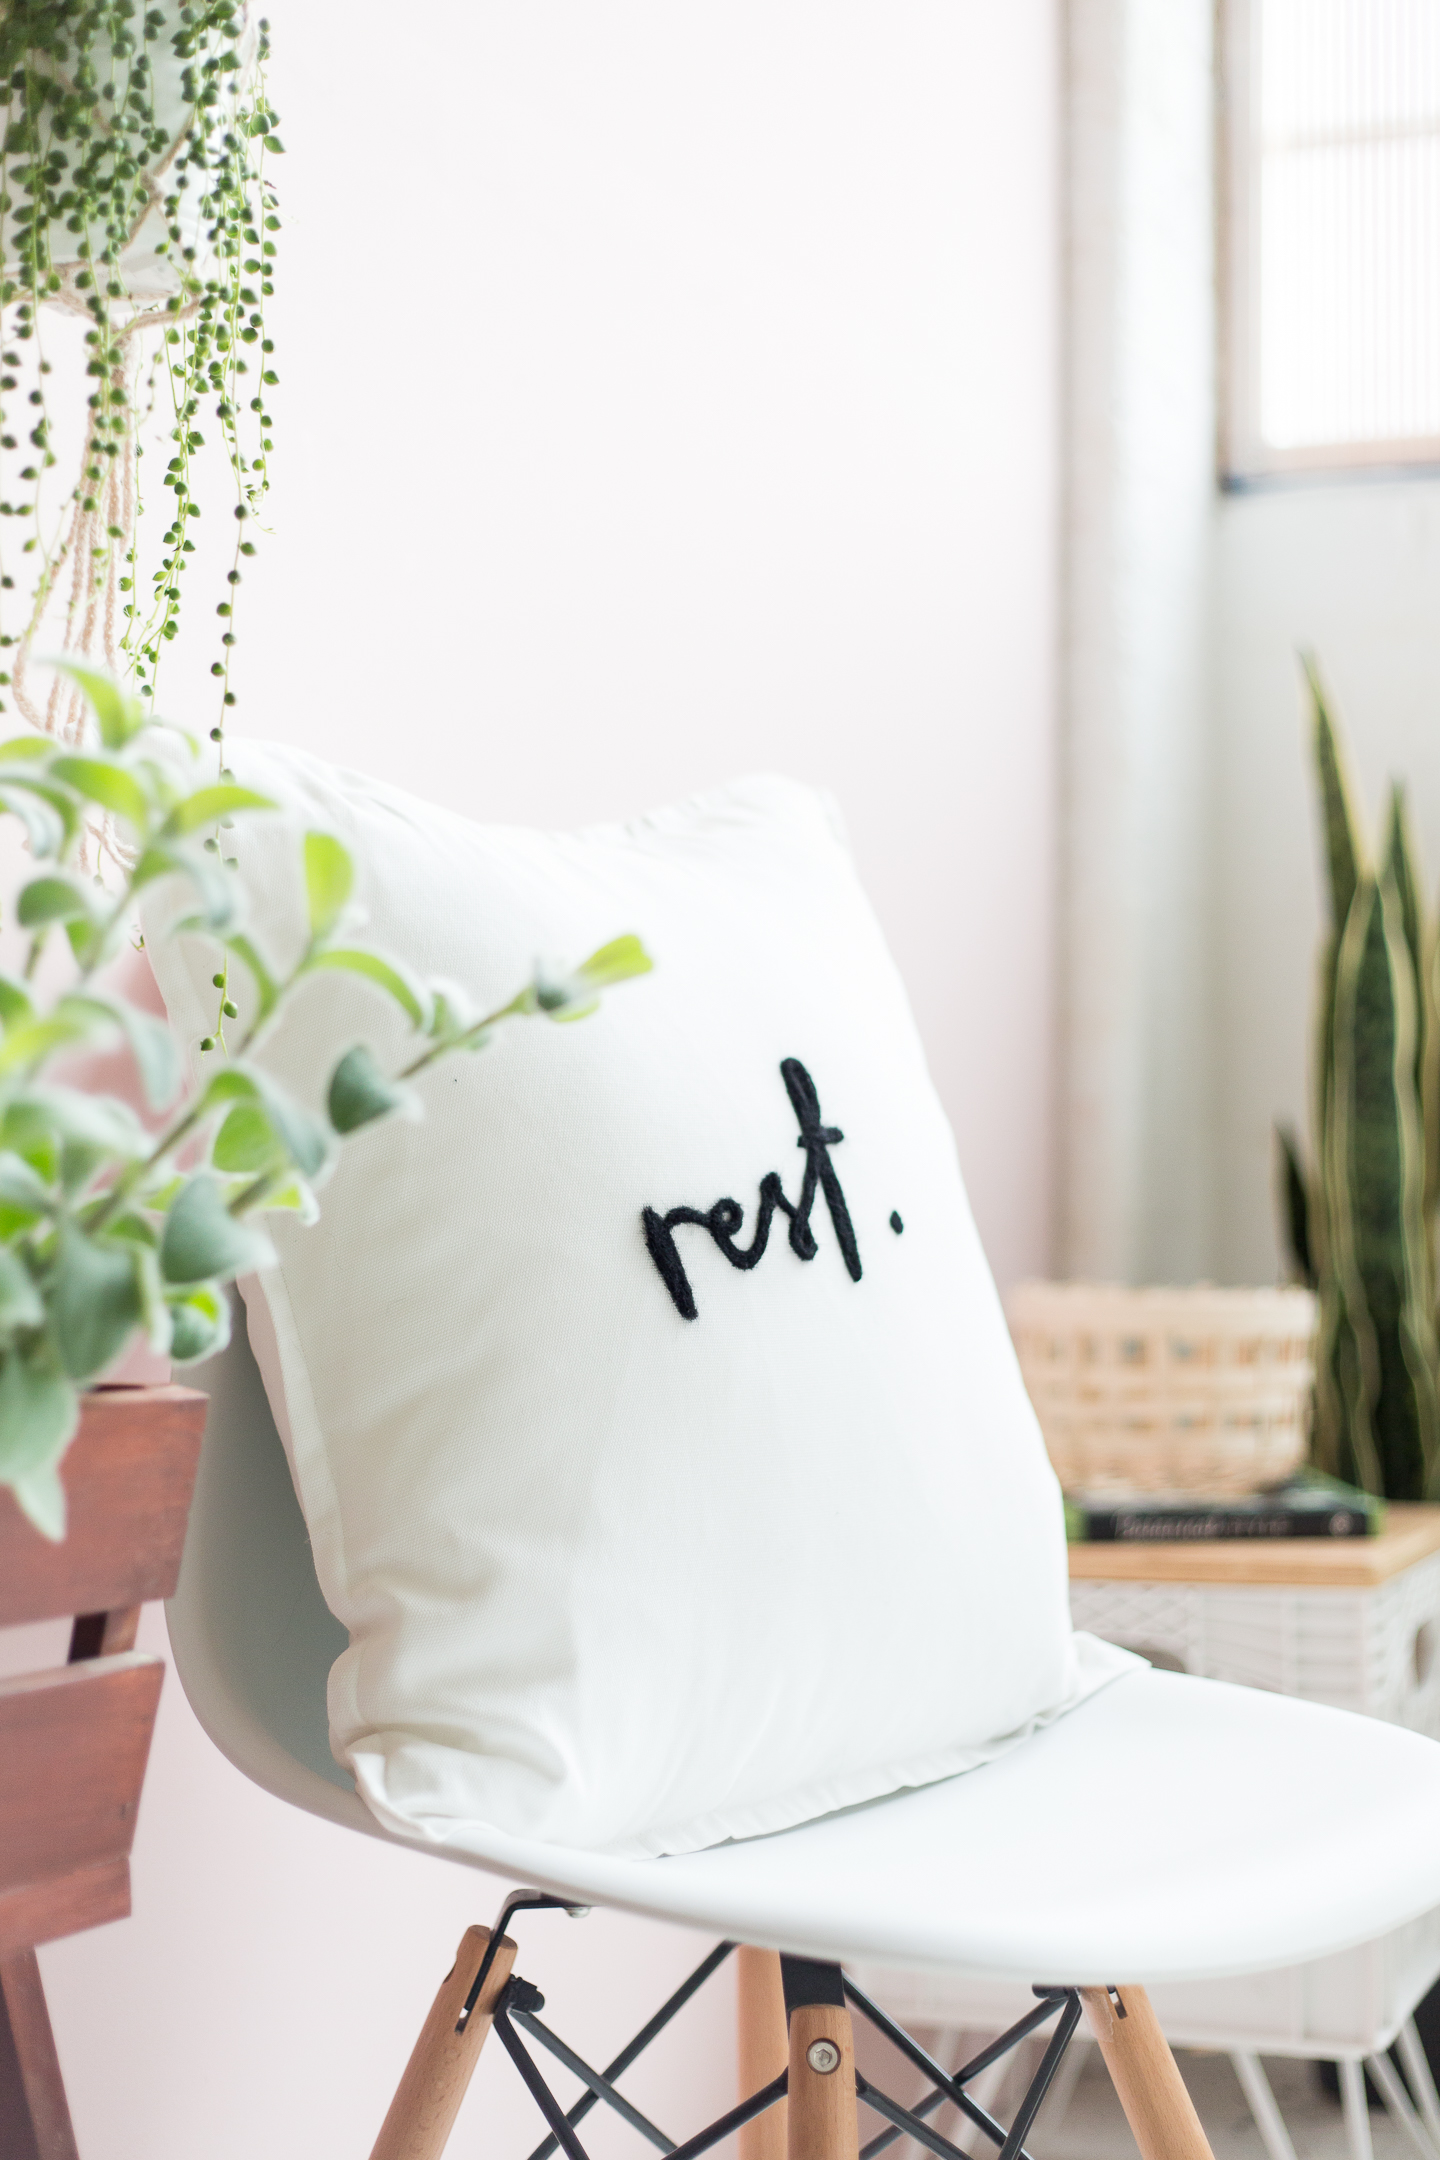
Repeat this until you have covered the whole of the word, moving the sponge off the back of the fabric occasionally to stop it becoming permanently attached. Once you’ve finished that’s it! Rip off the nearest cushion cover and replace it with this beauty. And then you deserve a rest… The cushion says so!
I was surprised at how little felt I used to complete this cushion. Next time I’m going to try something a little longer. I’ll keep you updated on my progress and I’d love it if you did too!I’m just so nosey like that! Let me know if you make this tutorial and show me by tagging @fallfordiy on Instagram.

The post appeared first on .


