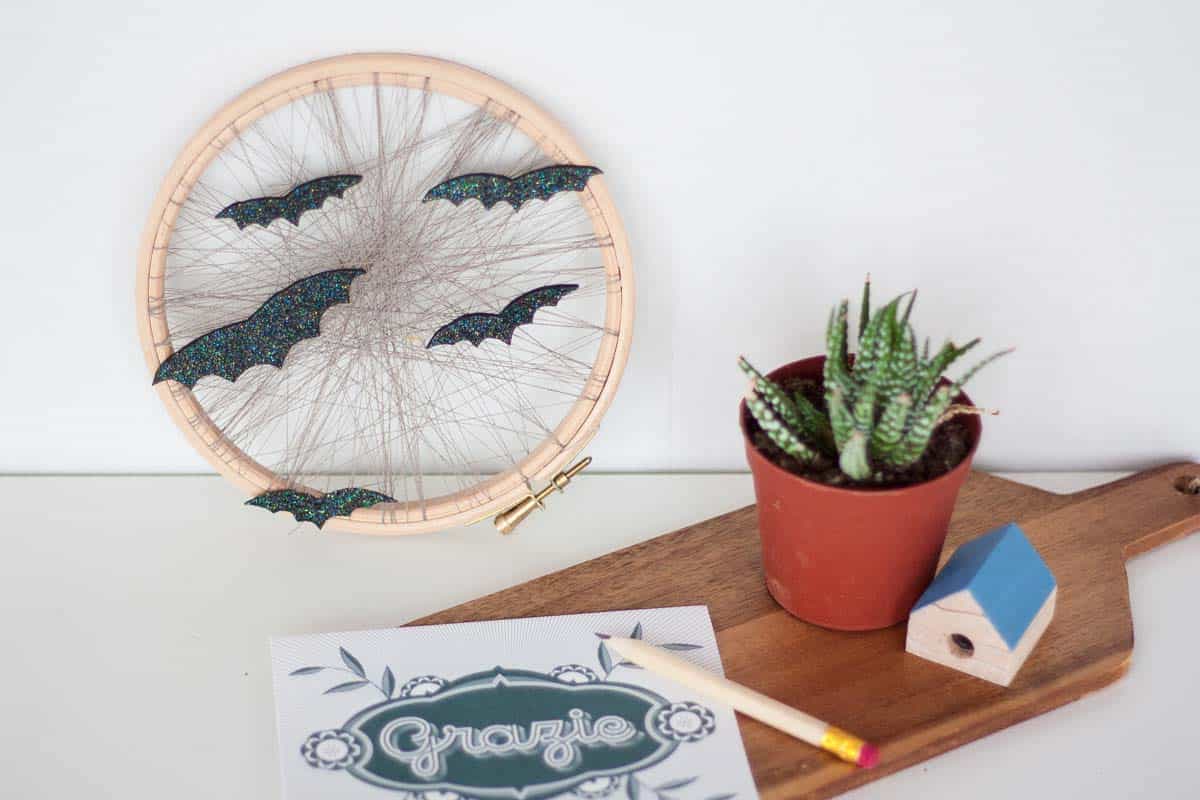
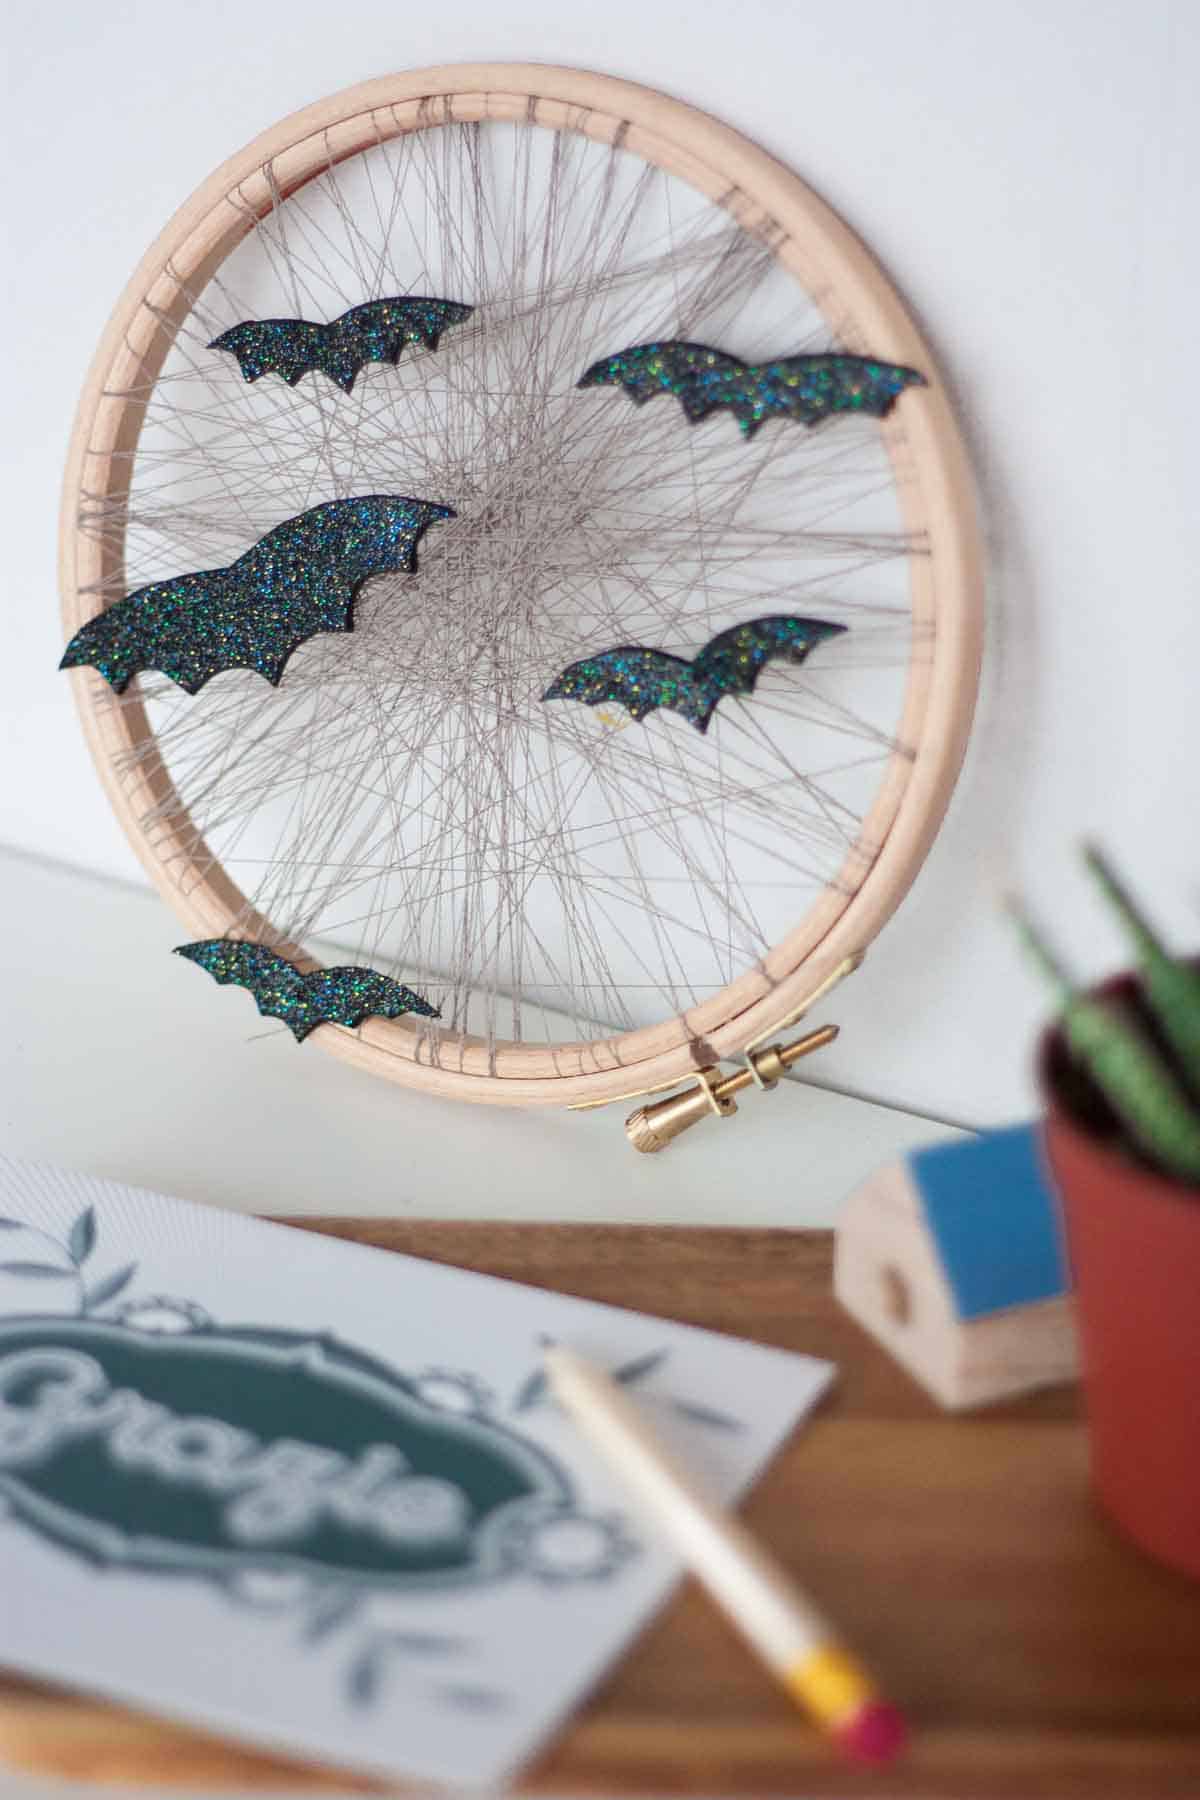
Guys, can you believe Halloween is just behind the corner? and splatter party elements must be prepared as soon as possible, to be ready for the most deadly evening of the year! Now, we know quite well some people are not big fans of transforming completely the look of their home, covering it all over with black and orange, that’s why this little wall art says Halloween without shouting it.
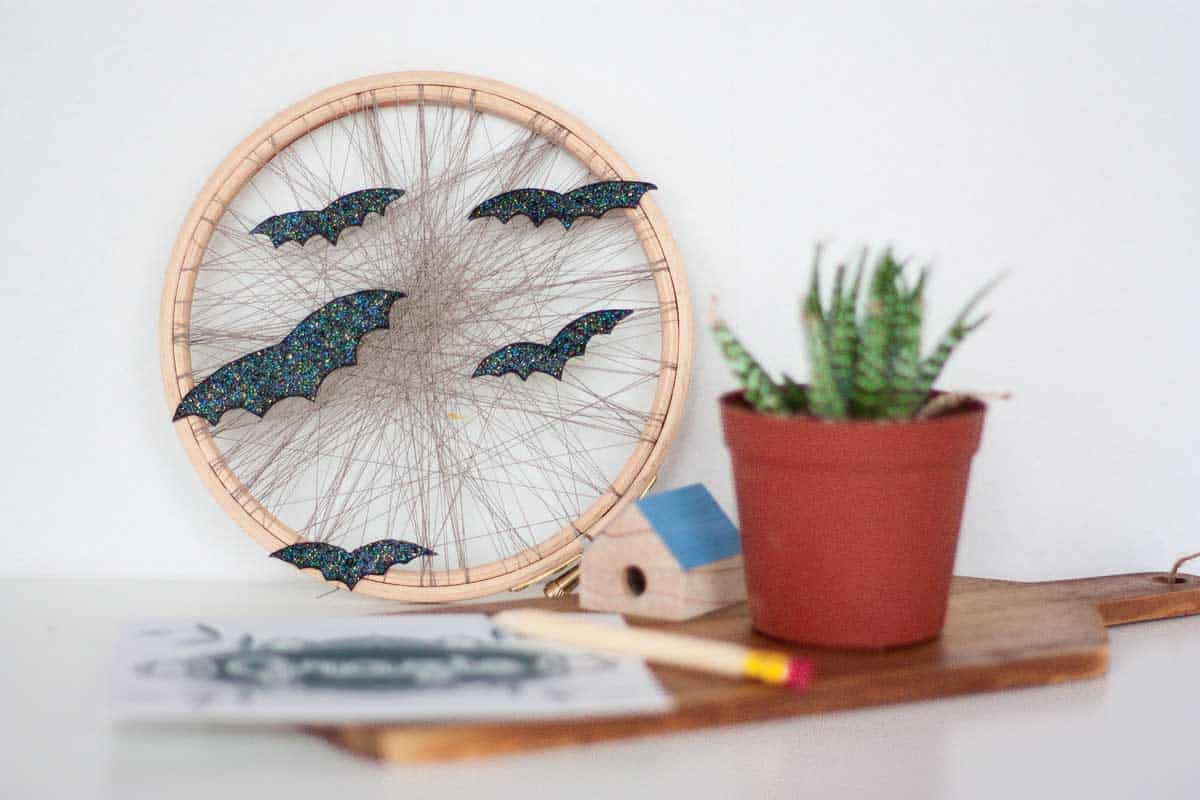
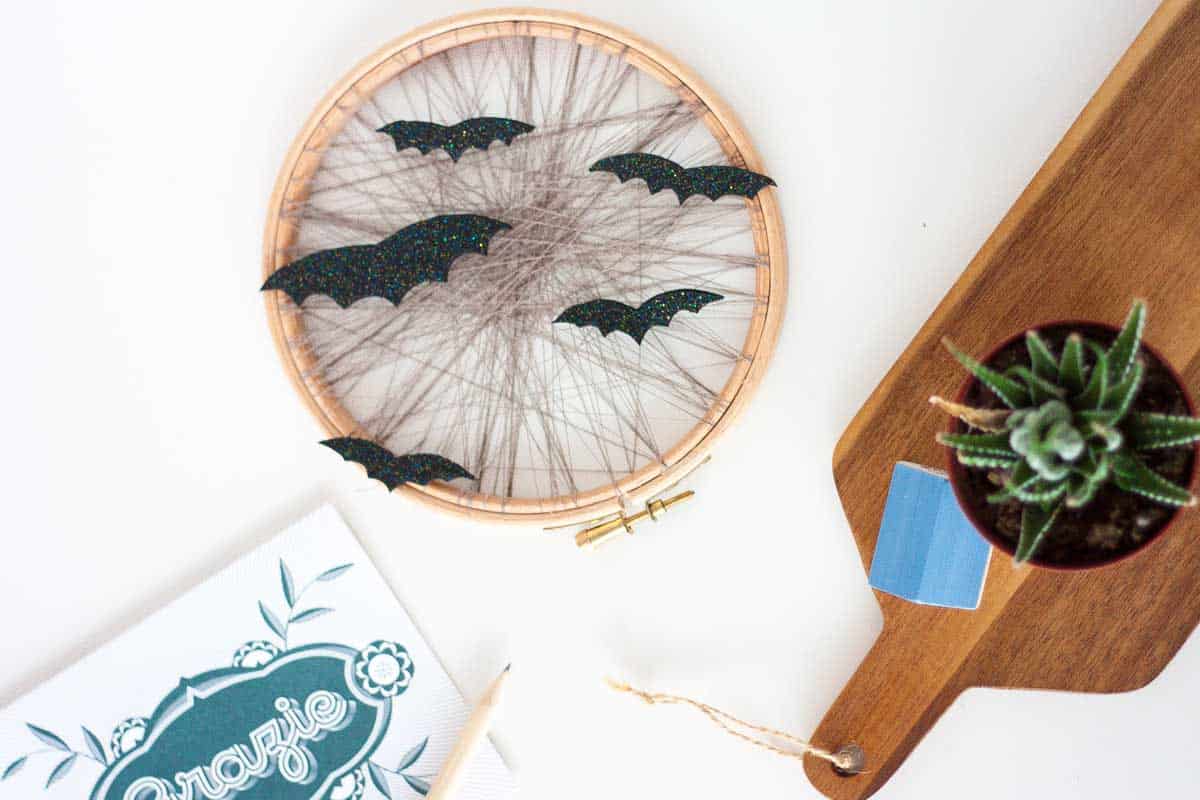
If you have wood elements around home these will complement well with the . Also, the thread’s color can be changed to complement your home decor, or you can just keep it neutral toned just like I did. Make it yours! Jump on board with us and make your cute bat halloween decor!
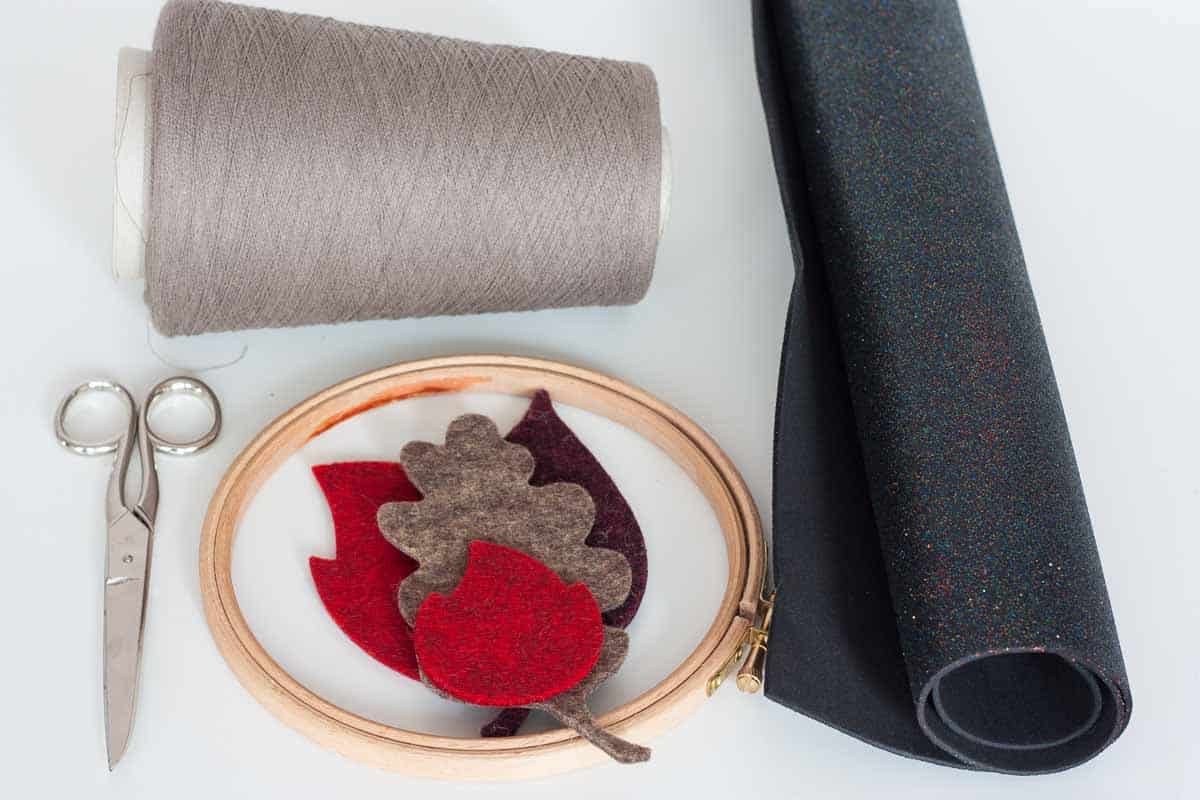
Materials for Embroidery Hoop Halloween Art and Crafts:
- embroidery hoop
- thread
- scissors
- black glittery foam
- needle
Step by step guide to creating beautiful wall art for Halloween:
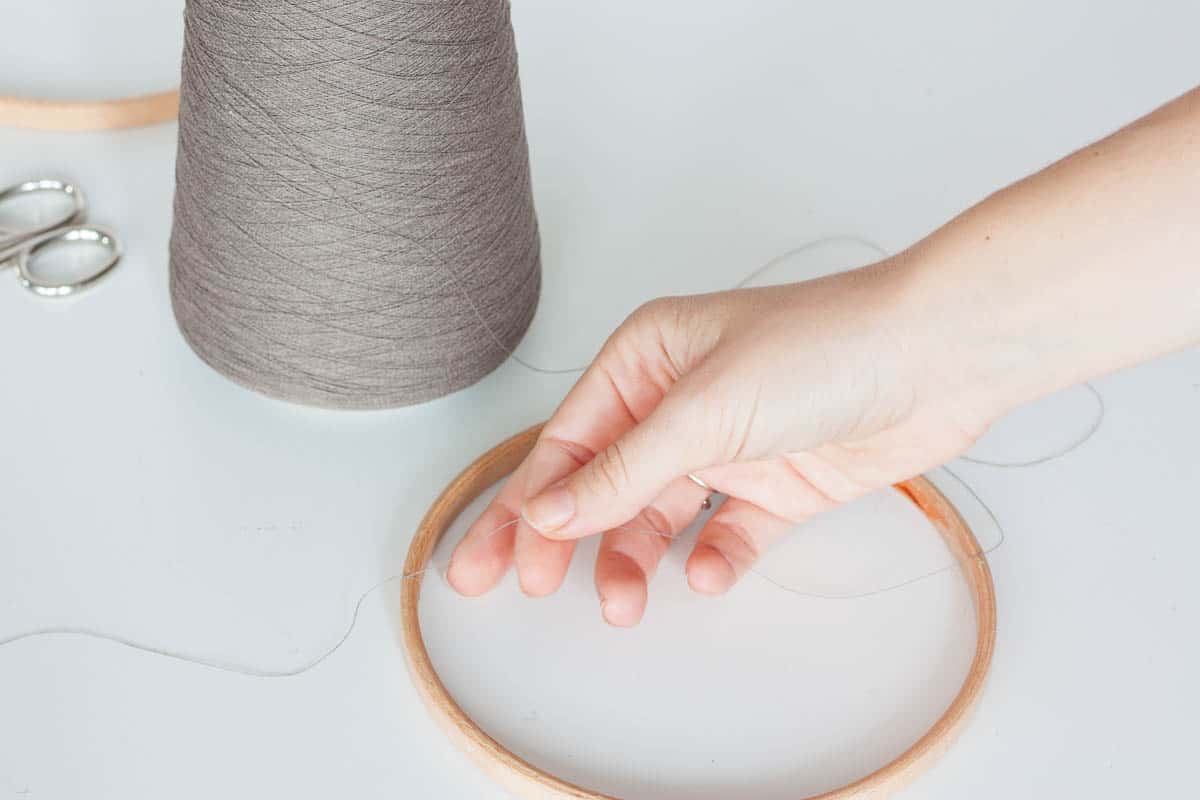
Step 1: start with a knot
Start by making a knot around the inner ring of the embroidery hoop to secure the thread.
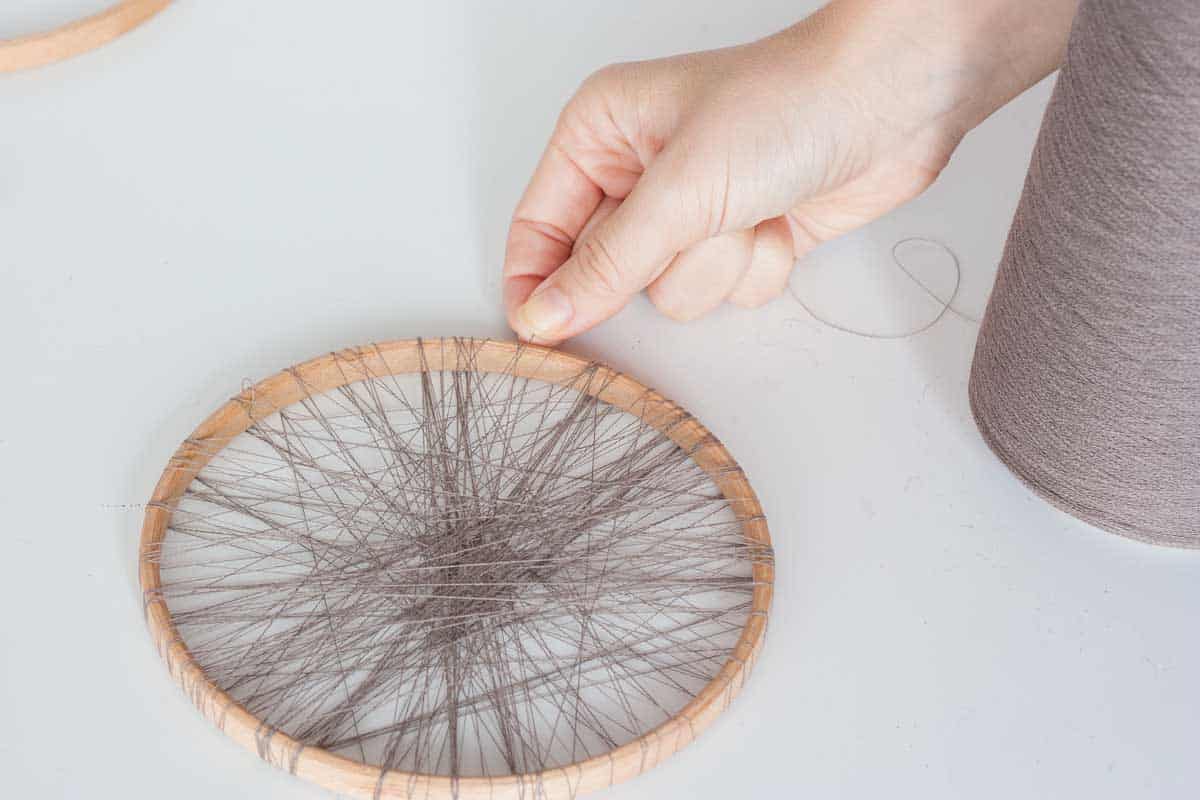
Step 2: back and forth to create a design
Now start making it go back and forth all around, trying to fill in all the gaps. Remember to keep the thread tight! If the rounded hoop is slippery, help yourself with the other hand to keep the thread in position. Once you’ve done many wrapping arounds, it will stay there on its own. Just as you did for the starting point, make a knot while keeping the thread pulled and close eveything up with the second hoop, well tightened.
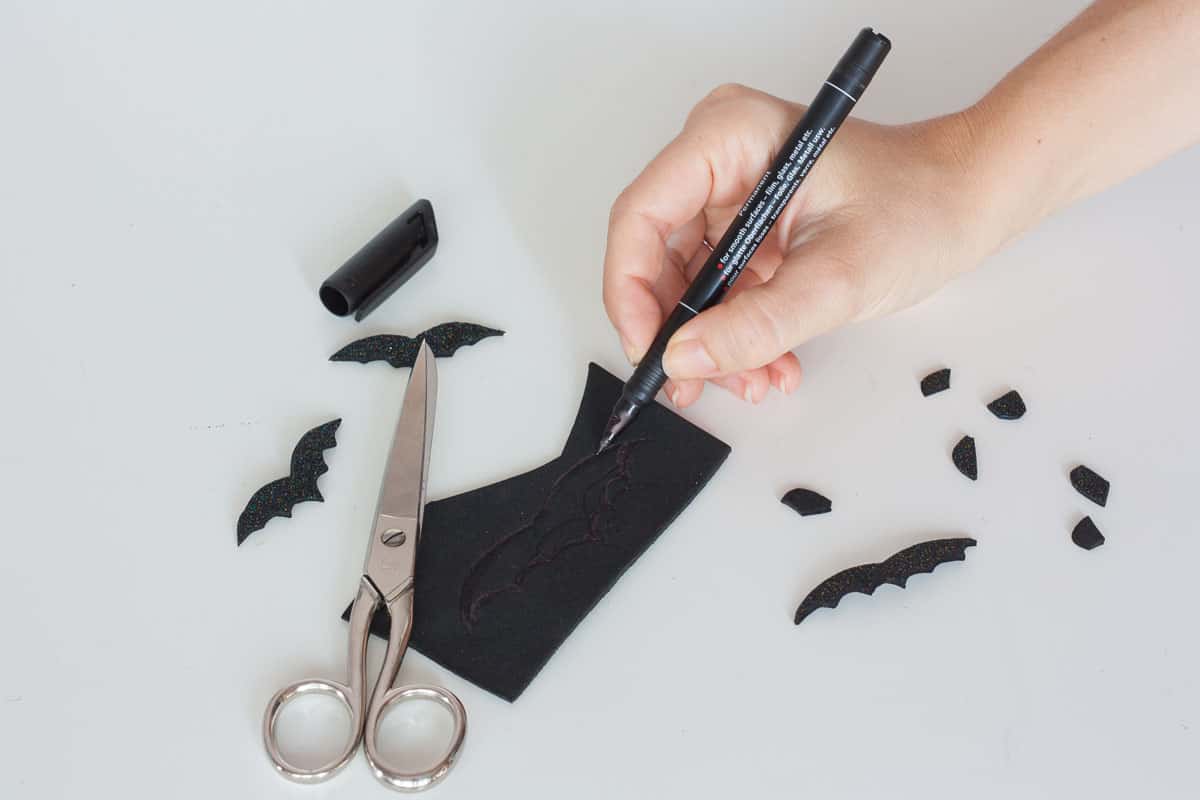
Step 3: drawing
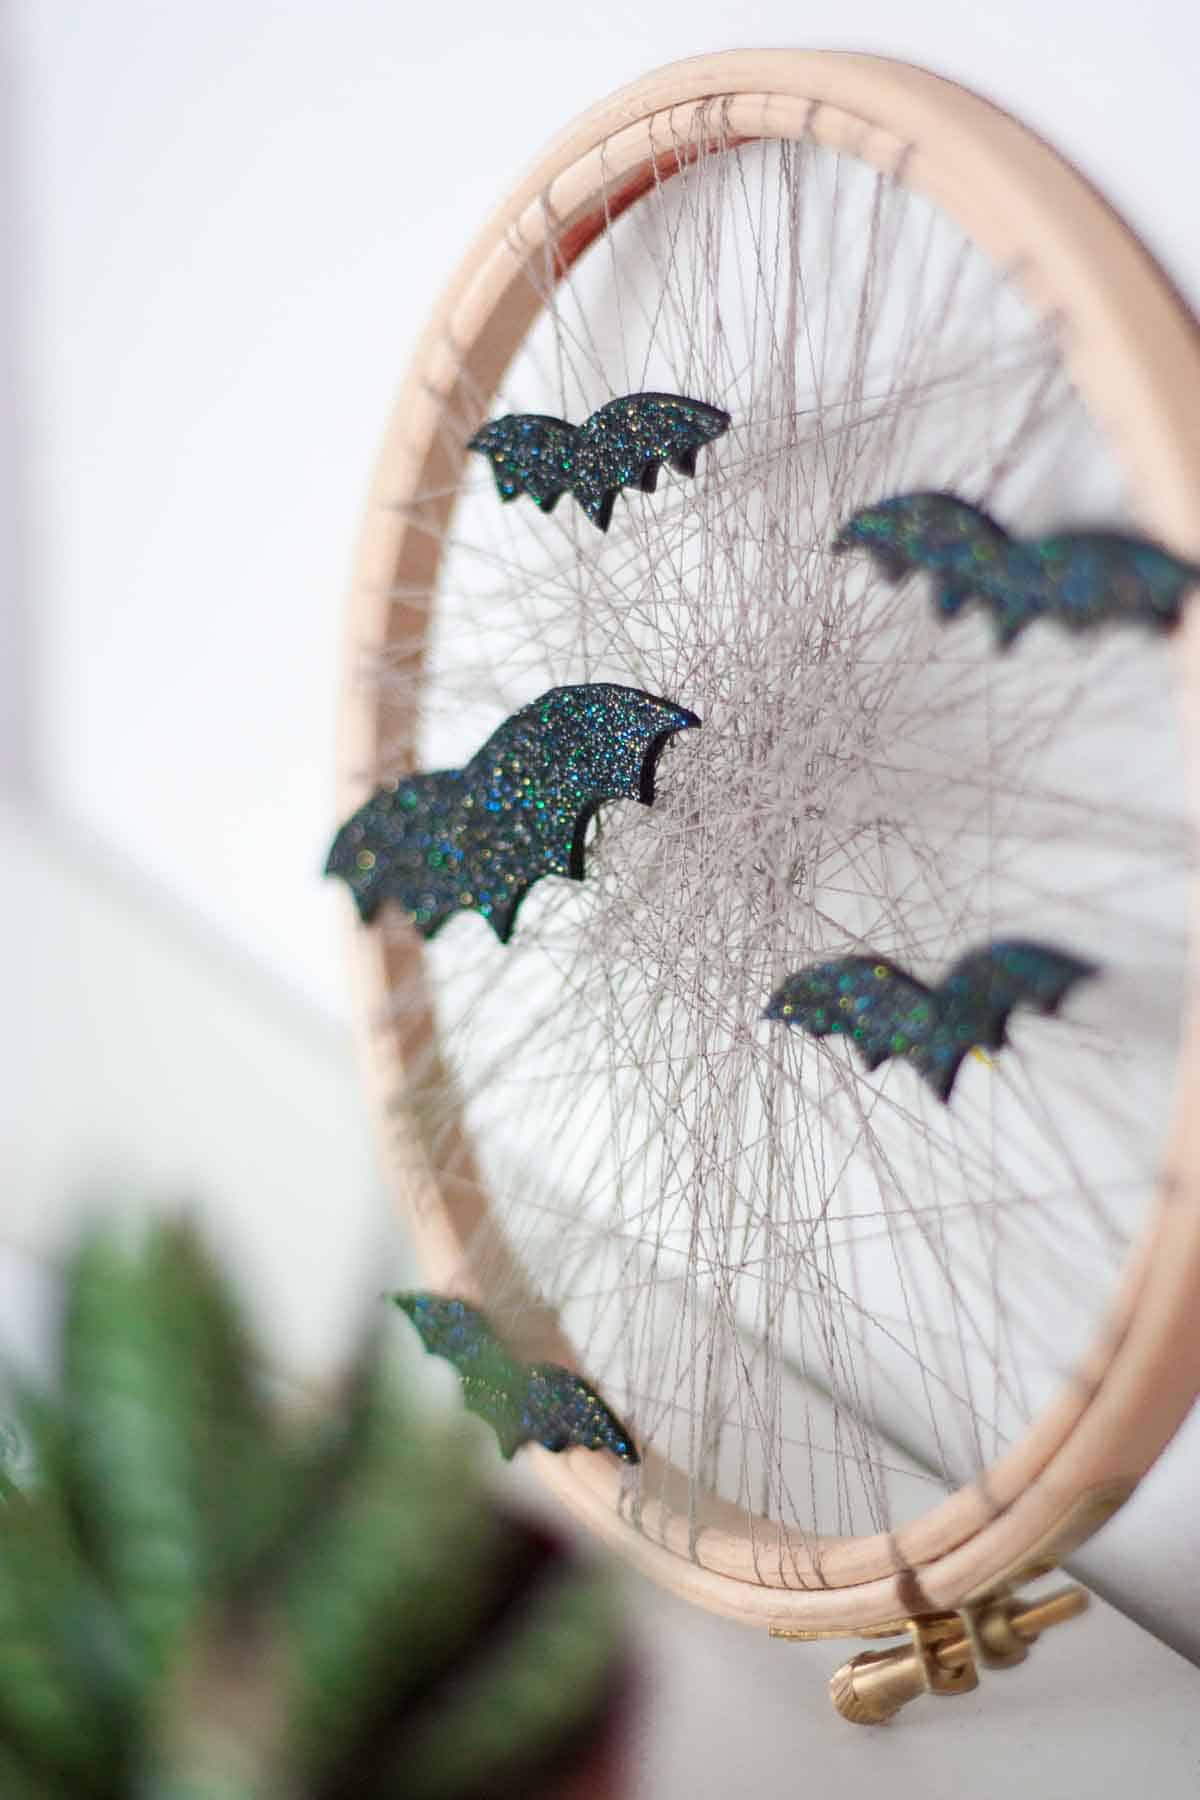
On the back side of the black foam freehand draw some bat shapes. They’re quite easy to draw as you have to design the upper part as lips shape (or seagull shape? Name yours!), and then the bottom has exactly 3 bumps per side, slighly bigger towards the center. Remember to design 4-5 small bats and one or two bigger ones, then cut them out.
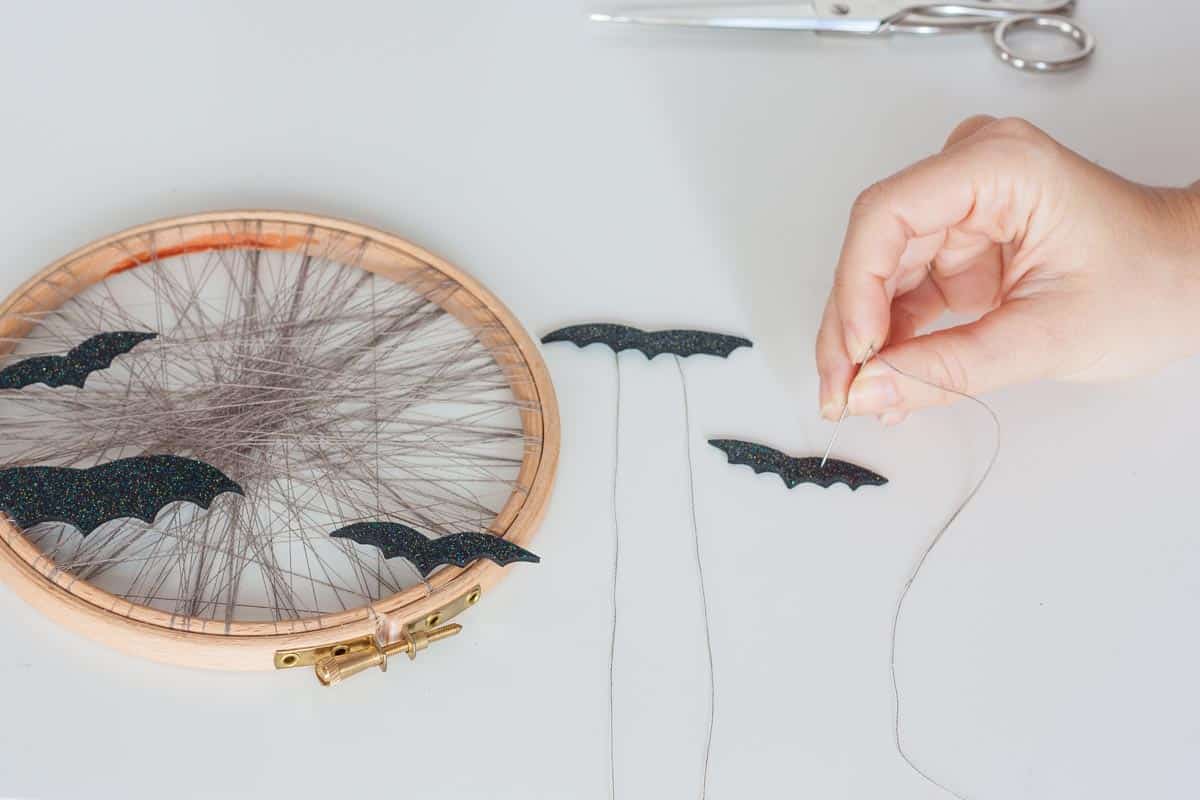
Step 4:thread each bath
Now, helping yourself with a needle, sew a piece of thread towards the center of each bat, leaving the thread popping out of their back quite long. You’ll need this to be able to make knots when tying the bats to your net.
That’s pretty much it! Quite cute for a Halloween themed decor isn’t it? Once Halloween has passed you can easily change the bats with foliage shaped foam for fall season. and hang it to your door’s entrance.
The post appeared first on .


