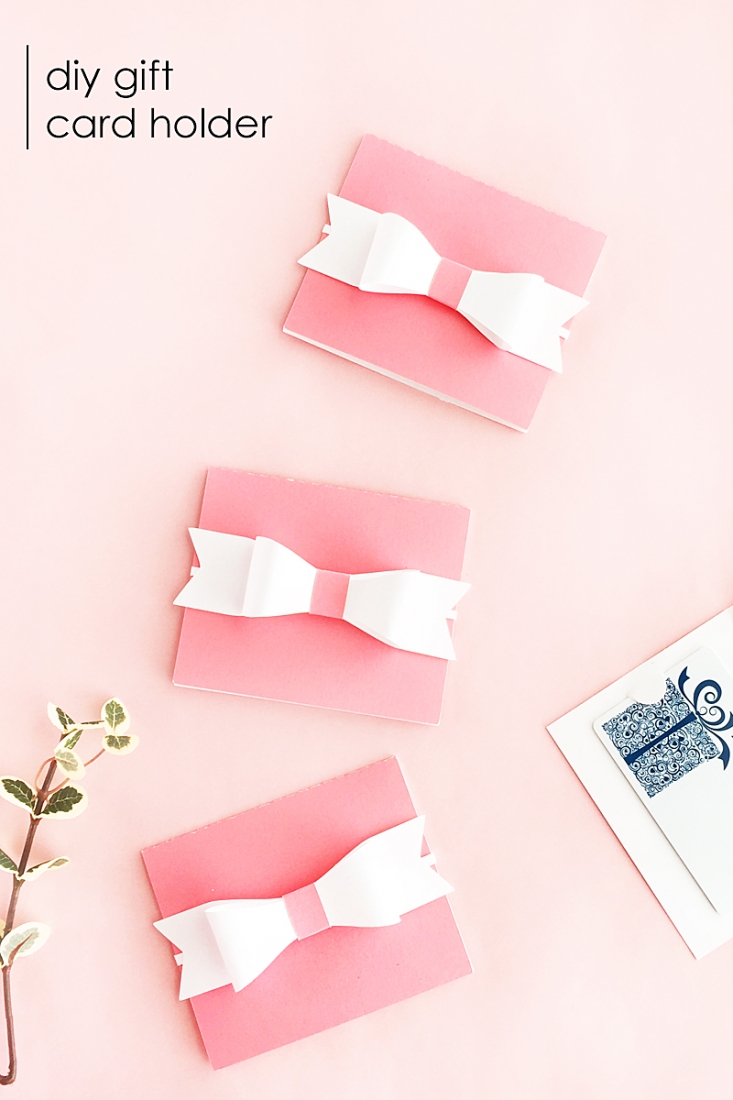
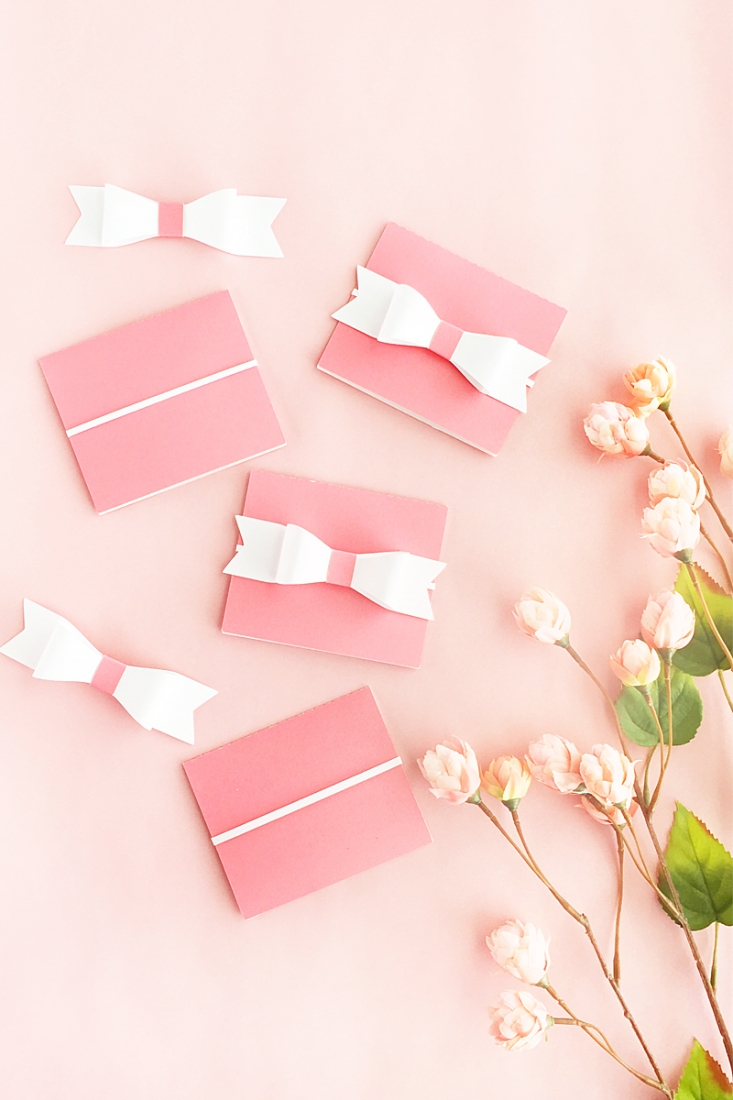
It’s been a busy few weeks, but I wanted to share my DIY Gift Card Holder with you. This is the last week of school and lots of activities for my boys especially for my little 5th grader heading off to Middle School. As a way to say thanks, we decided to get the teachers, bus driver and crossing guards gift cards from their favorite stores. To add a homemade touch, I designed my own gift card holders and topped them off with these cute paper bows. This will be a great template for future gift cards – want to make your own? Read on for the tutorial!
The What
If you are cutting with your Silhouette:
- (there is a free version! I used v3)
- Silhouette cutting machine
- – this is like a thicker cardstock (cut into 8.5 x 11 in sheets)
- (if you want to use a color other than white) – or a thick colored cardstock
*This post contains affiliate links for products that I use and love!
The How
- In Silhouette Studio, open your 3d bow design, cut (using cardstock settings) and assemble with glue
- Move your bow off the cutting area
- To design your own gift card holder, show the grid
- Use the rectangle tool to create an outer rectangle – this will be your card opened flat
- Either: Use the line tool to draw a dashed line in the middle of your card (as a guide to fold) Or: Use a scoring board after the card is cut to easily fold
- To create the tabs that will hold the card, create a circle and use the eraser tool to remove half. Replicate by mirroring
- Place your tabs on the bottom half of your card. Use the grid and card measurements for placement (I used these card measurements: 3.370 x 2.125 in)
- Now group everything together and send to cut using cardstock settings
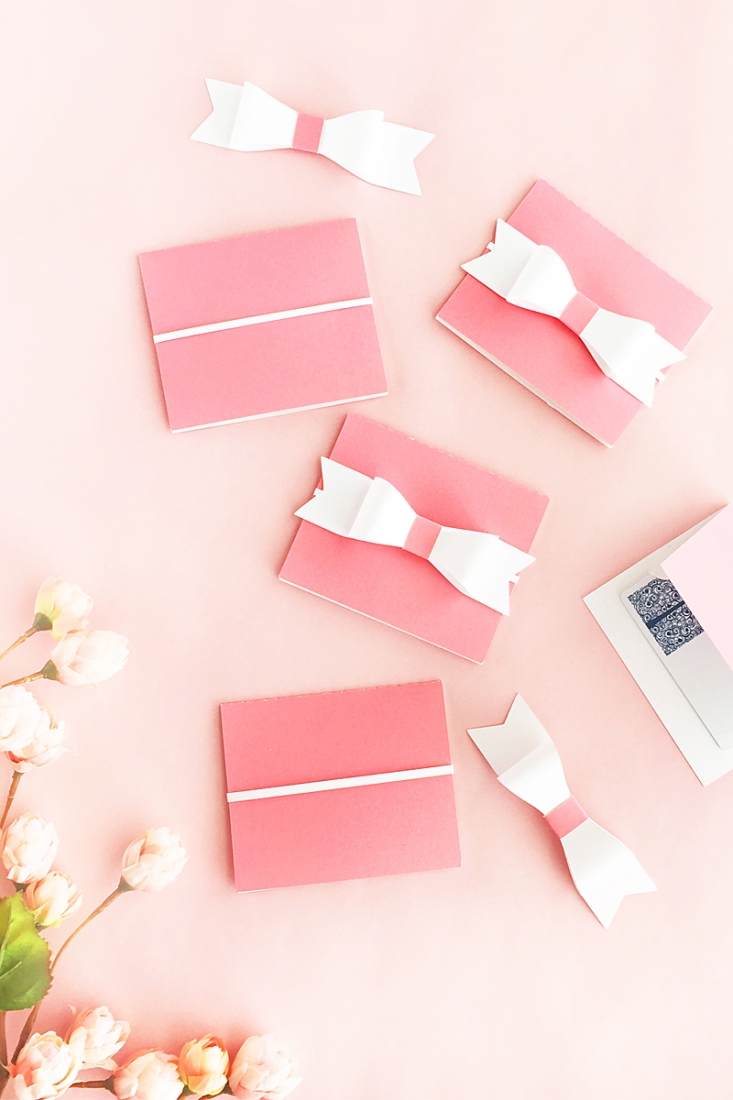
- Place your gift card in your card and fold in half
- Cut a small strip of cardstock and wrap it around the folded card. Glue the ends together
- Attach your bow with glue

Now you have designed an awesome gift card holder template to use over and over again! Which colors did you use? Tell me in the comments below!
Looking for some more inspiration? Take a look at my other !
The post appeared first on .


