During the holiday season, the stores are filled with tons of generic decor that looks, well, unoriginal. So I decided to fix that problem by making a lot of my own holiday decor this year. Today I’m sharing a tutorial for a custom Christmas banner that can be whipped up in an afternoon. All you’ll need is some burlap fabric and a few other materials from your local craft store. So let’s get started!
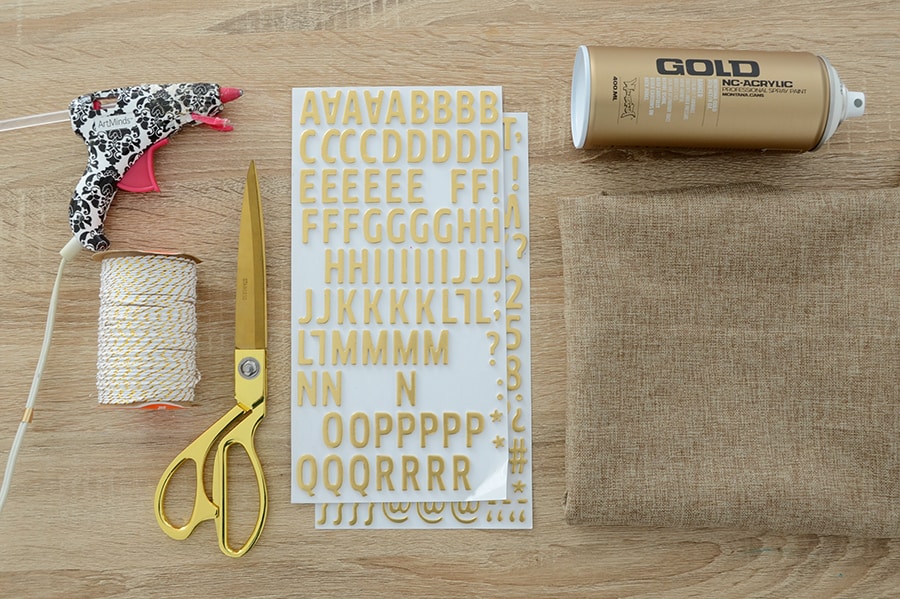
Here’s what you’ll need for your banner:
- 1/2 yard of burlap fabric
- White spray paint
- 1-3″ tall adhesive letters
- Gold Sharpie marker (not pictured)
- Scissors
- Gold and white baker’s twine
- Hot glue gun

Begin by cutting out rectangles from your burlap fabric. Mine were 2 x 3 inches and I cut 14 of them to spell out the words “merry & bright” with blank flags in between the words.
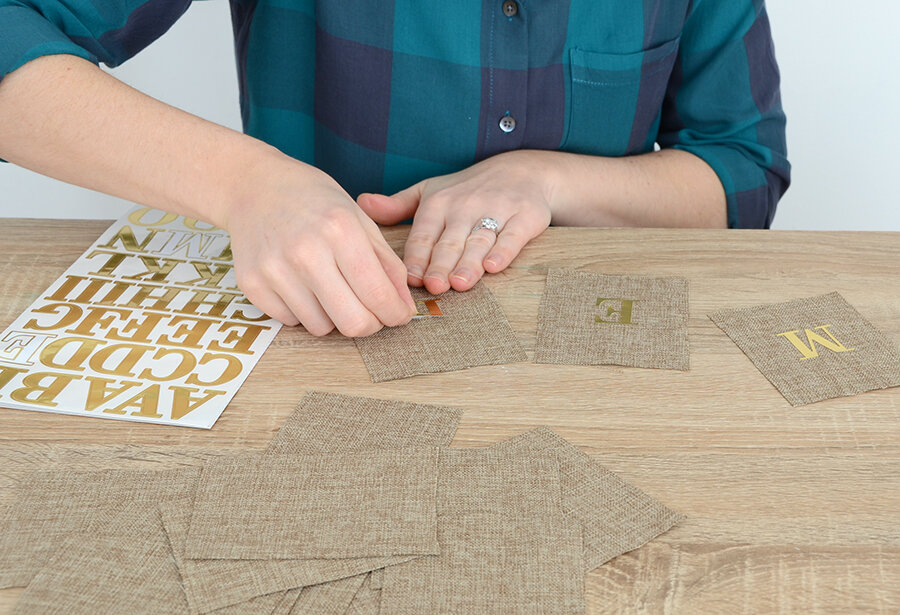
Next, stick your letters onto the surface of the fabric. Place them just below the center point on the rectangle to allow for some space at the top to glue to the string. Press the letters down firmly and spray paint the flags with two light coats of white spray paint. Be sure to work outdoors or in a well-ventilated area.
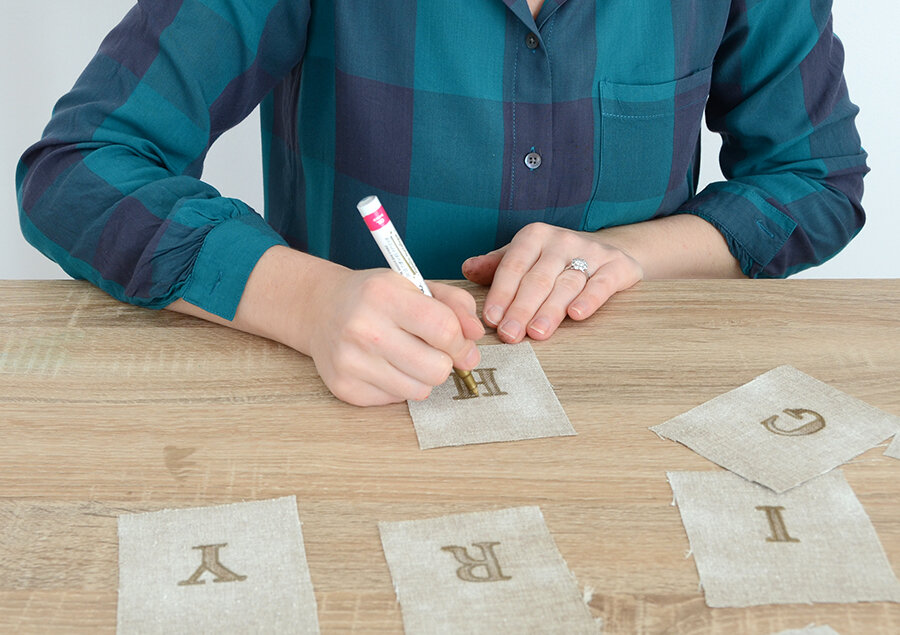
Once they have dried, outline each letter with a gold Sharpie marker to make the letters stand out.
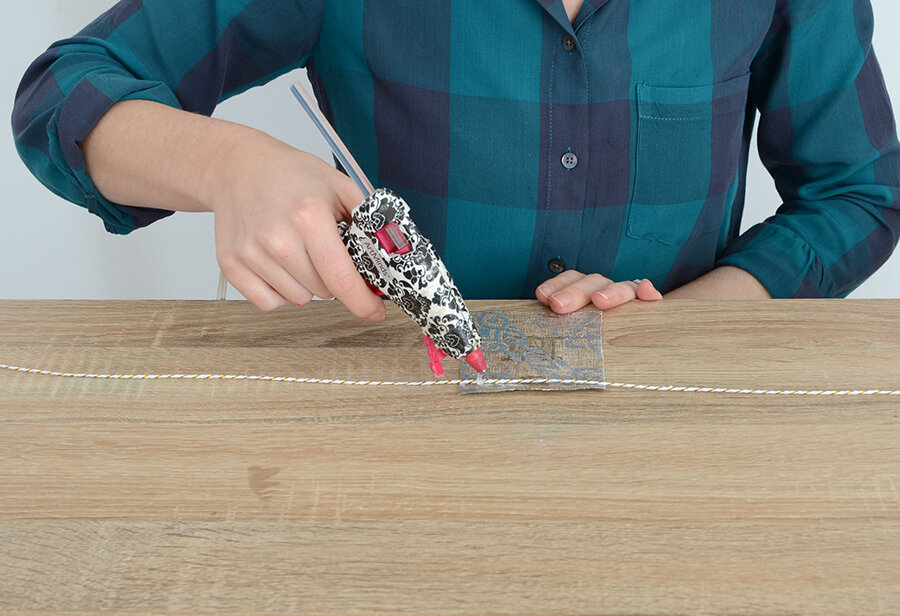
Lay out the letters backwards and upside down in the correct order and put a line of glue along the top of the first flag and fold over the top by about a half an inch. Repeat this process for the rest of them. Space out each flag evenly with about 1/2 an inch in between.
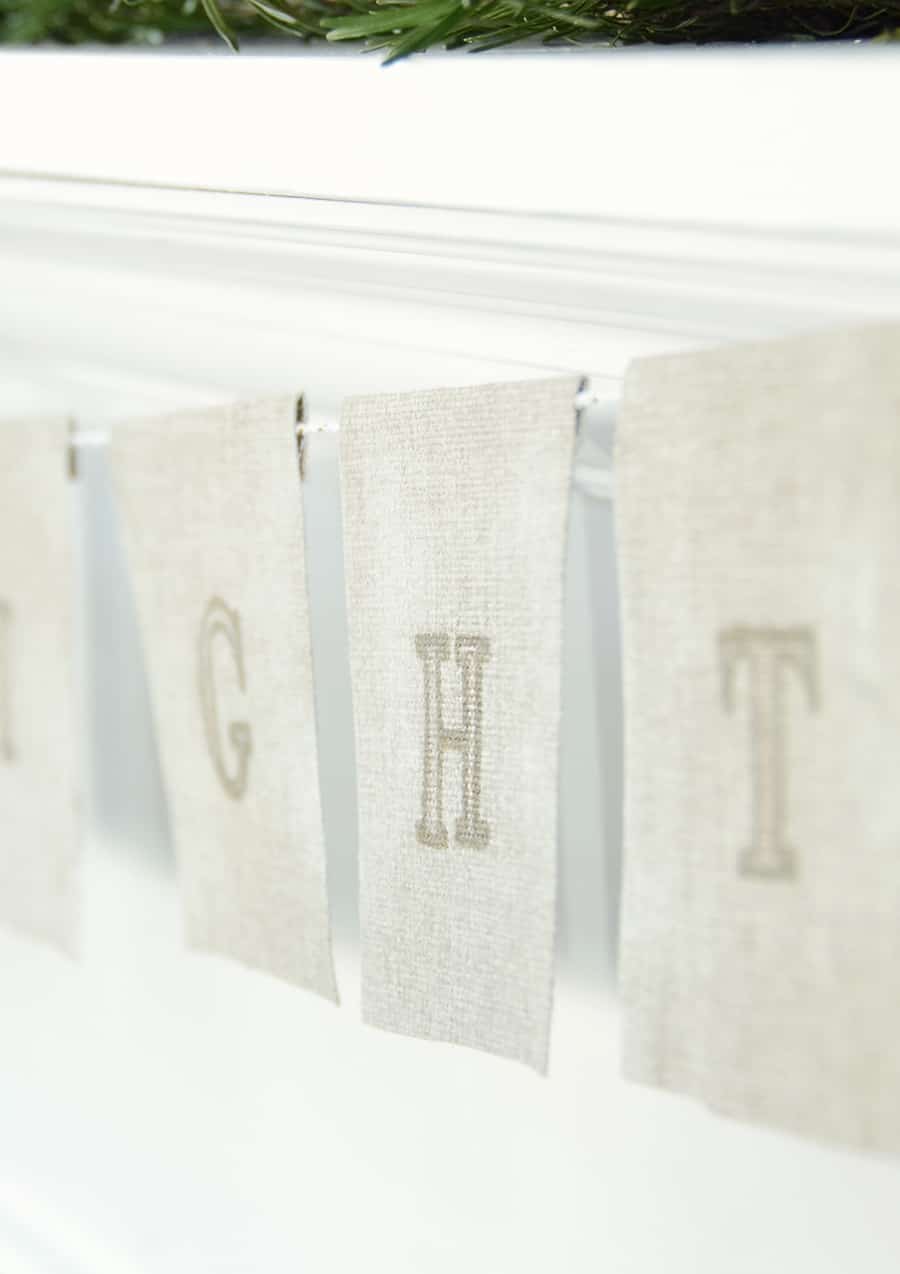
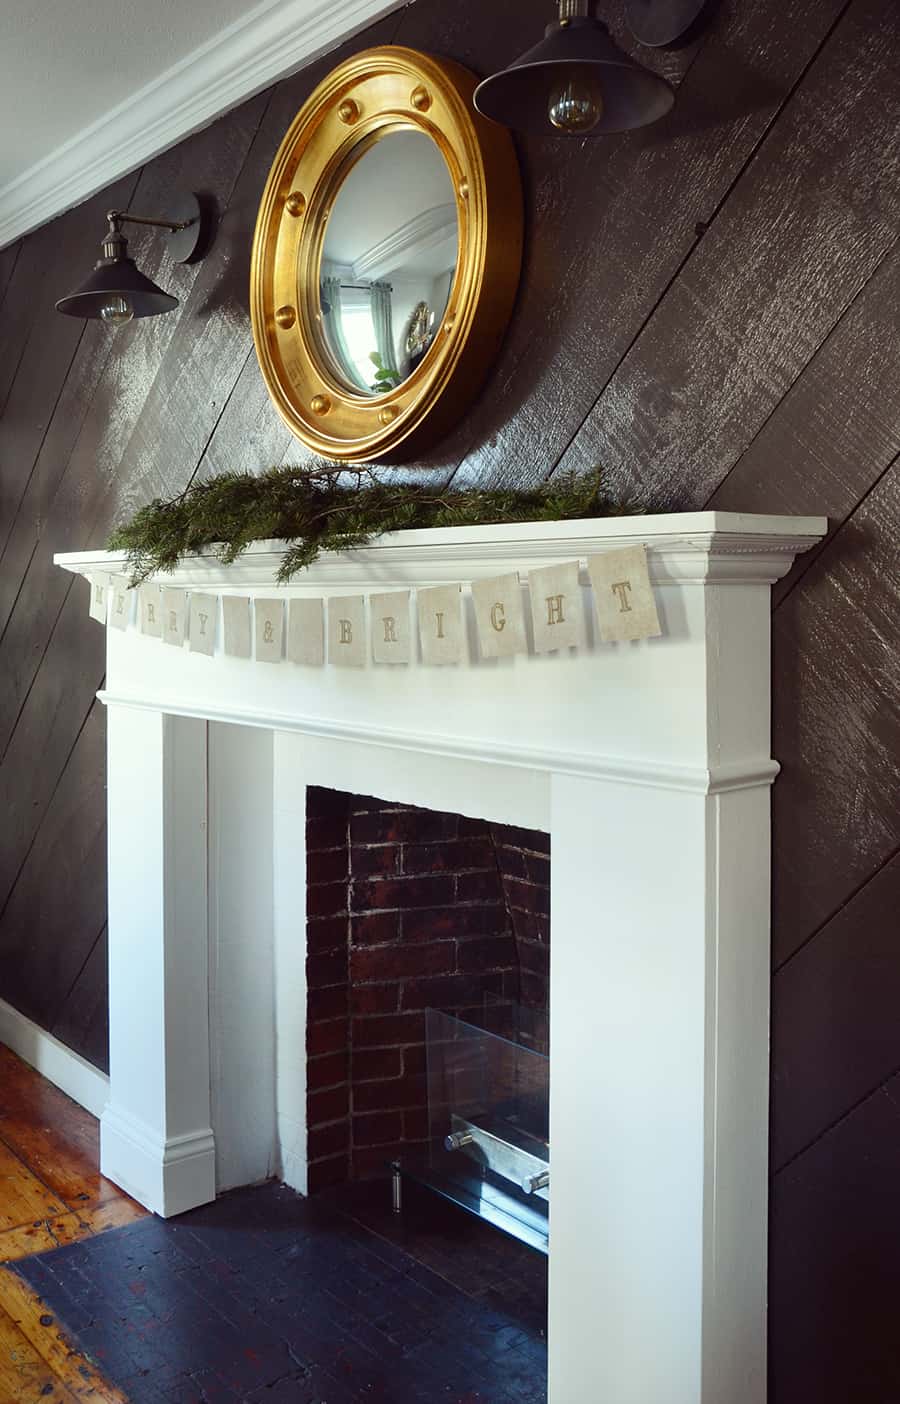
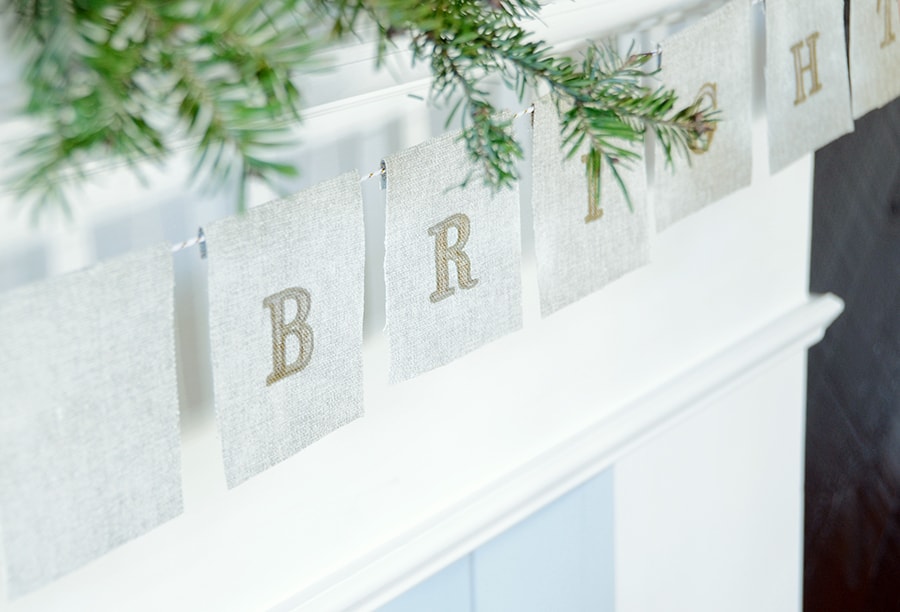
And your banner is complete! It should be light enough that you can hang it up simply by using Scotch tape on either end. Or you might tie the ends around thumb tacks and stick them in the wall.
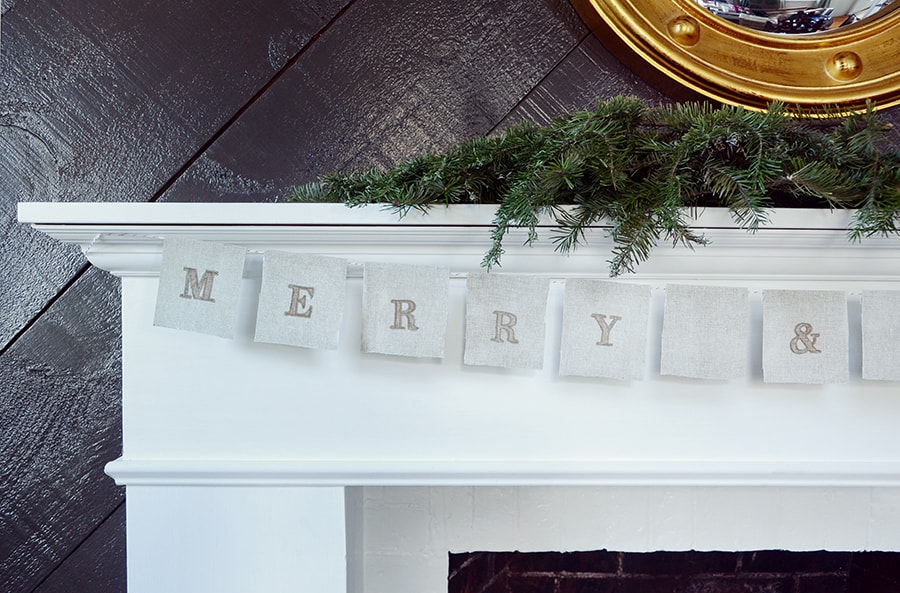
The banner has a bit of a farmhouse chic look to it, without being overly country-ish. And you can customize it however your like – choose different words – things like “holly jolly” or “let it snow” would work great. You can also try different paint colors, other types of string or even different flag shapes.
Happy holidays!
The post appeared first on .


