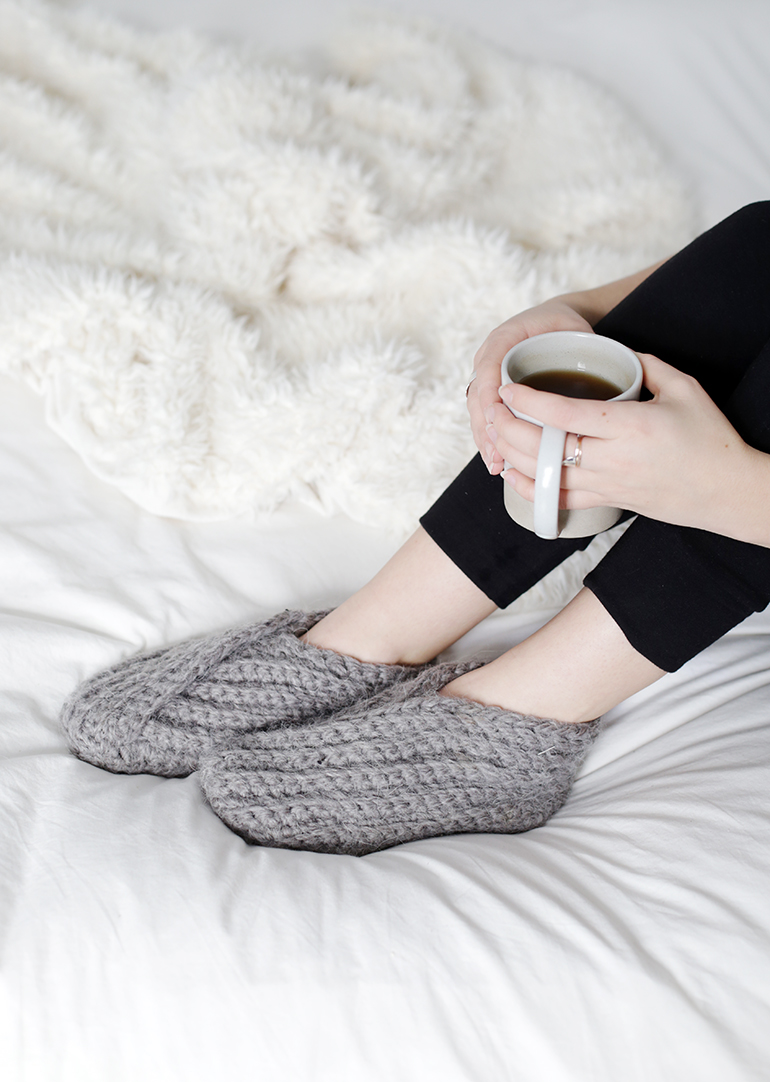
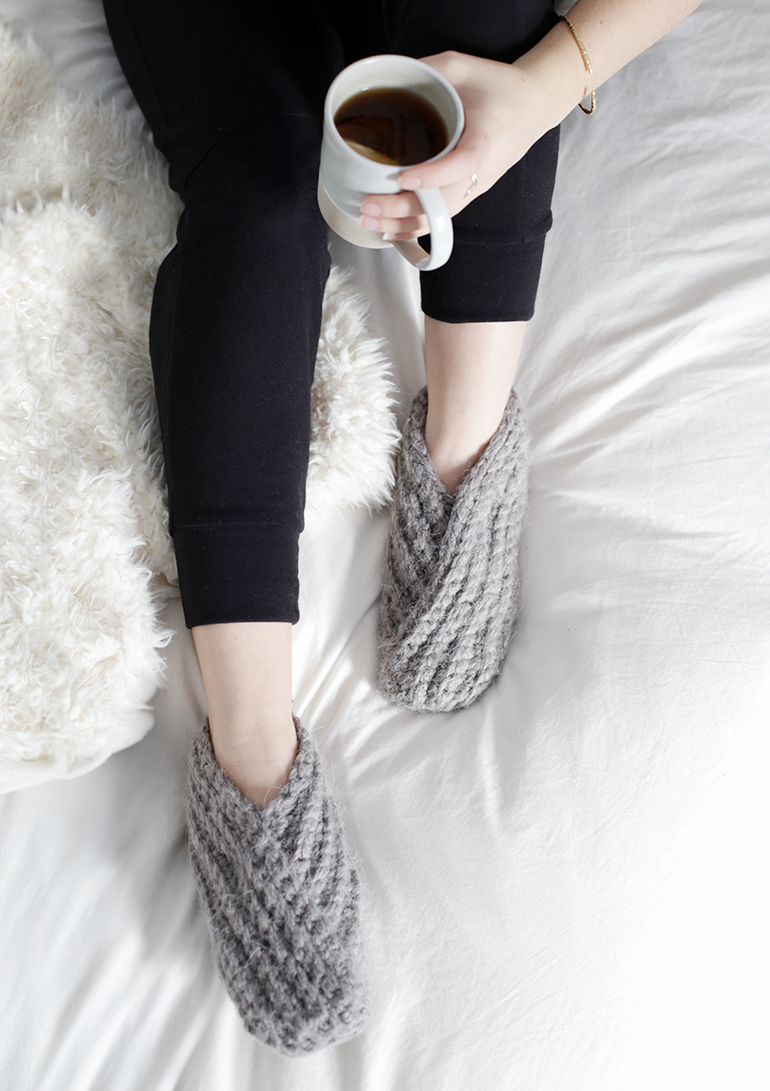
 We’re here in the middle of our winter season and we had a fresh coat of snow last night, so what better a time to share these cozy slippers that you can make for yourself so you can survive the cold. I am never without a thick pair of socks or slippers because of all the hardwood floors in this drafty old house. I asked my cousin Kailey (our resident crochet/knitter) to make a pair of slippers for me for Christmas and then convinced her to create a tutorial for them to share with all of you! And quick confession – I definitely had to go shave my hairy winter legs just for this photoshoot so you wouldn’t all be horrified – you’re welcome! And yeah, I only shaved the four inches of skin that would be showing. Ha!
 What you need:
–
-Yarn Weight 6: Super Bulky ()
-Scissors
– How to make them:
TOP OF SLIPPER:
*I wrote the pattern using my foot size. I wear size 7-8 (us) women’s sneakers.
Measure length from top of big toe, down around the outside of your foot, around your heel, and up to the base of big toe. Chain a length to that measurement. I chained 49 for proper fit.
Row 1: Chain 49.
Row 2: SC in 2nd chain from hook and each chain across. (48)
Row 3-12: Chain 1. Single crochet in back loop only of same stitch, and each stitch across.(48)
**If you have wide feet you may want to add a few more rows so the top of your foot will be fully covered once slipper is sewn together. Just repeat row 3 as needed.
SOLE:
*Also based off size 7-8 women’s shoe size. (You can adjust this by changing the number of chained to go across the heel of your foot, continue this number until your foot widens and increase as necessary.)
Row 1: Chain 7 (*This is the heel of the sole.)
Row 2: Single crochet in second chain and in each chain across(6 sc)
Row 3-14: Chain 1. SC in same stitch and each stitch across(6)
Row 15: Chain 1. 1 SC increase in same stitch. SC in each of the next 4 stitches. 1 SC increase in last stitch. (8)
Row 16-18: Chain 1. SC in same stitch and in each stitch across. (8)
Row 19: Chain 1. 1 SC decrease. SC in each of the next 4 stitches. 1 SC decrease. (6)
Row 20-23: chain 1. SC in same stitch and each stitch across(6)
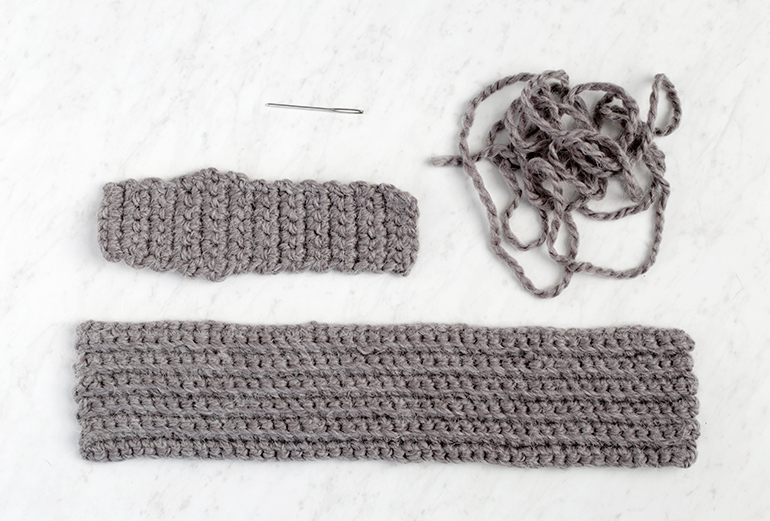
-Weave in all ends
-Use tapestry needle to sew both pieces together to complete your slipper.
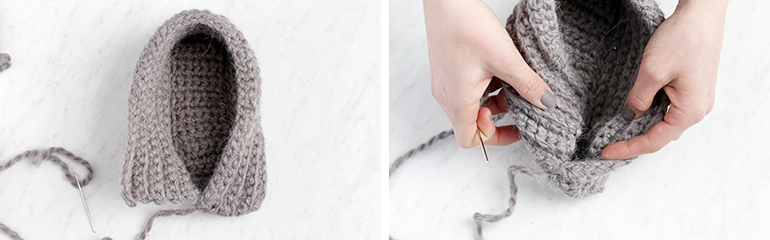
-For a more rounded looking slipper, tuck in the corners of one short end of top piece and line up with the toe portion of the sole. (Photo 1 below)
-Hold pieces in place and use tapestry needle and extra strand of yarn to begin to sew together the two pieces. (Photo 2 below)
-Once toe-end is sewed together, continue to sew along the outside edge of the slipper. You will follow along the long side of the top piece attaching it to the edge of the sole as you go. (Photo 3 below)
-Once you’ve sewn around the entire sole of the slipper you should have the final short end of the long piece still unattached. At this point you will need to adjust where you sew this piece to, based on how tight fitting you want it to be. (Photo 4 below)
-Stitch the edge of short end to the underside of the top piece as best fits. (Photo 5 below)
-You can add one extra stitch/knot onto the top part of the crossed over portion just to give it a more snug fit. (Photo 6 below)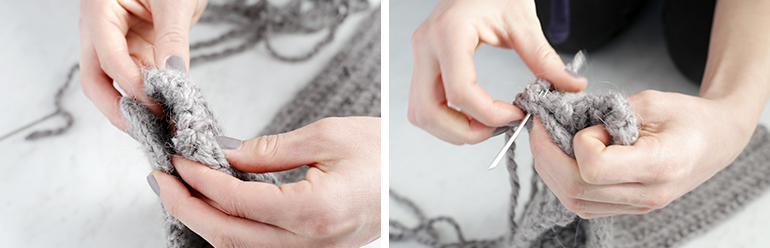

 -Caitlin & Kailey
The post appeared first on .


