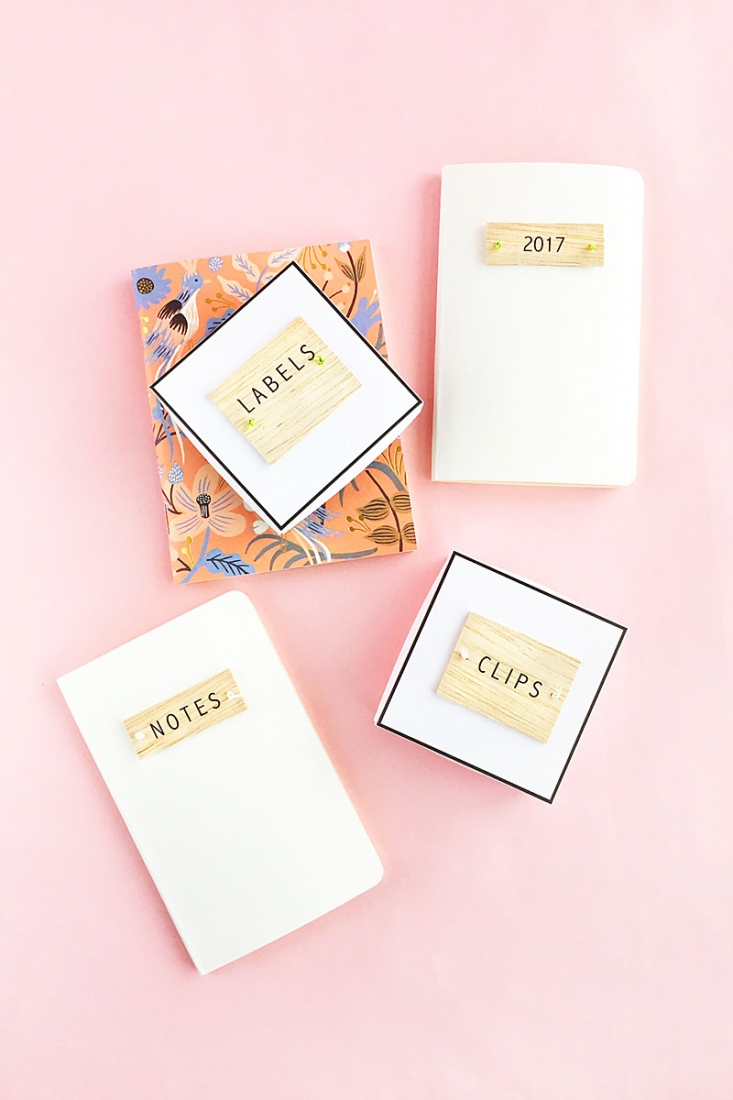
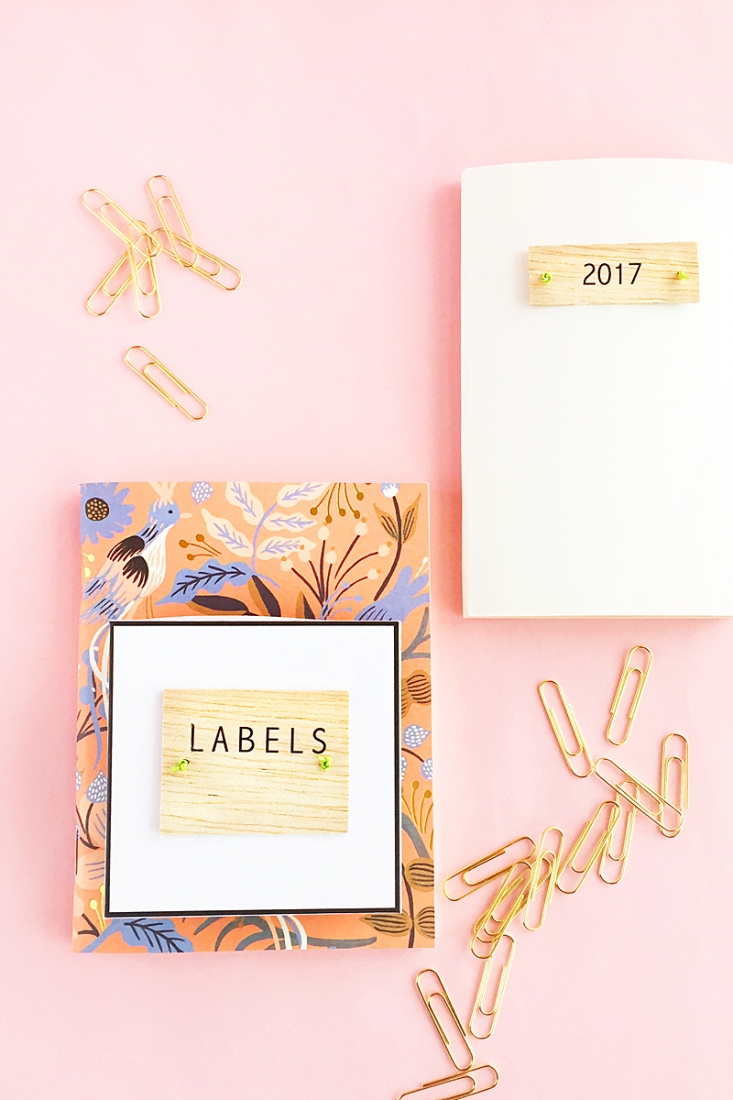
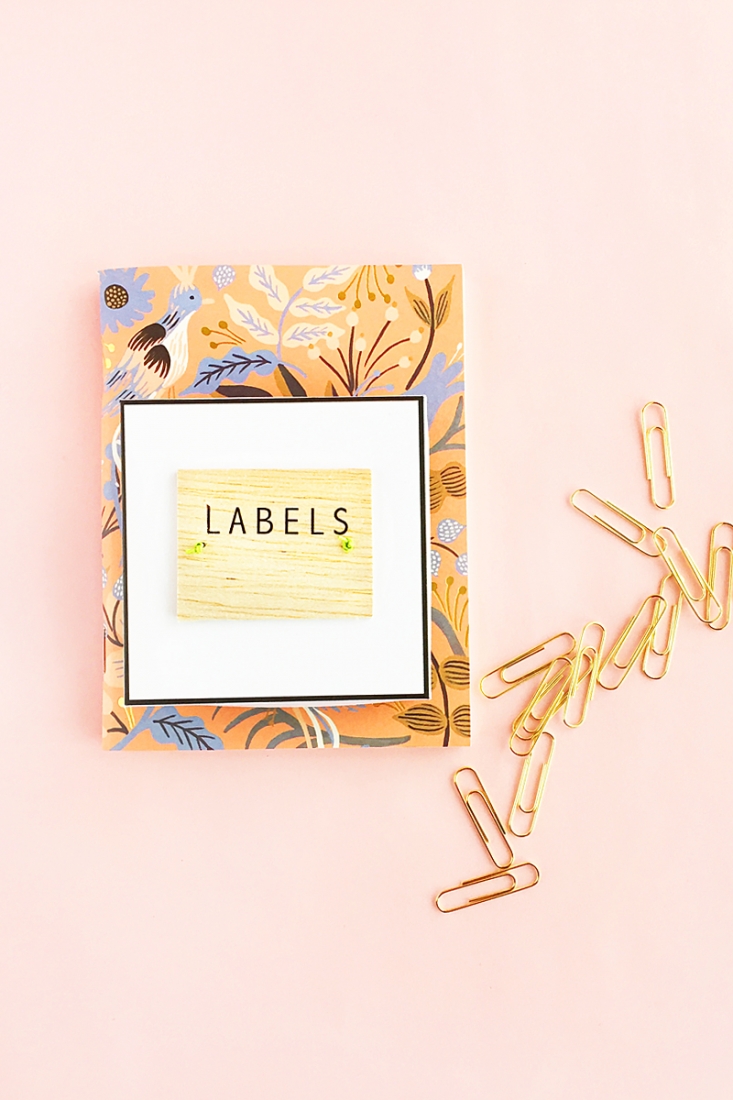
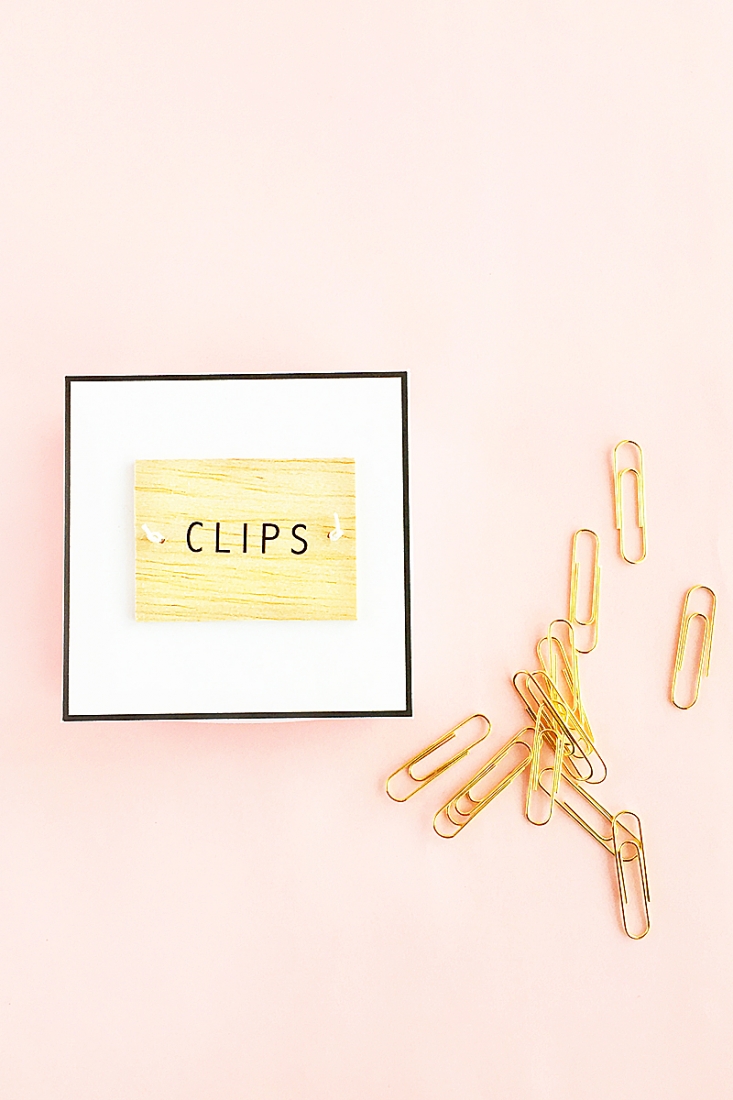
Happy 2017! It’s a new year and I like to start the year off organizing and labeling things. Which leads me to these DIY Balsa Wood Labels. I have not used balsa or printable tattoo paper in a while, and this was a good reason to use 2 of my favorite mediums (besides paper, of course!). Anyway, wouldn’t these little labels be great for your journals or planners? I even added them to couple of boxes. Read on for the full tutorial!
The What
- (there is a free version)
- Temporary Tattoo Paper
- Wet towel
- Scraper
- Balsa wood
- Printer
- Pencil
- Hole punch
- Scissors or Craft knife and cutting mat
- Clear sealant
- Natural hemp cord
The How
- To create your wood labels, cut rectangles from your balsa wood sheets
- Use your hole punch to create a hole on each side.
- Place the wood label on your journal front cover, then use your pencil and hole punch to mark and punch the holes on your journal cover
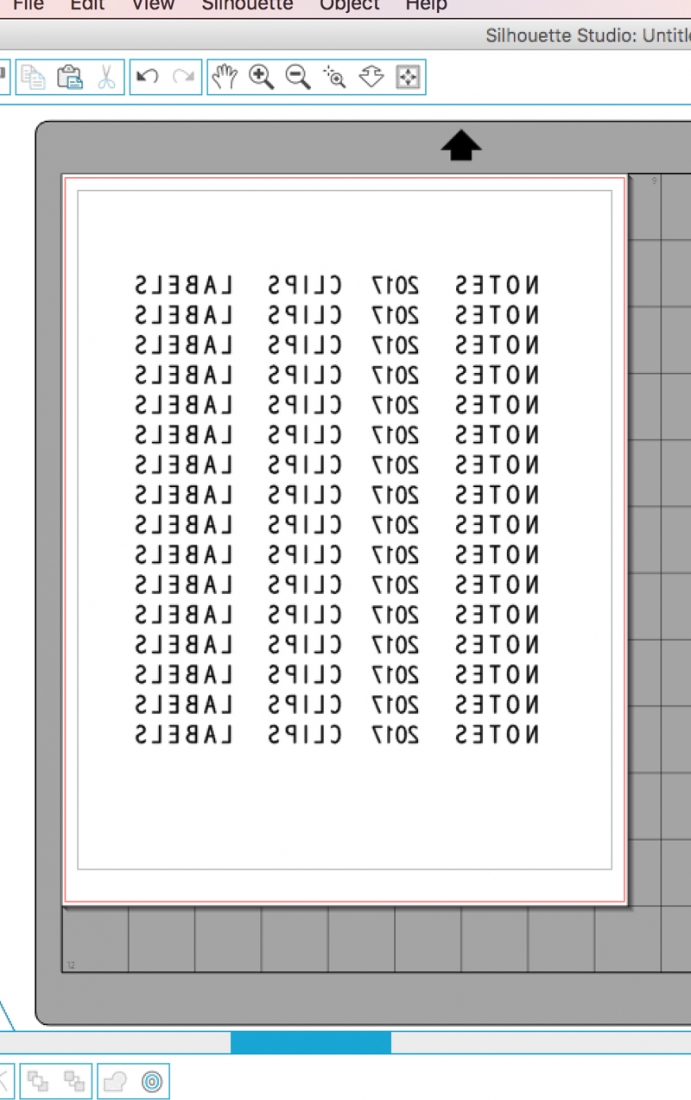
- Open Silhouette Studio and use the text tool to create your labels (I used Abadi MT Condensed Light with an extra space between letters)
- Resize your text so that it will fit between the holes on your balsa wood rectangles
- Mirror your text
- Group and replicate throughout the page
- Print your labels onto tattoo paper
- Apply the clear adhesive sheet from the tattoo paper package. Use your scraper to smooth the bubbles out
- Cut closely around each label
- Remove the clear adhesive paper for each one, and apply the tattoo to the wood with a wet towel
- Optional: apply a clear sealant or nail varnish to the wood to protect the tattooed image (this will help make the tattoo last longer on the wood)
- Cut a piece of cord and knot one end
- String the unknotted end through one side of the wood and journal cover, then bring it through the other hole in the journal cover and through the other side of the wood label
- Create a knot close to the wood’s surface on the other side of the wood label
And that’s it! Where will you place your labels?
Looking for some more inspiration? Check out my other and craft a little longer with me.
The post appeared first on .


