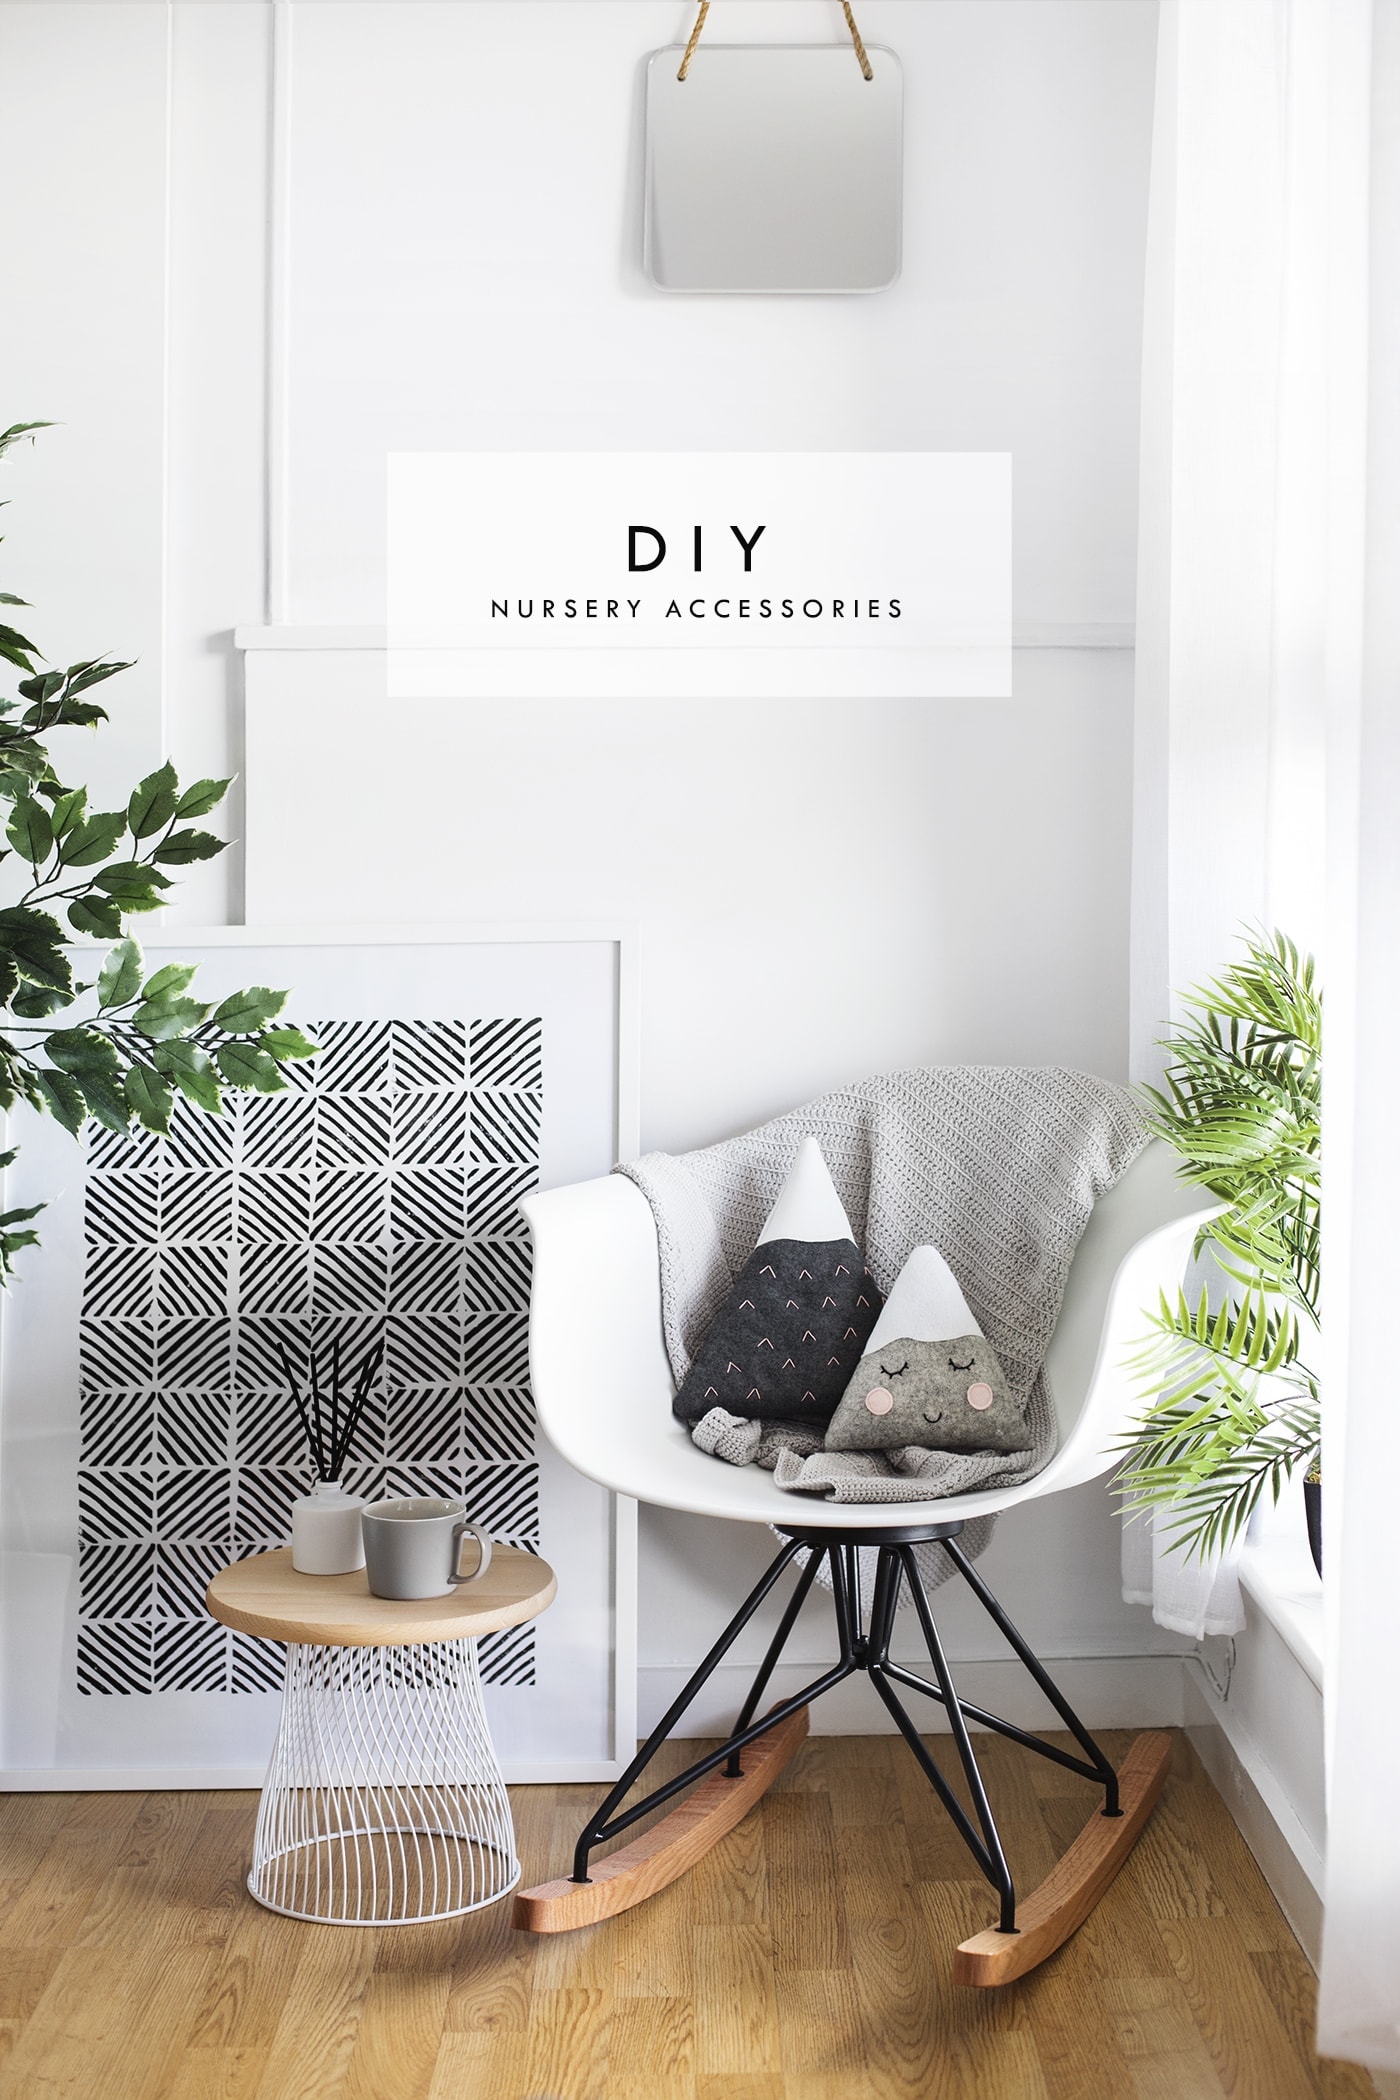
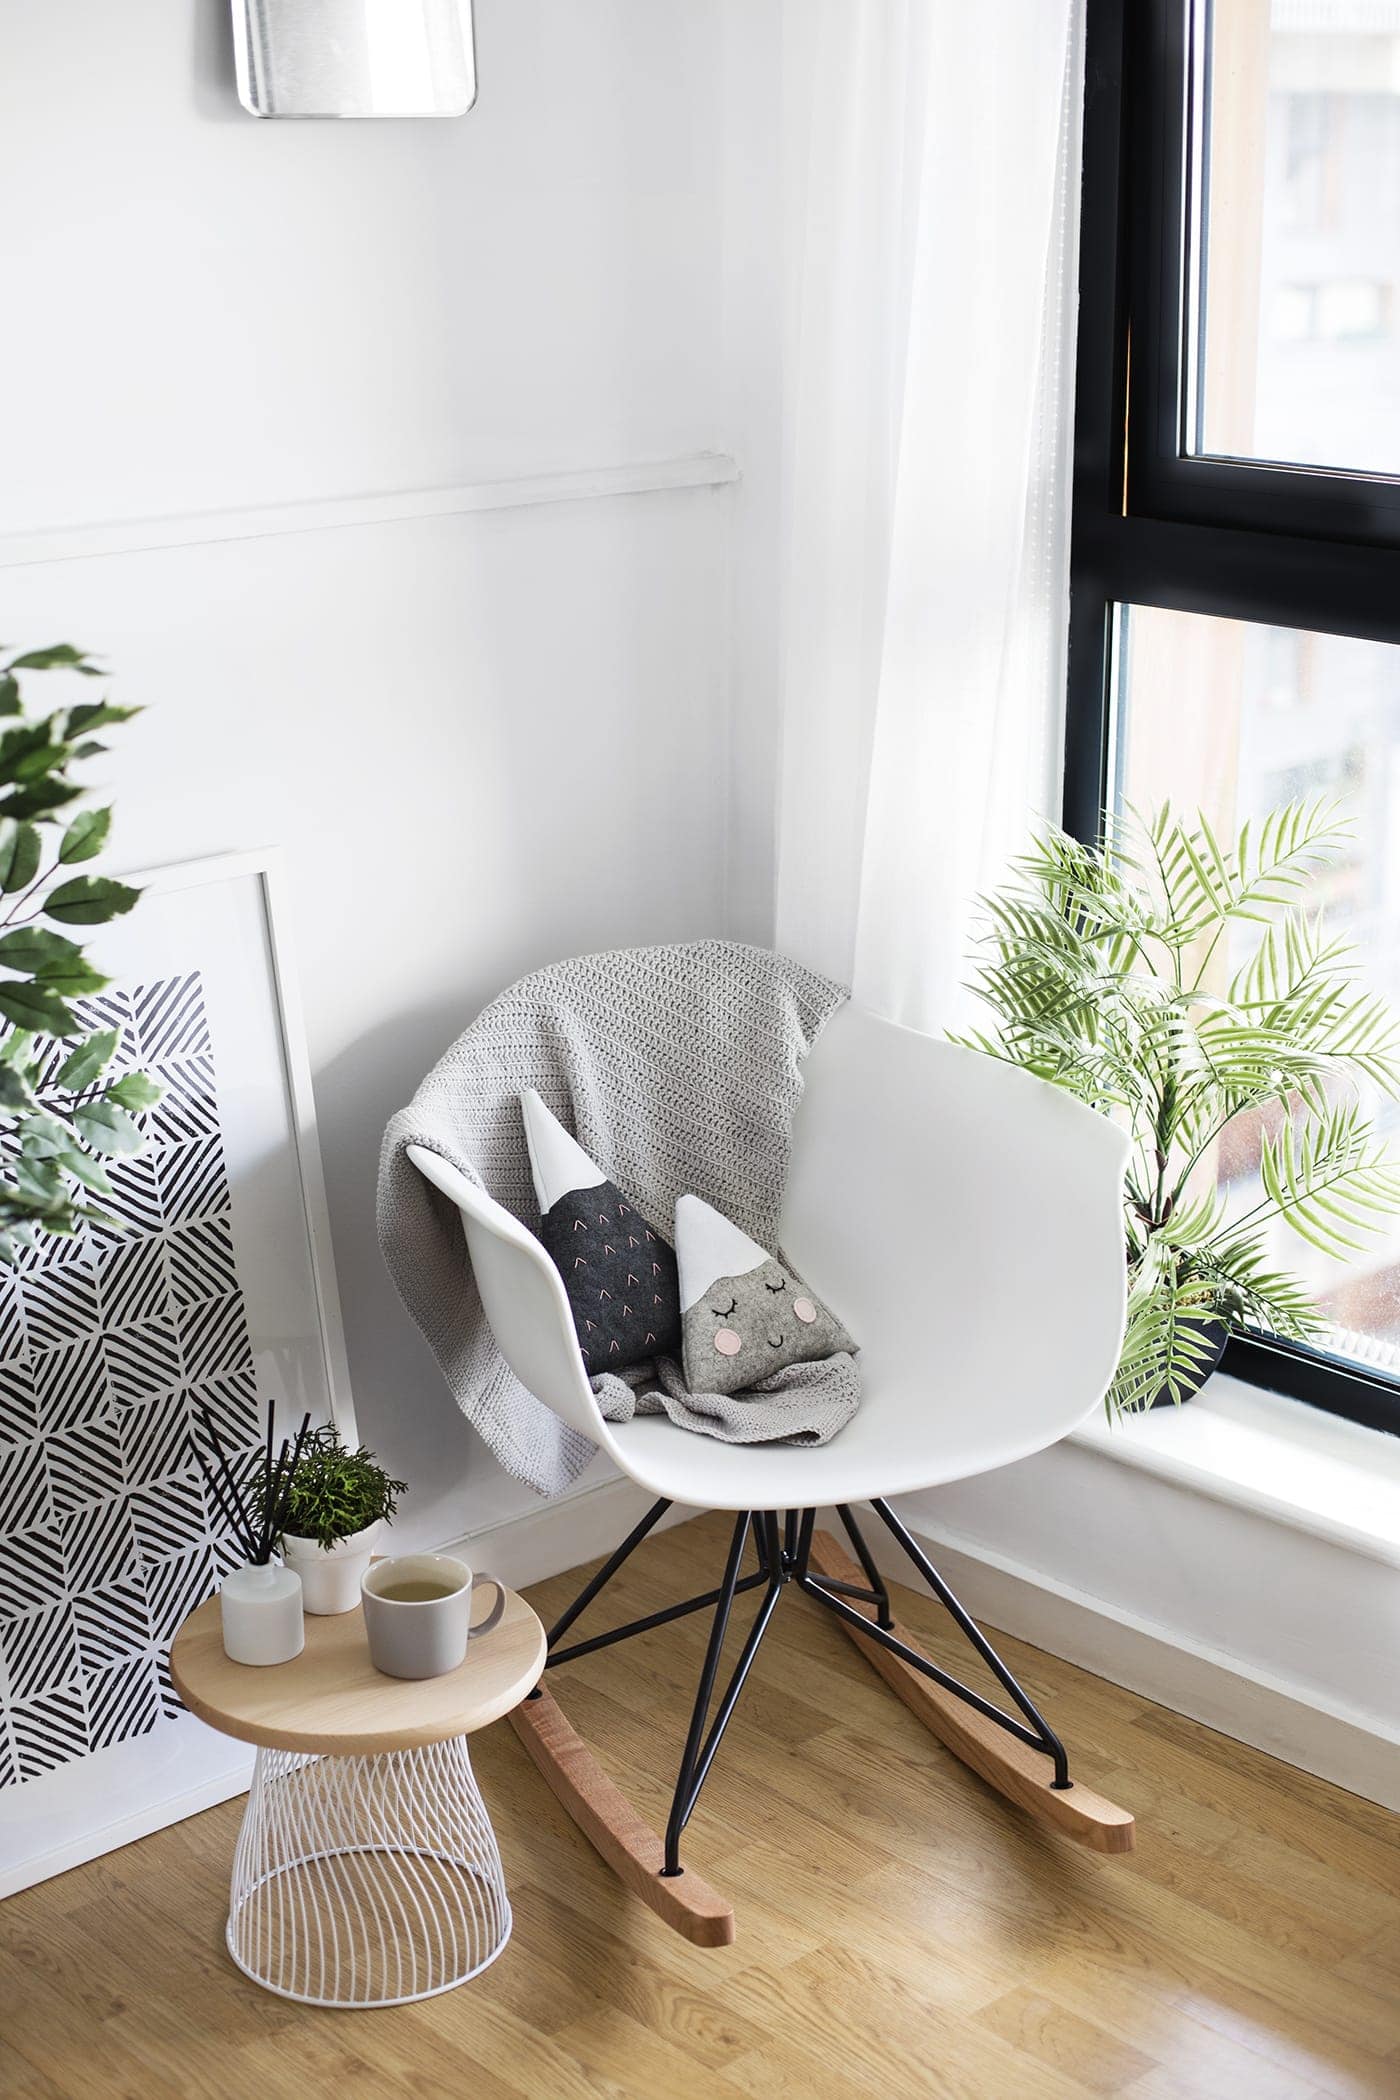
 Many of you may already know that we have a baby girl on the way and so we’re finally starting to think about how we might have to re-arrange our current guest bedroom for her arrival. We were definitely in denial for the first half of the pregnancy but now time seems to be running away at full speed and so some form of planning has to happen before the due date is upon us! My first step in the right direction was to create a little feeding corner, geared up for comfort as well as a healthy dollop of ‘cute’ to boot. When Cult Furniture got in touch about their stylish , I was immediately drawn to the model and desperately wanted to style a corner of the baby’s bedroom around it. I loved how wide and comfortable it looked when I spotted it online and thought that rocking motion was 100% likely to soothe and calm our little miss, that’s the novel idea anyway. The has such a huge selection of colours for the shell, as well as various different metal and wood combinations for the legs so you can get the exact chair your heart desires or even mix and match if you wan’t more of an electric vibe.
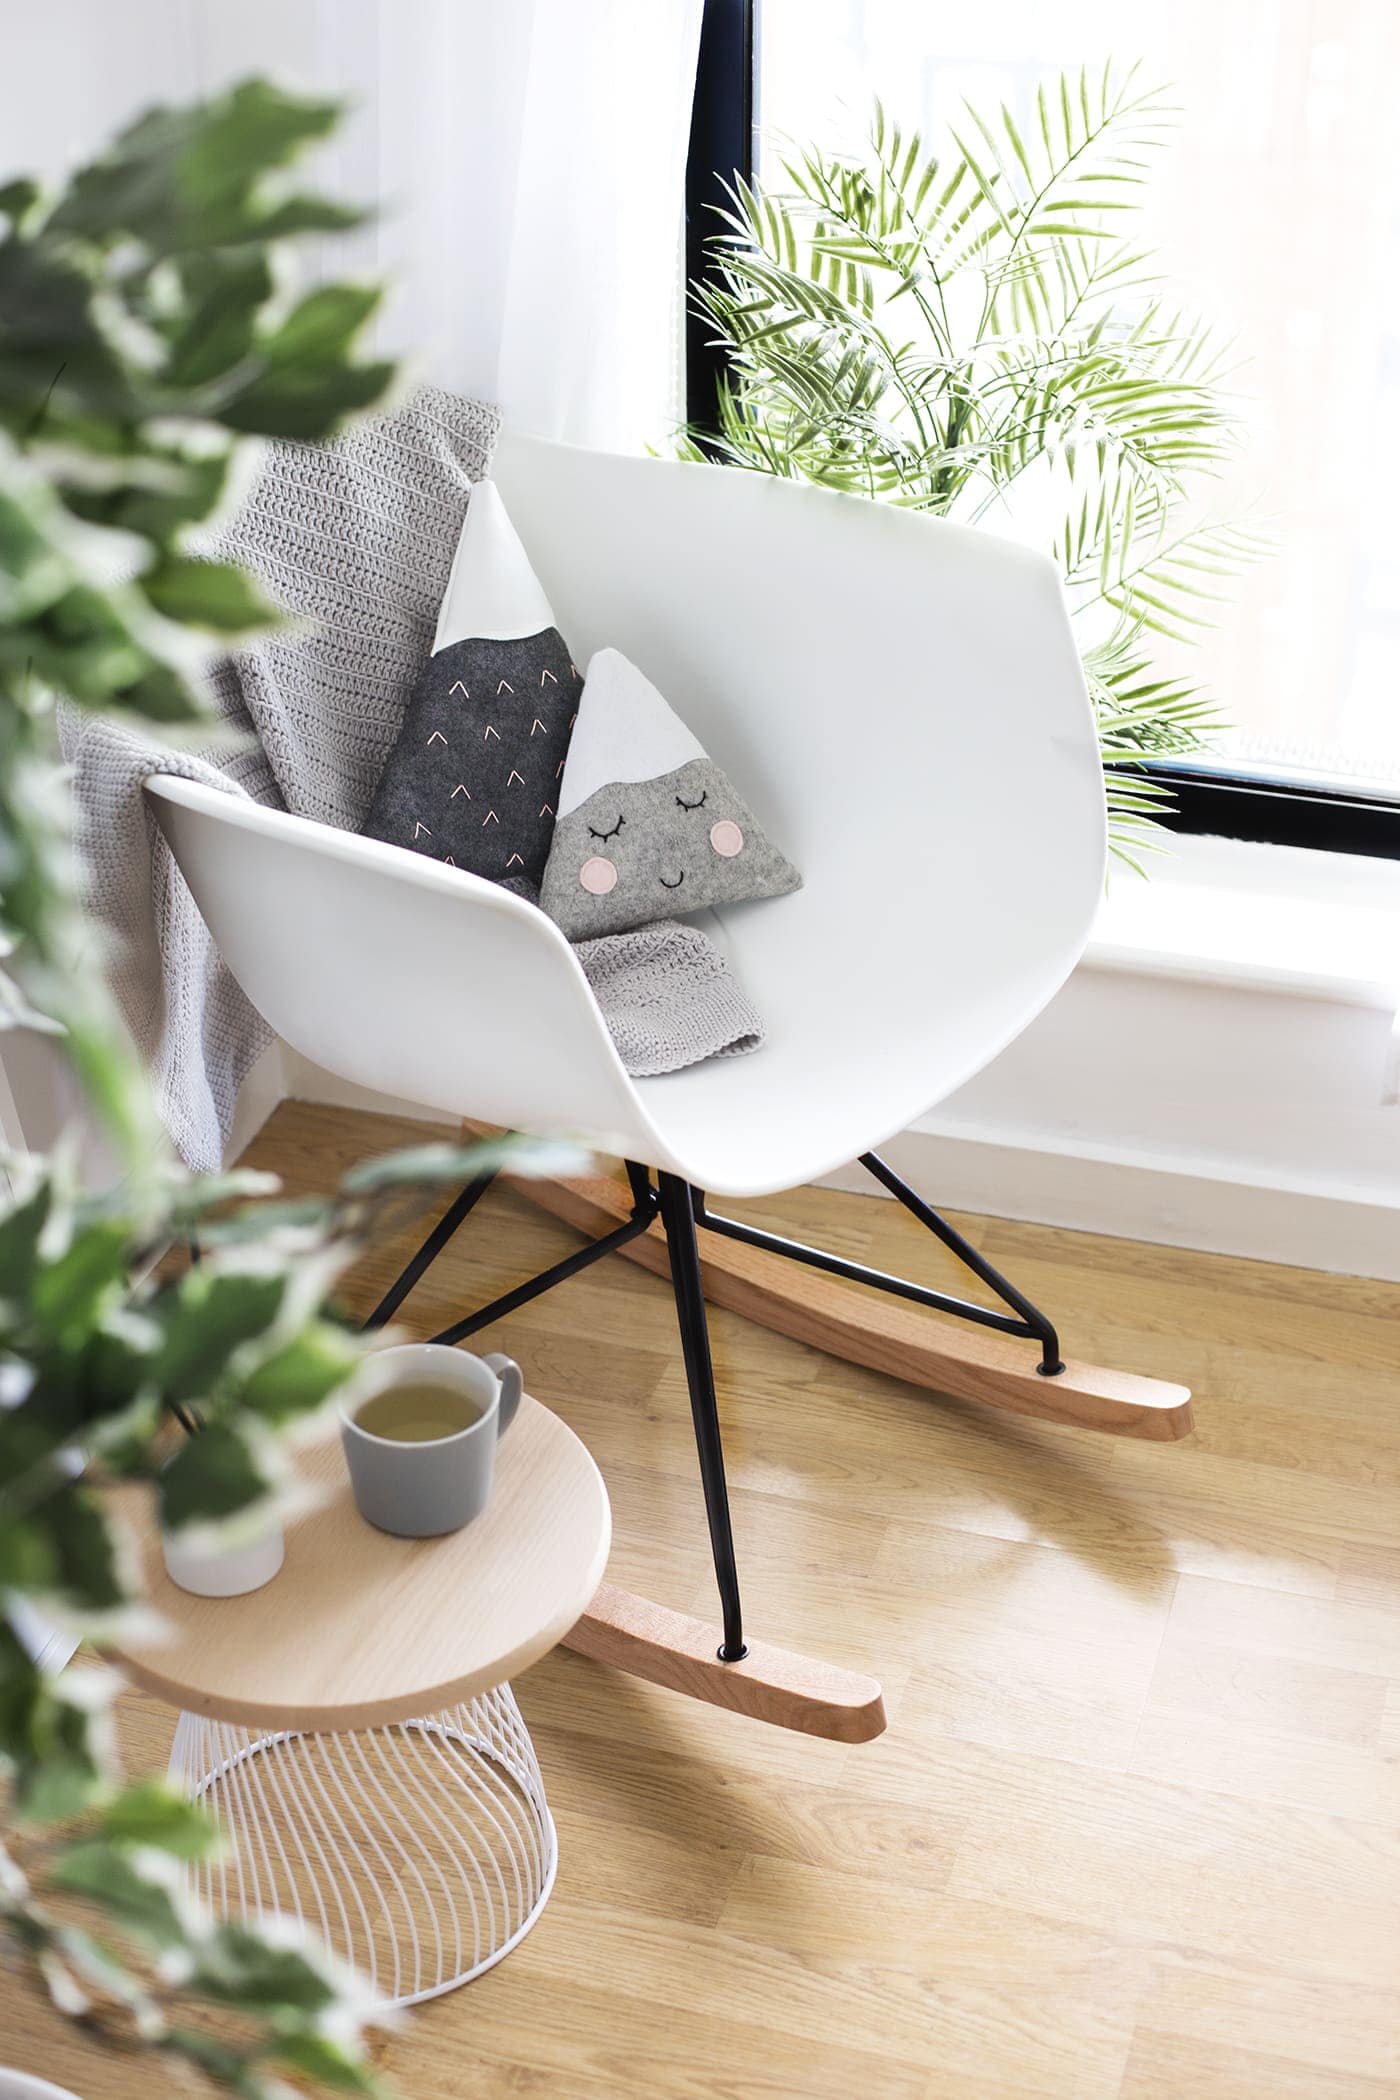
When it arrived it was easy to assemble and turned out to be just as comfy as I’d envisioned! You’ll notice I went for white with black and wood legs, which probably isn’t at all surprising if you read my blog. I’m a monochrome kinda girl with some grey touches when I get a bit crazy. You’ll be glad to know however, I am going to be adding hints of blush into the babies bedroom but I won’t be getting too carried away.
With my stylish new I decided to come up with two easy DIY ideas to make this little corner more homey but saying that these tutorials aren’t nursery specific at all. You can use them in different parts of your home too! 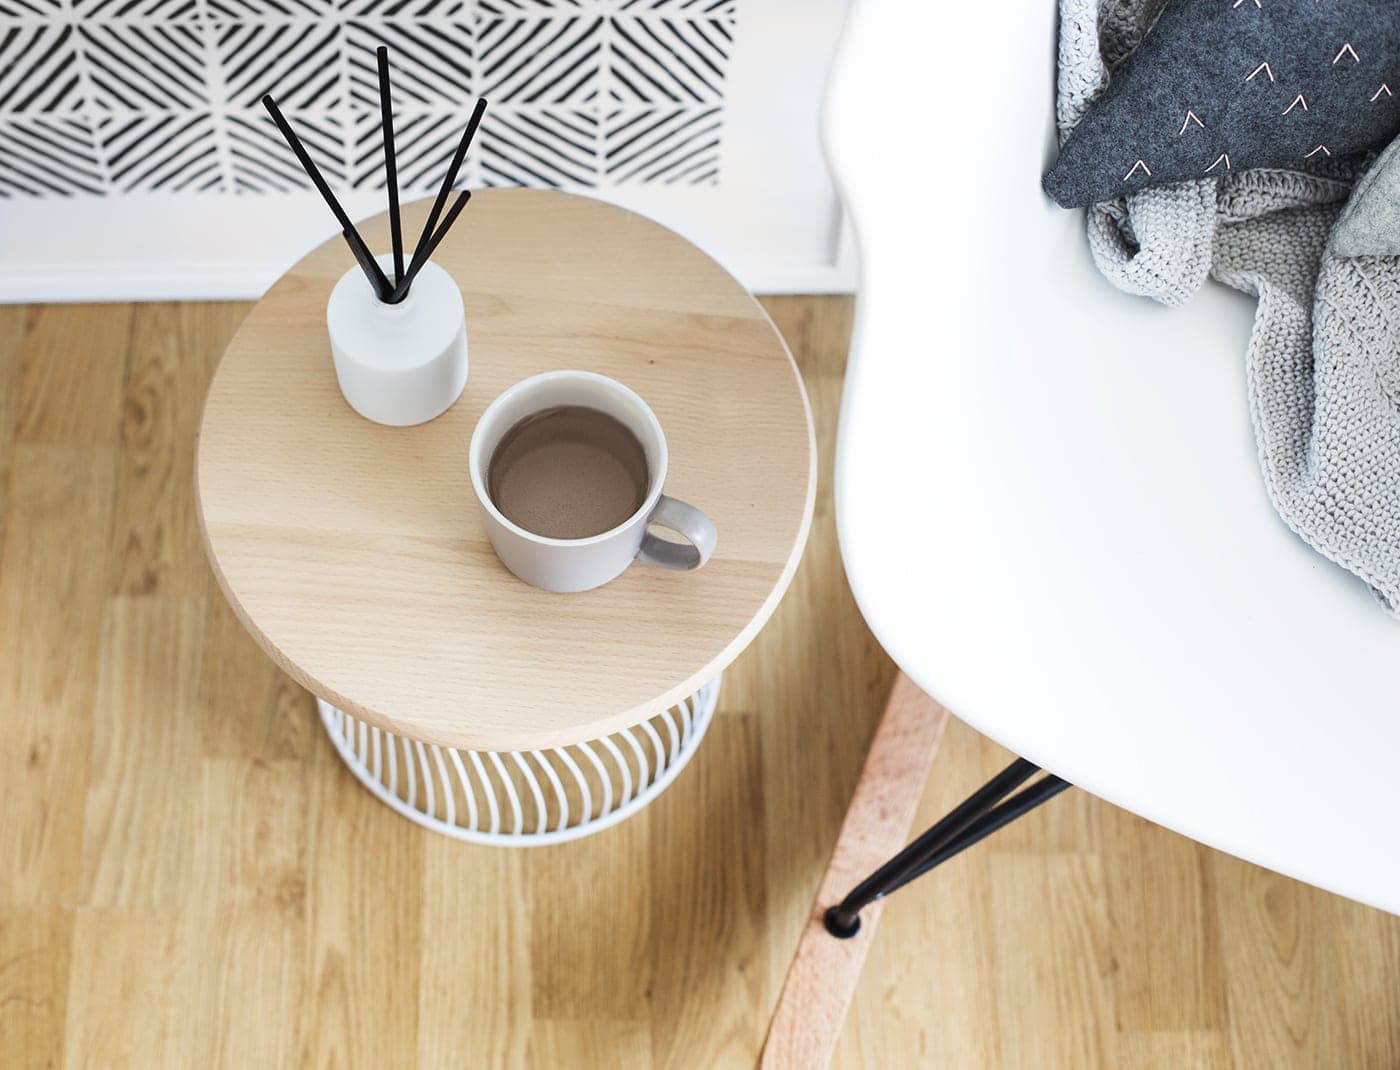
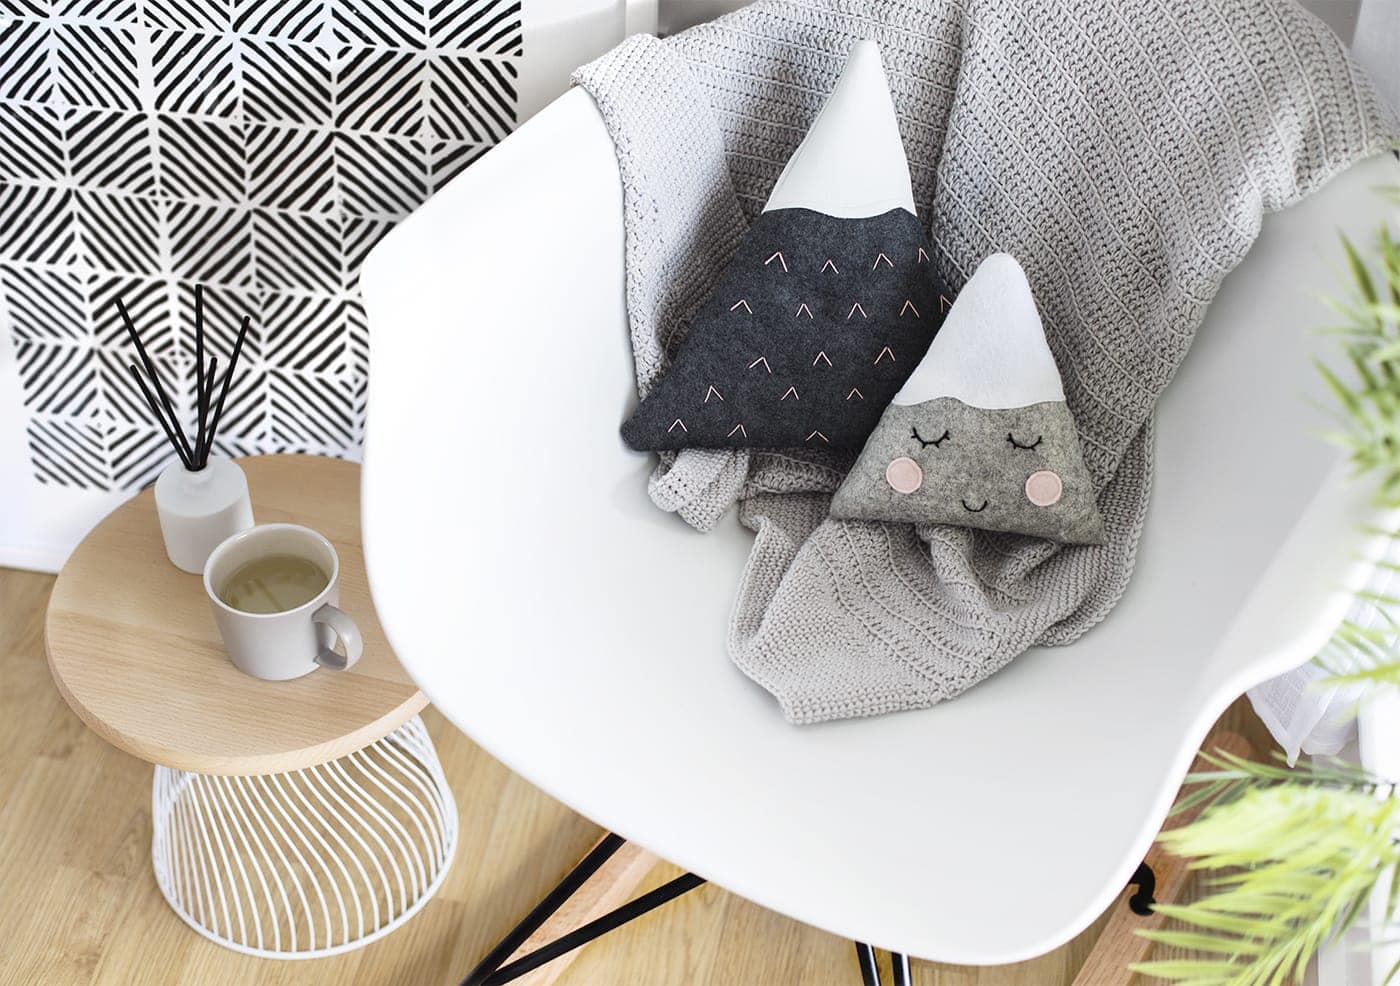
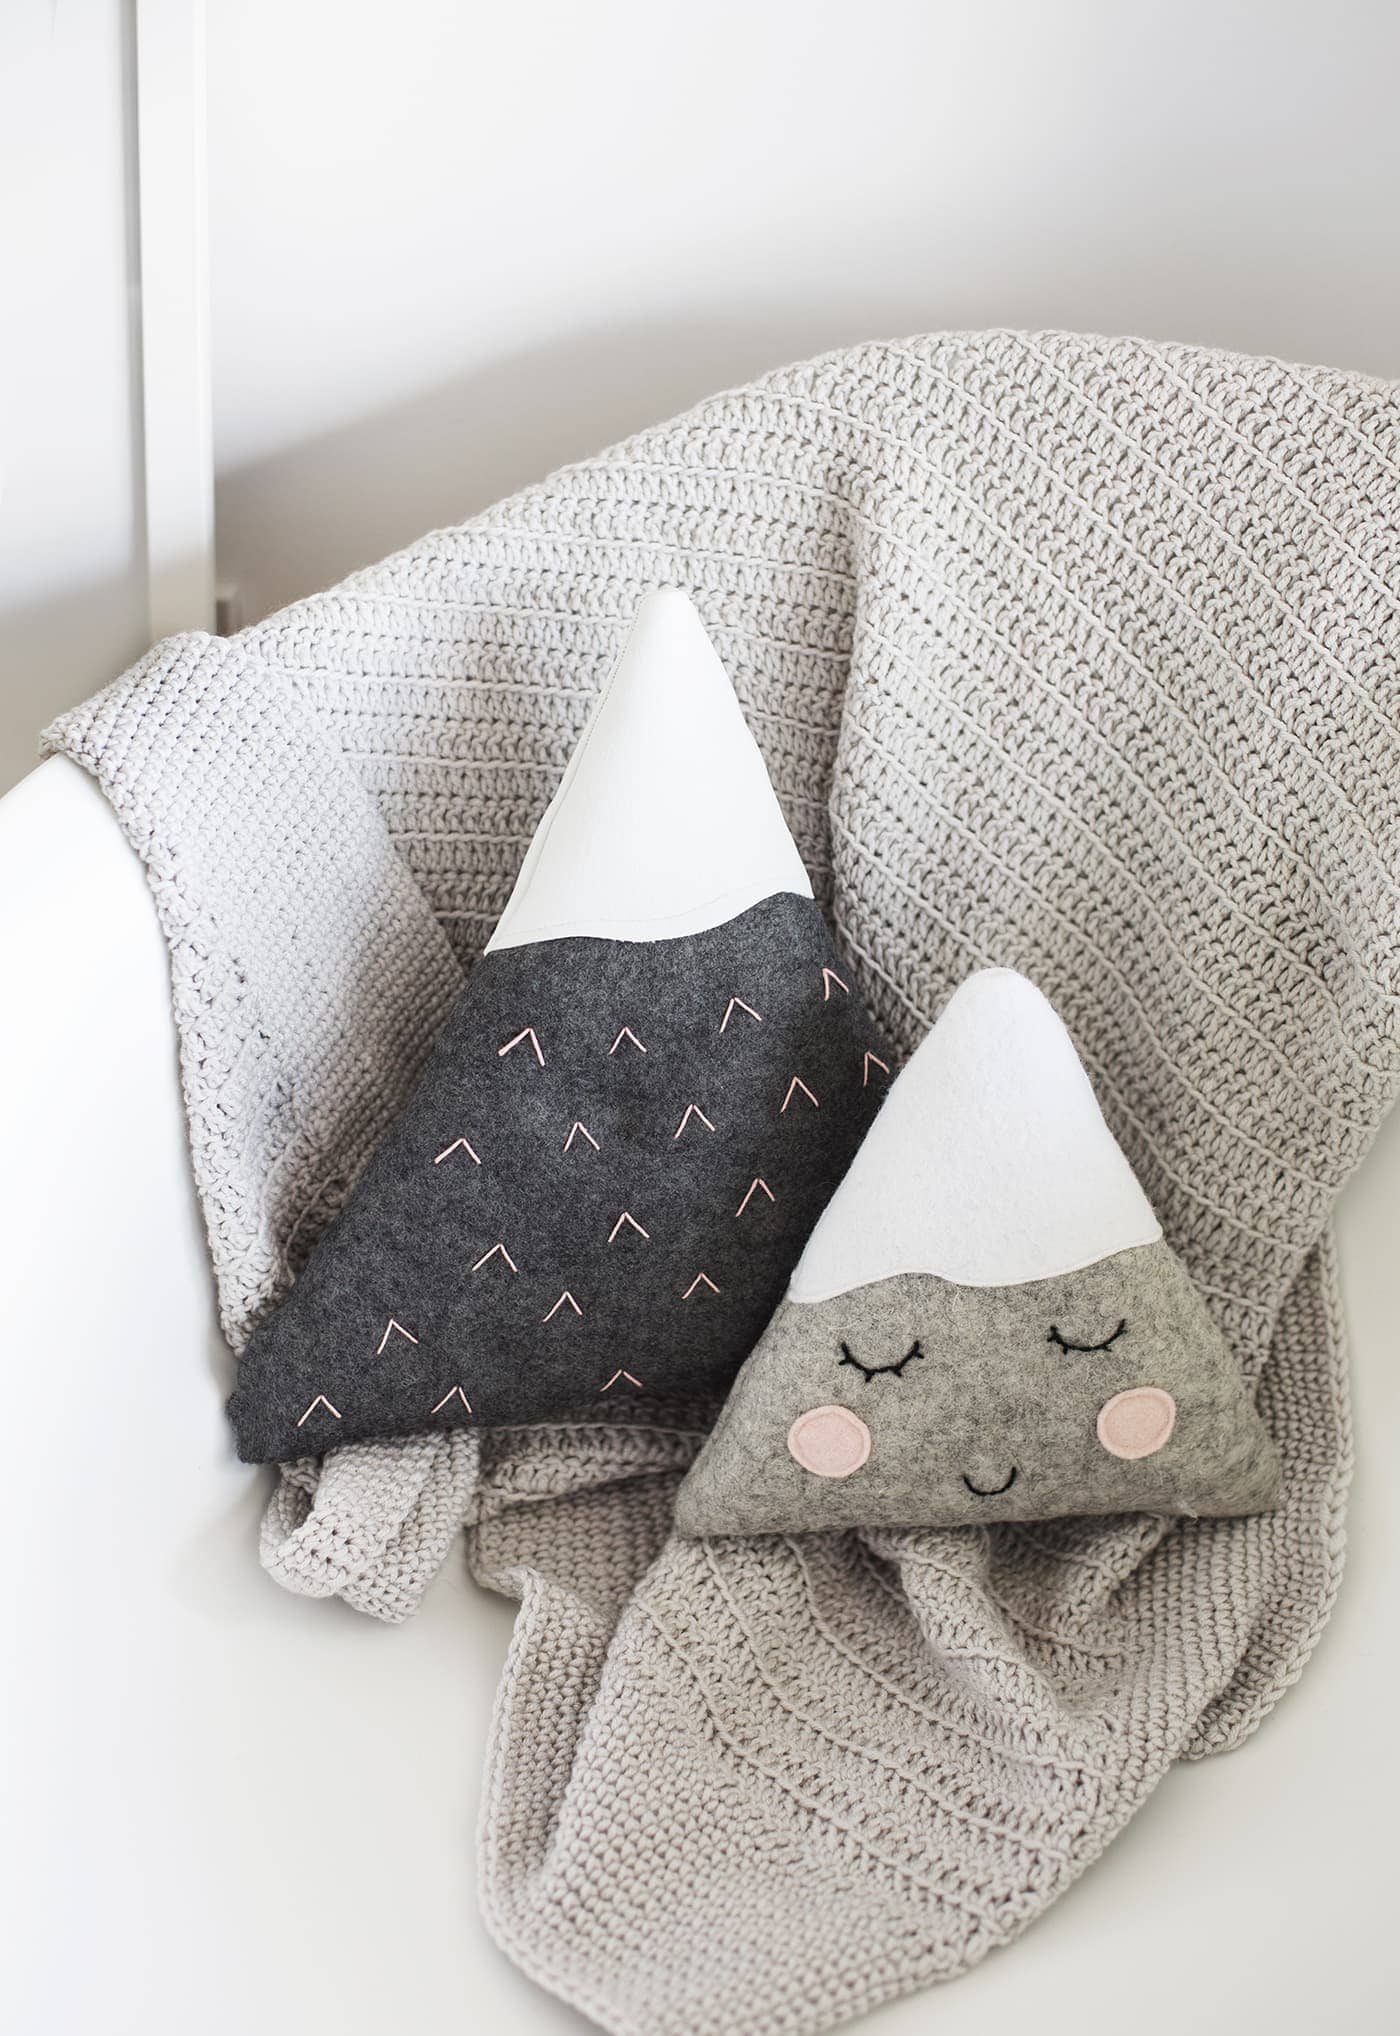
DIY Mini Mountain Cushions
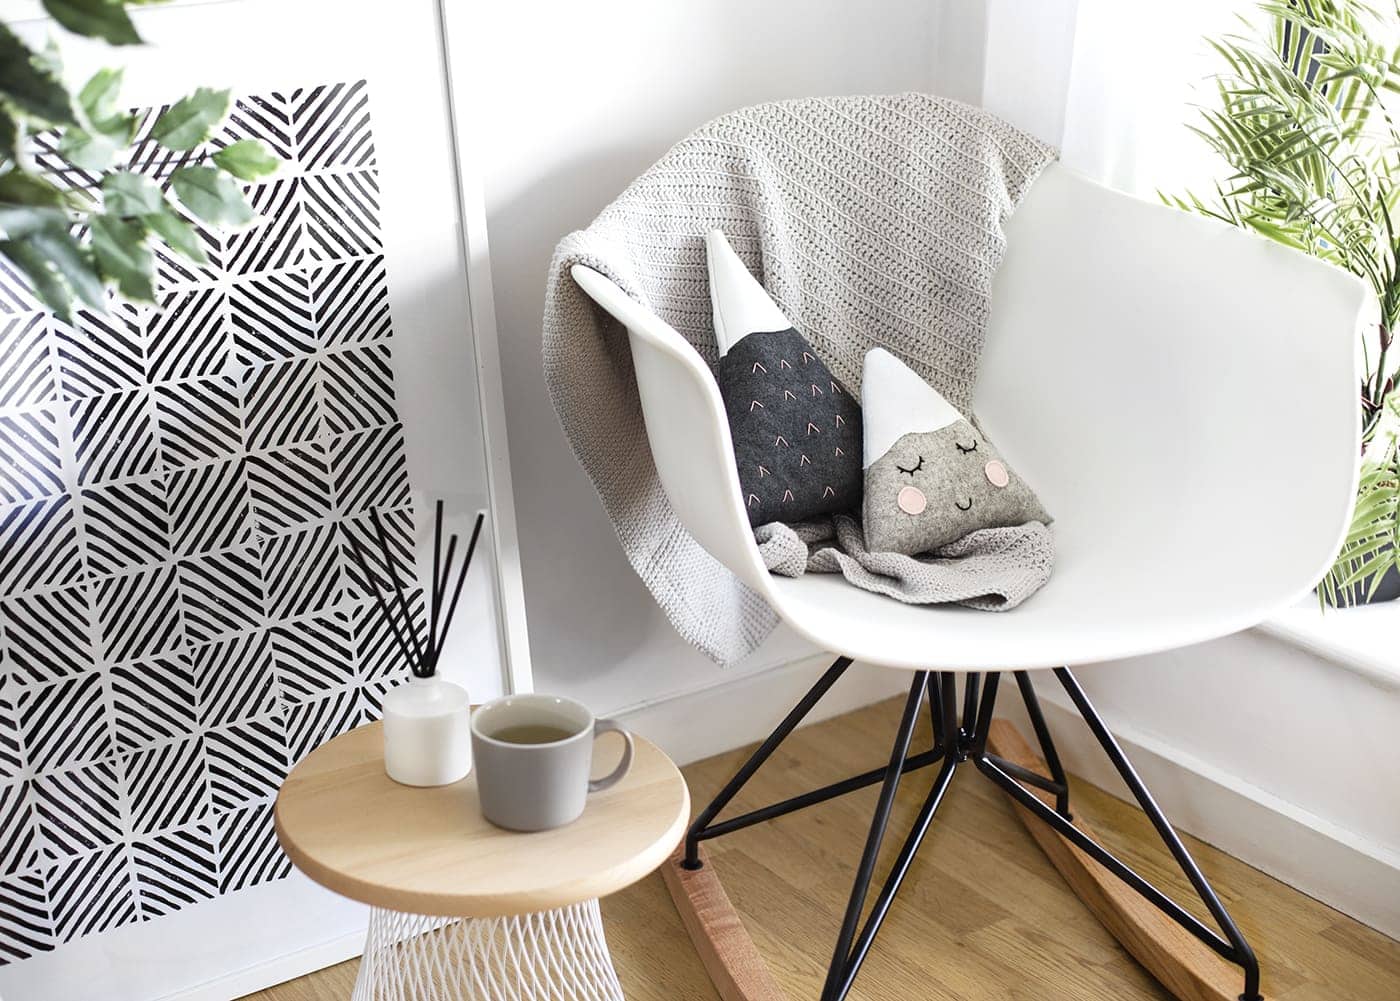
These are so charming and not only add a bit of padding to the rocking chair but also look adorable and can be used as toys for the little one. They also couldn’t be easier to make.
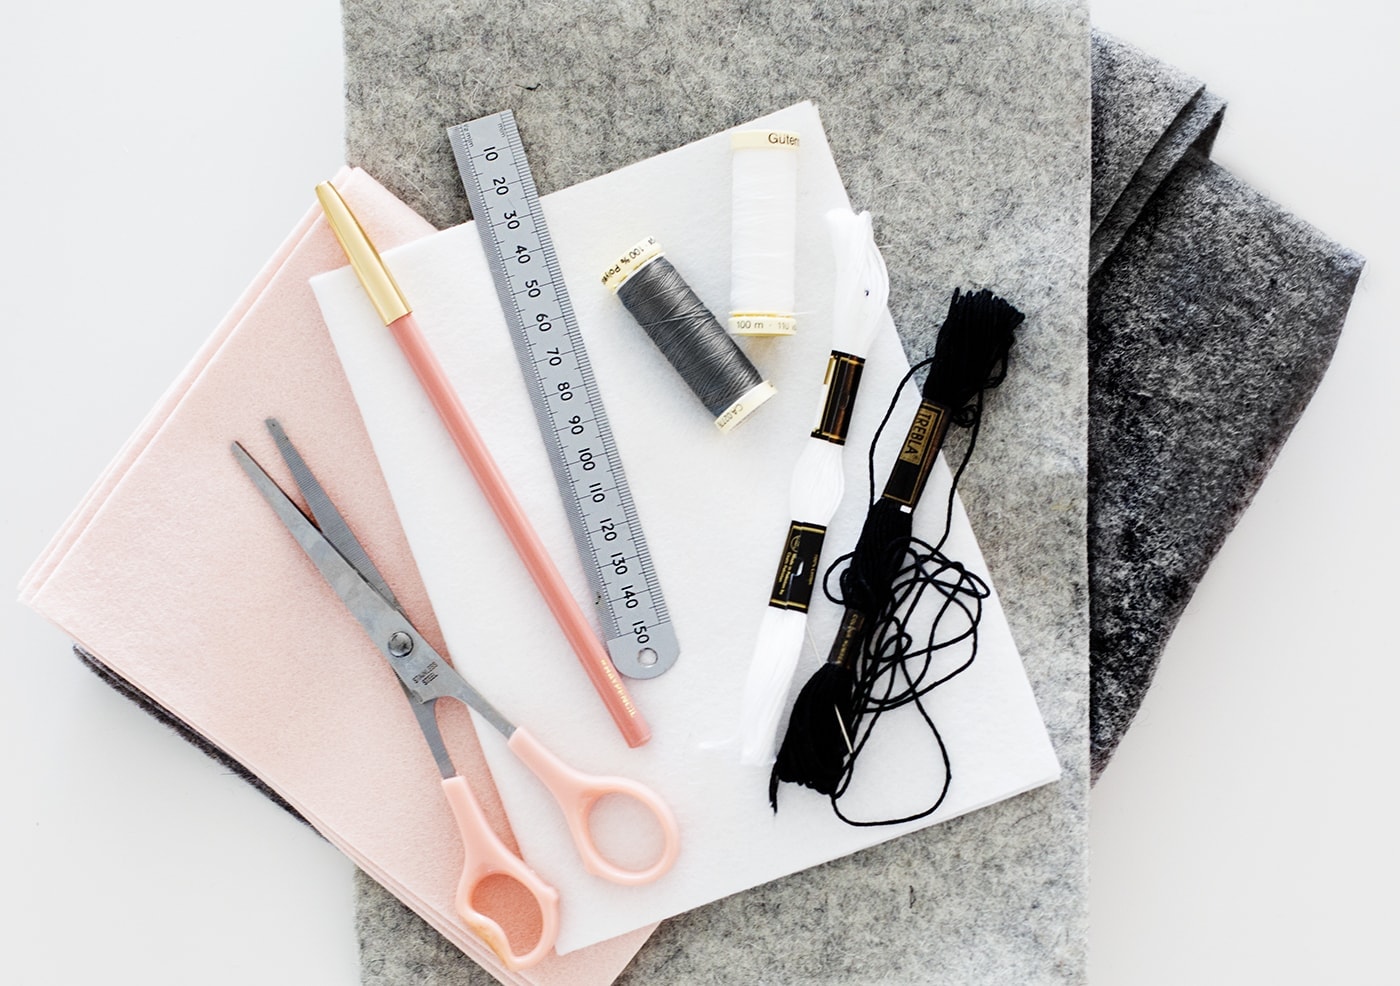
Materials:
- Grey felt
- White felt
- Pink felt
- Black embroidery thread
- White thread
- Scissors
- Wadding
- Hand sewing needle
- Pencil
- Dressmaker Pins
 Fold a section of fold in half, large enough to make the triangle mountain shape and draw this in pencil on one side. Then cut this shape out while the felt is folded so you are left with only two sides to stick up. Draw the ‘snow cap’ shape out lightly with pencil on the white felt. You will need two detached pieces but can still fold the felt in half to get them to accurately match up and finally draw two circles onto the pale pink fabric and cut them out to form the cheeks. Once you have all your pieces pin the snowy peaks on either side of the grey felt, matching up the edges and then pin the cheeks on one side too.
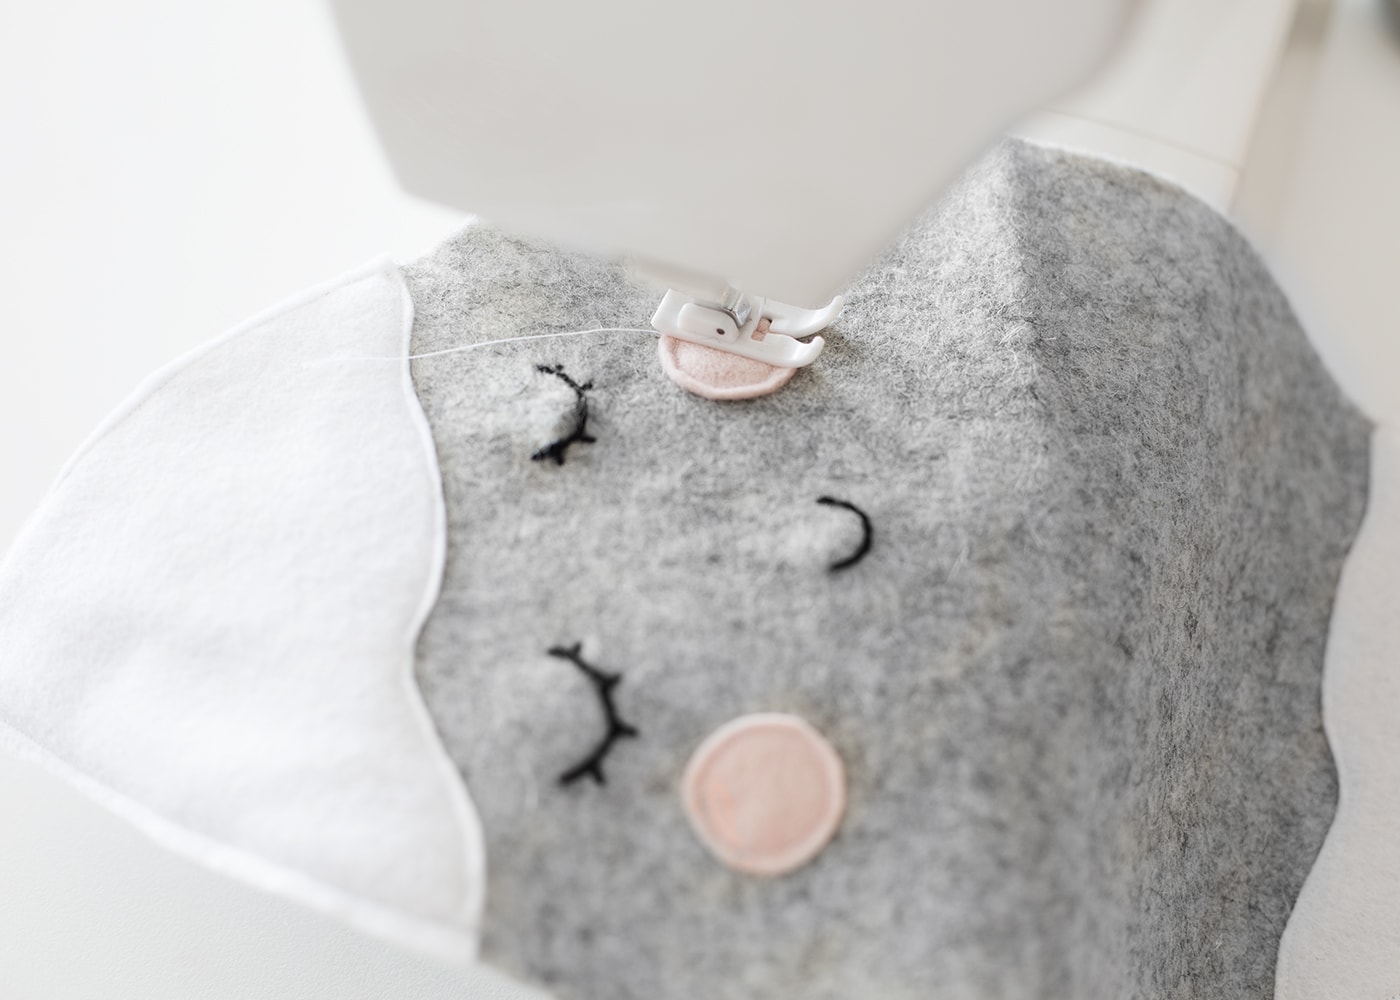 Hand stitch the eyes and mouth using the black embroidery thread and sewing needle and then use the sewing machine to stitch on the snowy tops and cheeks with a simple straight stitch. With the white felt get as close to the edge as you can so that when you turn it inside out they match up and don’t move around while you’re stitching.
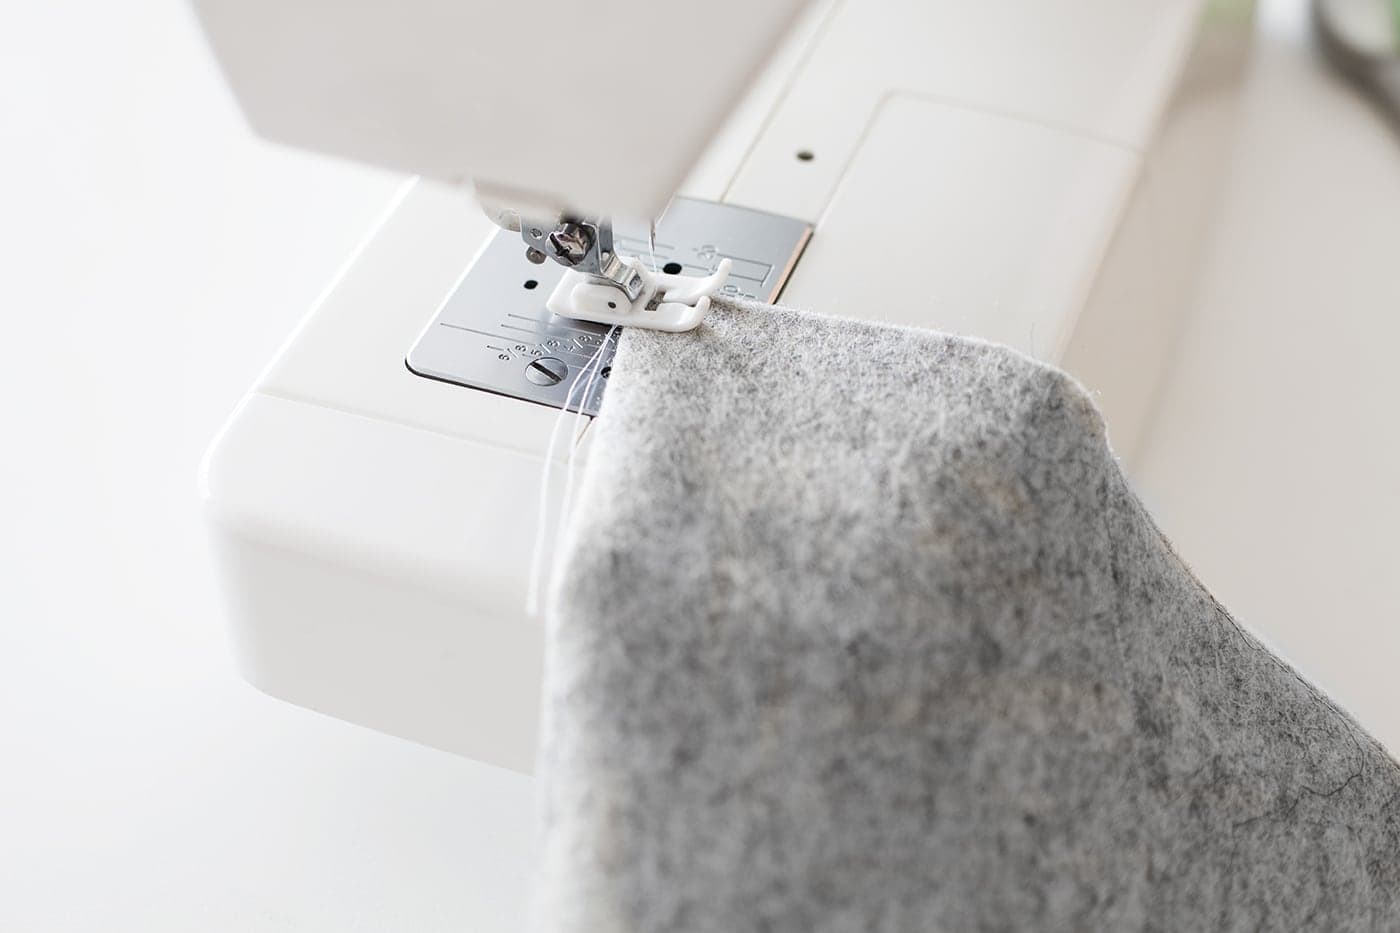 Turn the grey felt with all of it’s feature inside out ready for to sew on the machine. The face of the mountain should be on the inside when stitching. Sew about 70% of the open edges leaving enough room for the wadding to be placed inside.
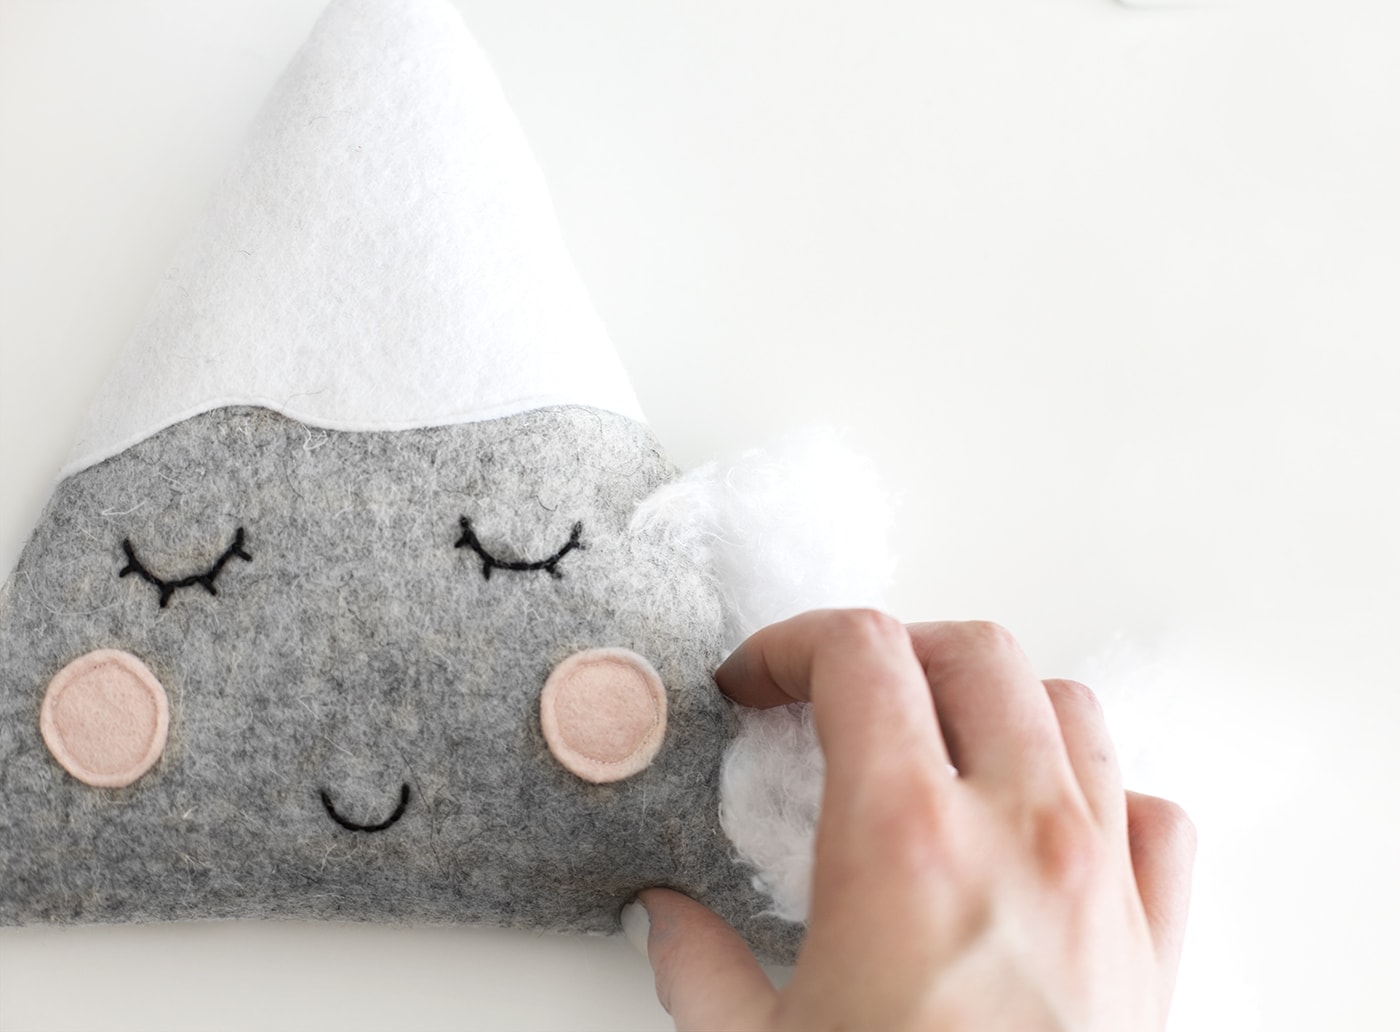 Once you have finished stitching and left a gap, use the gap to turn the mountain inside out and stuff the the mountain with wadding to your desired firmness.
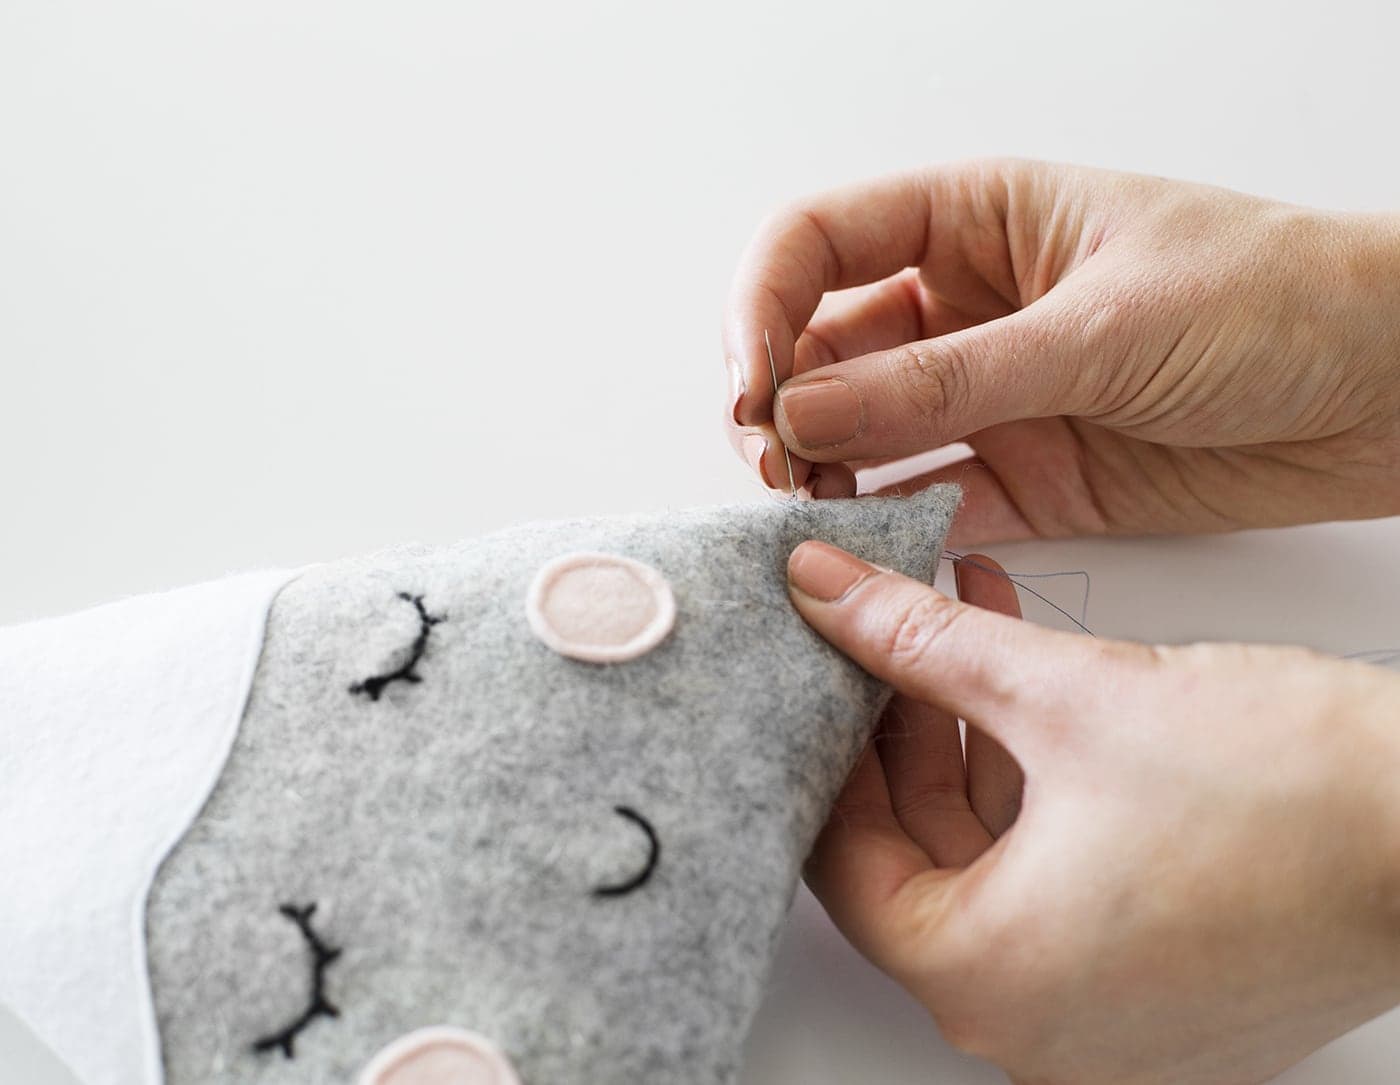 Using a blind/Ladder stitch you can now close the gap that you used to stuff the mountain. This stitch will leave you with a nice, neat finish along the edge
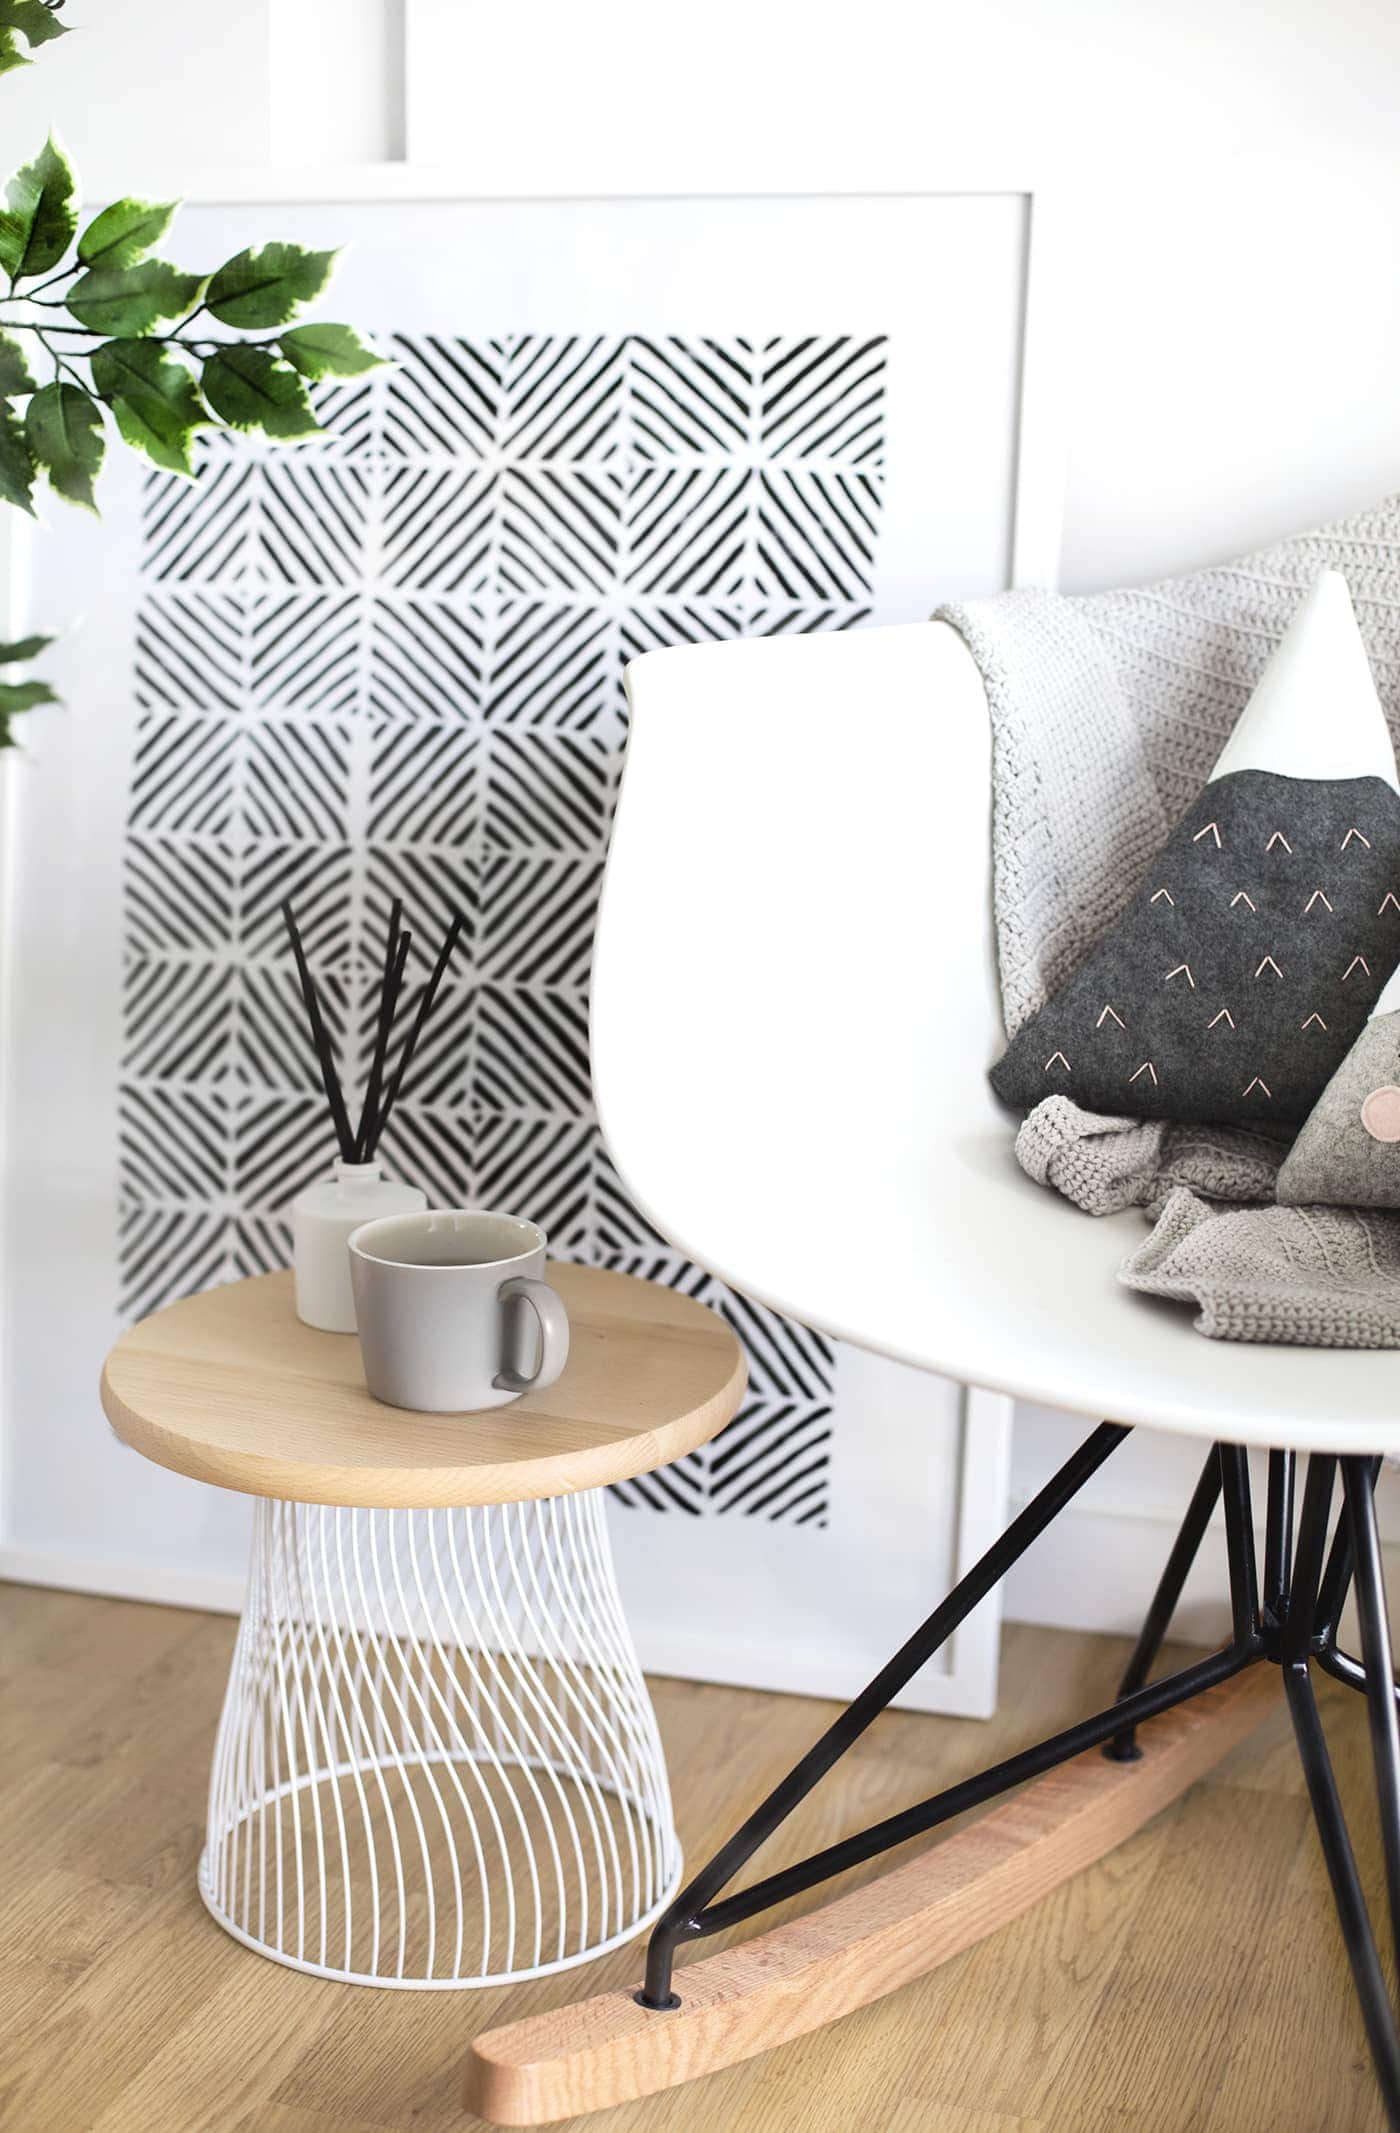
DIY Wire Side table
I thought I’d need somewhere to prop my tea, books or phone for easy access if I was feeding so I came up with this easy peasy side table made out of a bin and a chopping board. Do note that this side table is quite low to suit my lovely rocker but if you wanted more height then scout for a taller bin.
 Materials
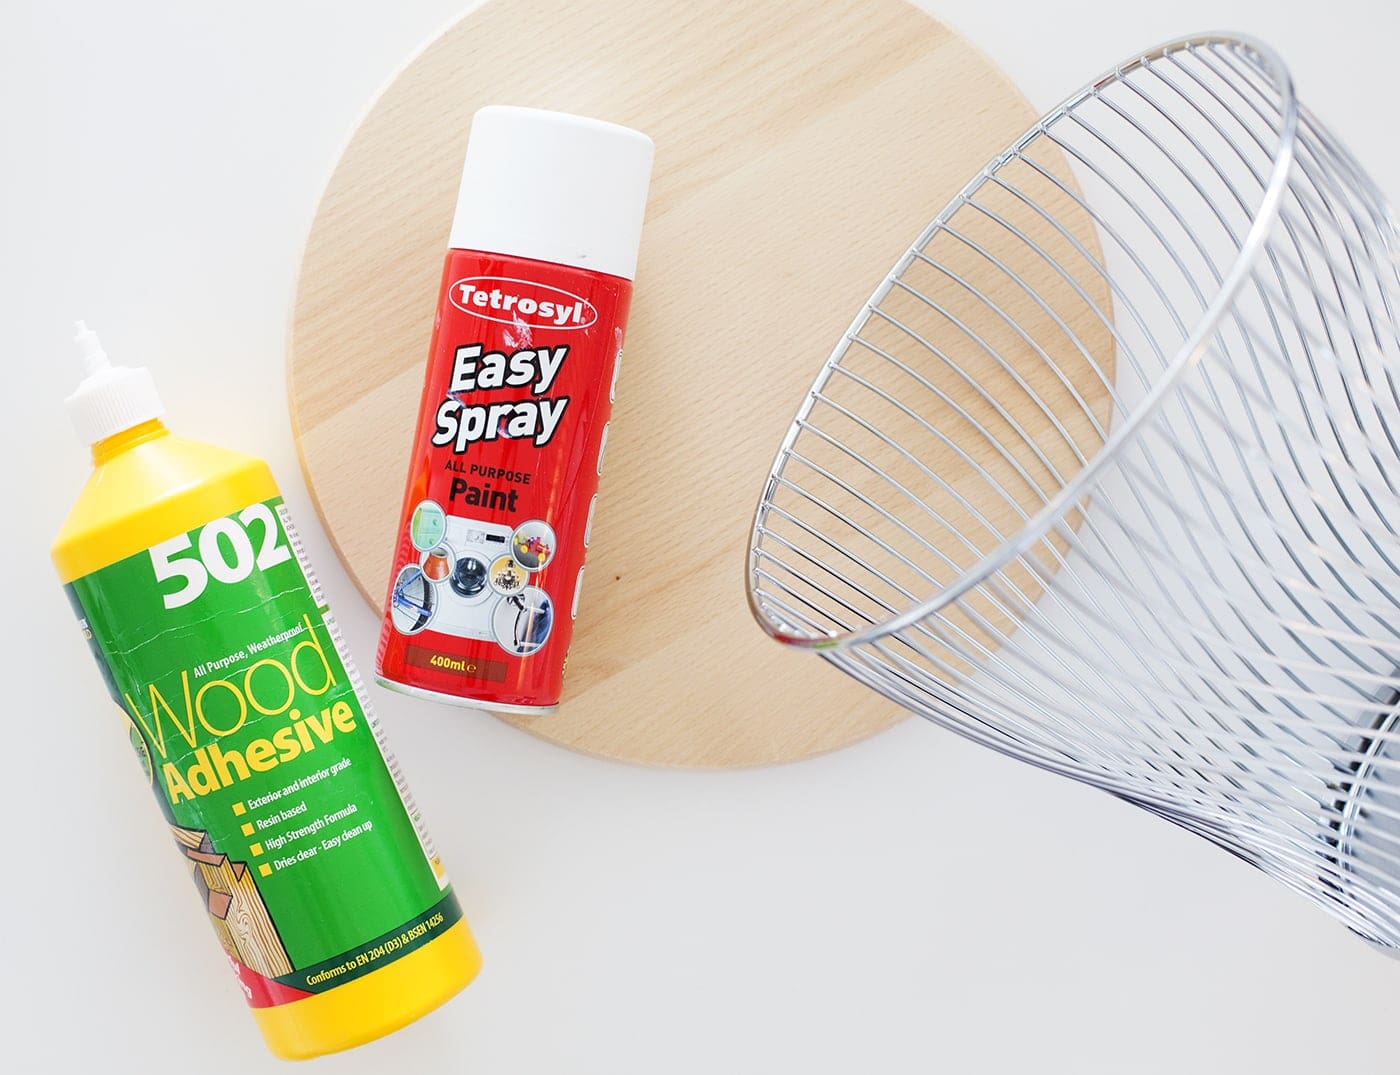
- Wire metal bin (with a flat solid base)
- Round chopping board
- White spray paint
- Wood glue
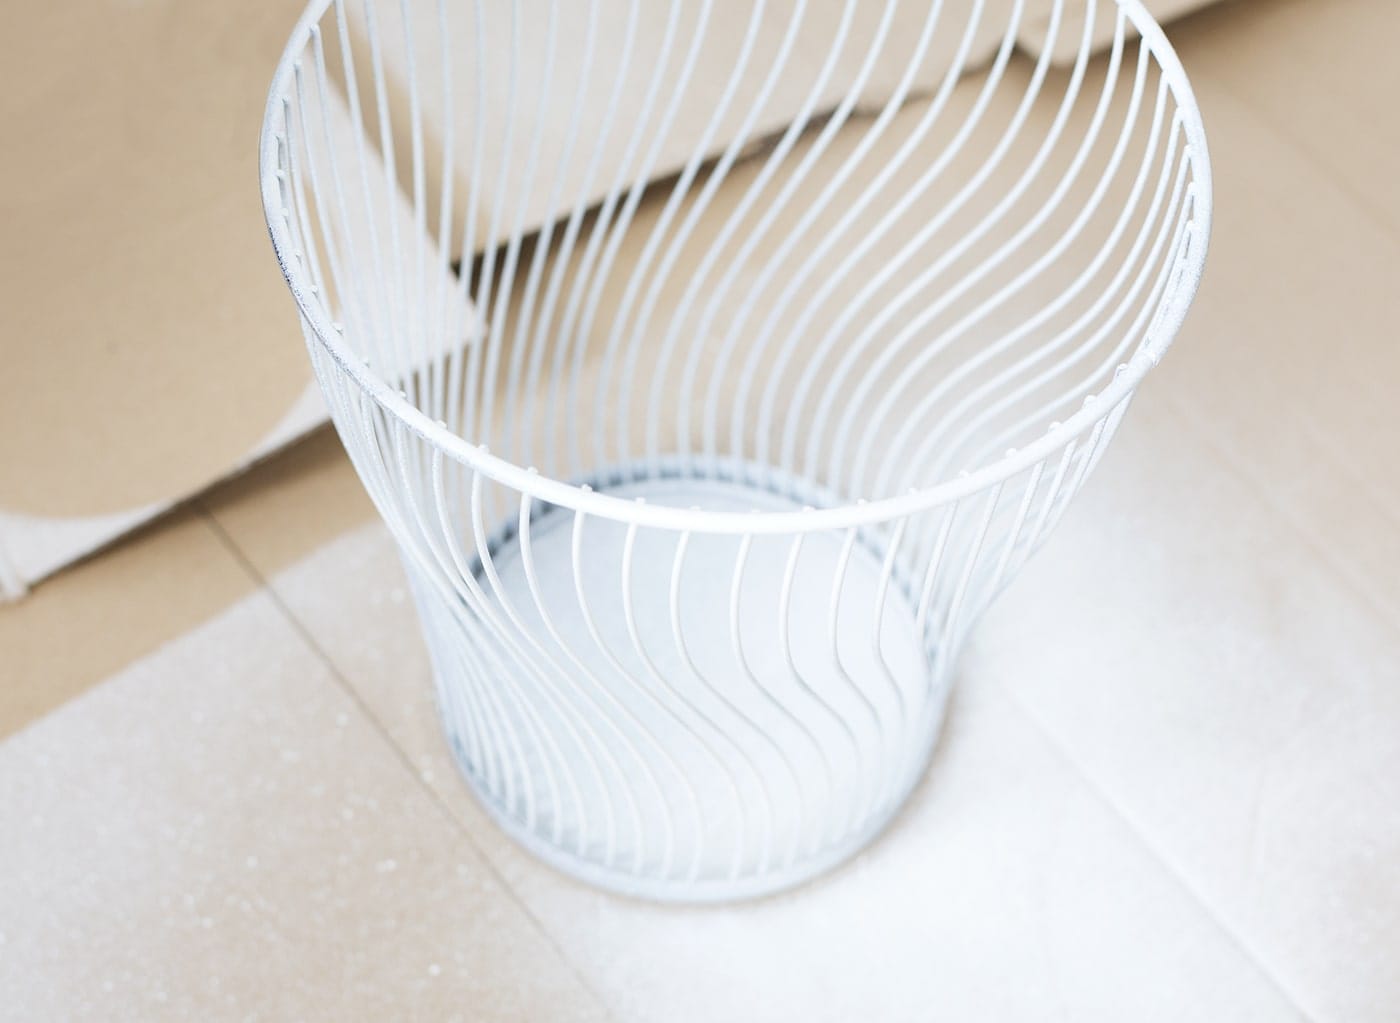 Firstly, you need to spray paint the bin with white spray paint. It’s really easy to go in heavy with the spray but remember it’s best to work in light layers. This gives the paint a chance to dry before each coat and will prevent drips. I completed this bin in 4 light coats.
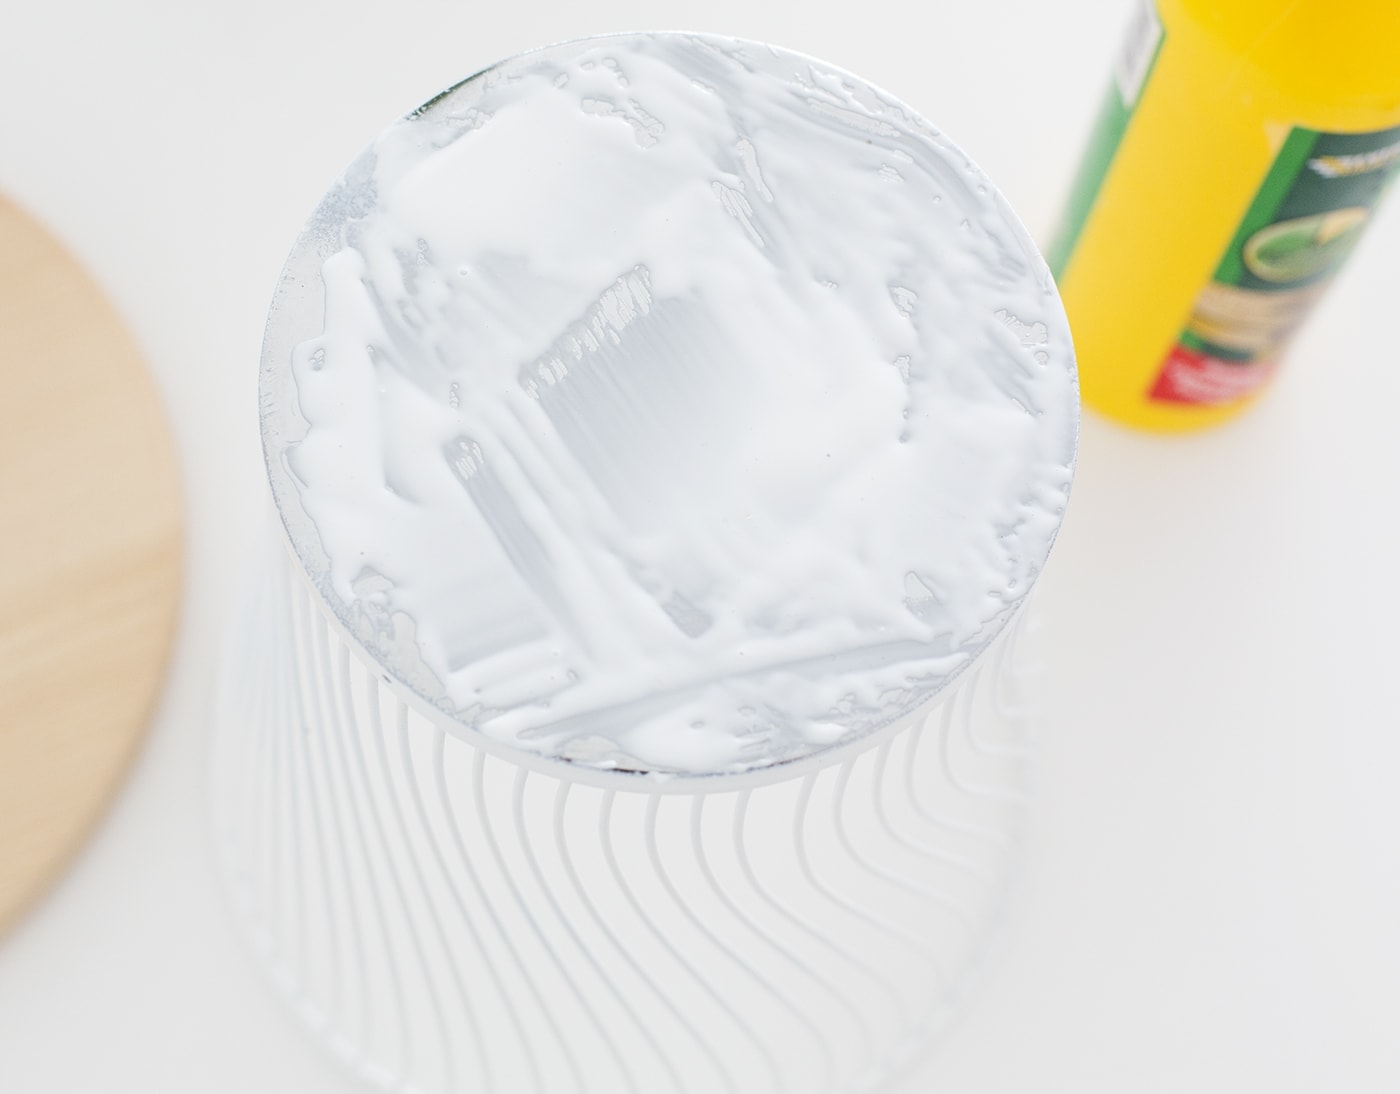 Once your spray paint is completely dry, spread your wood glue evenly on the solid base of the bin. Do not apply too much glue near the edges otherwise you may find the glue seeps out in the next step.
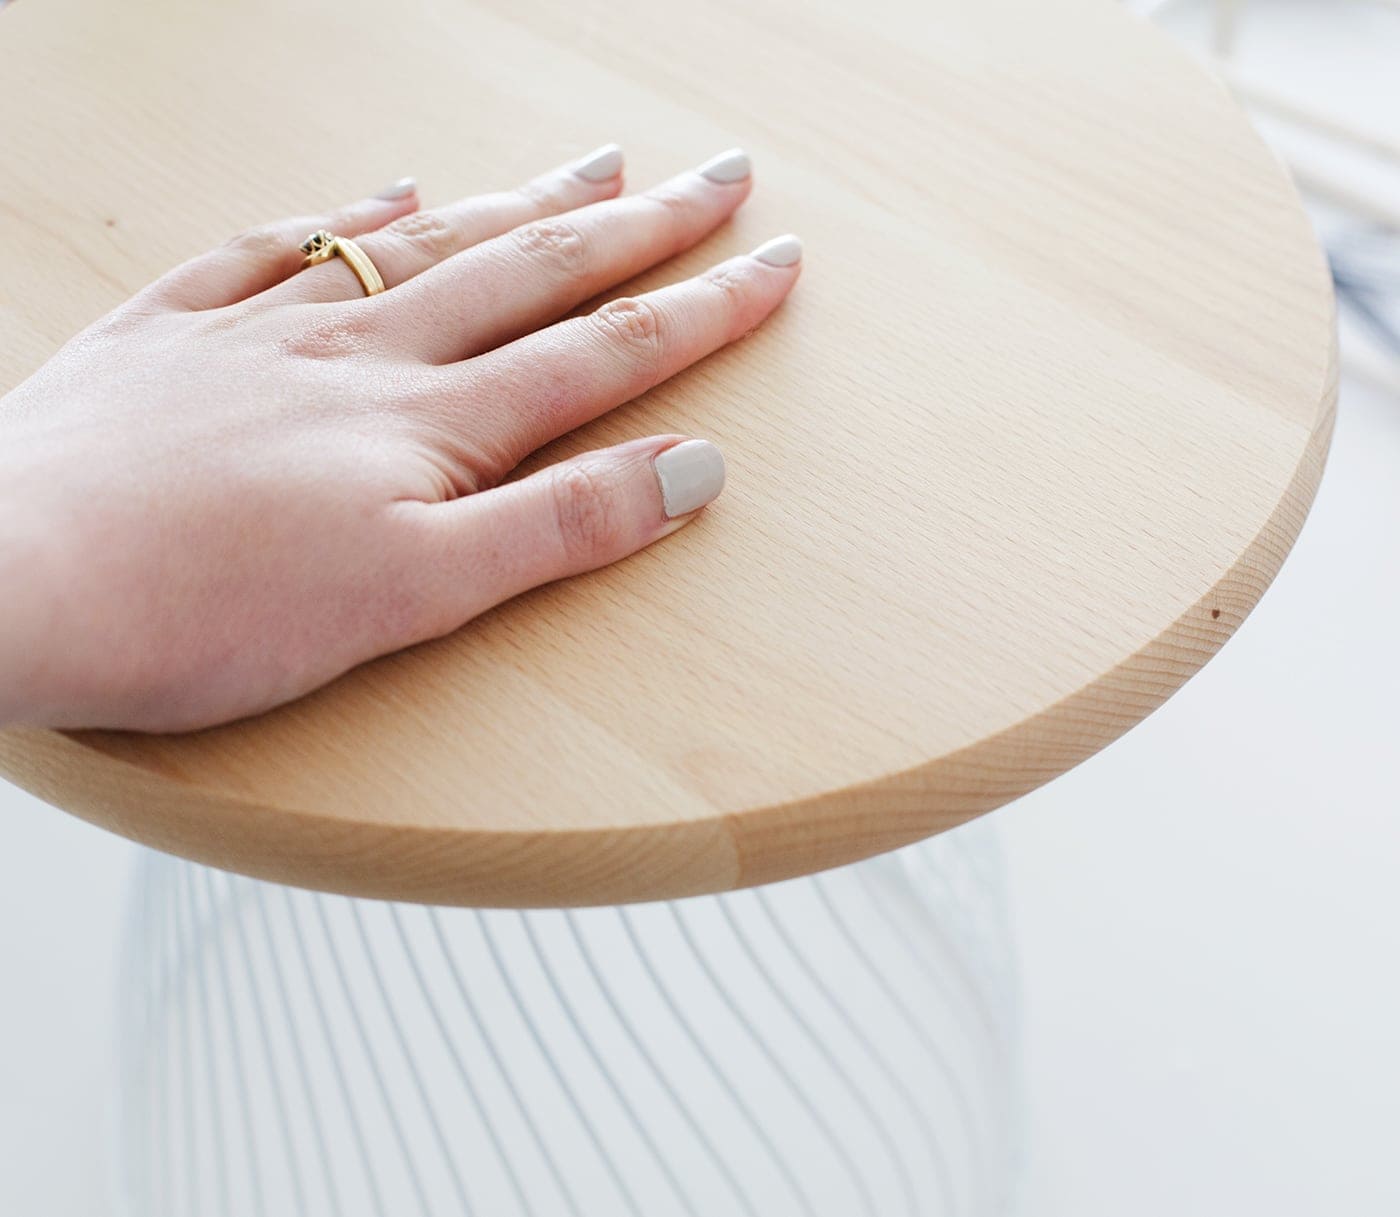 When you are happy with the amount of glue and even spreading, place your wooden chopping board on top. Try to do this as centred as possible. I placed a heavy object on top of the chopping board whilst it was drying. A stack of books is ideal.
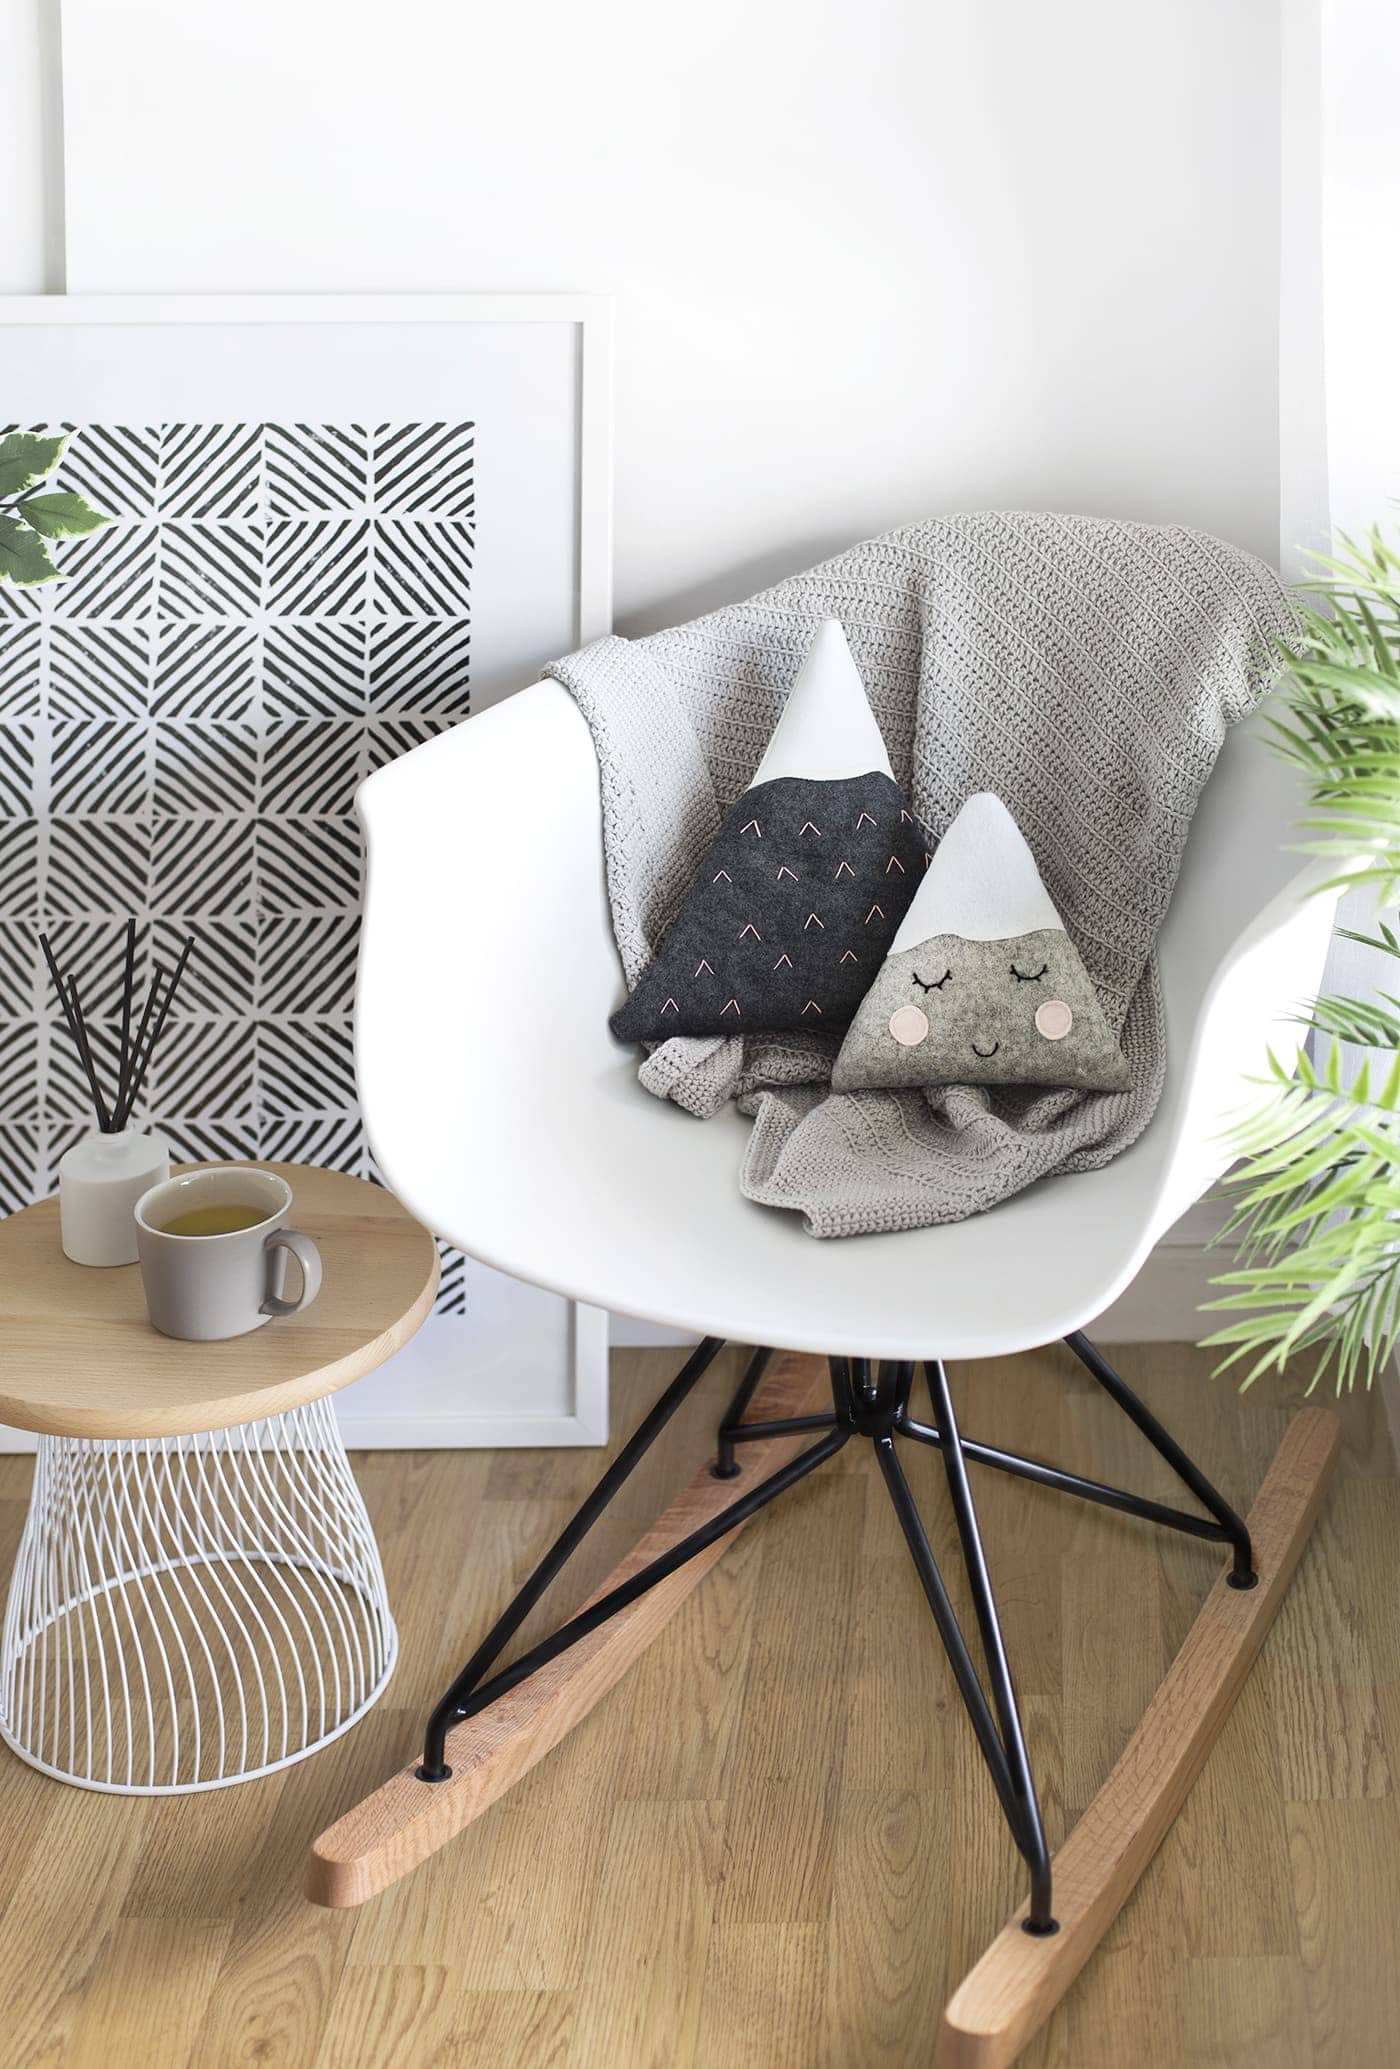 I’m loving this corner of the bedroom now, particularly as all the horrible internet and phone wires our now covered up which is always a bonus! I’m looking forward to making use of this bright little spot in the comfort of my . Which model and colour way would you go for? The website is detailed an easy to navigate but Cult Furniture also have a showroom in London at 811-813 Wandsworth Road if you fancy popping in to have a look yourself.
 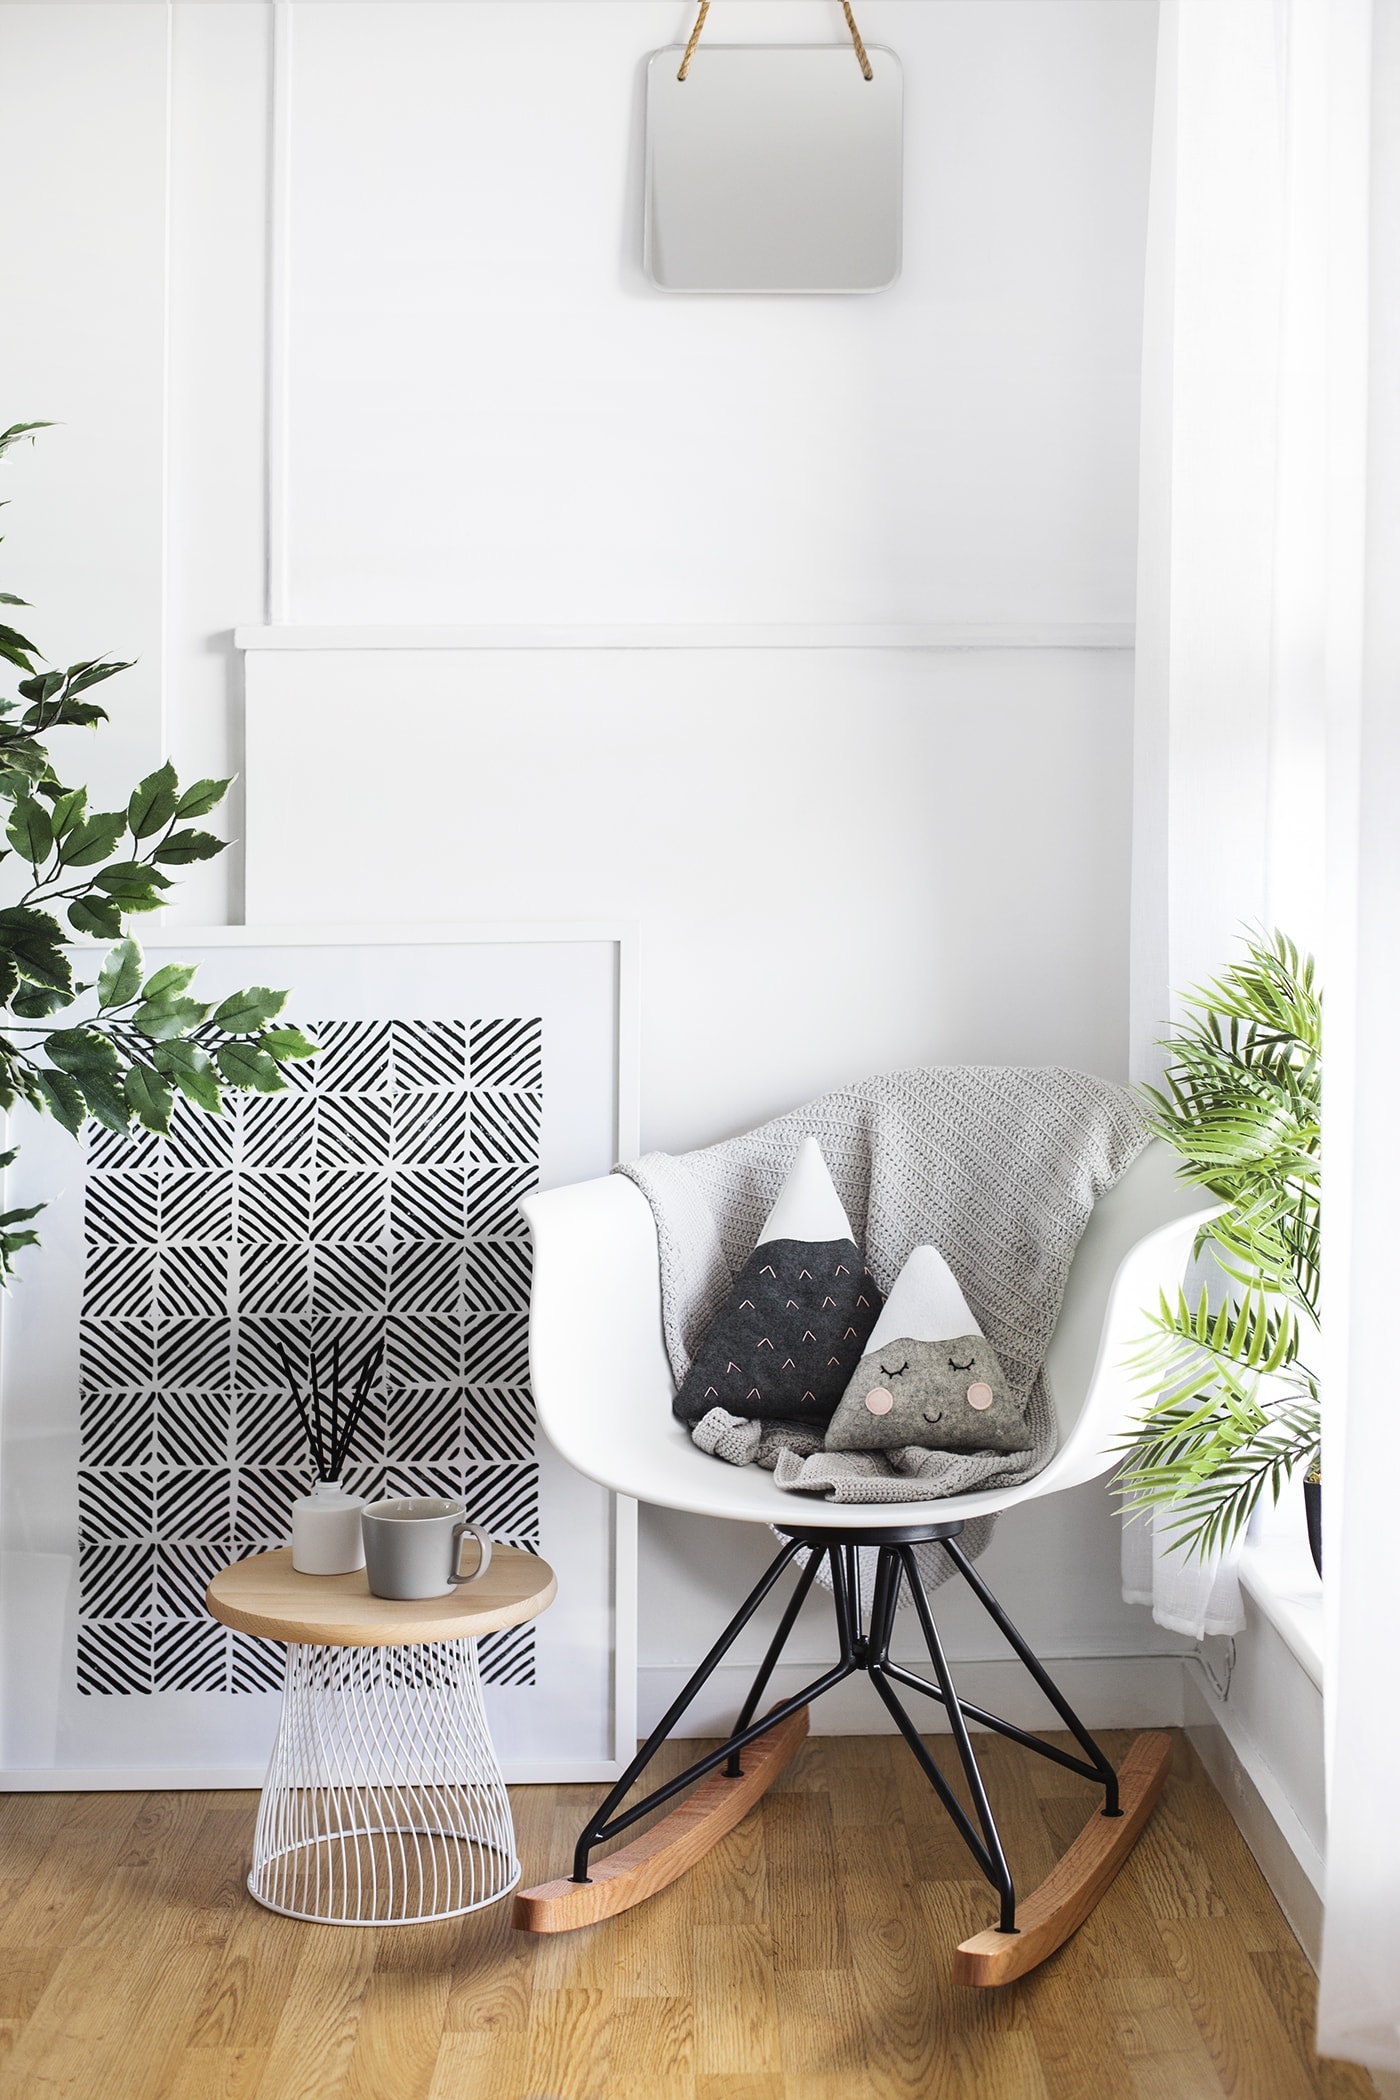 Thank you to for sponsoring this post and gifting me this lovely rocking chair. All ideas, opinions and images are my own.


