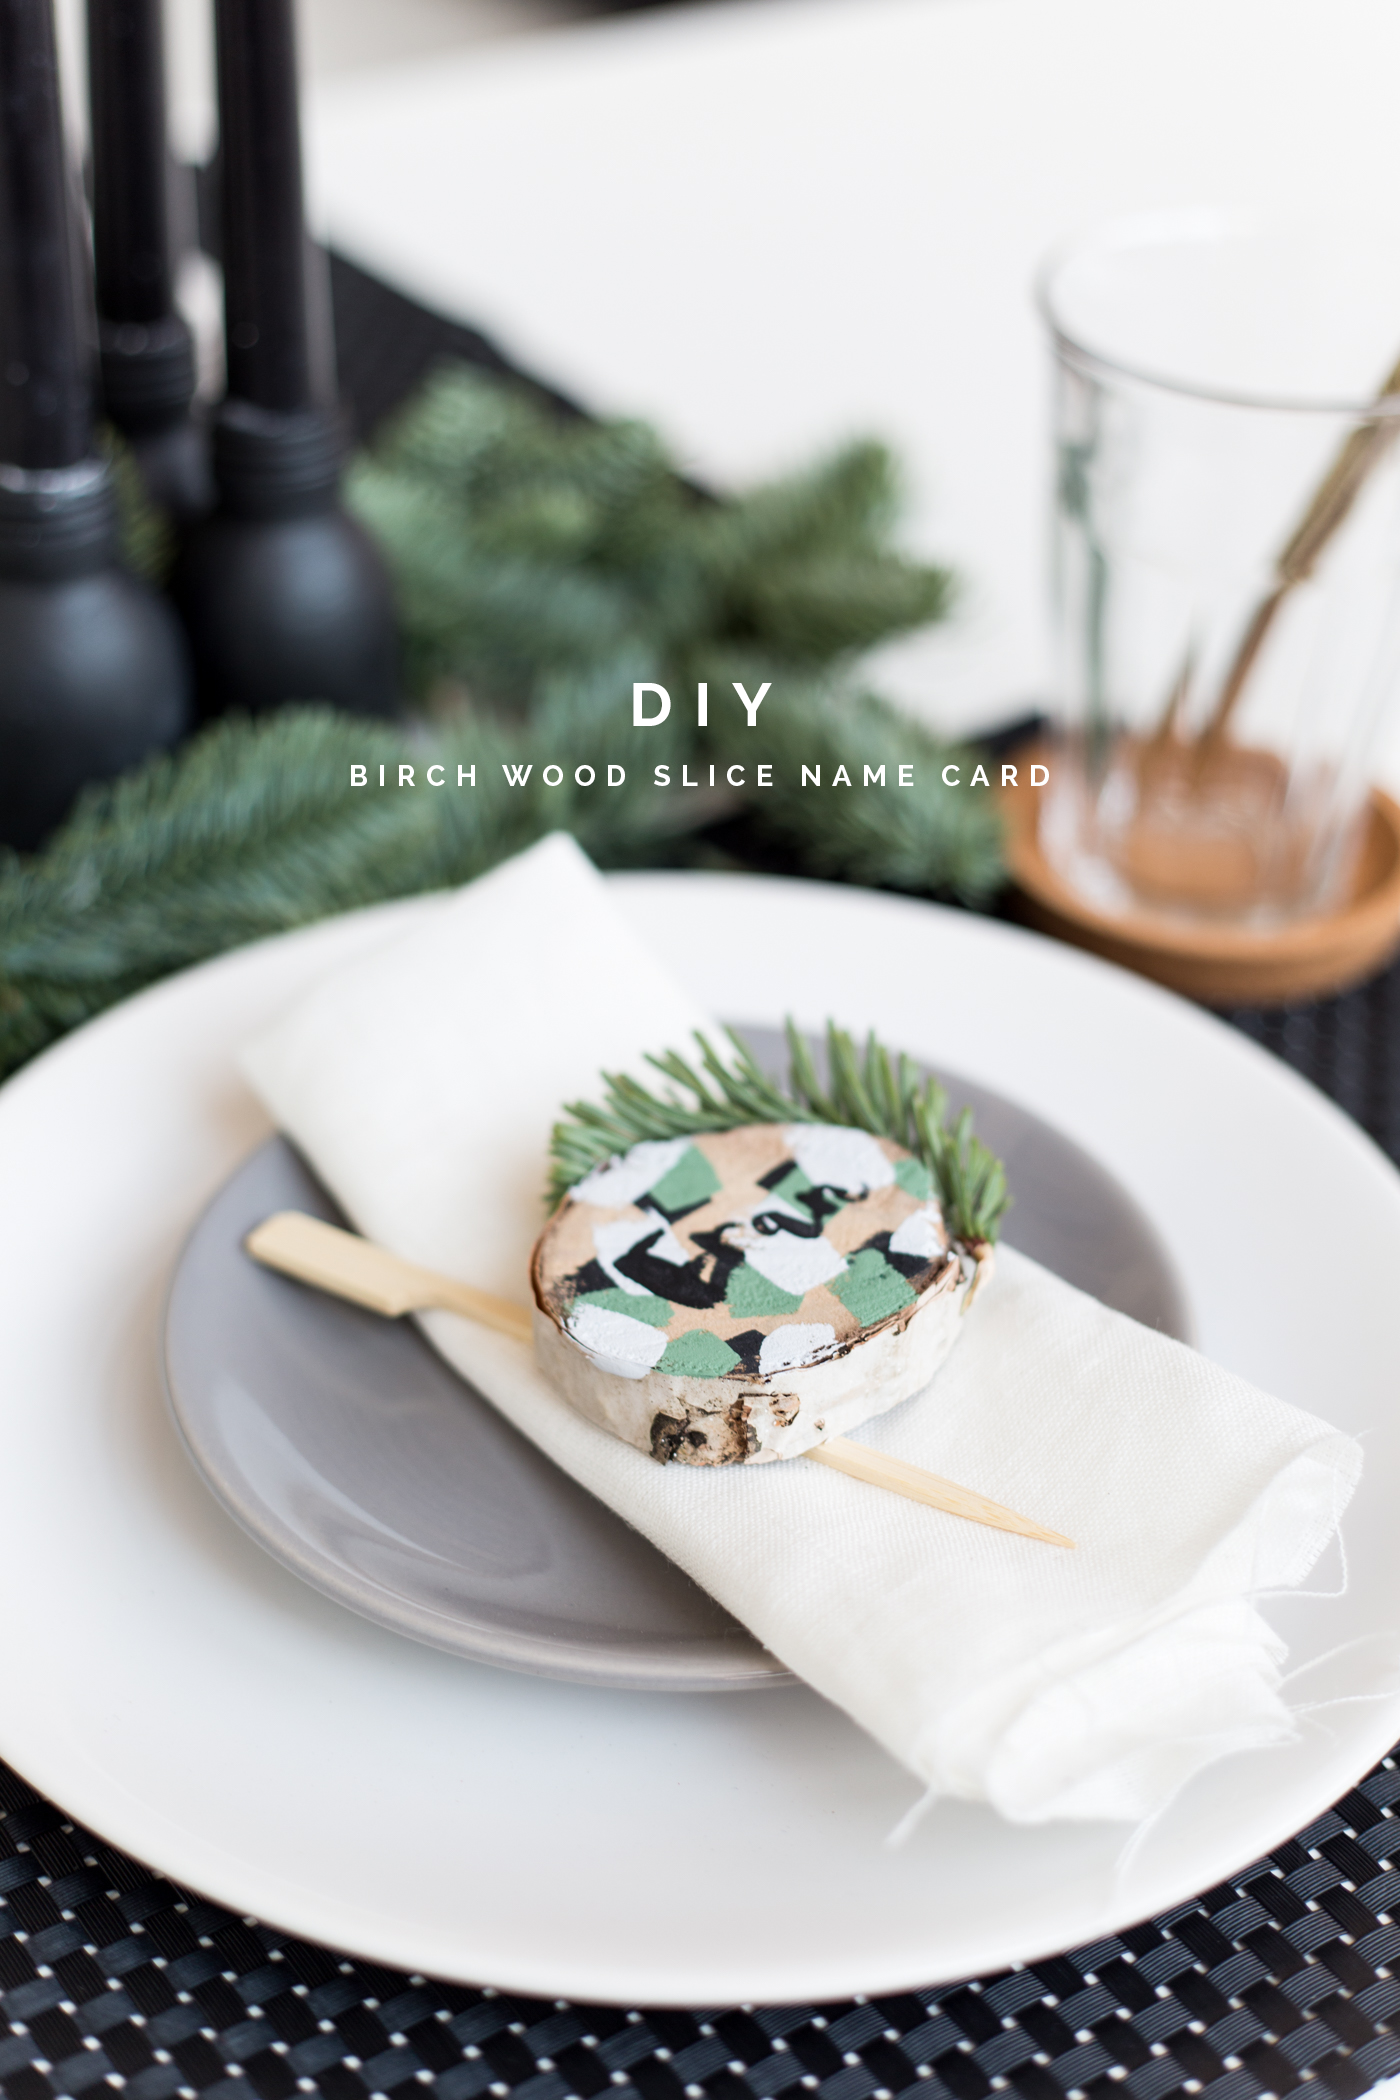
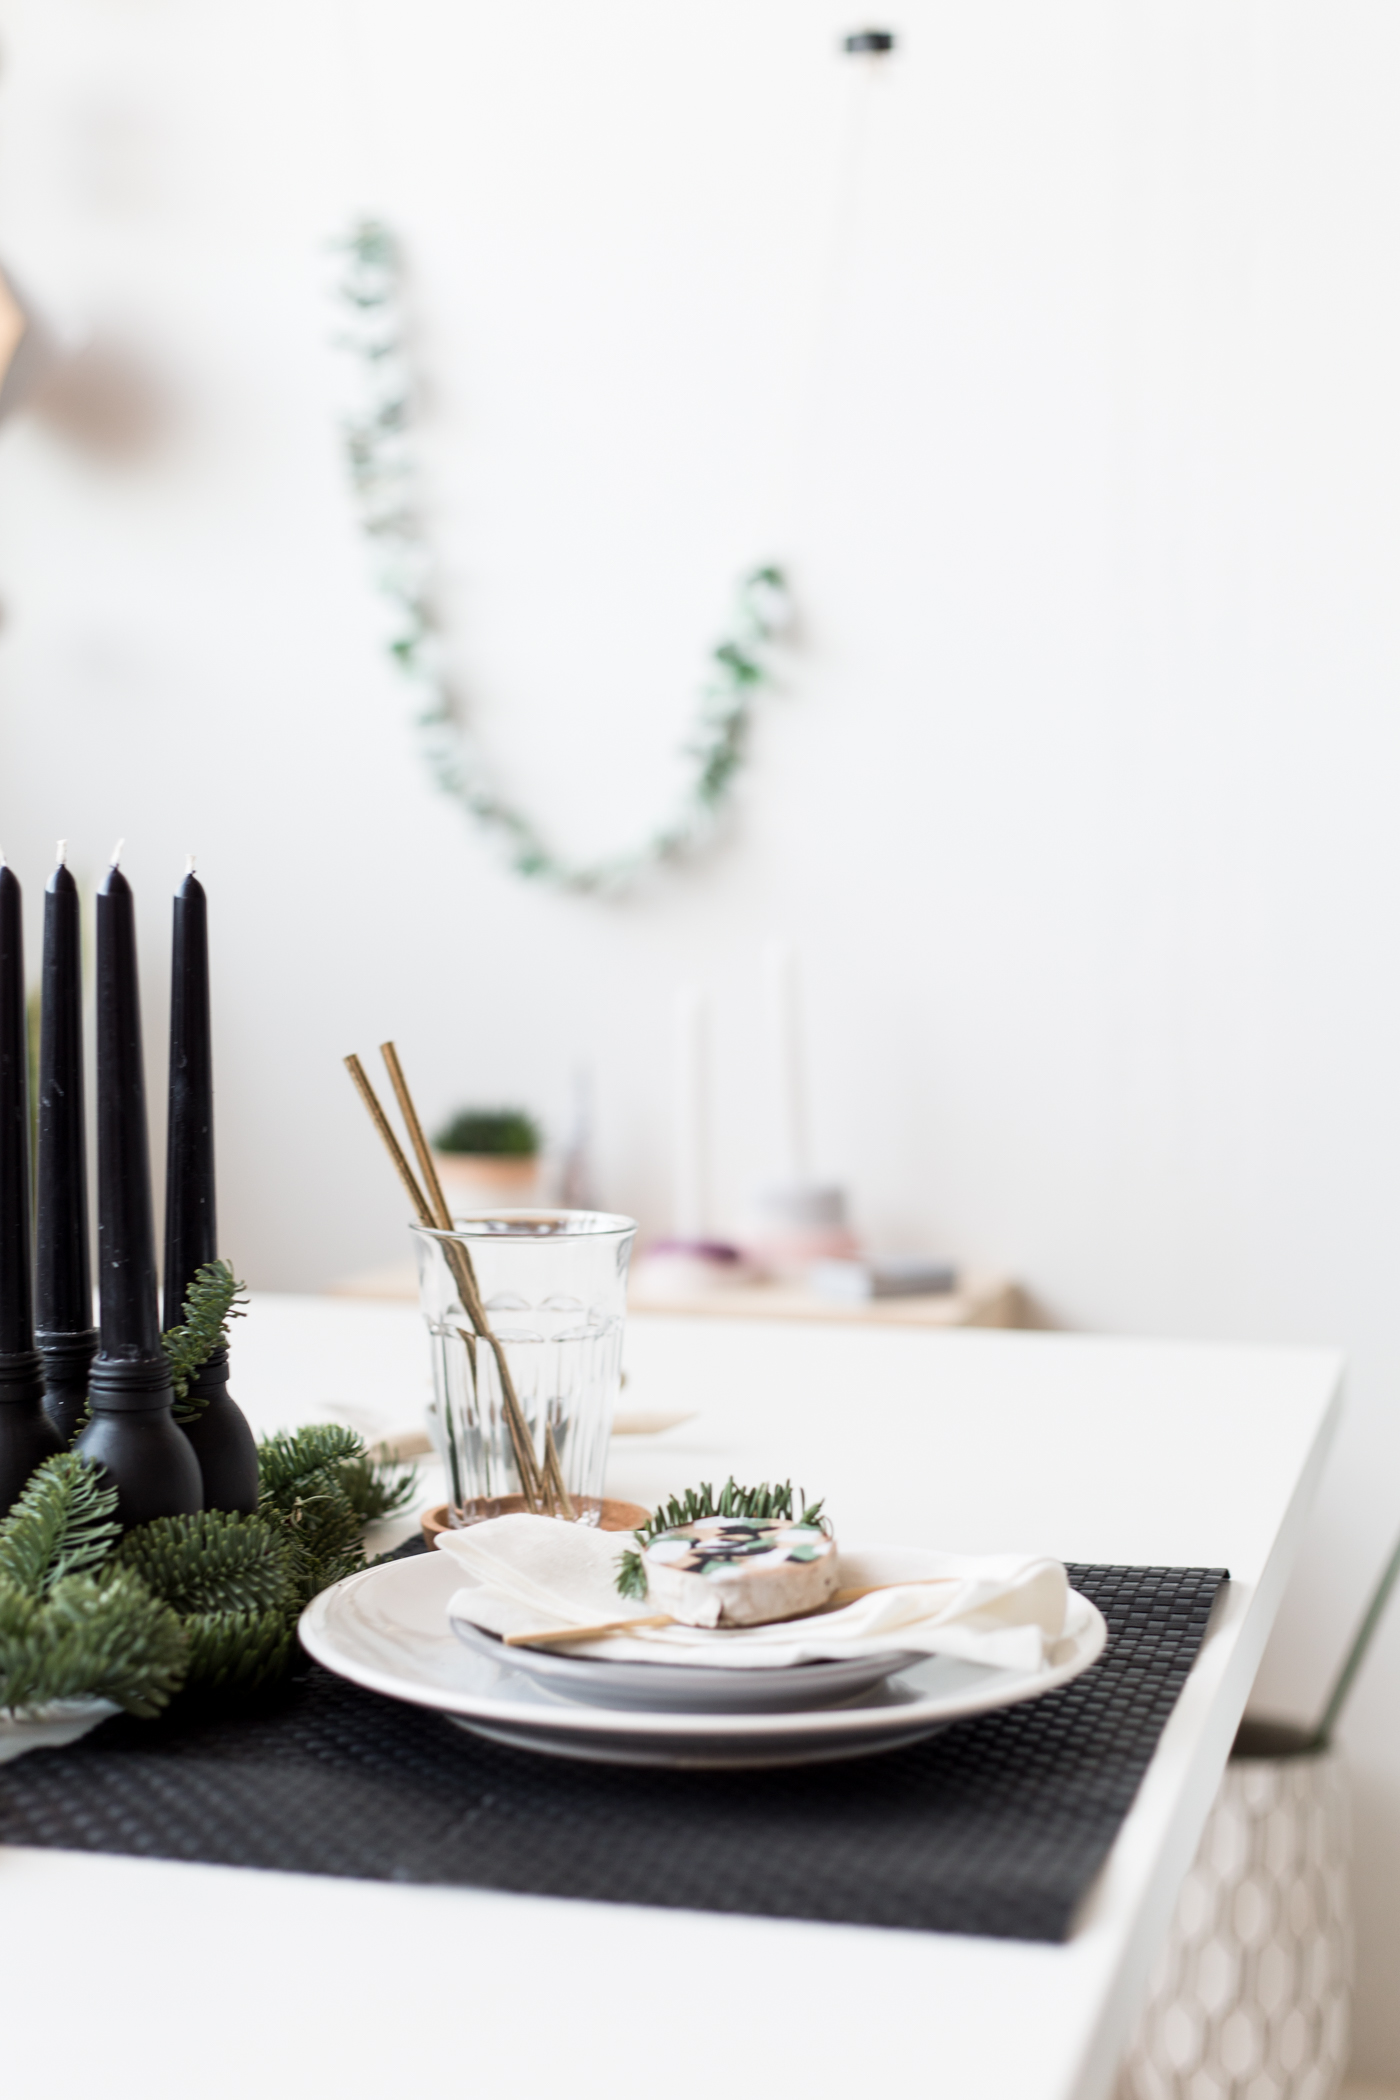
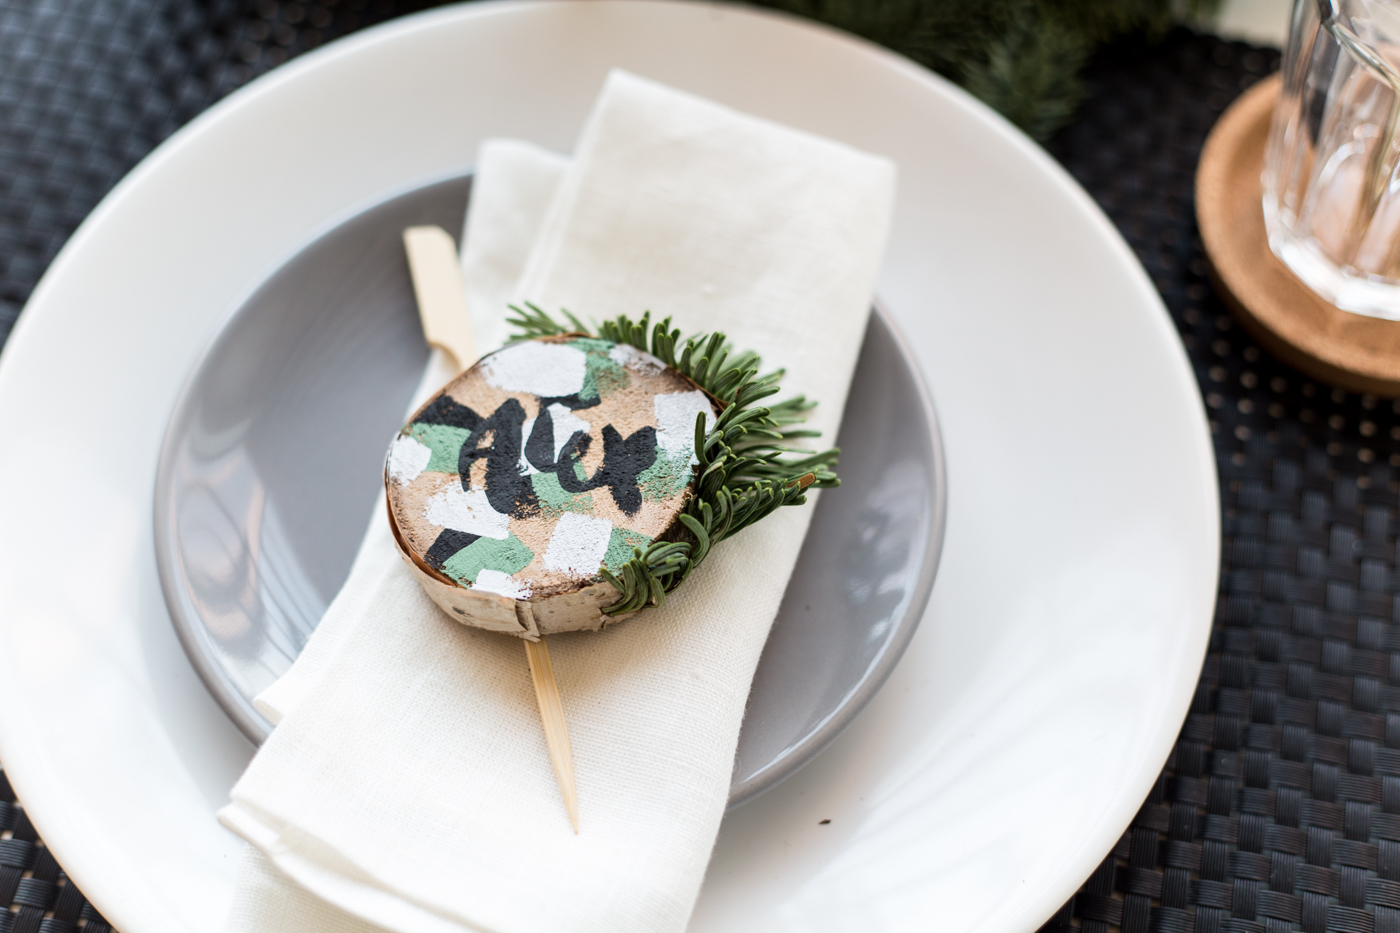
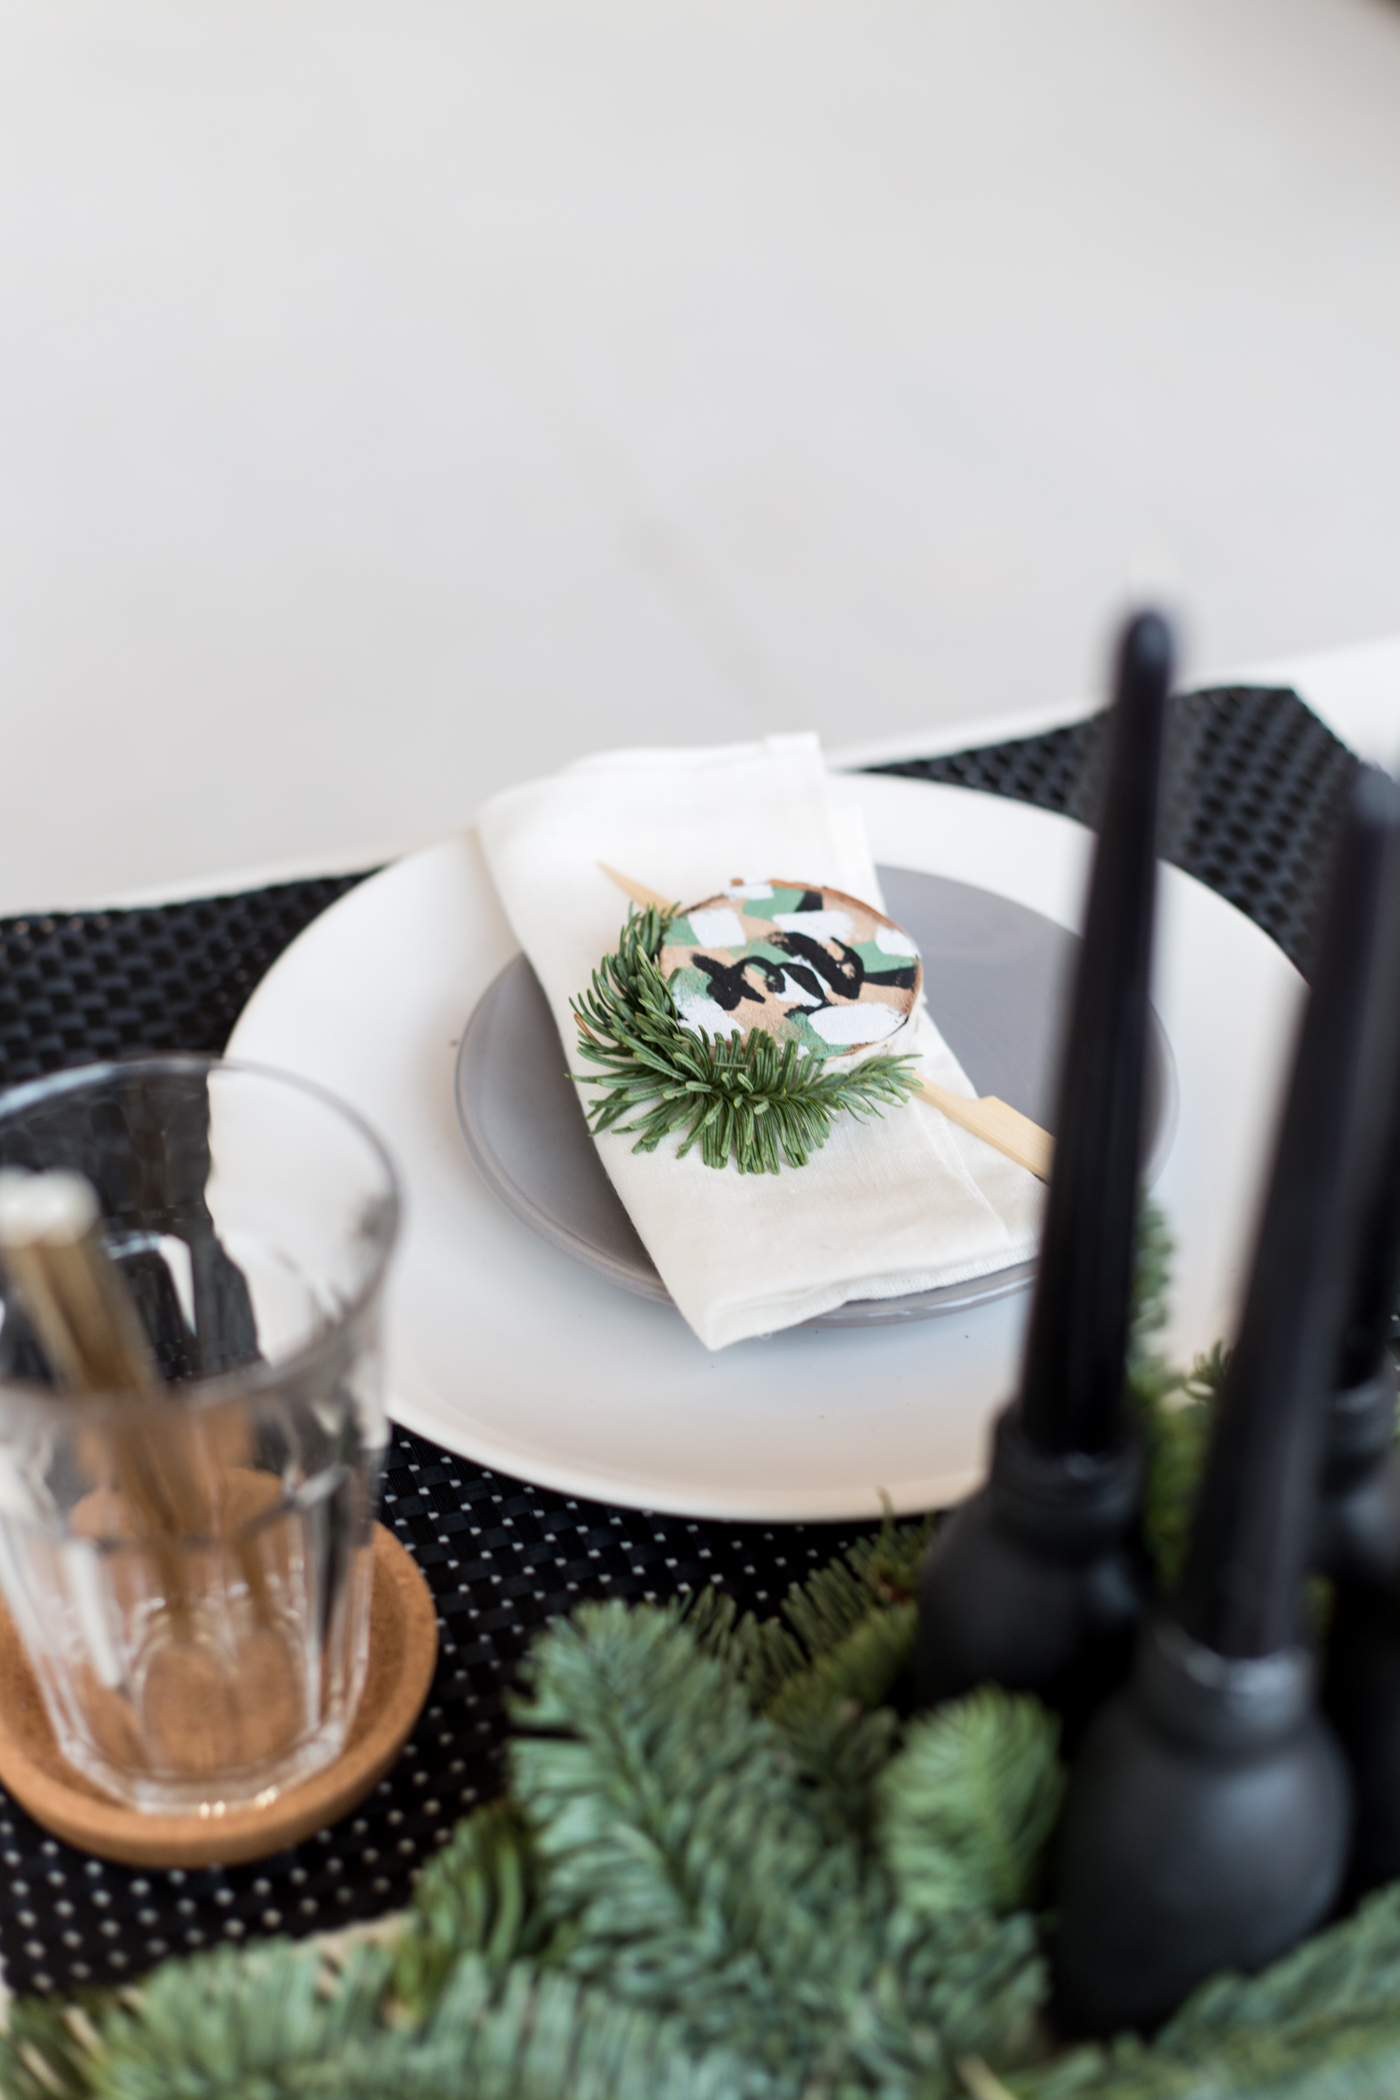
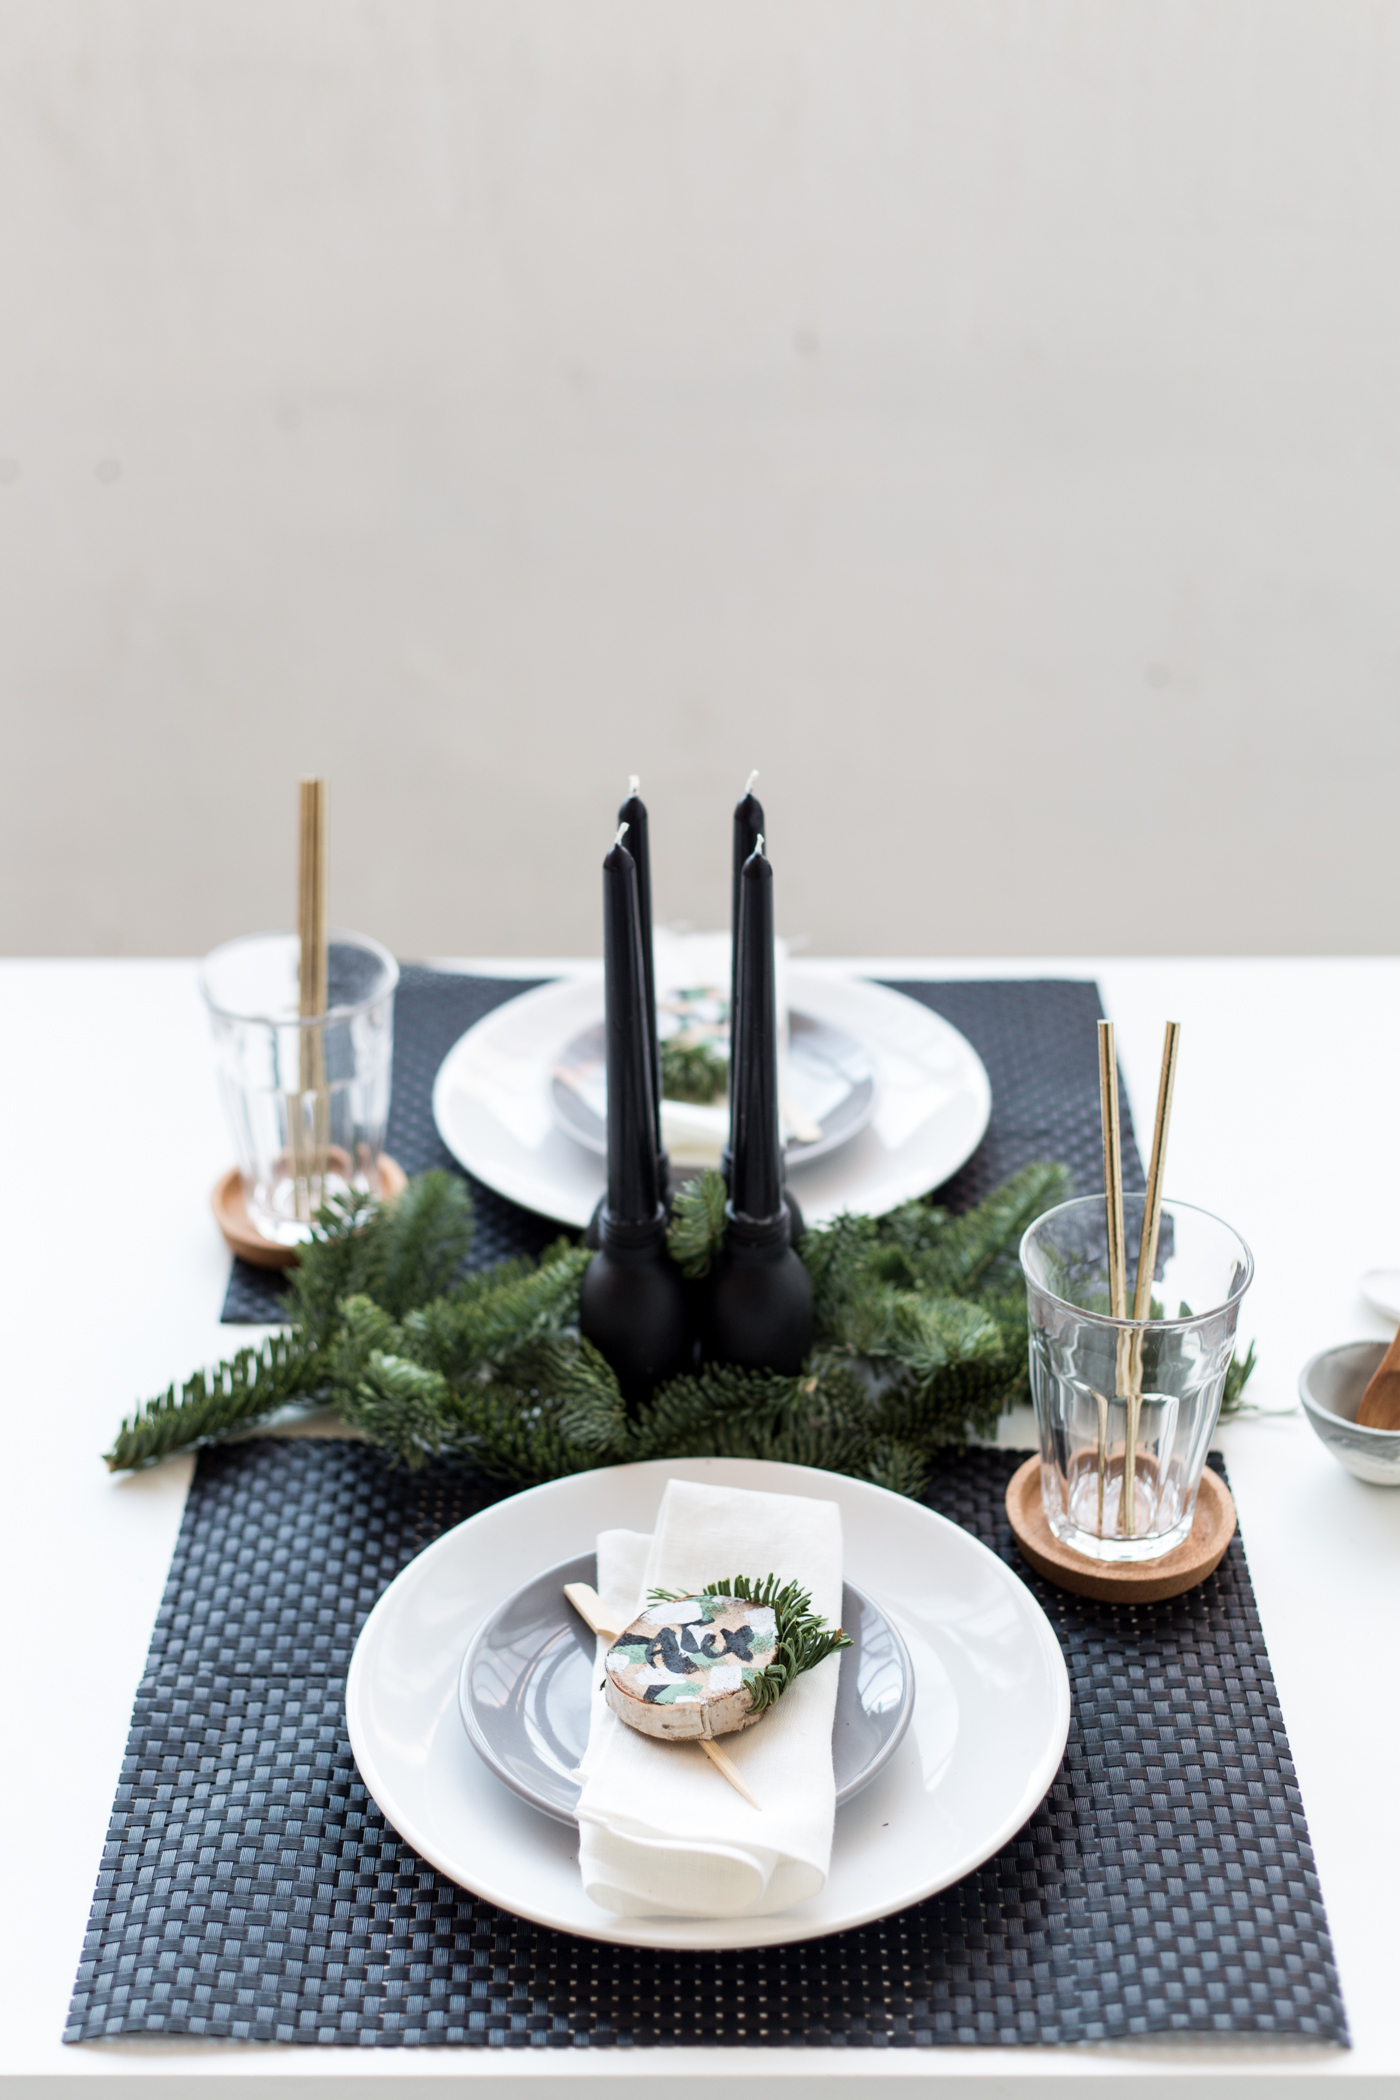
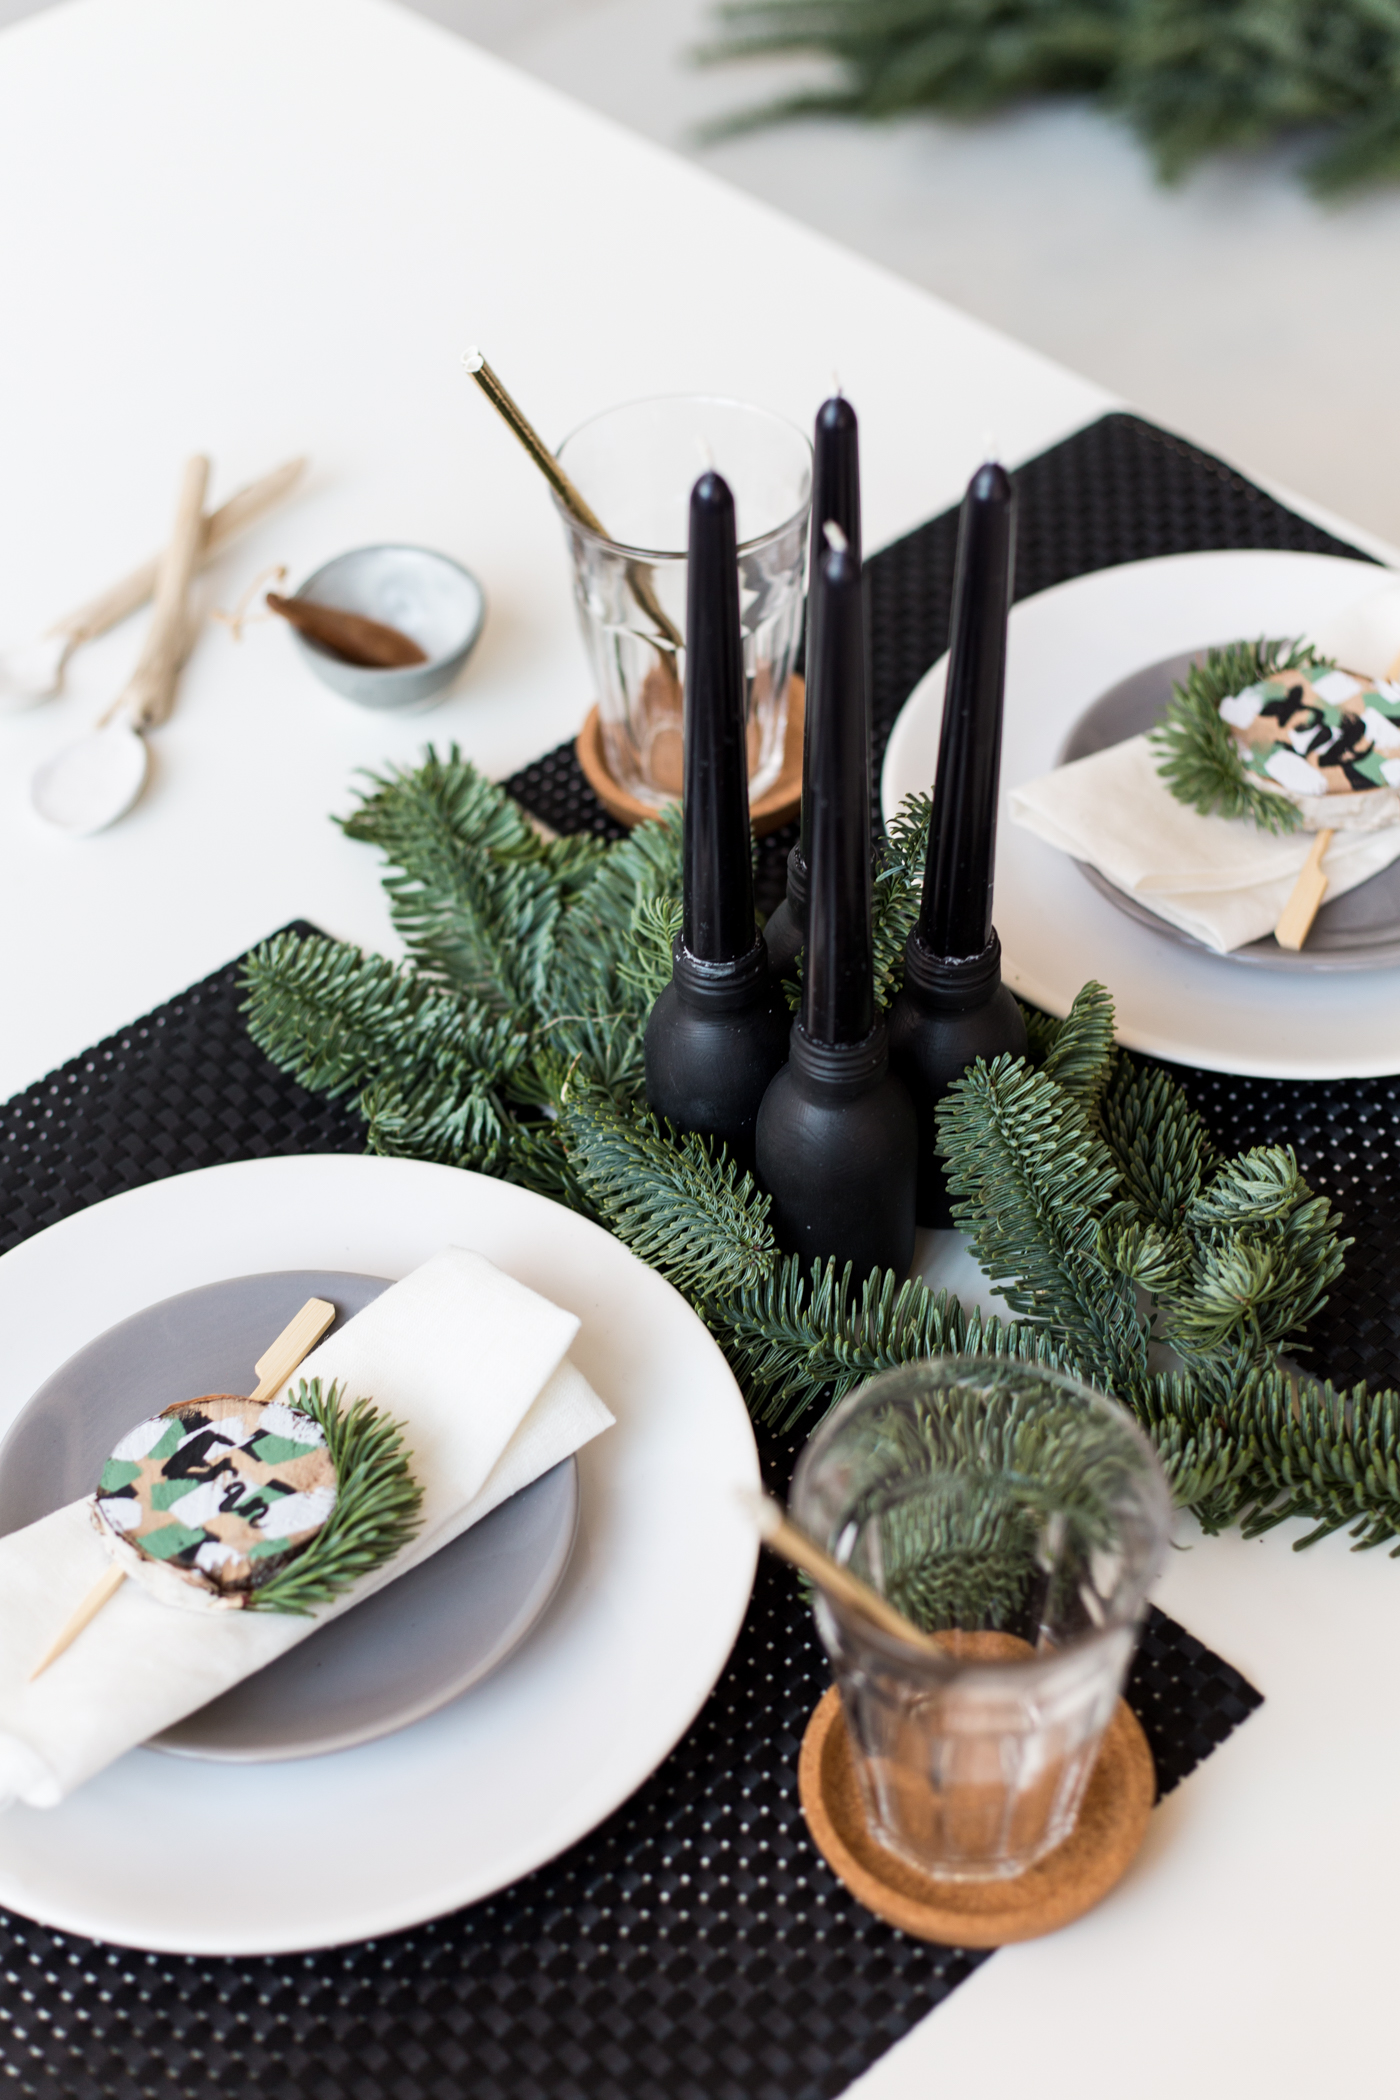
We can’t do 12 Christmas DIYs without talking about the dining table. Festive food is such an integral part of celebrating the holidays. It’s a chance to enjoy preparing a feast in the kitchen instead of those quick dinners we’re used to. It’s a spread that brings family and friends together around one table. And when they do make life easier with a seating plan! Giving your guests designated places to sit helps avoid those awkward moments shuffling around the table (we’ve all had them). Instead assign everyone their seat with these birch slice name place settings.
You can buy wood slices or just use a saw to make your own. I often collect beautiful branches at this time of year to decorate with.
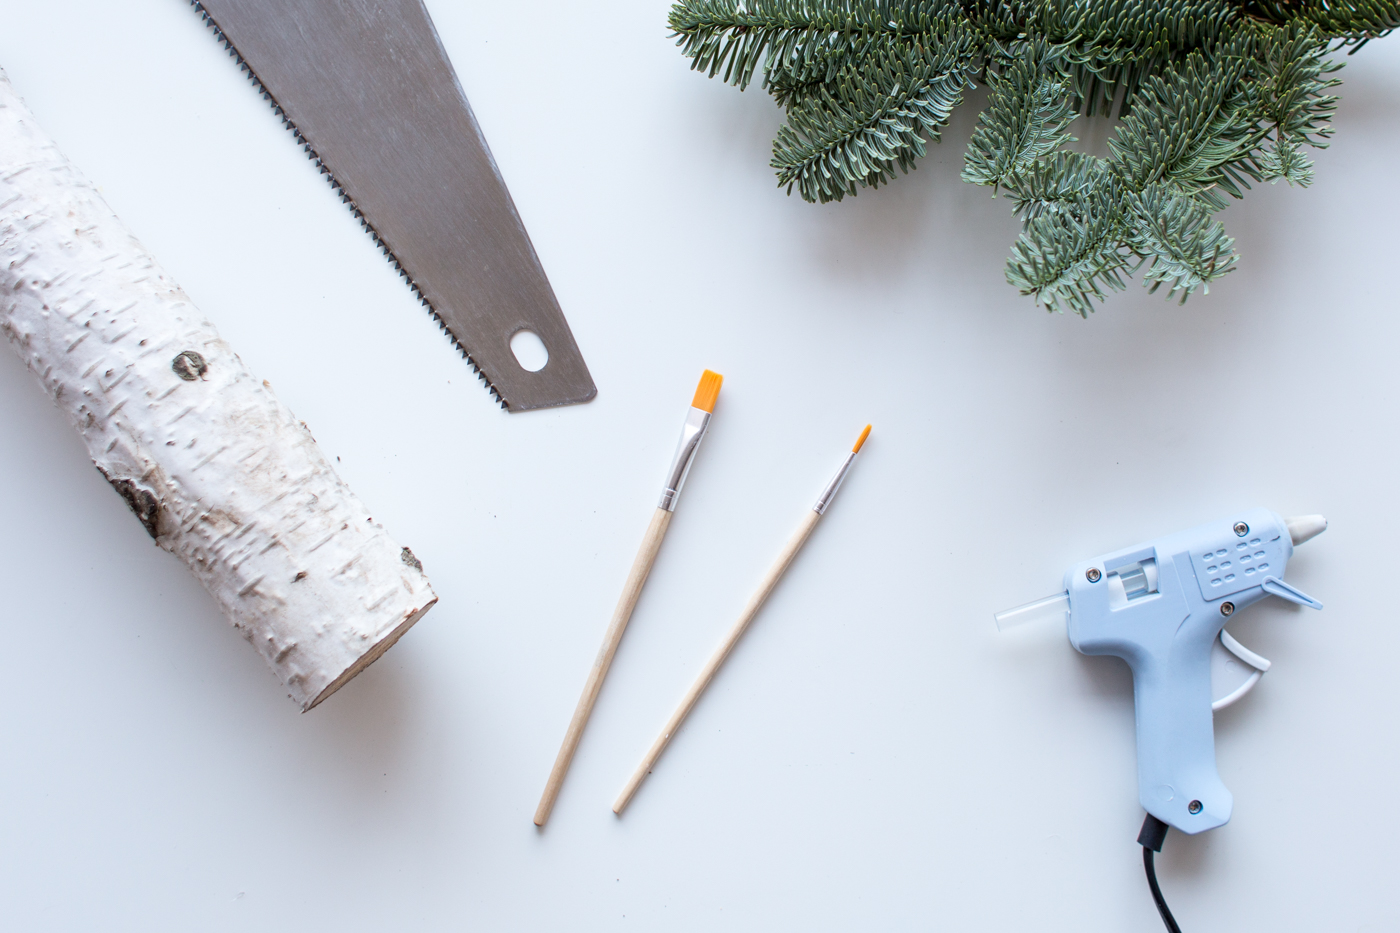
Materials
- Small paintbrushes
- Wood slices (or tree branches, a saw and sandpaper)
- Glue gun
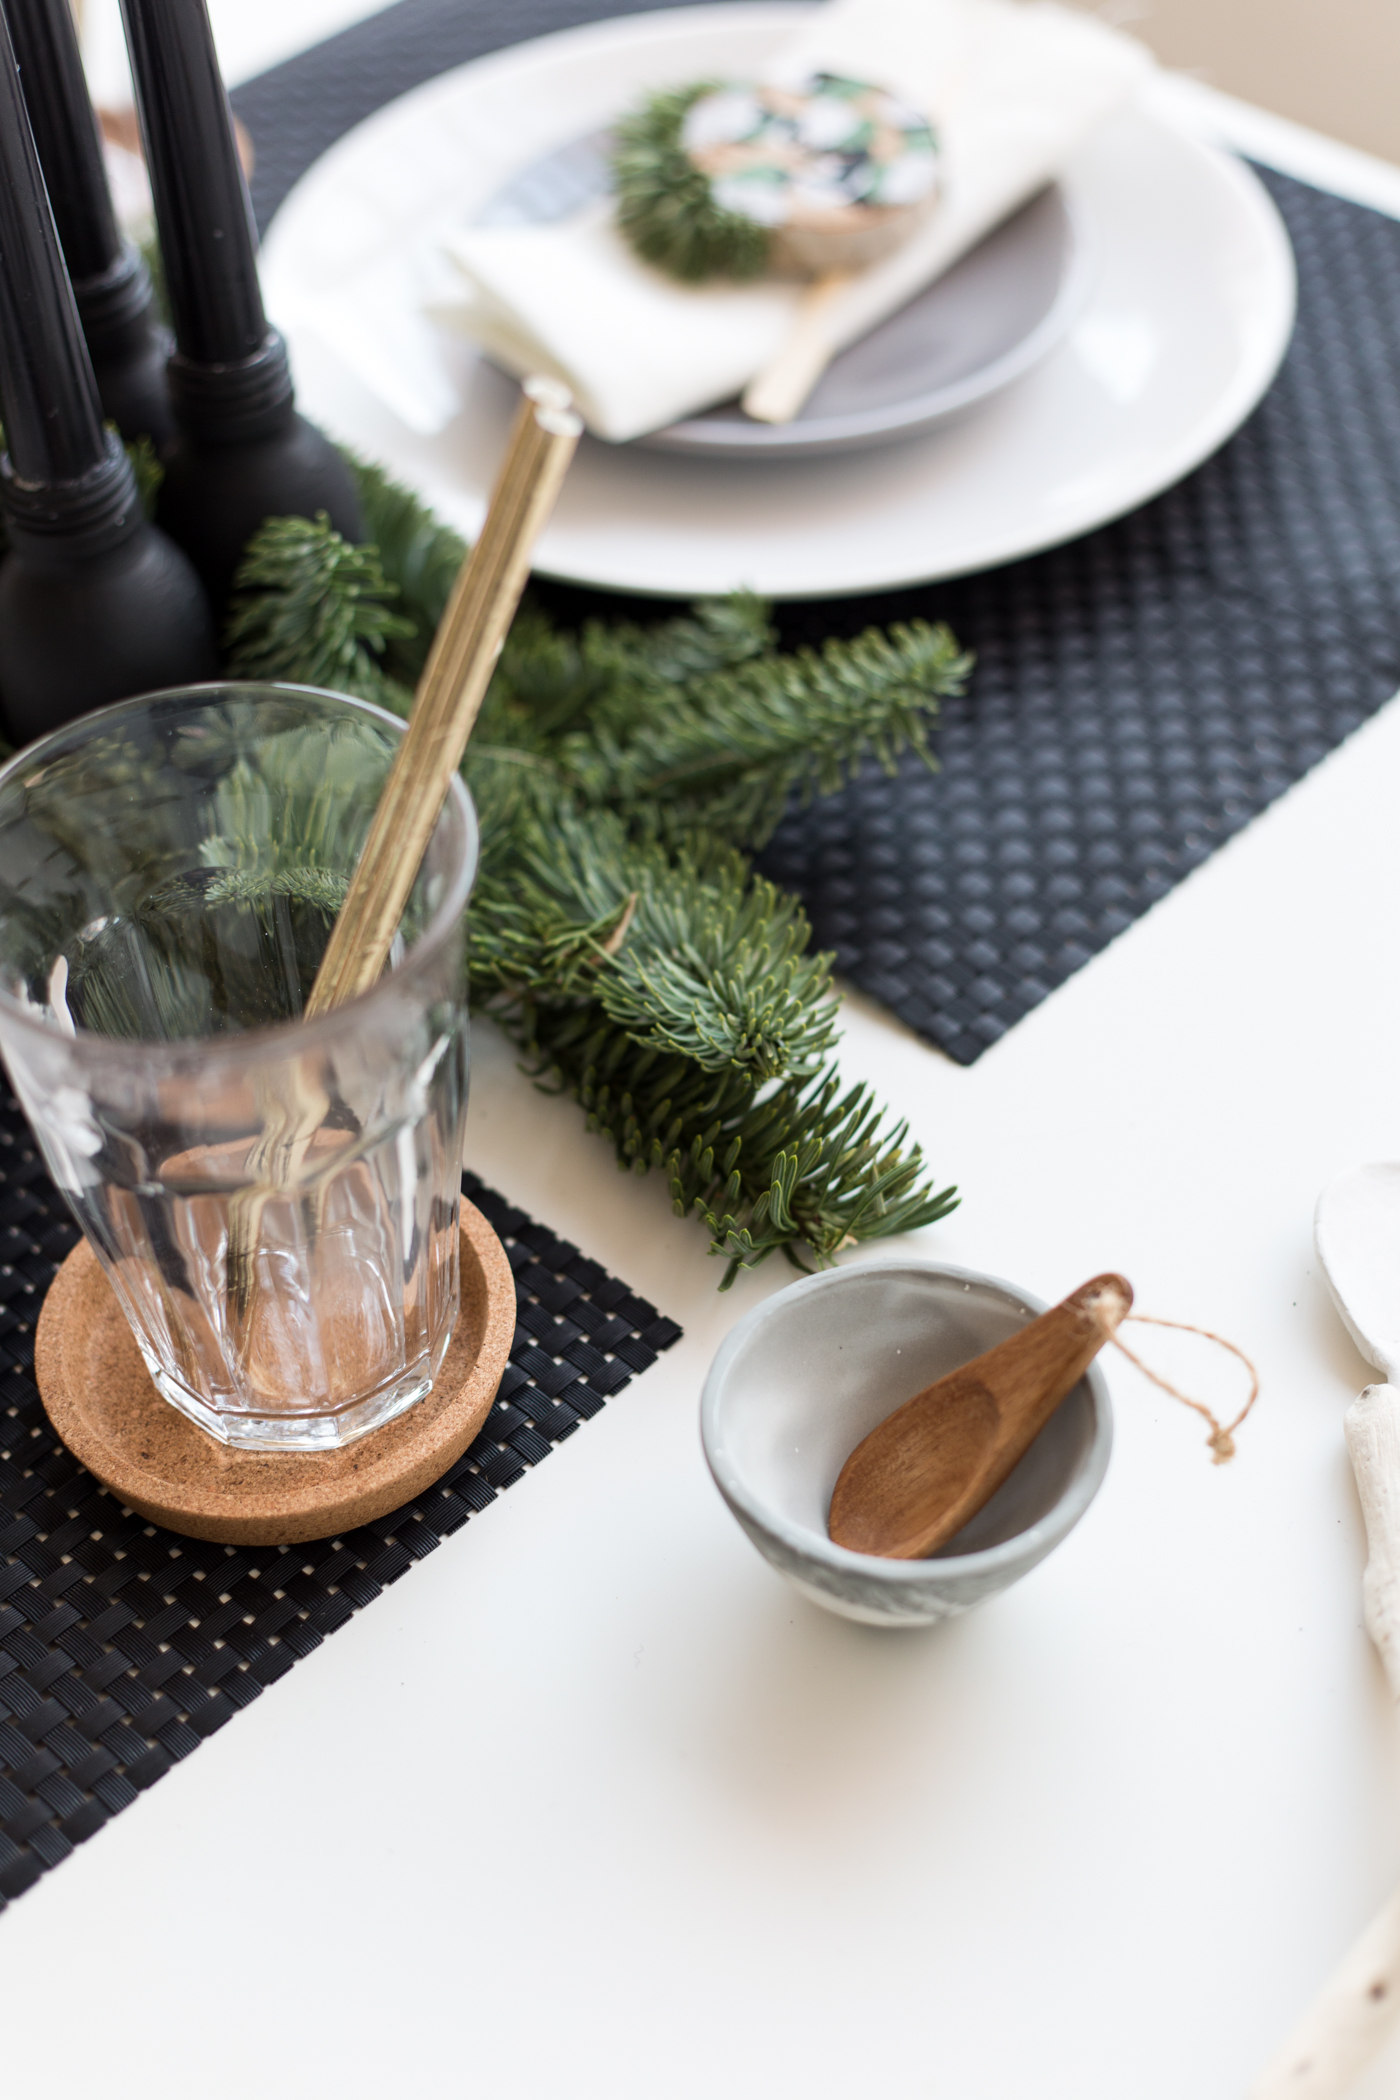
- Evergreen cuttings
Instructions
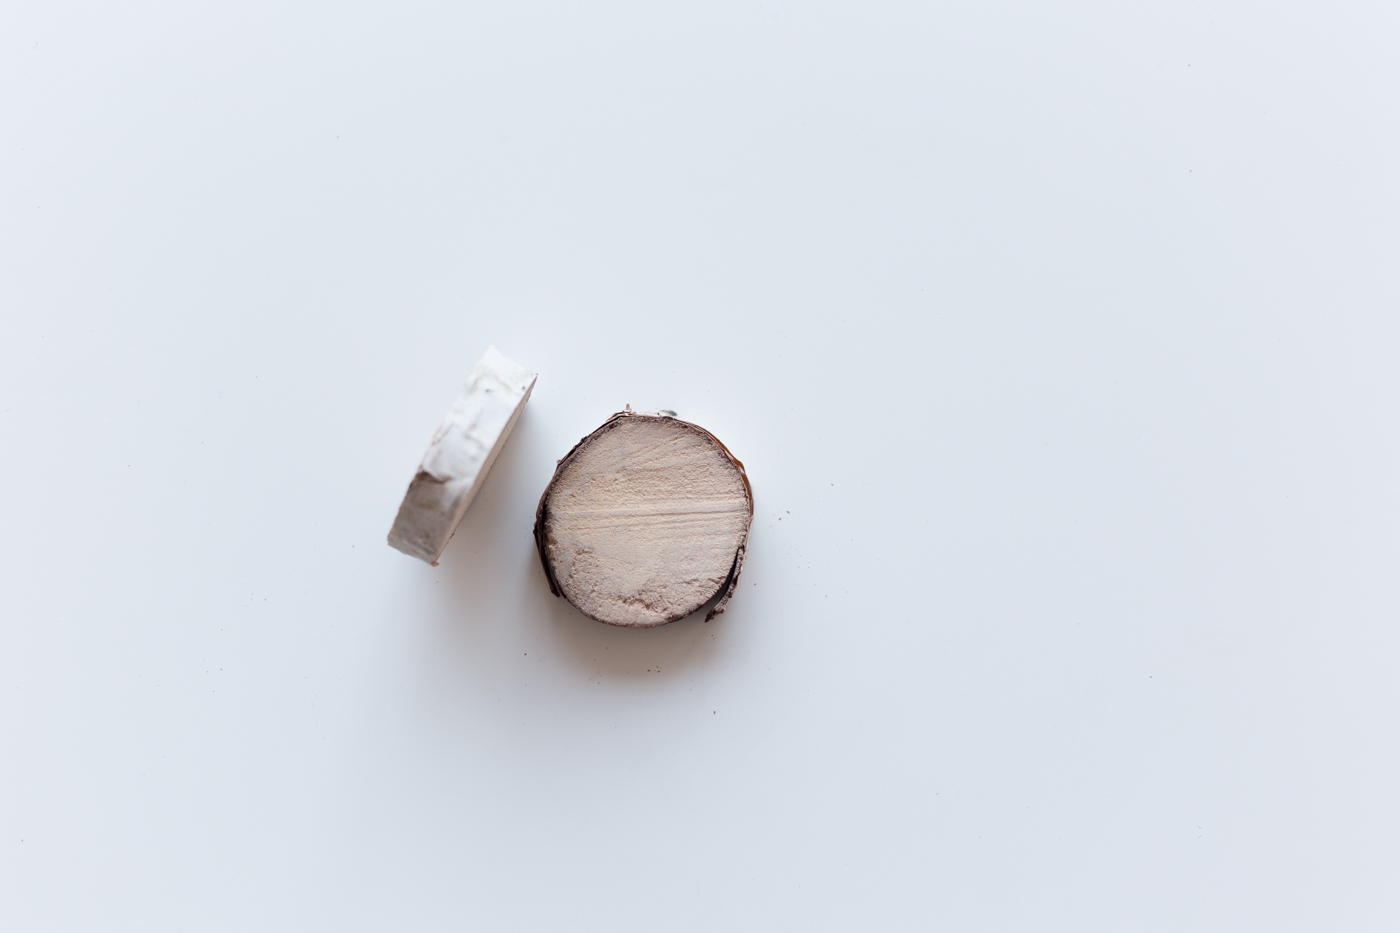
1. If you are using ready-cut wood slices skip this step. If not find a clean, dry branch and saw off half an inch. Sand down both sides to prepare for painting.
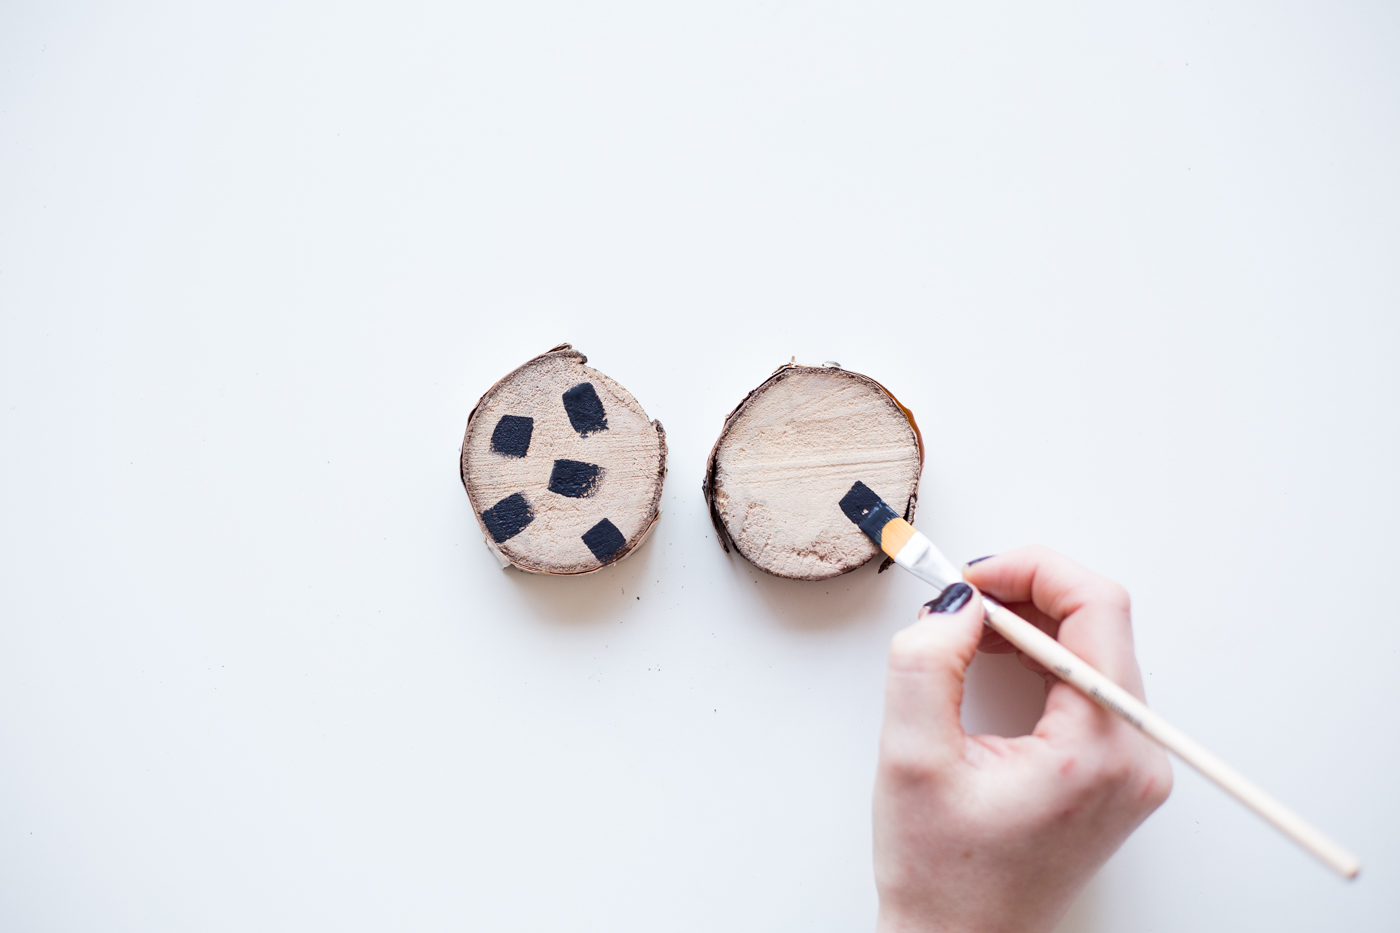
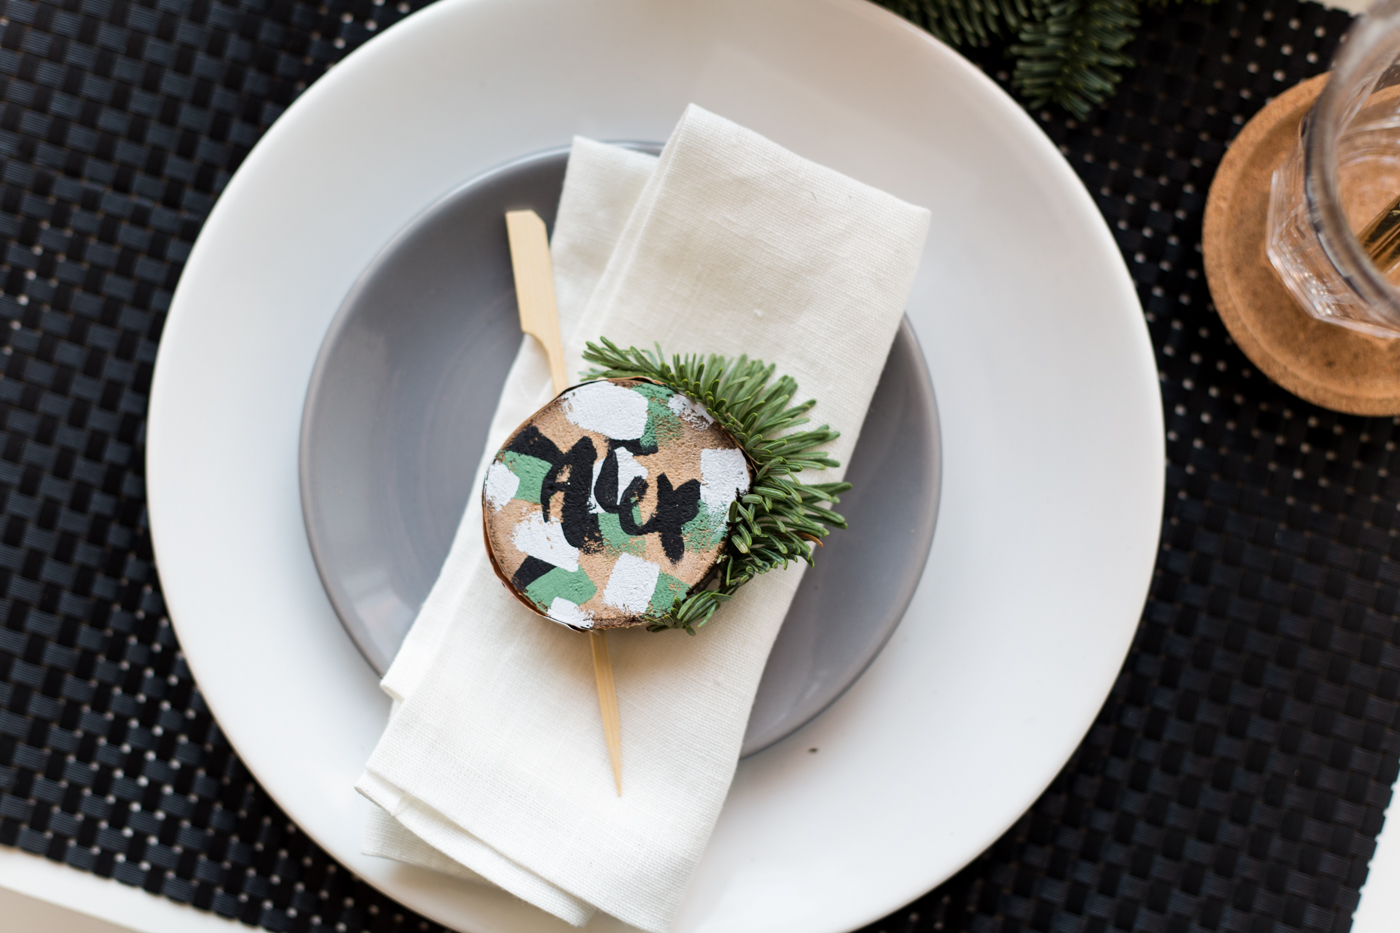
2. Once you have sanded and cleaned the surface of the wood slice use your paintbrush to create even-sized strokes over the surface, starting with the darkest colour. Paint the strokes so they are facing in different directions.
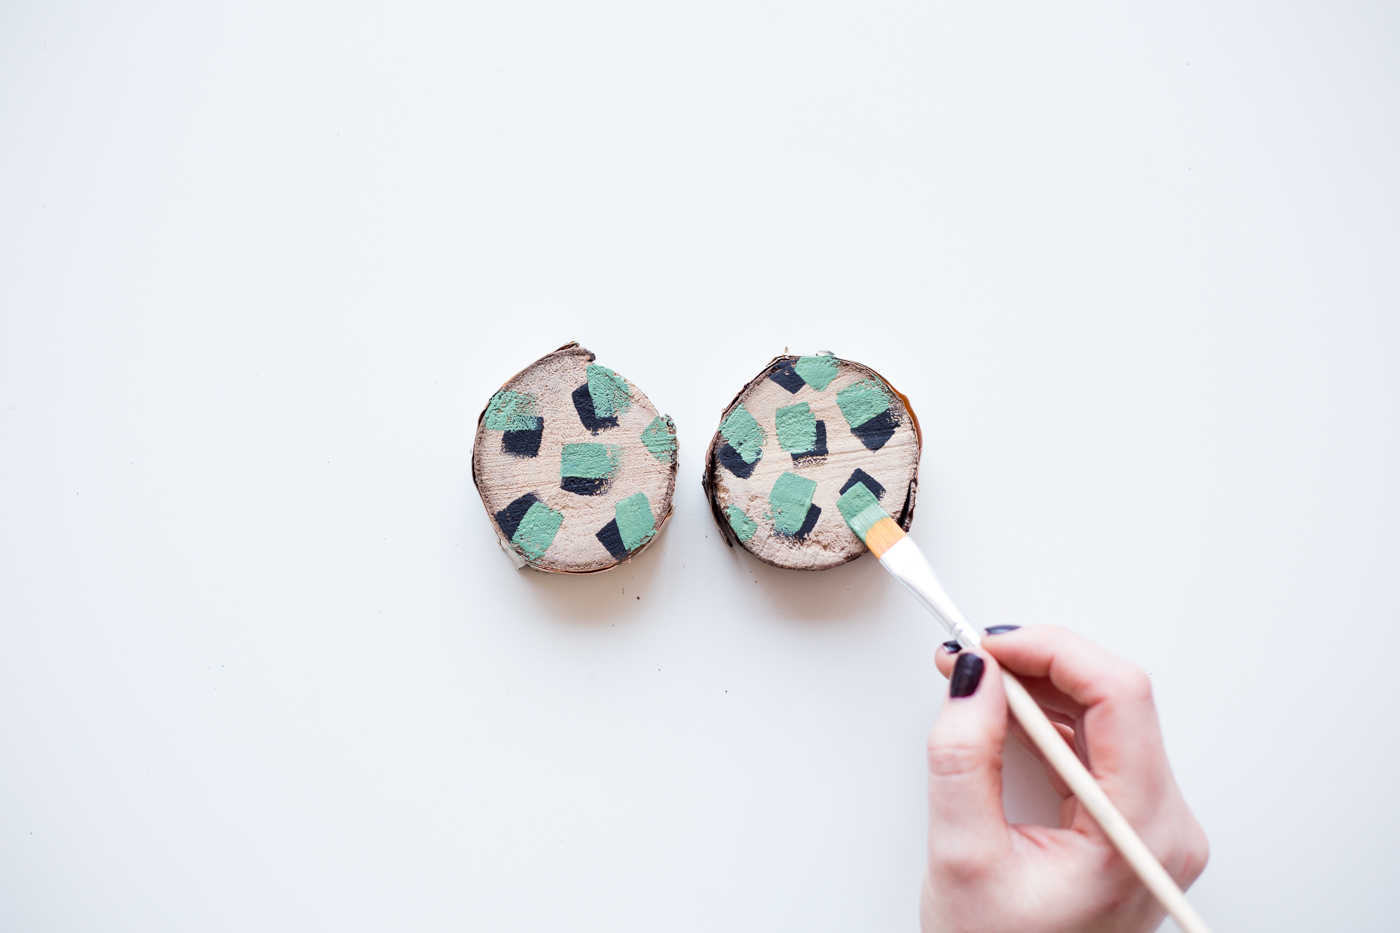
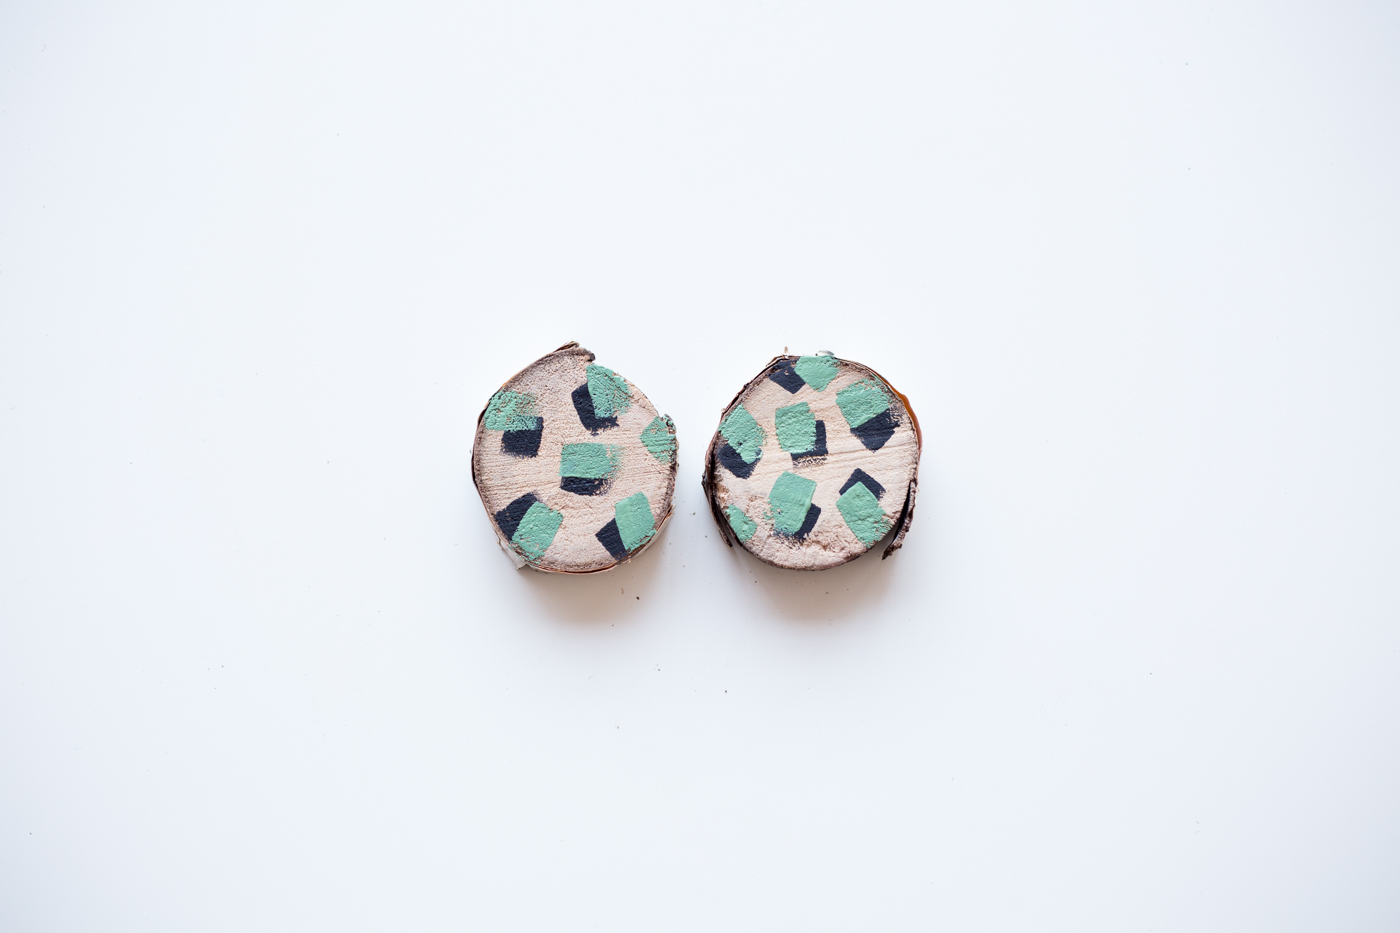

Leave each colour to dry fully before starting with the next one. Paint the strokes over the first layer, leave to dry and repeat for the final colour.
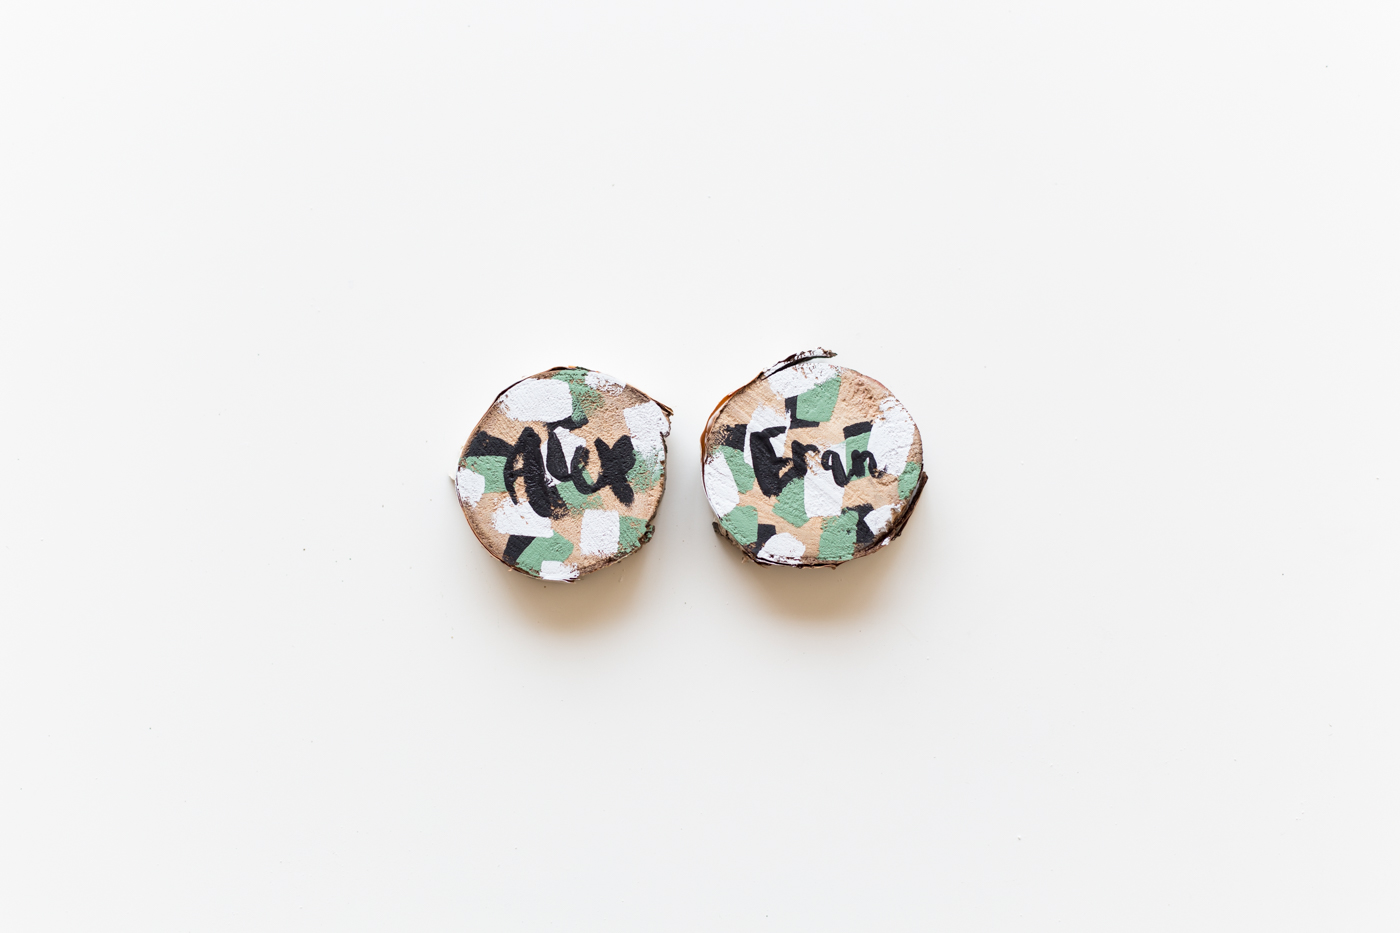
While you’re waiting for the final layer of brush strokes to dry practice painting your names of a piece of paper. Copy these onto the wood in a contrasting colour that will stand out on the brush strokes.
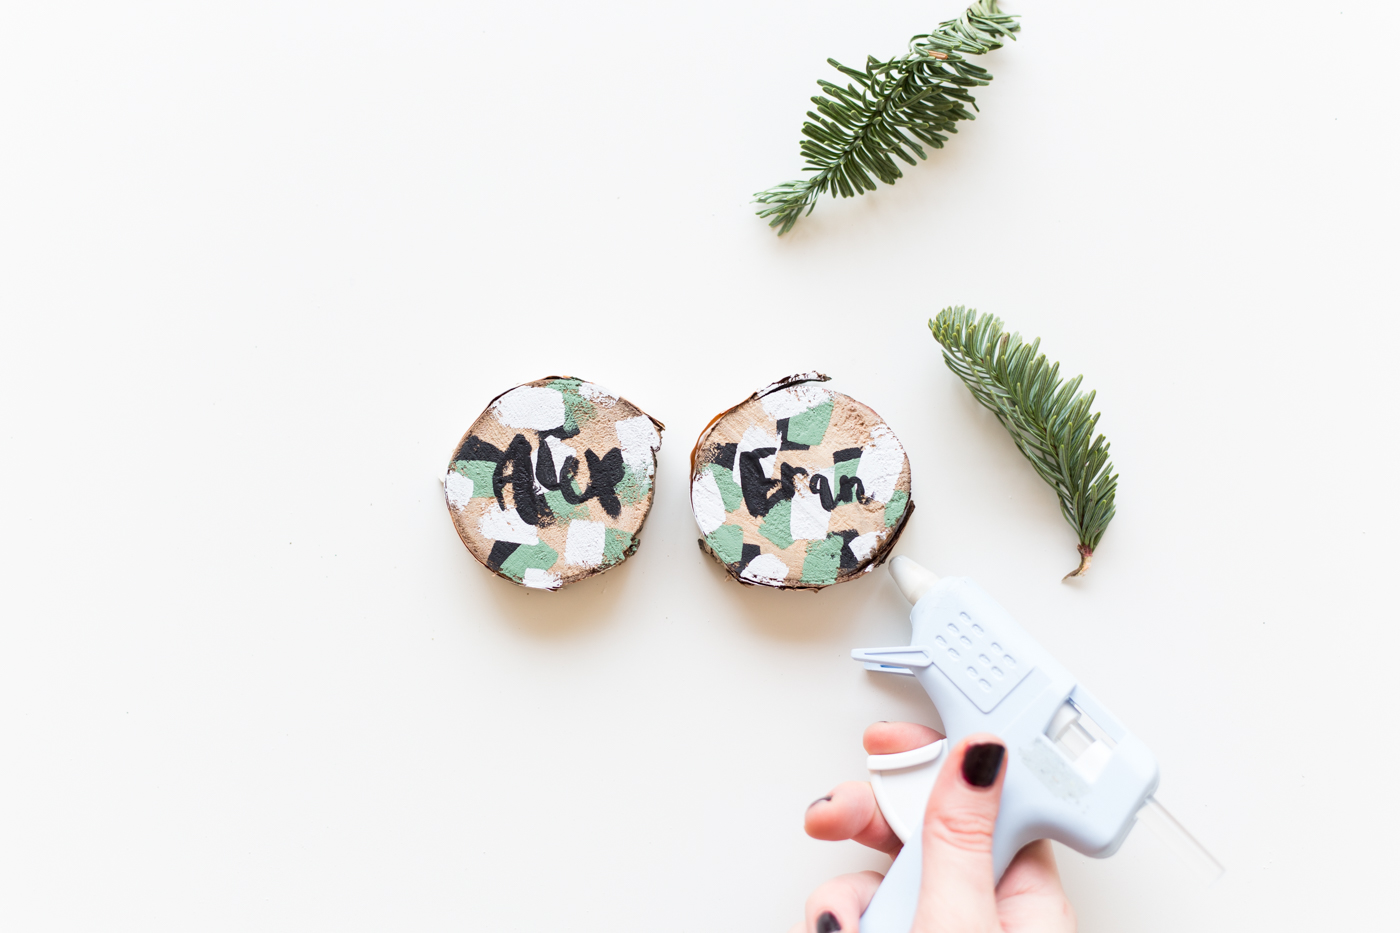
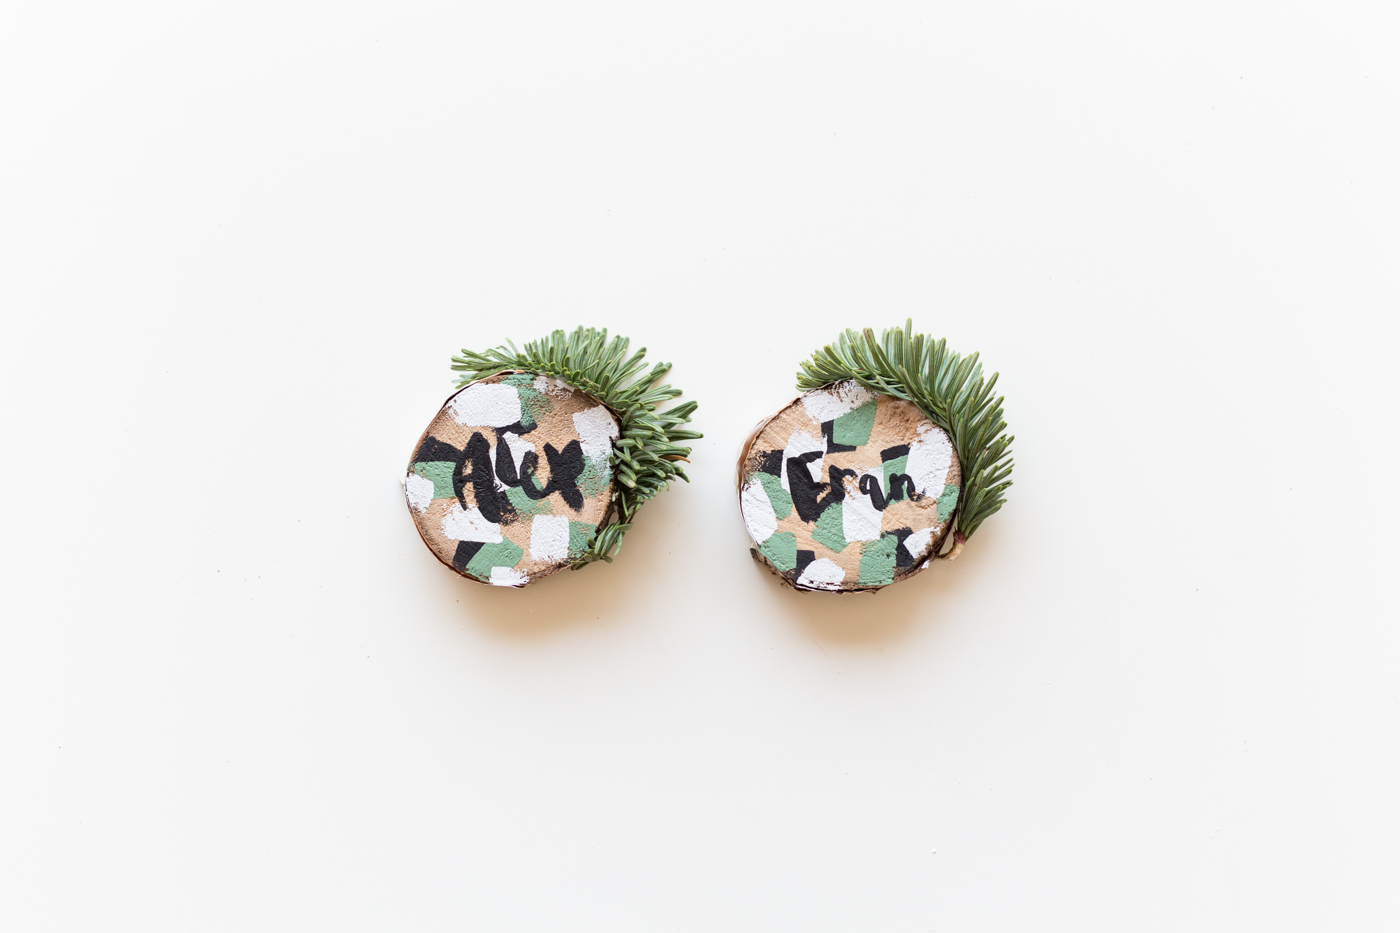
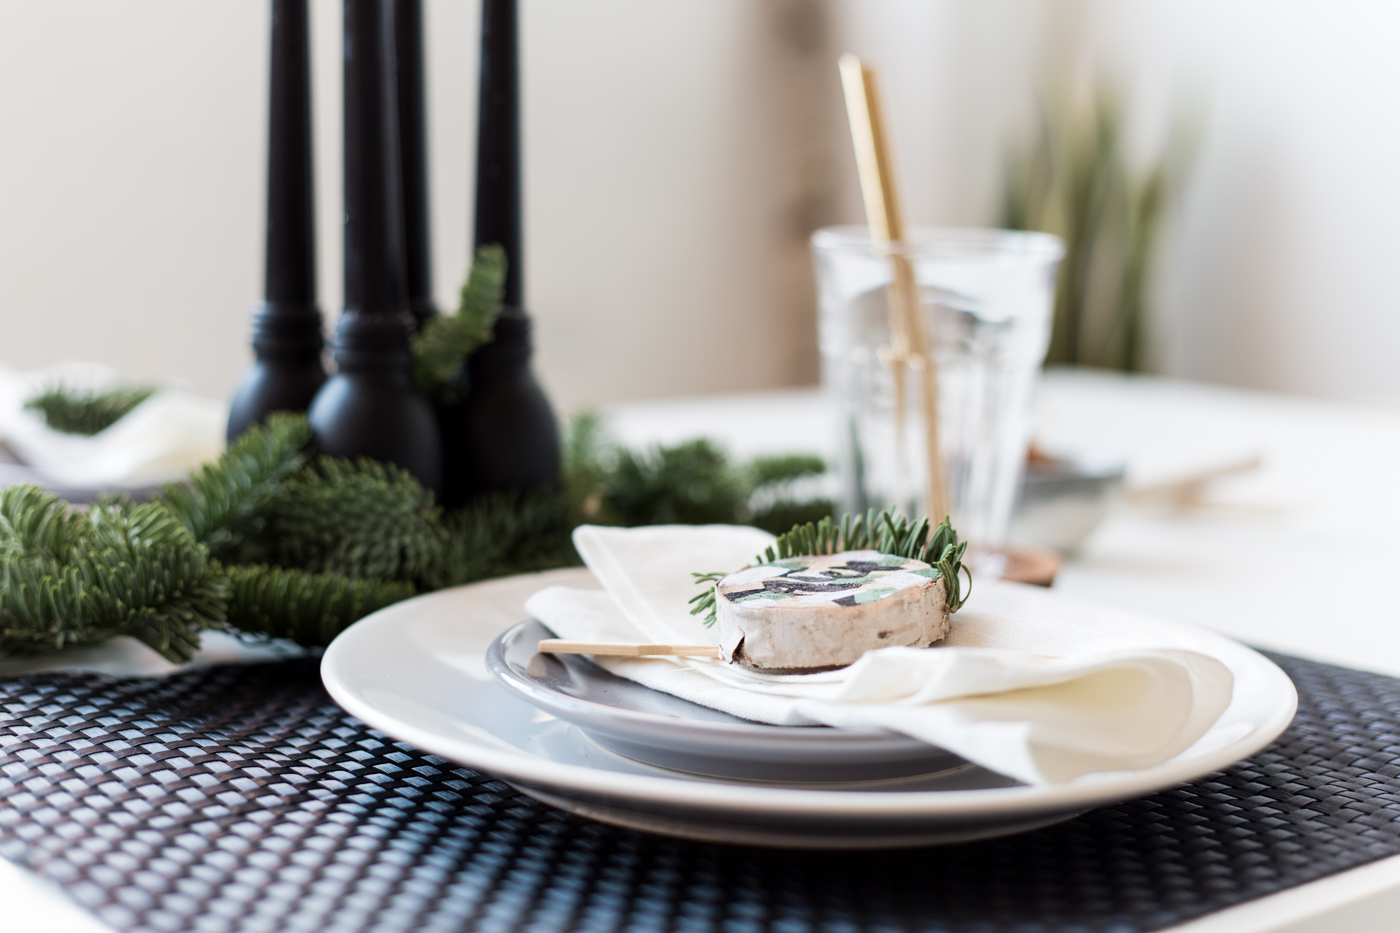
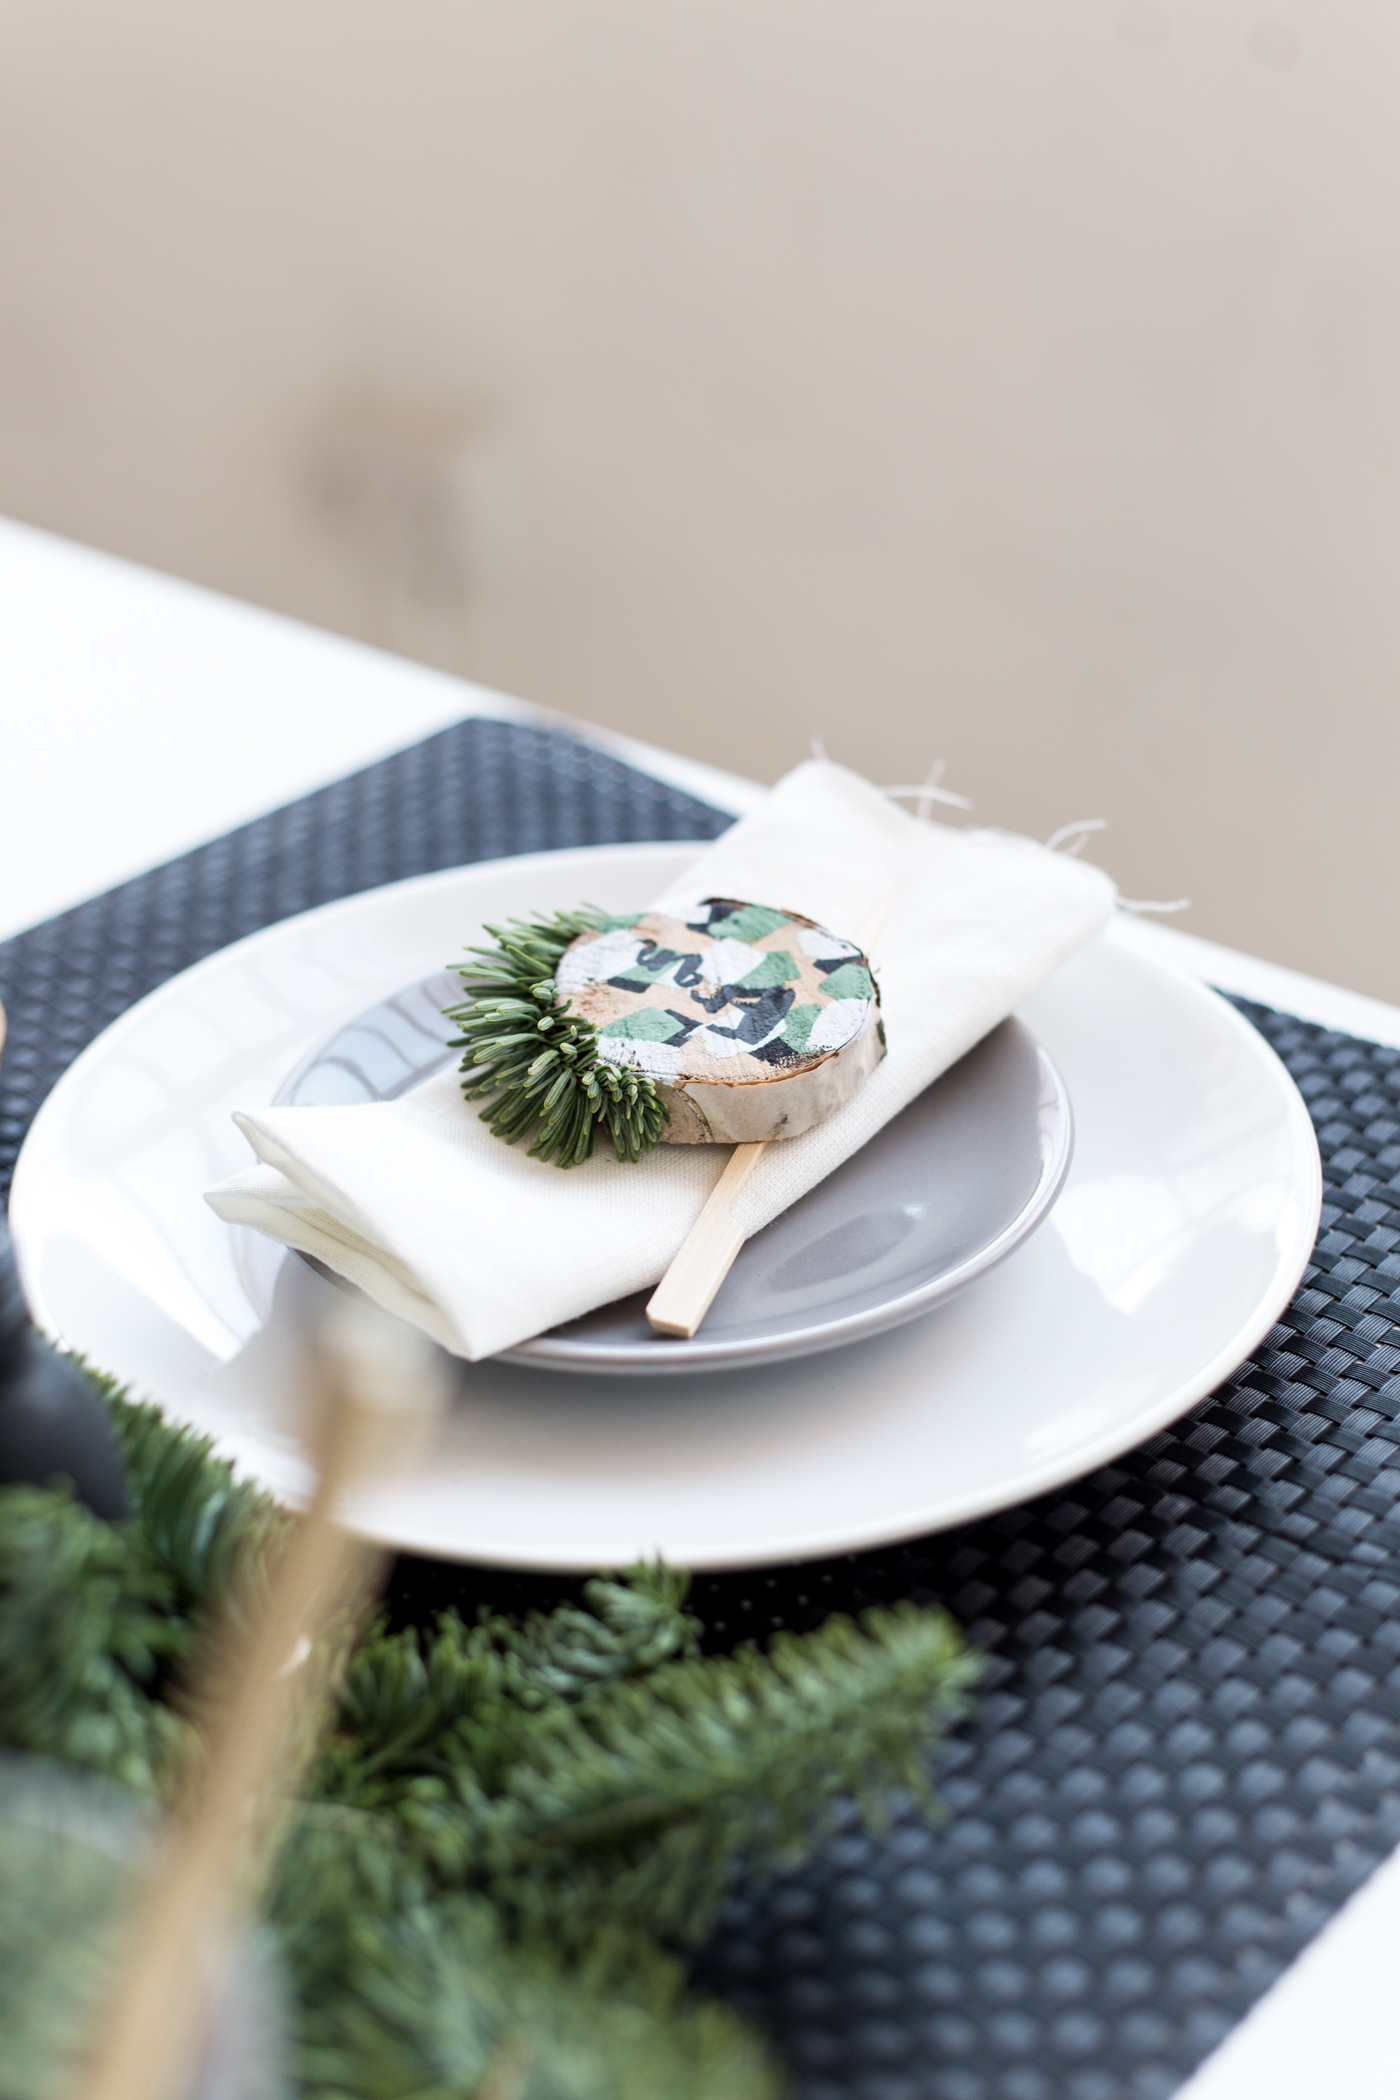
Decorative the wood with some evergreen cuttings. Dot hot glue along the edge and carefully press a small cutting against the glue.
I can’t wait to see what you are making with your tester pots. Remember to share your Dulux inspired projects with us on Instagram tagging #12ShadesofChristmas
*This post was sponsored by Dulux. Thank you for supporting the companies that support Fall For DIY
The post appeared first on .


