This might be stating the obvious (I’m going to do it anyway) but I love Christmas decorating. It’s like accessorising for your home, with added fairy lights. But as Coco Chanel said “Before you leave the house, look in the mirror and take at least one thing off.” This mantra can be applied when it comes to making your home magical over the festive period.
It’s a delicate balance. You don’t want to keep your decorations too sparse, because where’s the fun in that! But add that one garland too many and it can all go from enchanting to overwhelming in the drop of a Santa hat.
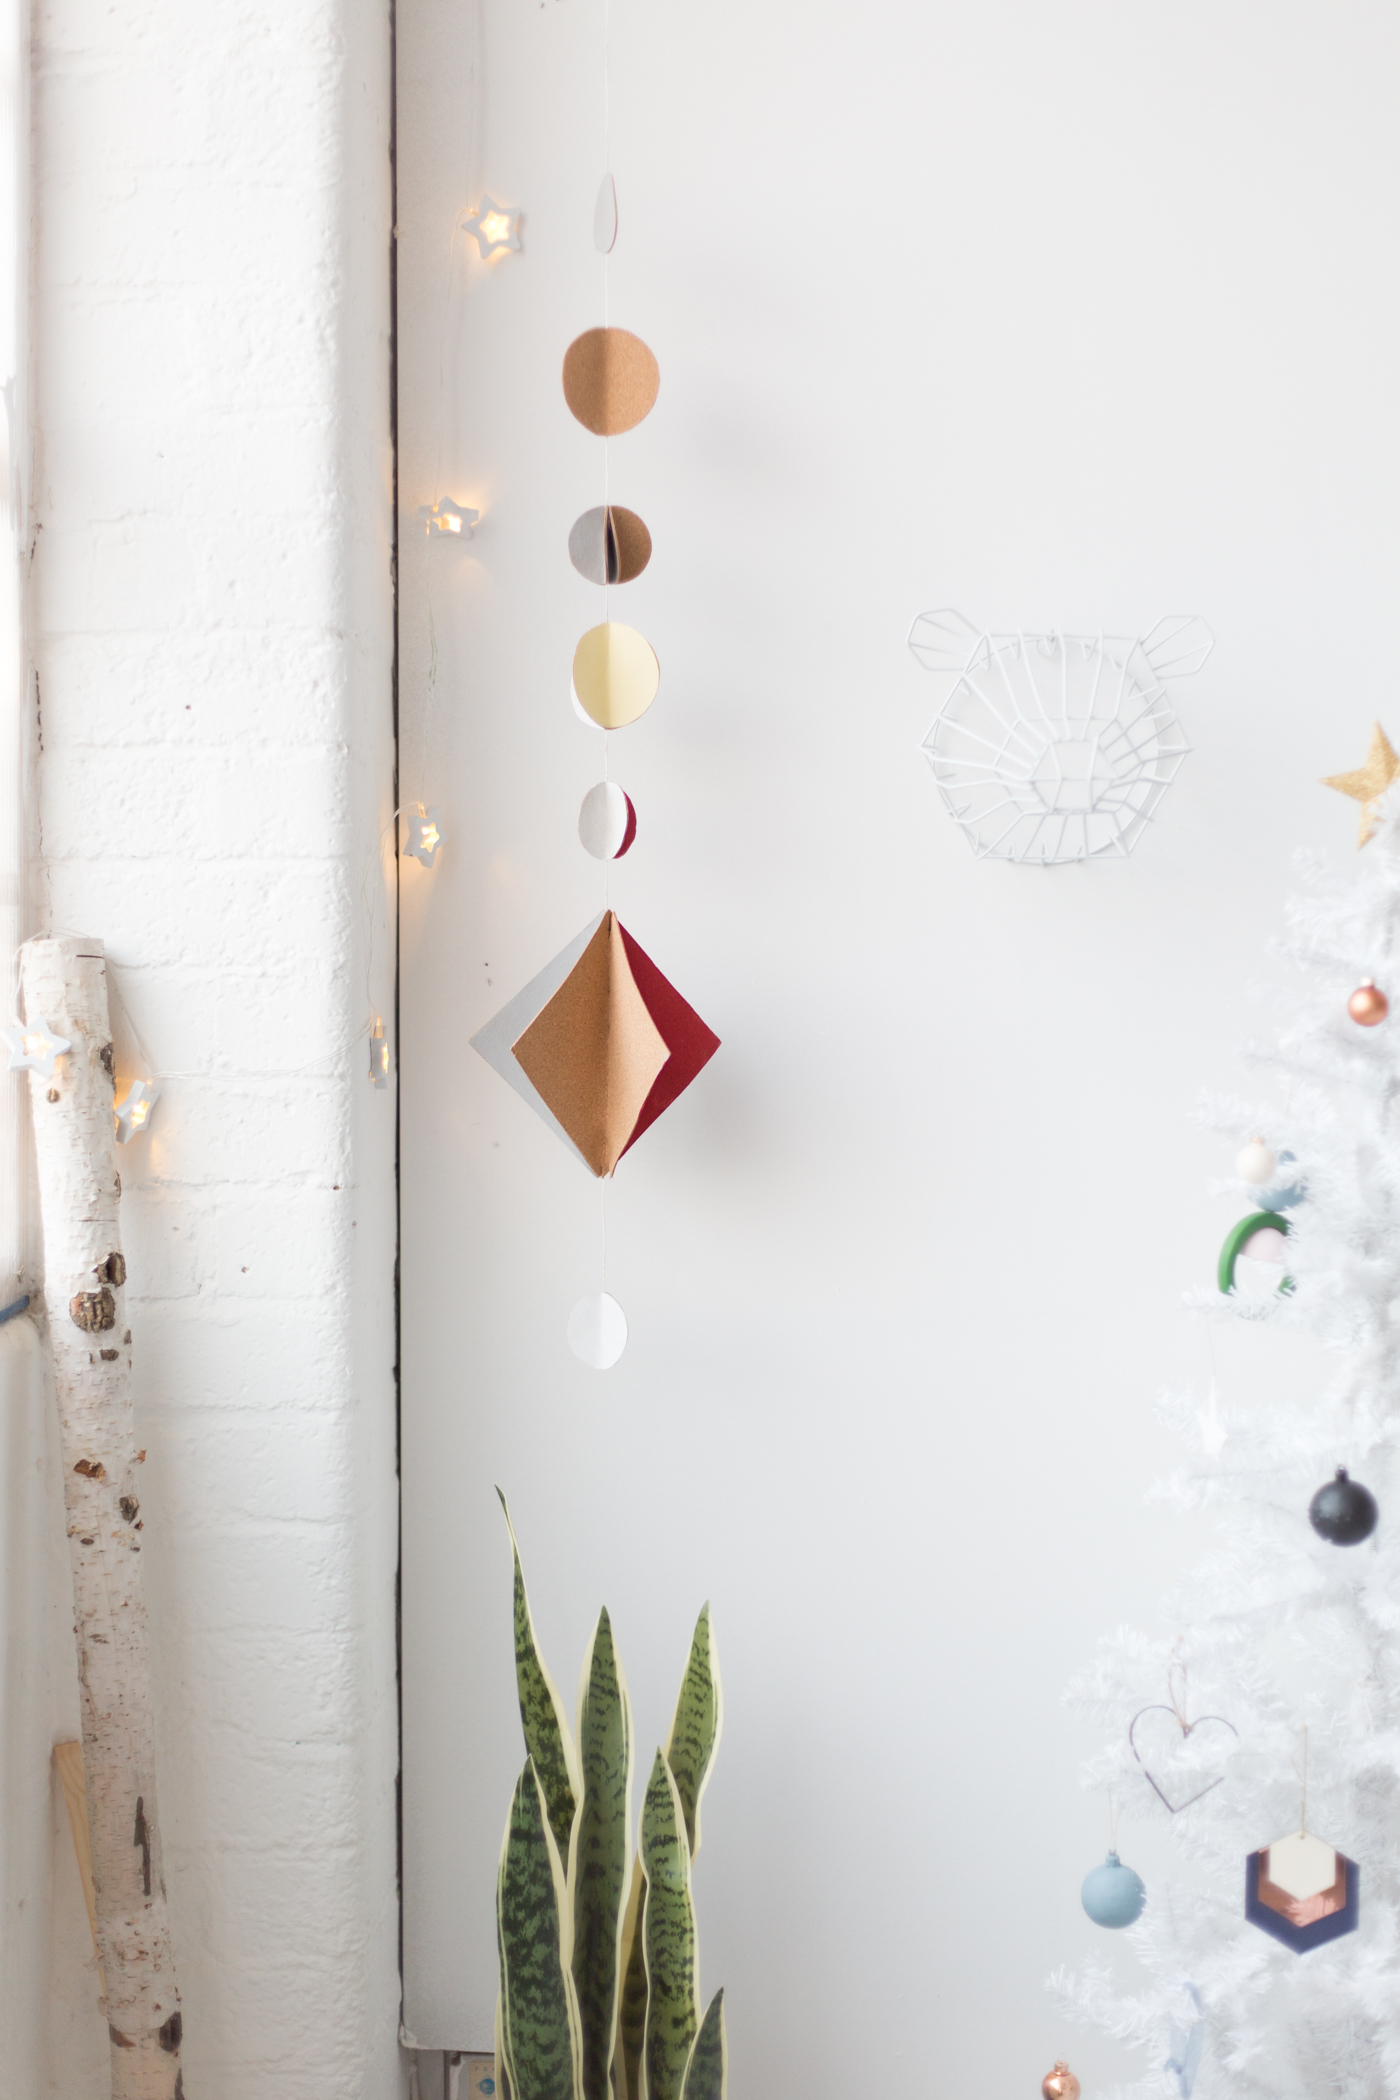
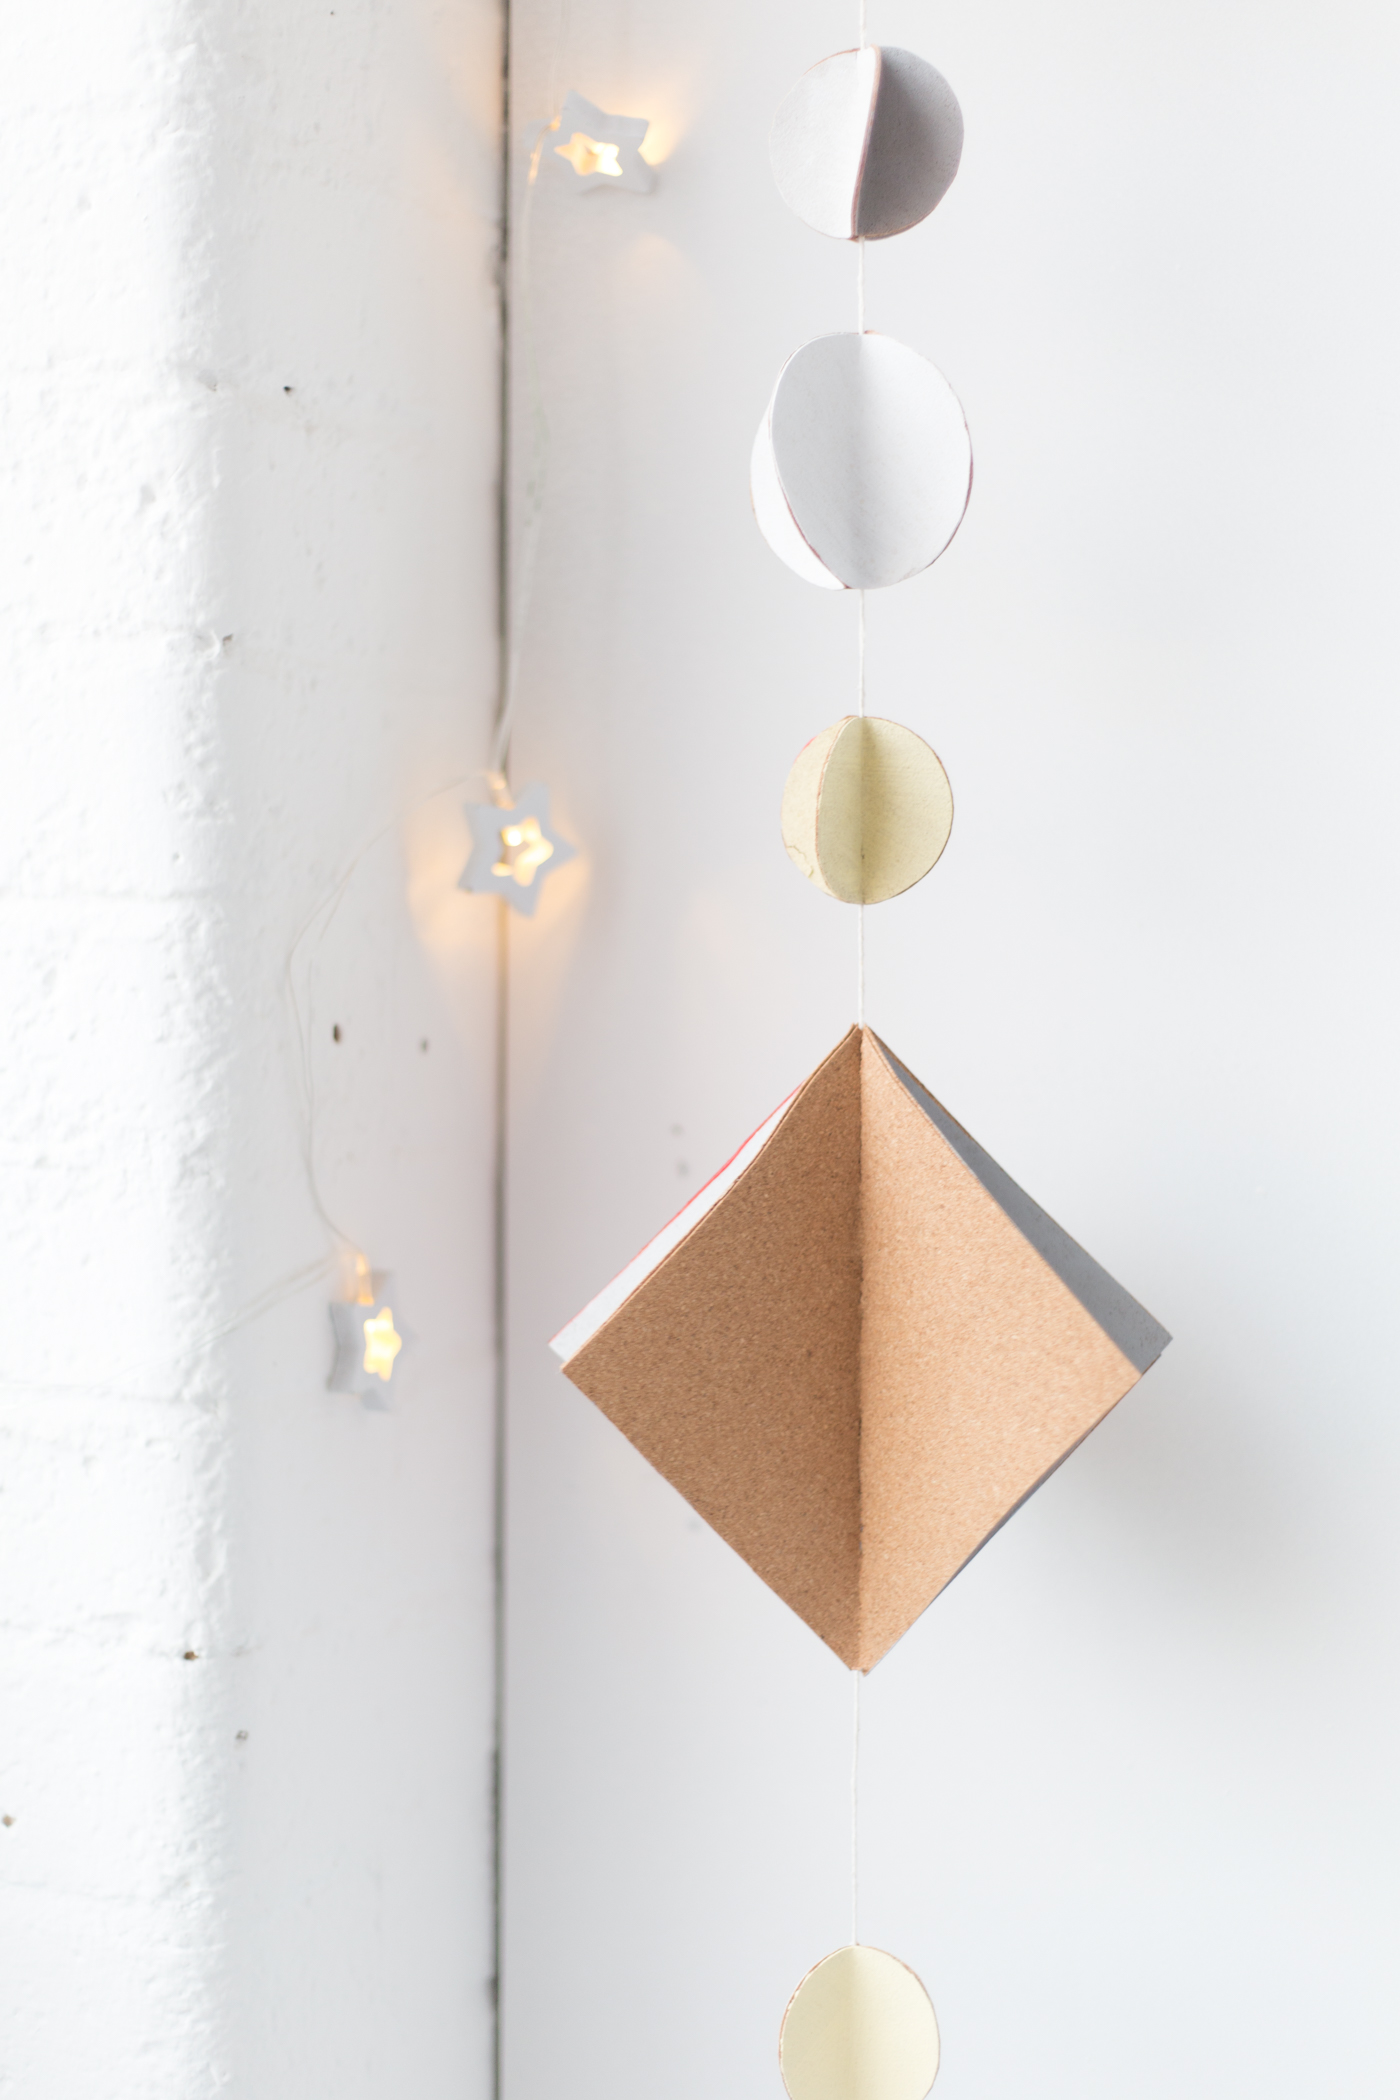
Instead of hanging up your decorations in every conceivable space, look for areas that are unused and add in one or two statement pieces rather than filling it with as many shiny things as possible. This cork garland is the perfect way to decorate a wall or corner space, keeping it light, modern and festive.
Materials
- 30ml Dulux tester pots in White Mist, Pharaohs Gold 3, Fire Cracker 3 & Night Jewels 4
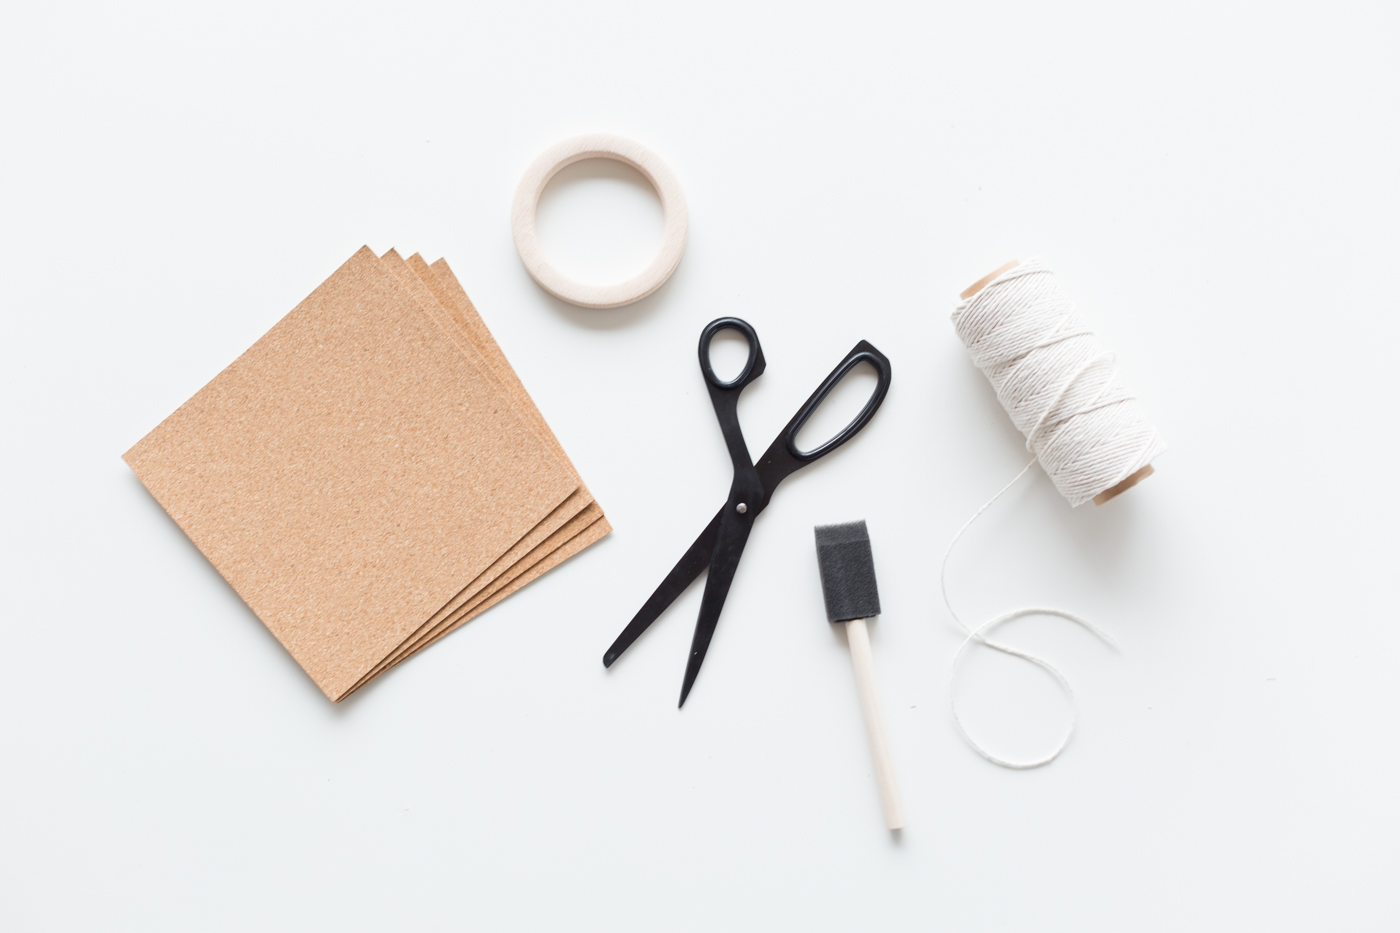
- Self-adhesive cork sheets
- Cotton cord
- Scissors
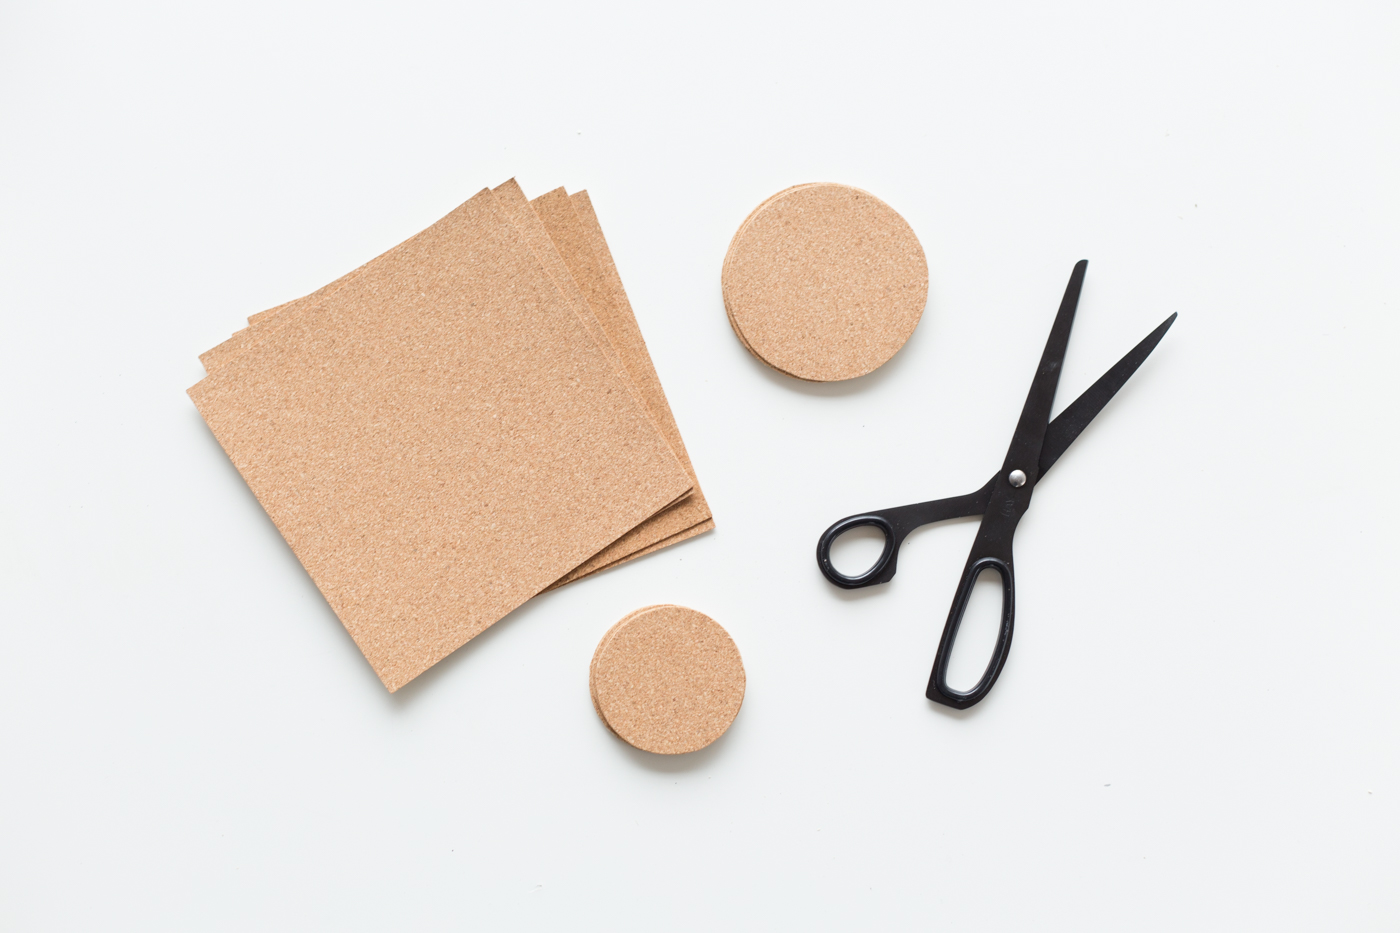
1. Cut circles and squares out of your cork. It’s best to use a template to keep your shapes uniform. This will help us later.
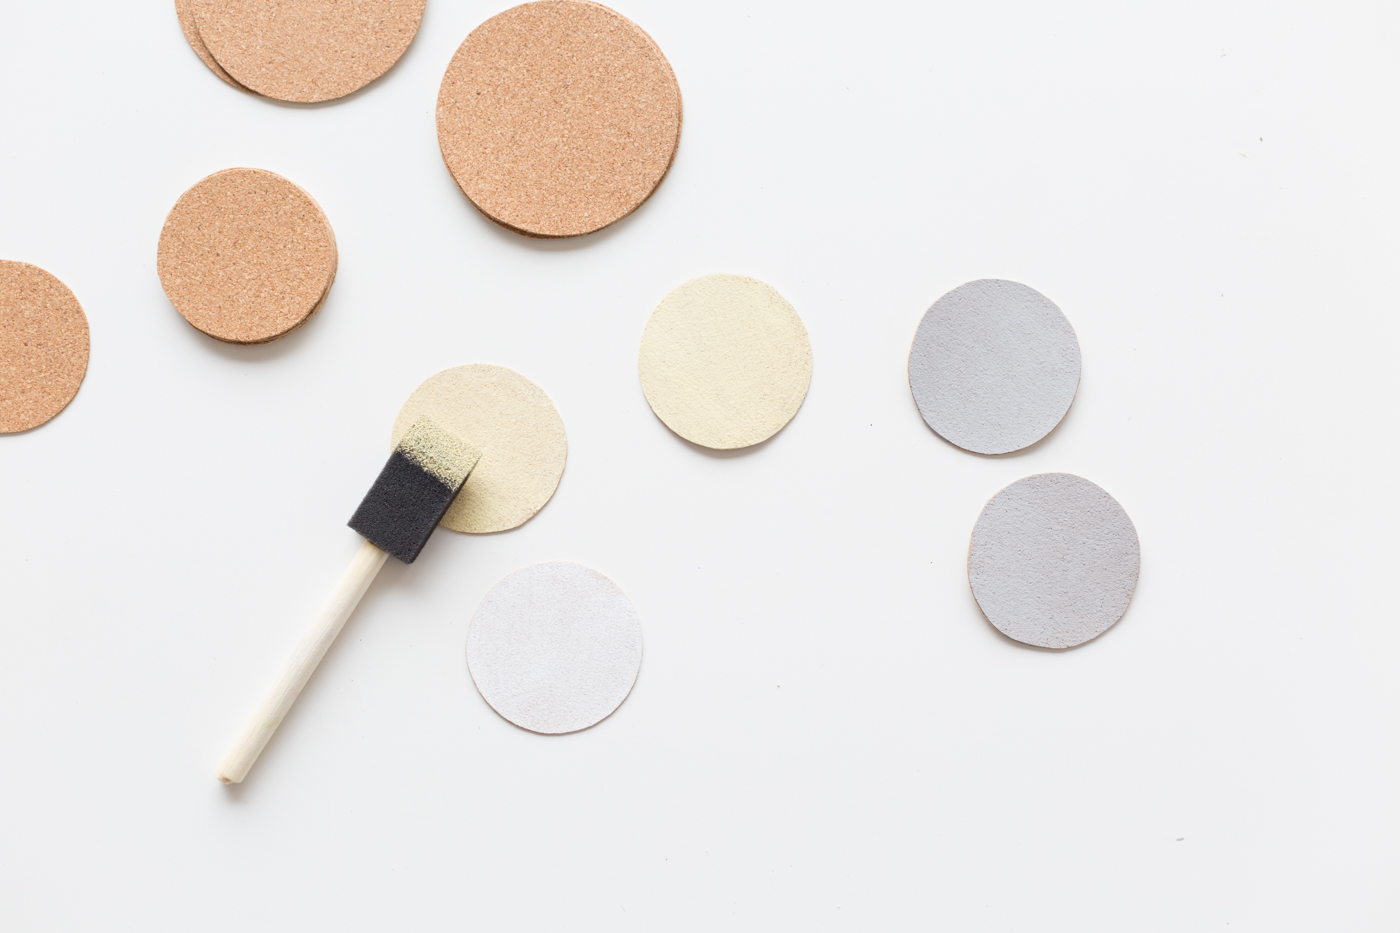
2. Paint them using your tester pots – keep some unpainted cork and have a few accent colours in with the white and grey.
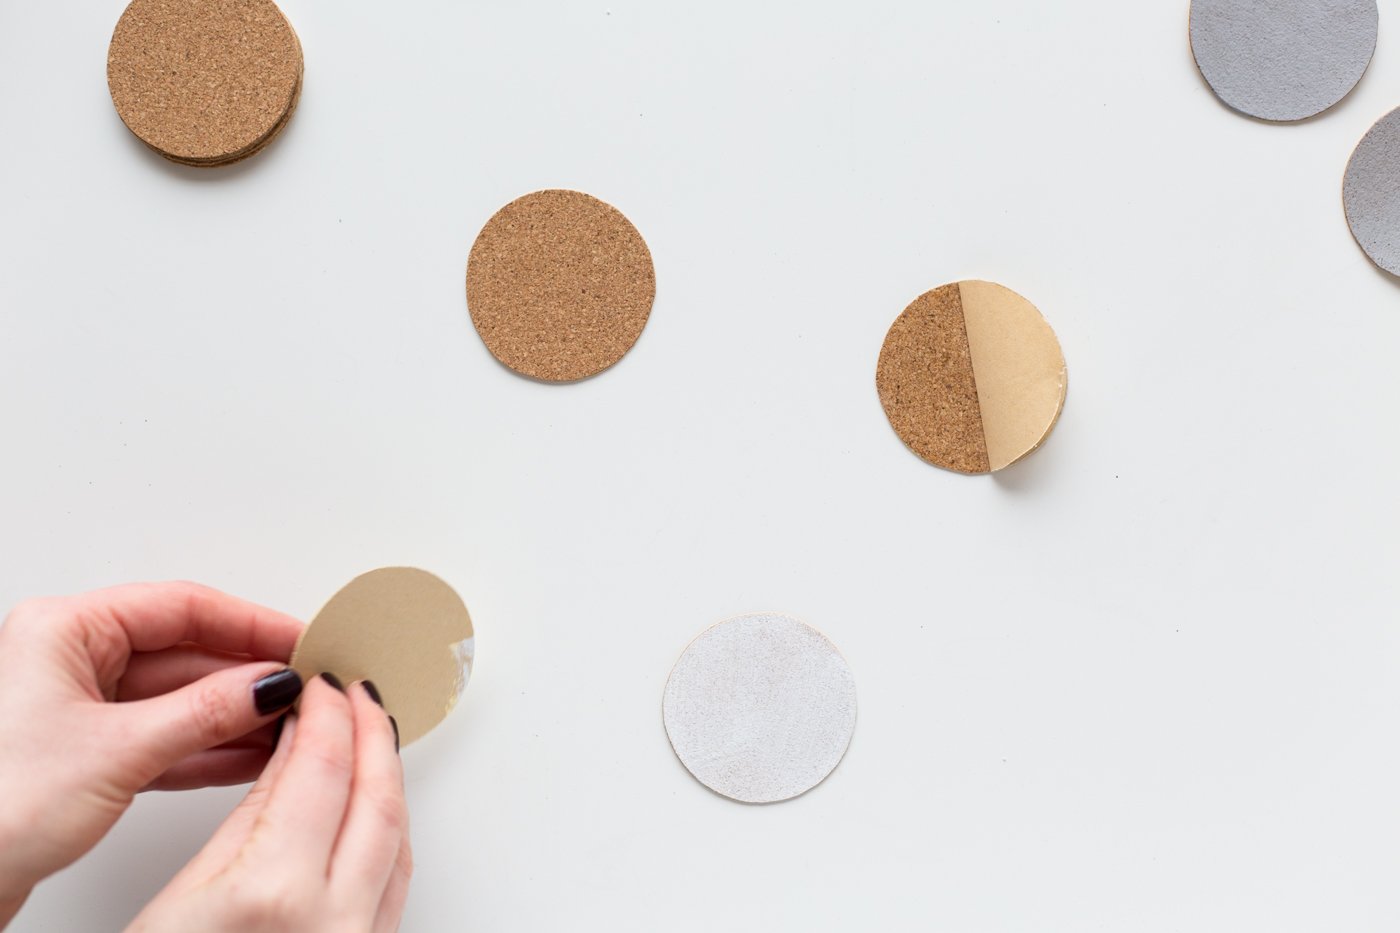
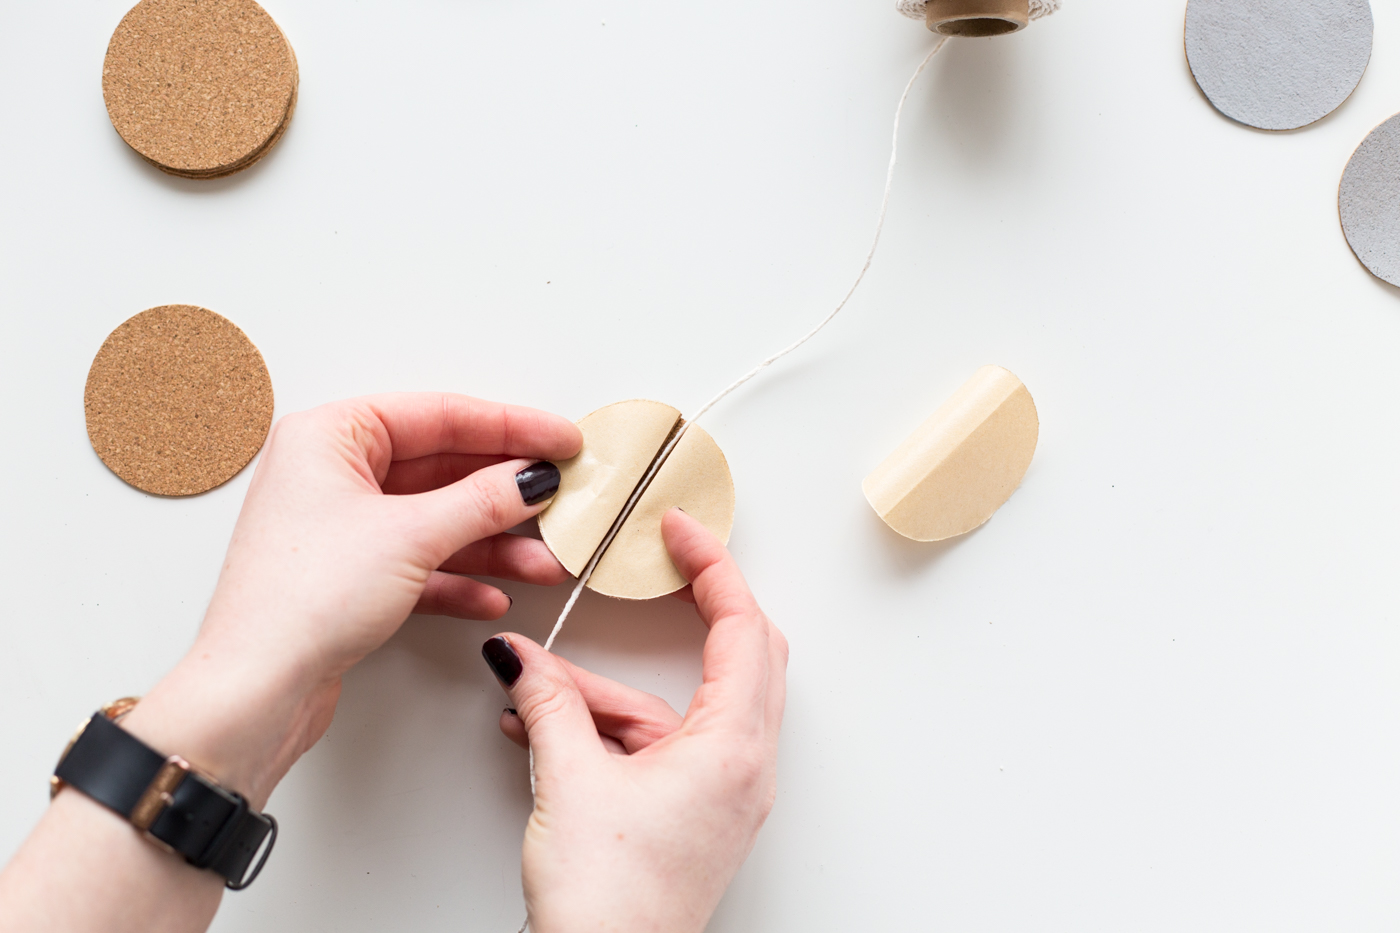
3. When the paint has dried take 4 or 5 of the same shape in different colours. Peel the backing strip half way off two of the cork shapes. Carefully press these together lining up the edges. You can’t pull the cork apart again without ripping it so take extra time to get this step right.
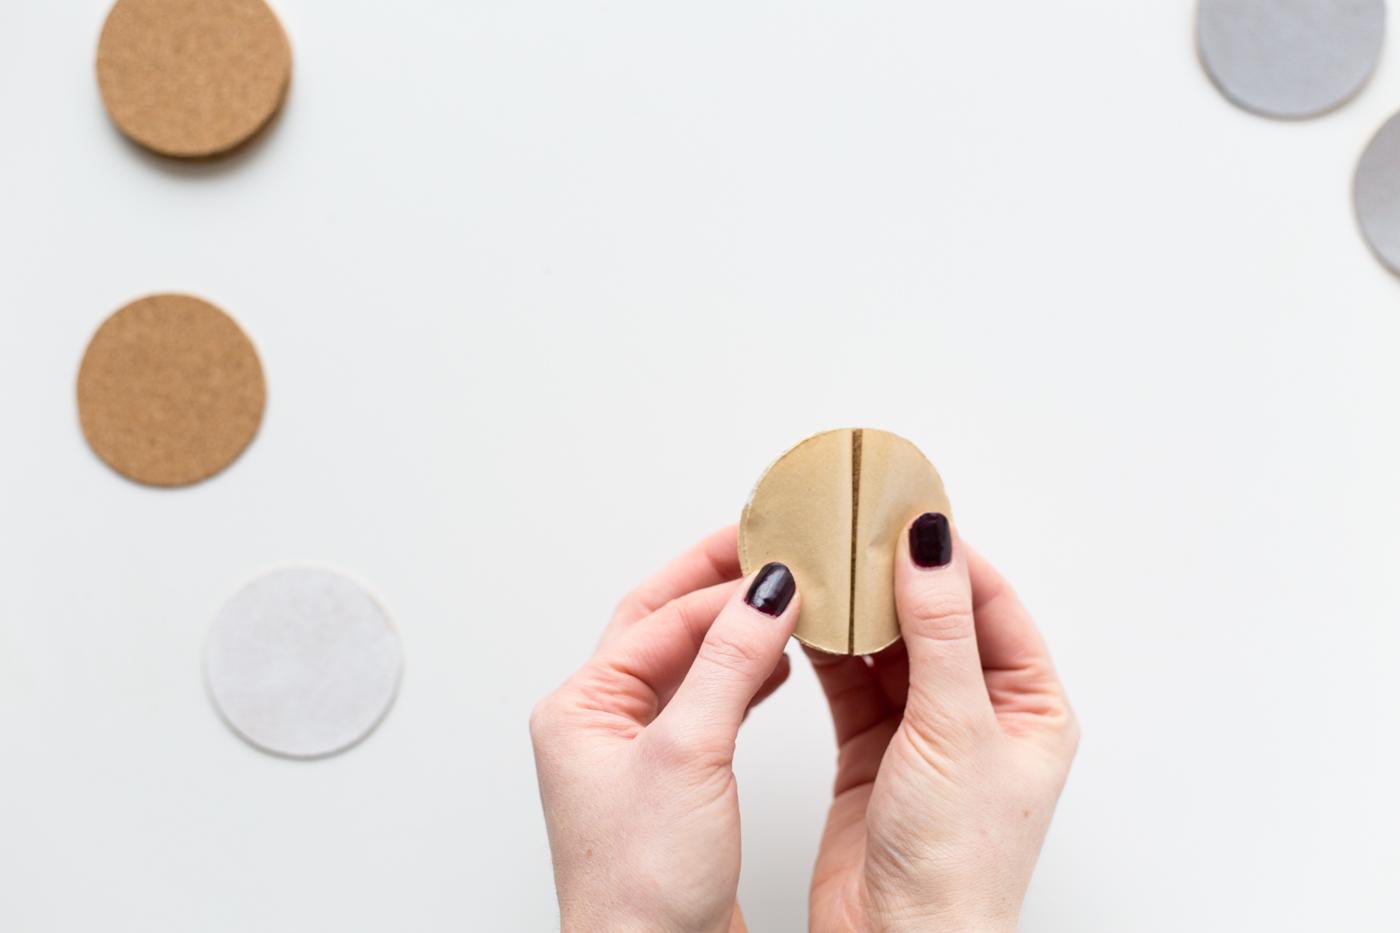
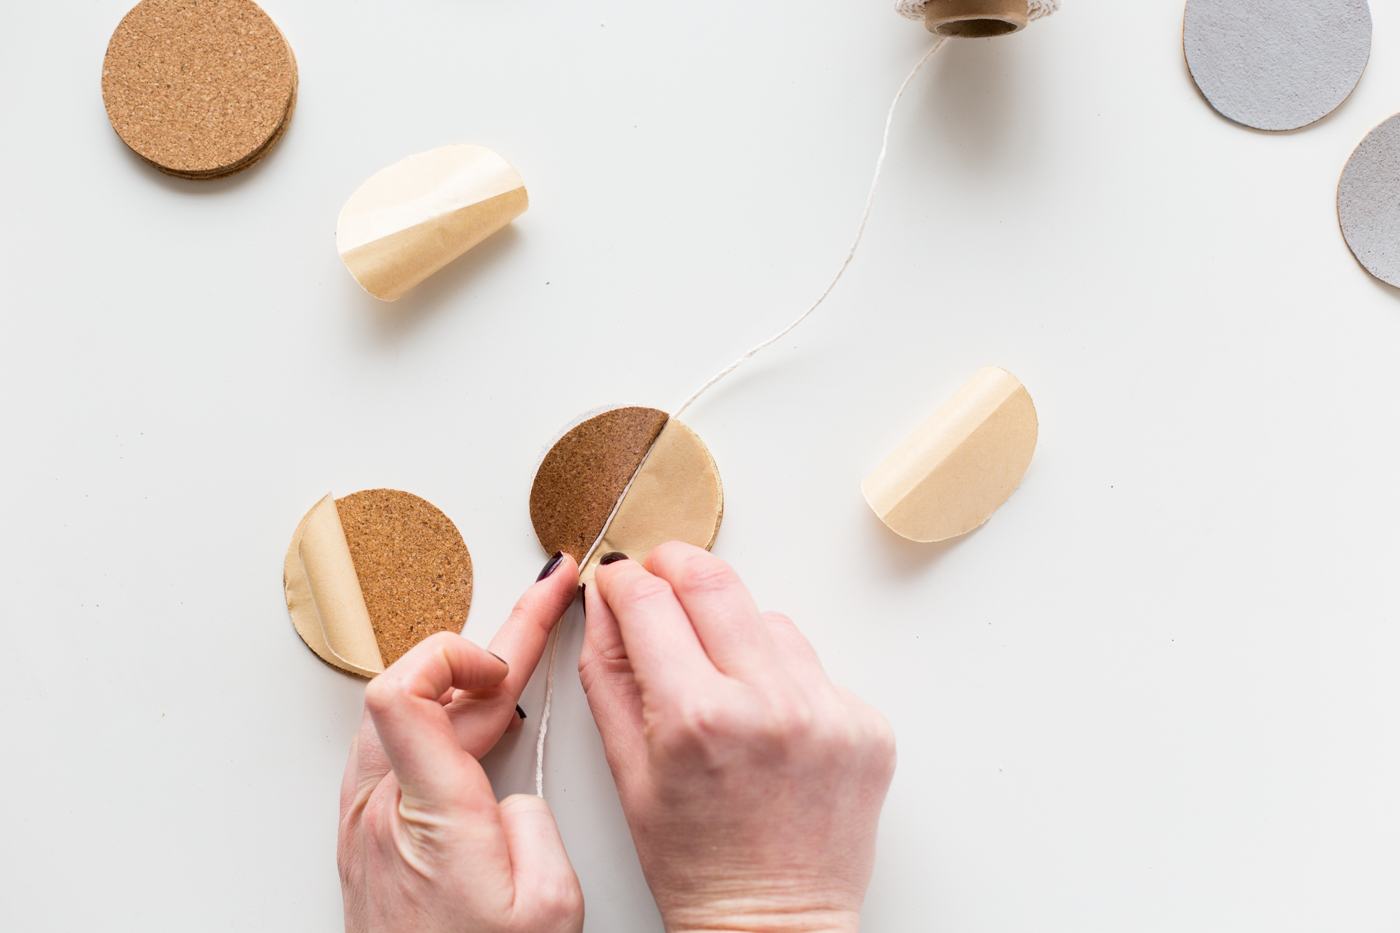
4. Peel the backing paper full off one of the two shapes that are now stuck together. Take another of the same shape and peel the backing paper half off this. Press these two halves together again much like the first time. You will see the 3D form beginning to take shape.
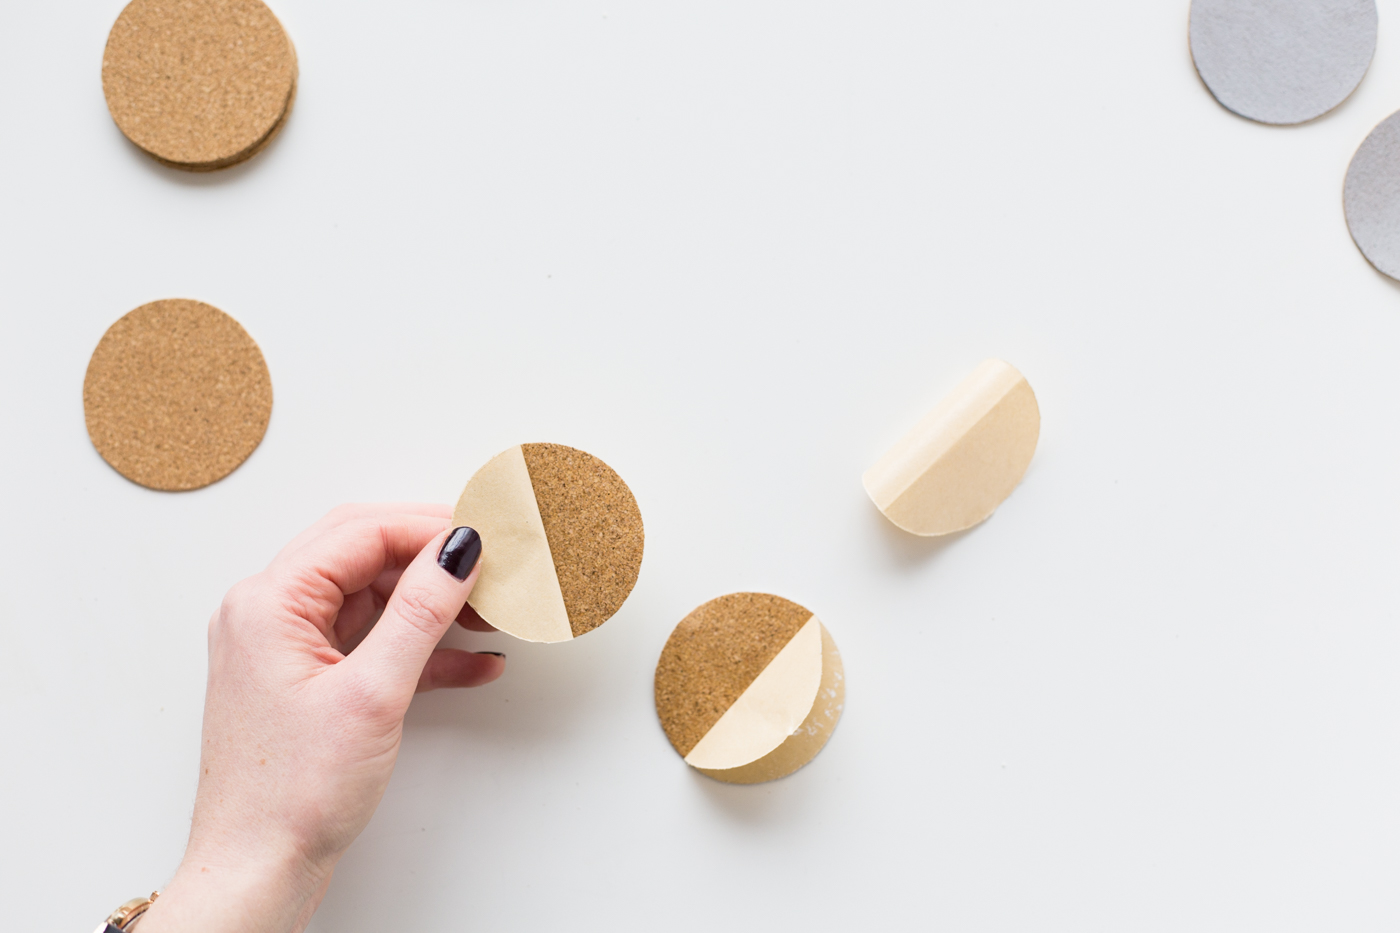

5. Continue until you come to the final piece of cork. Lay the cord in the centre of the shape and adhere the final piece of cork to the remaining half, closing the gap.
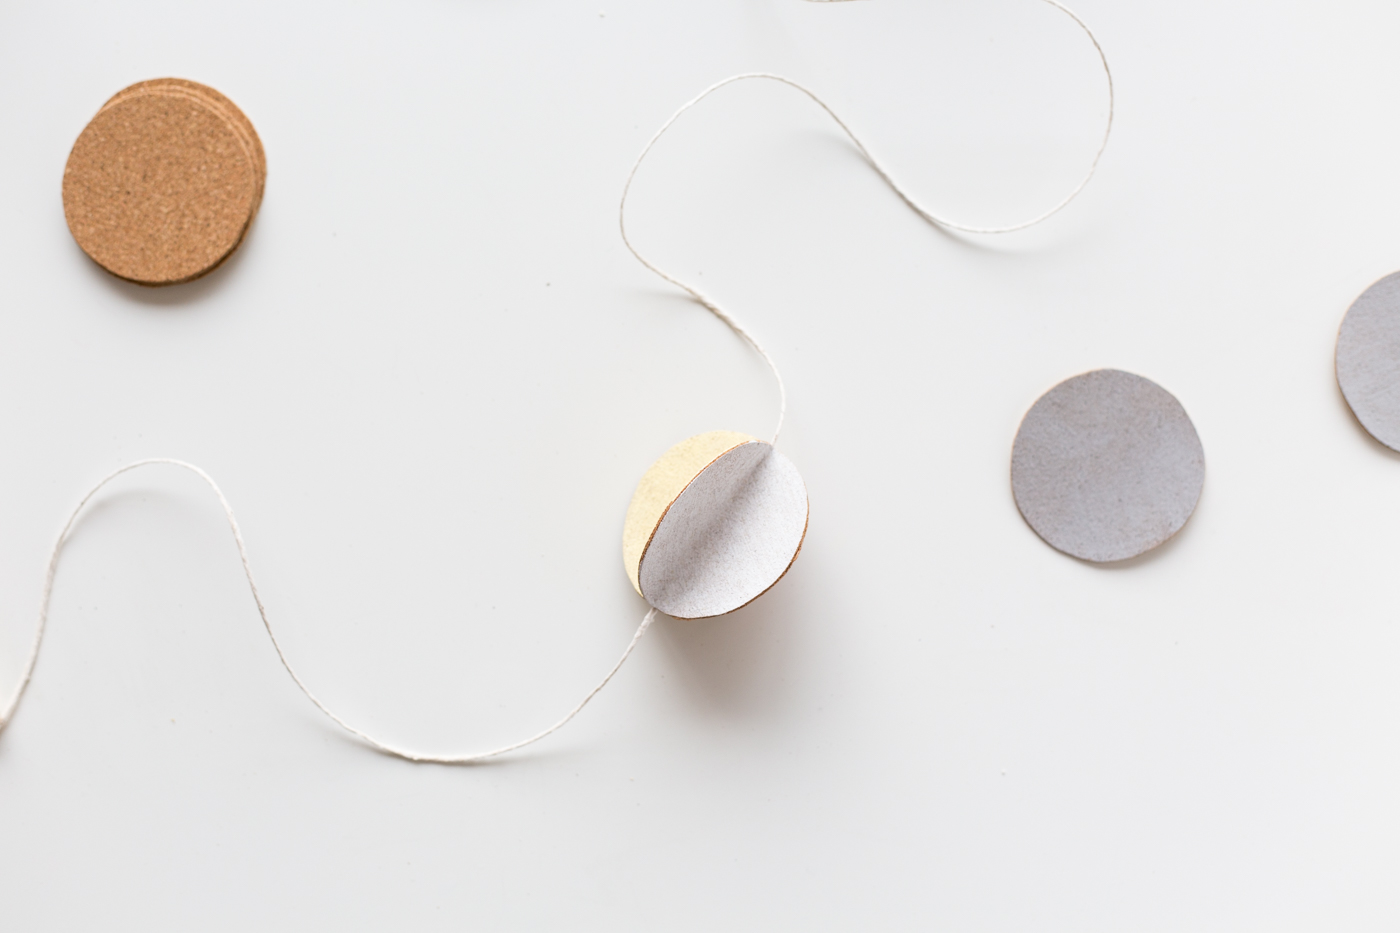
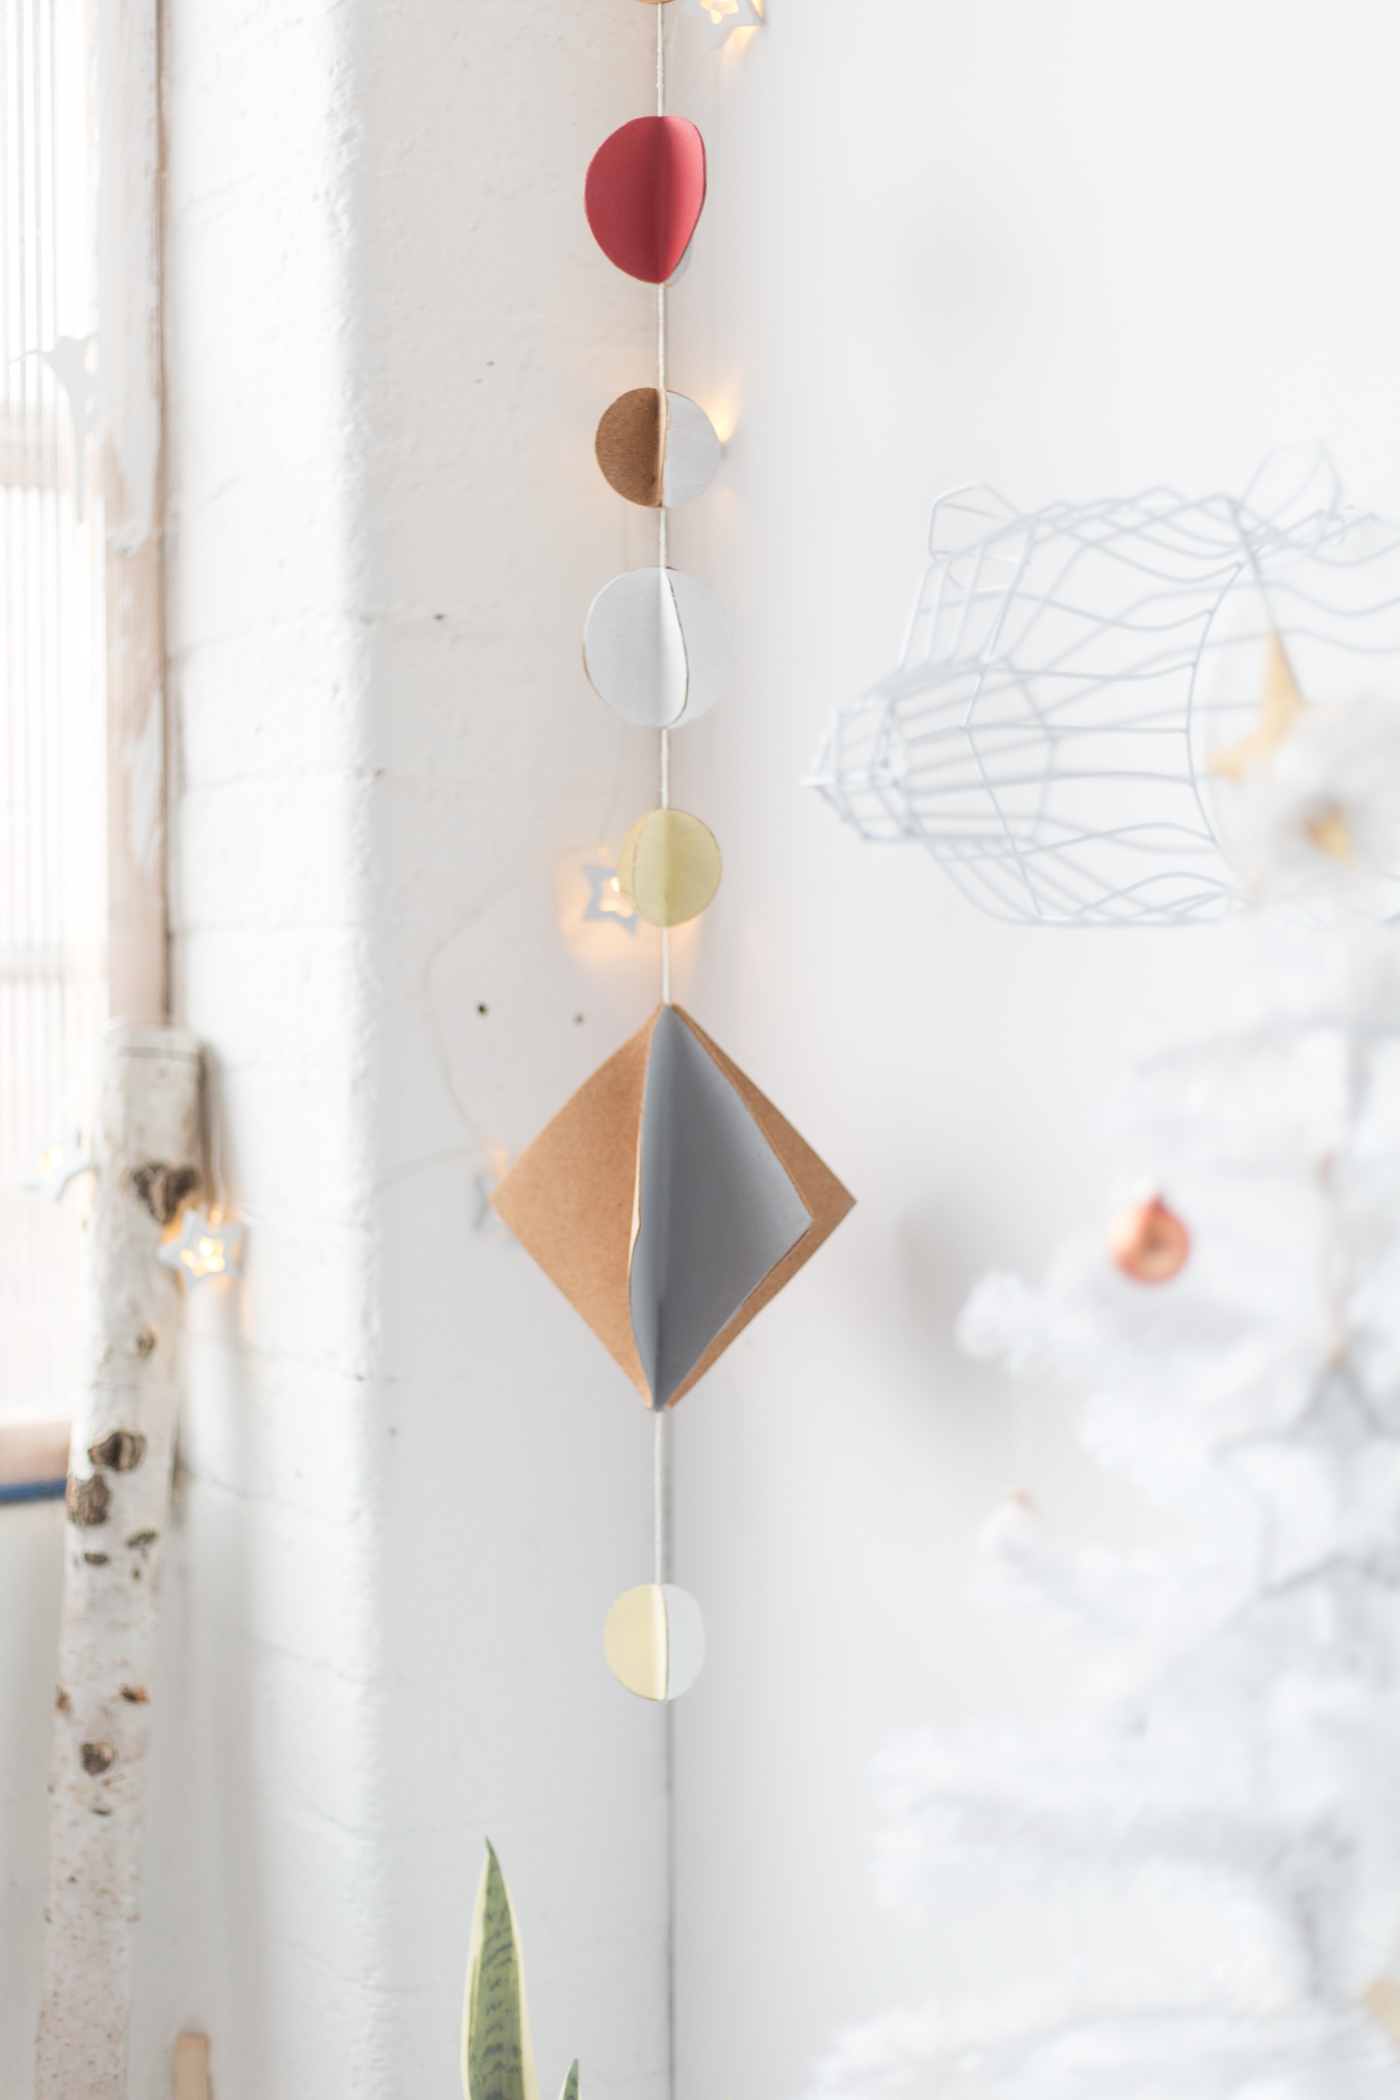
Repeat these steps with various shapes and sizes over a length of cotton cord. Keep the cord free in the centre of the shapes so you can move them into position once they are all attached. Once in place gently squeeze the cork over the cord to secure.
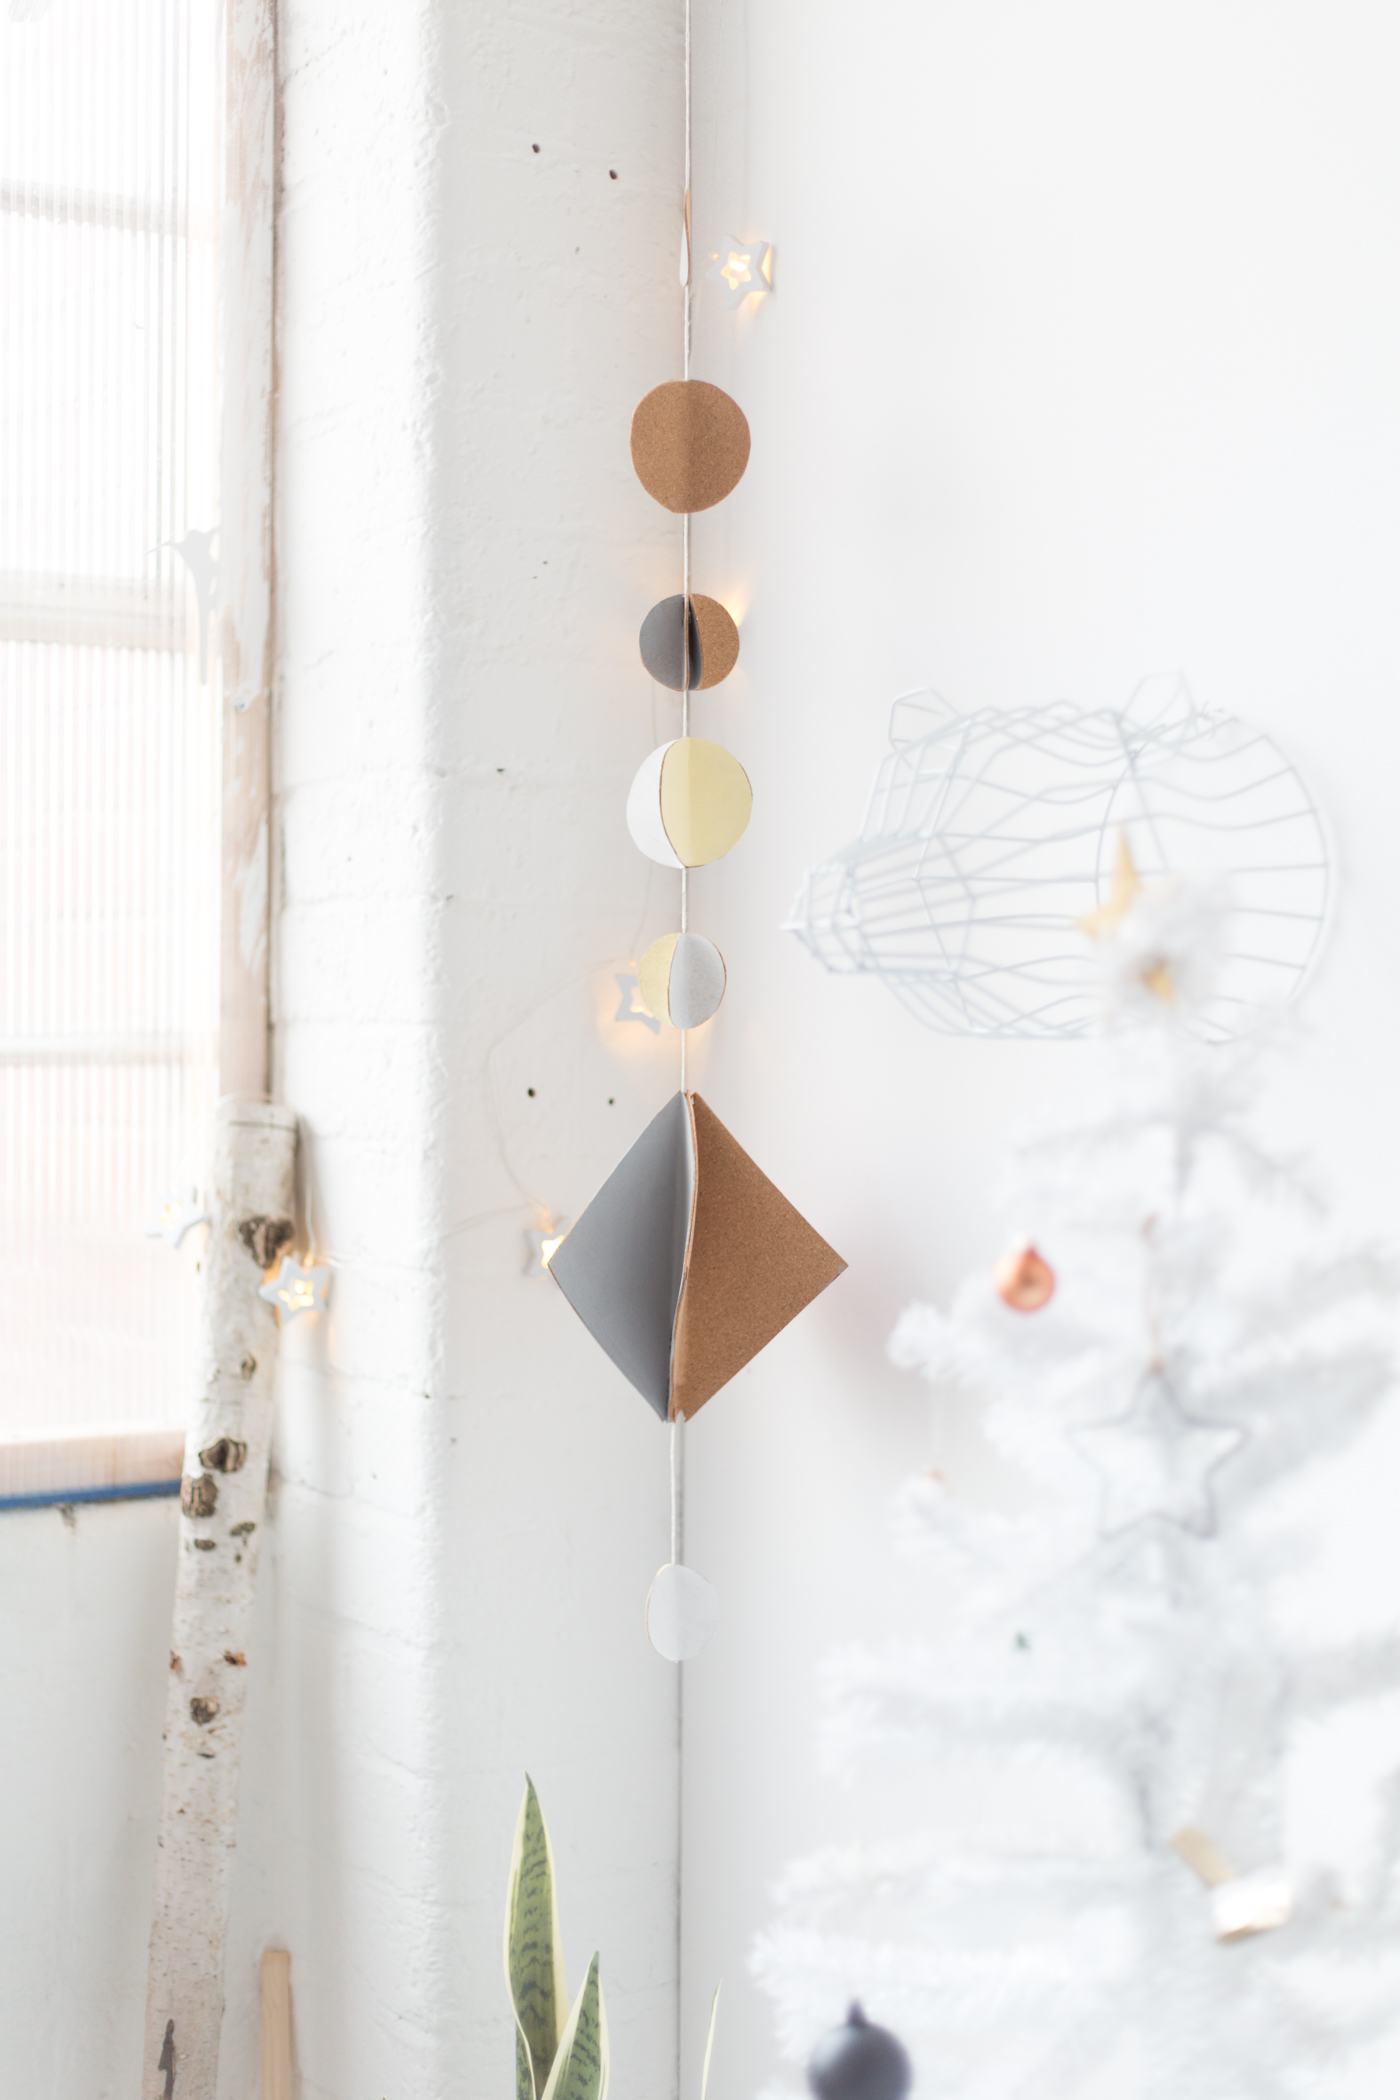
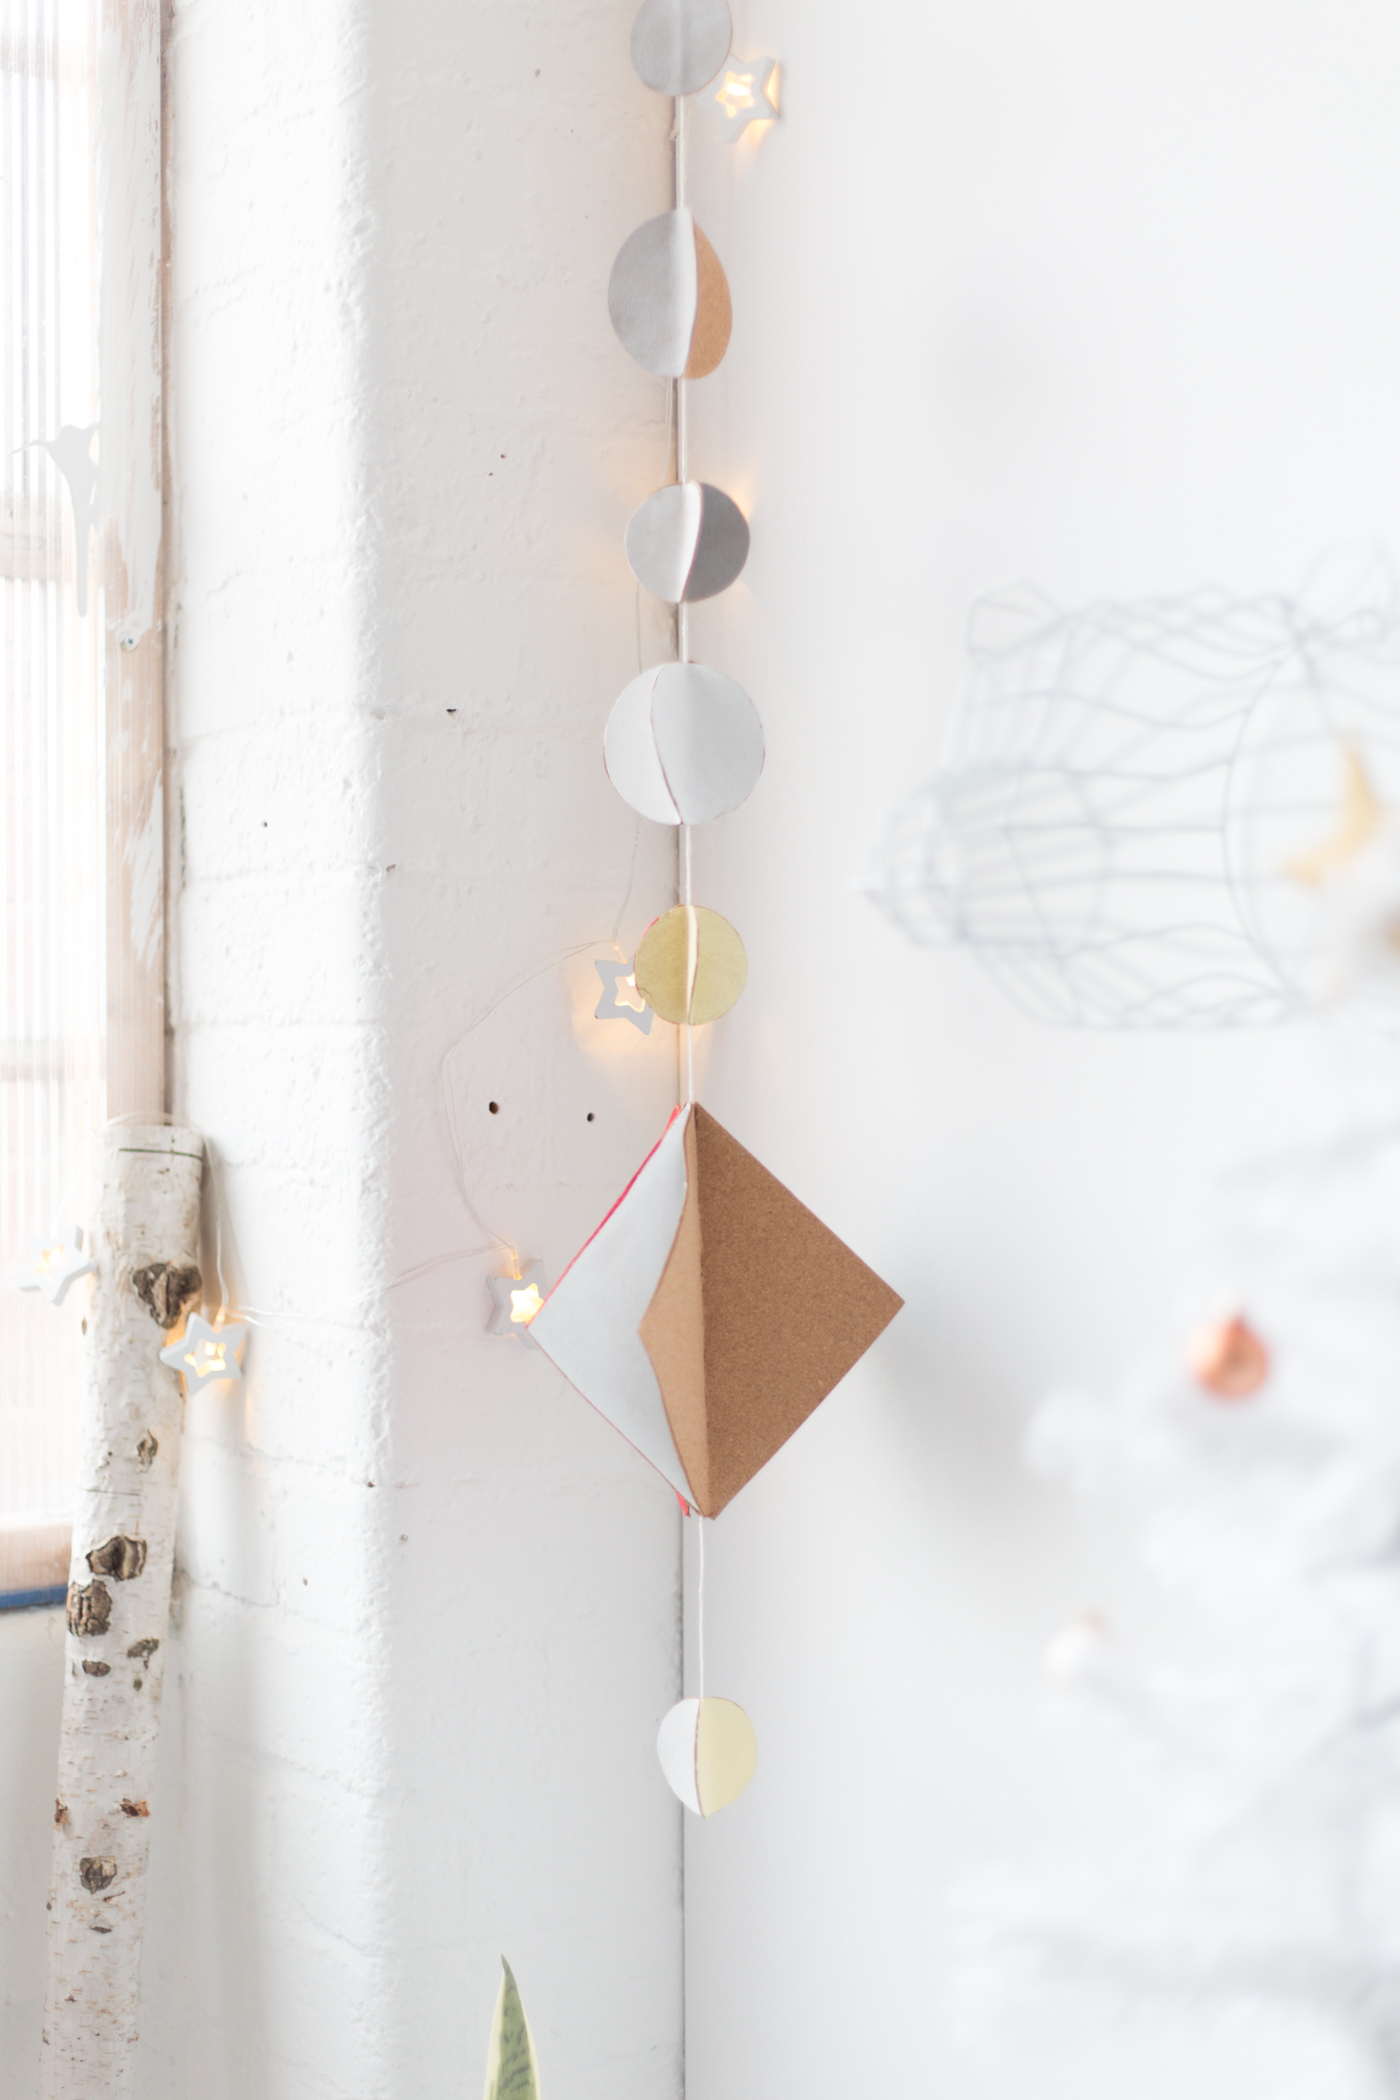
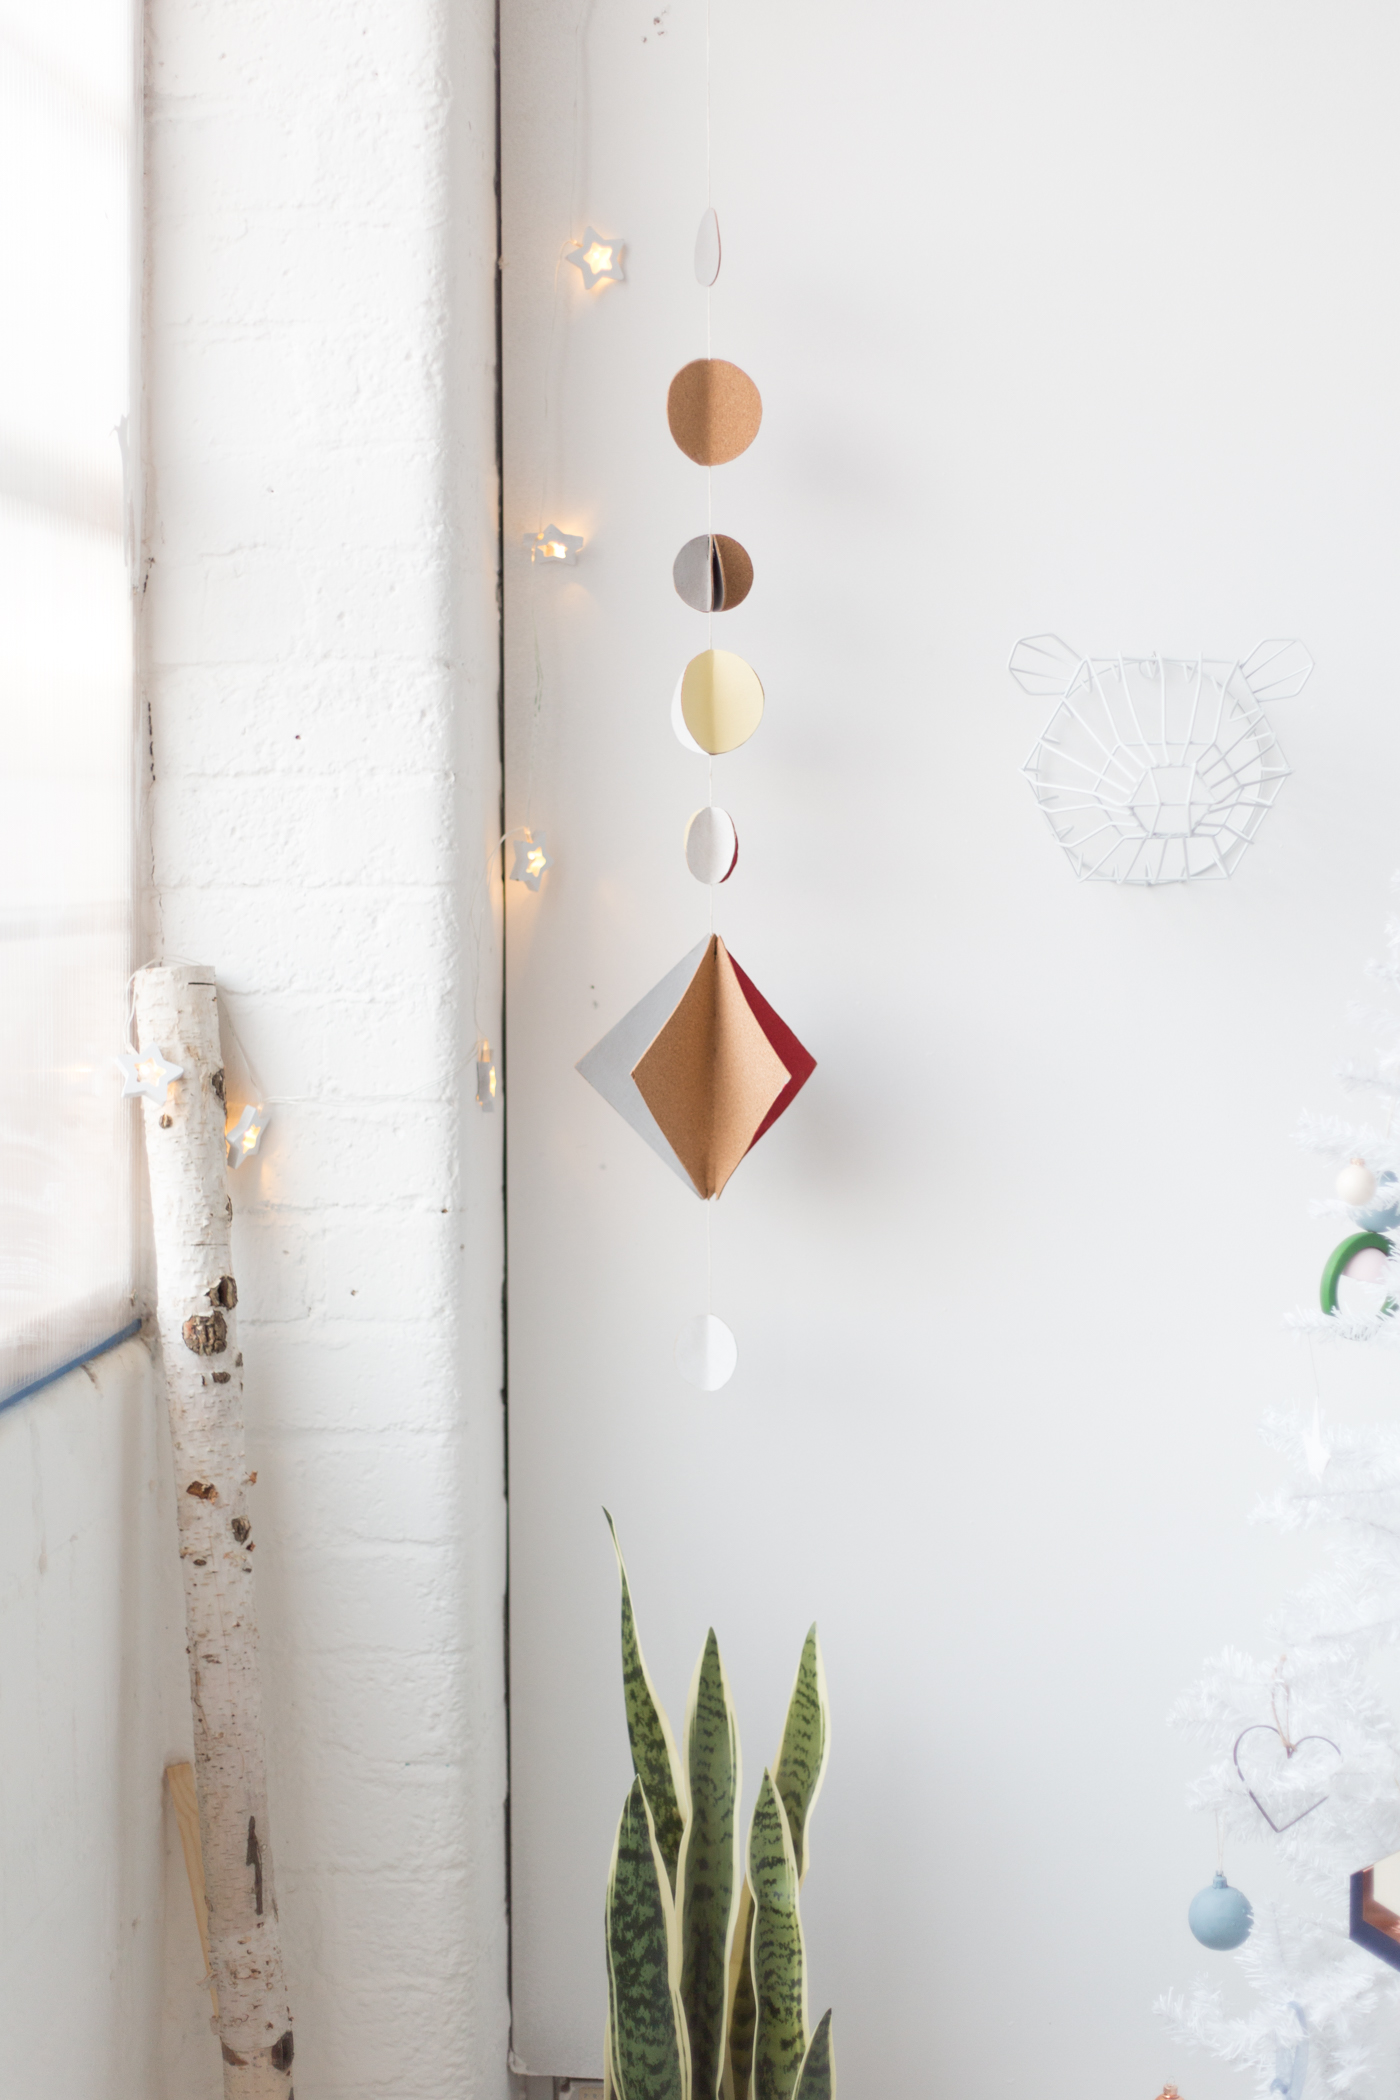
Hang your garland away from the wall – preferably from the ceiling for maximum impact. Then snap a picture and share it with us on Instagram using the hashtag #12ShadesofChristmas
The post appeared first on .


