Does anyone else have a collection of 500 candles they never light? Just me? Come on, don’t be shy! I find that candles are one of those luxurious items I always buy (with the intention to enjoy) and then get stored away for that special occasion.
Well, what’s more special than Christmas? I will be making sure I make the most of those chilled, dark evenings with twinkling candlelight instead of relying on artificial lighting – which we all know is not great for our sensory overloaded brains.
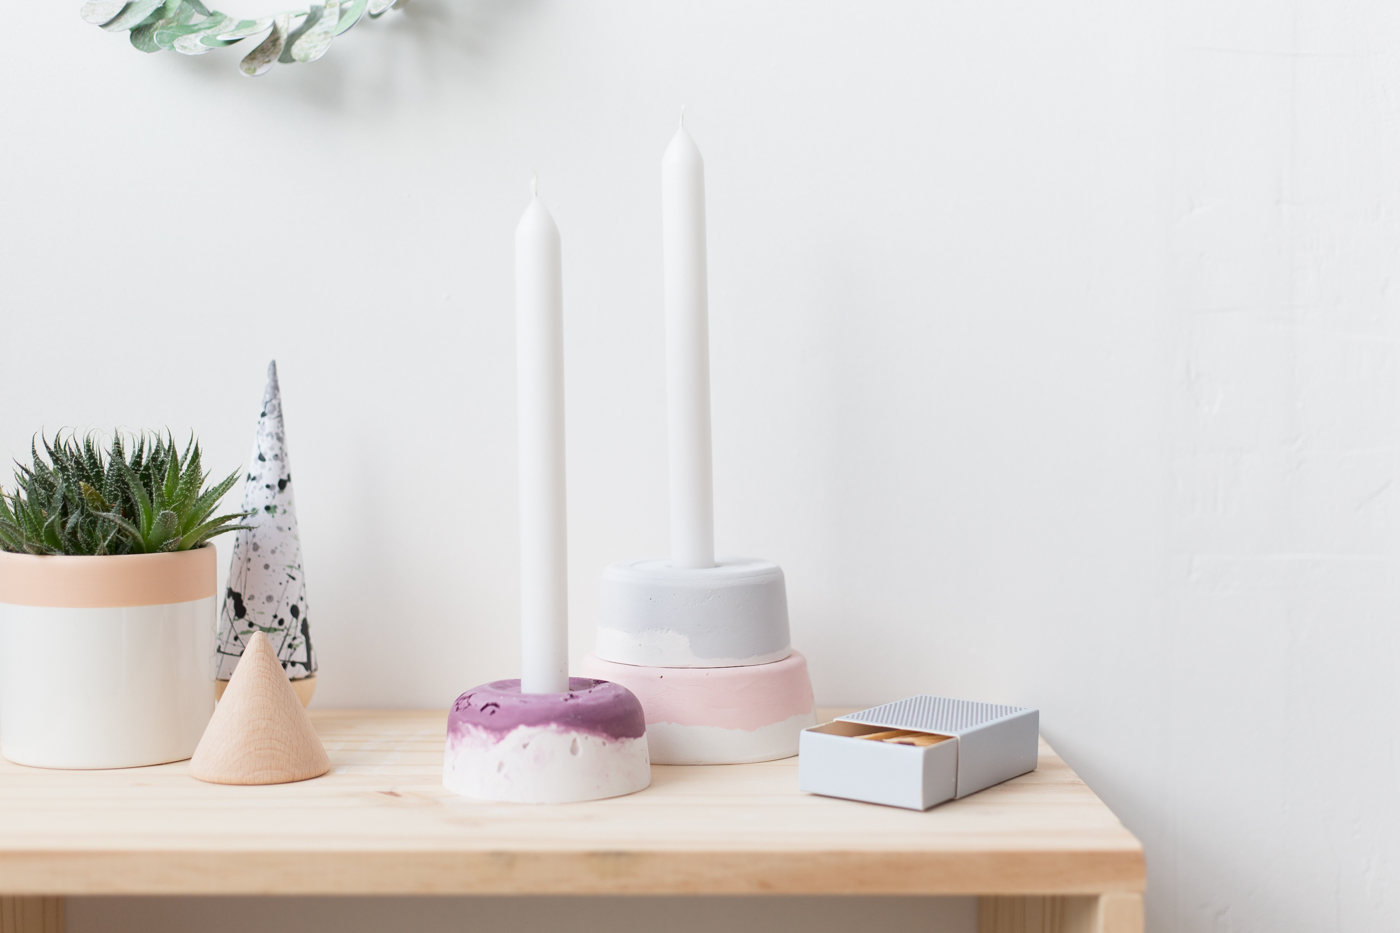
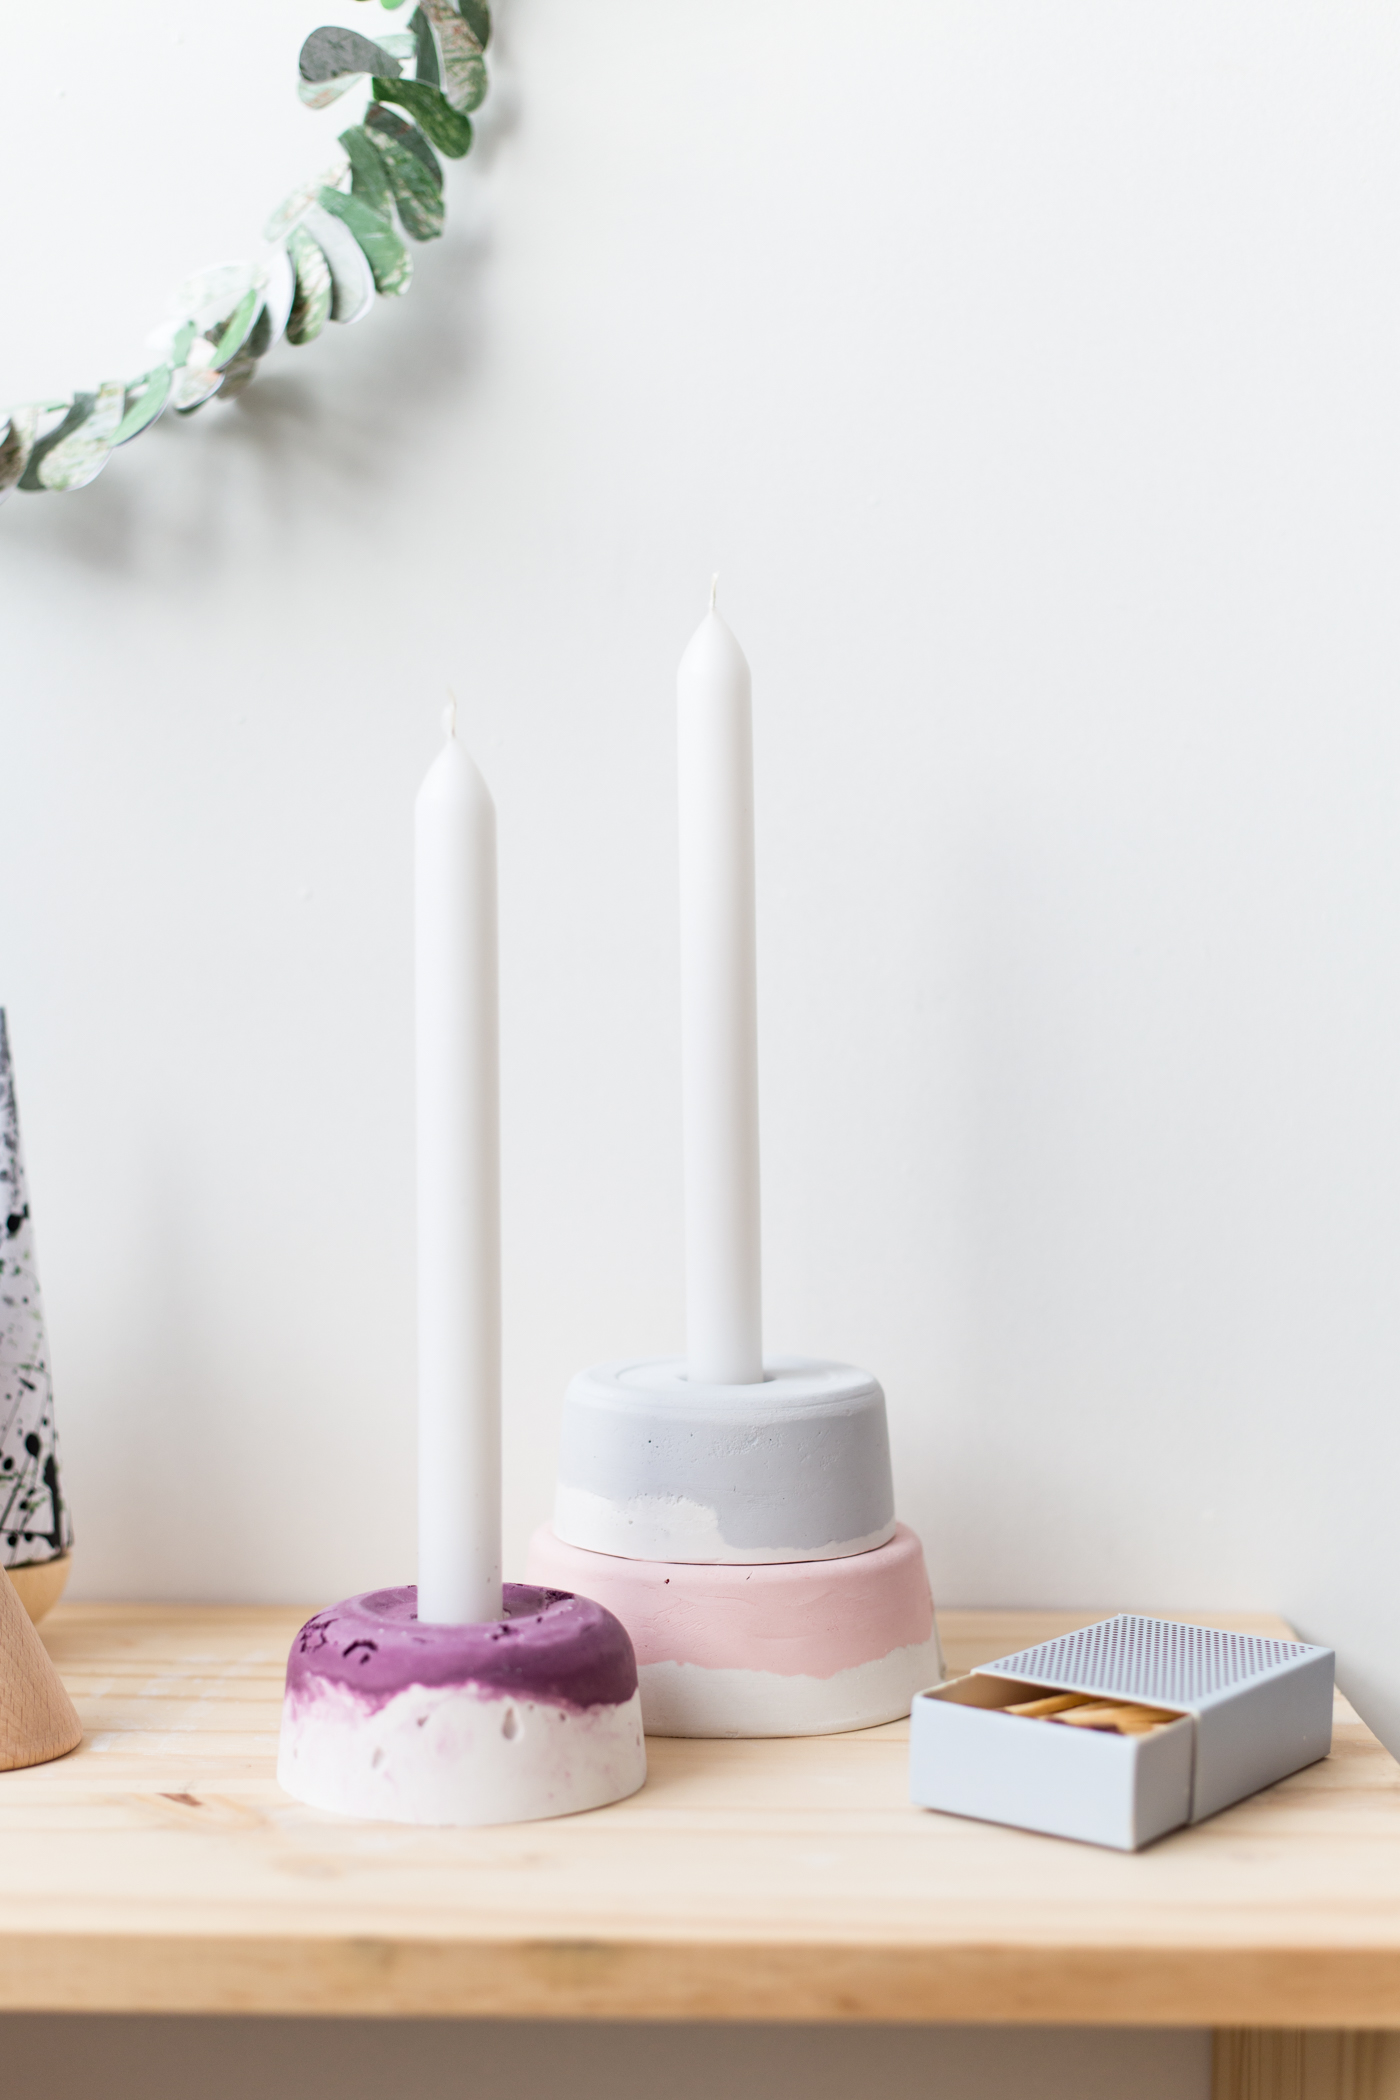
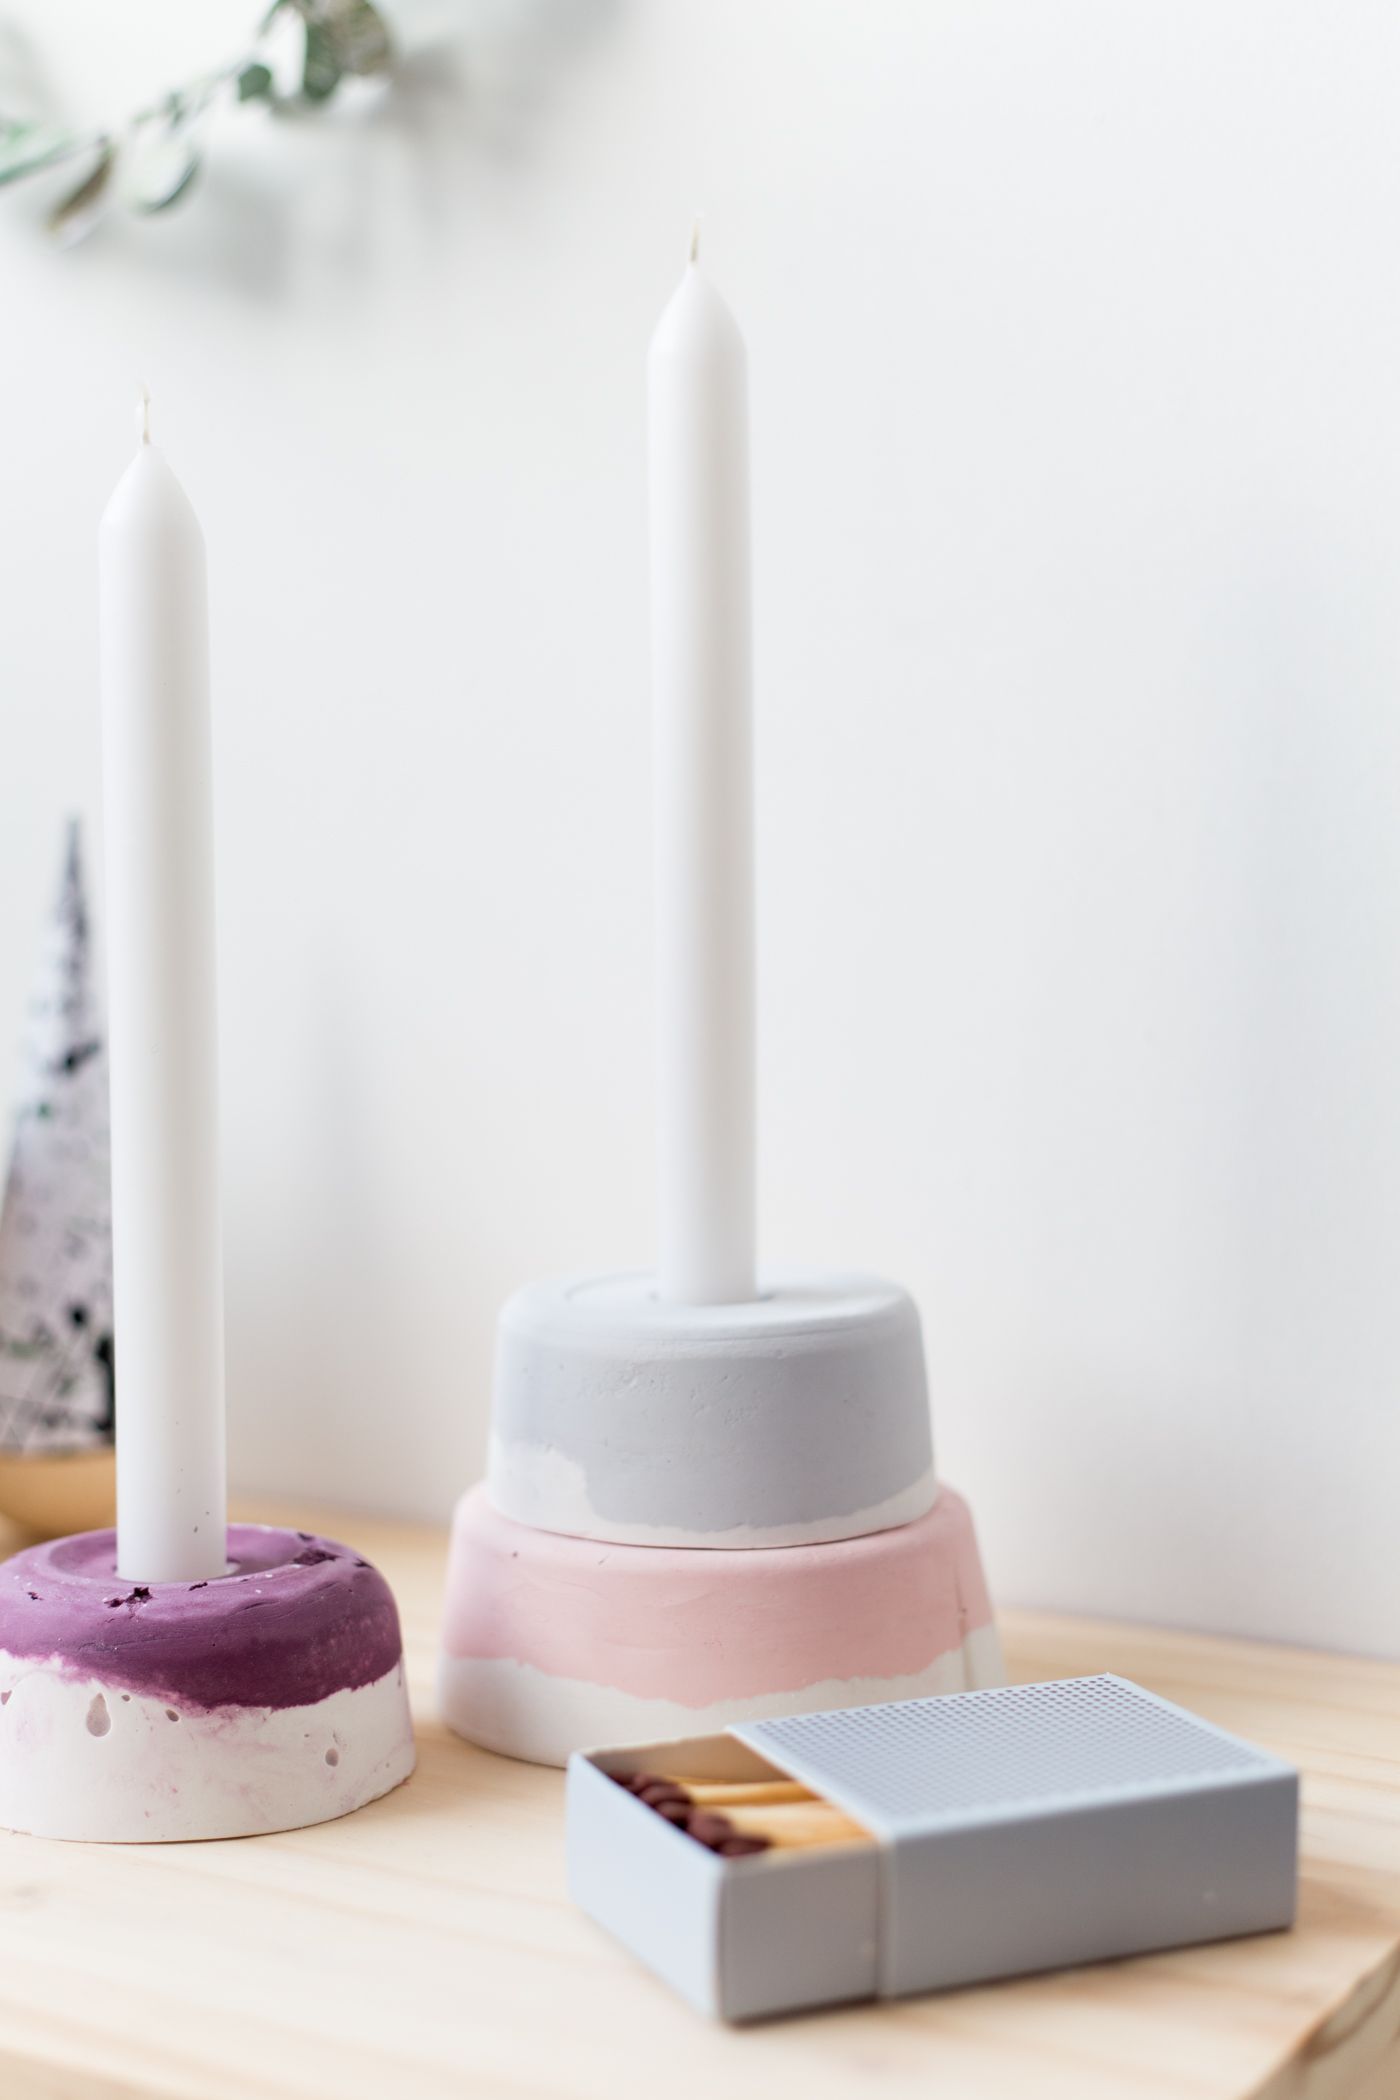
I’m proposing more candle lit meals, games nights and late night conversations. And as usual I’m much more likely to follow through with a plan if I have something pretty to help persuade me. So we need pretty candle holders then…

Materials
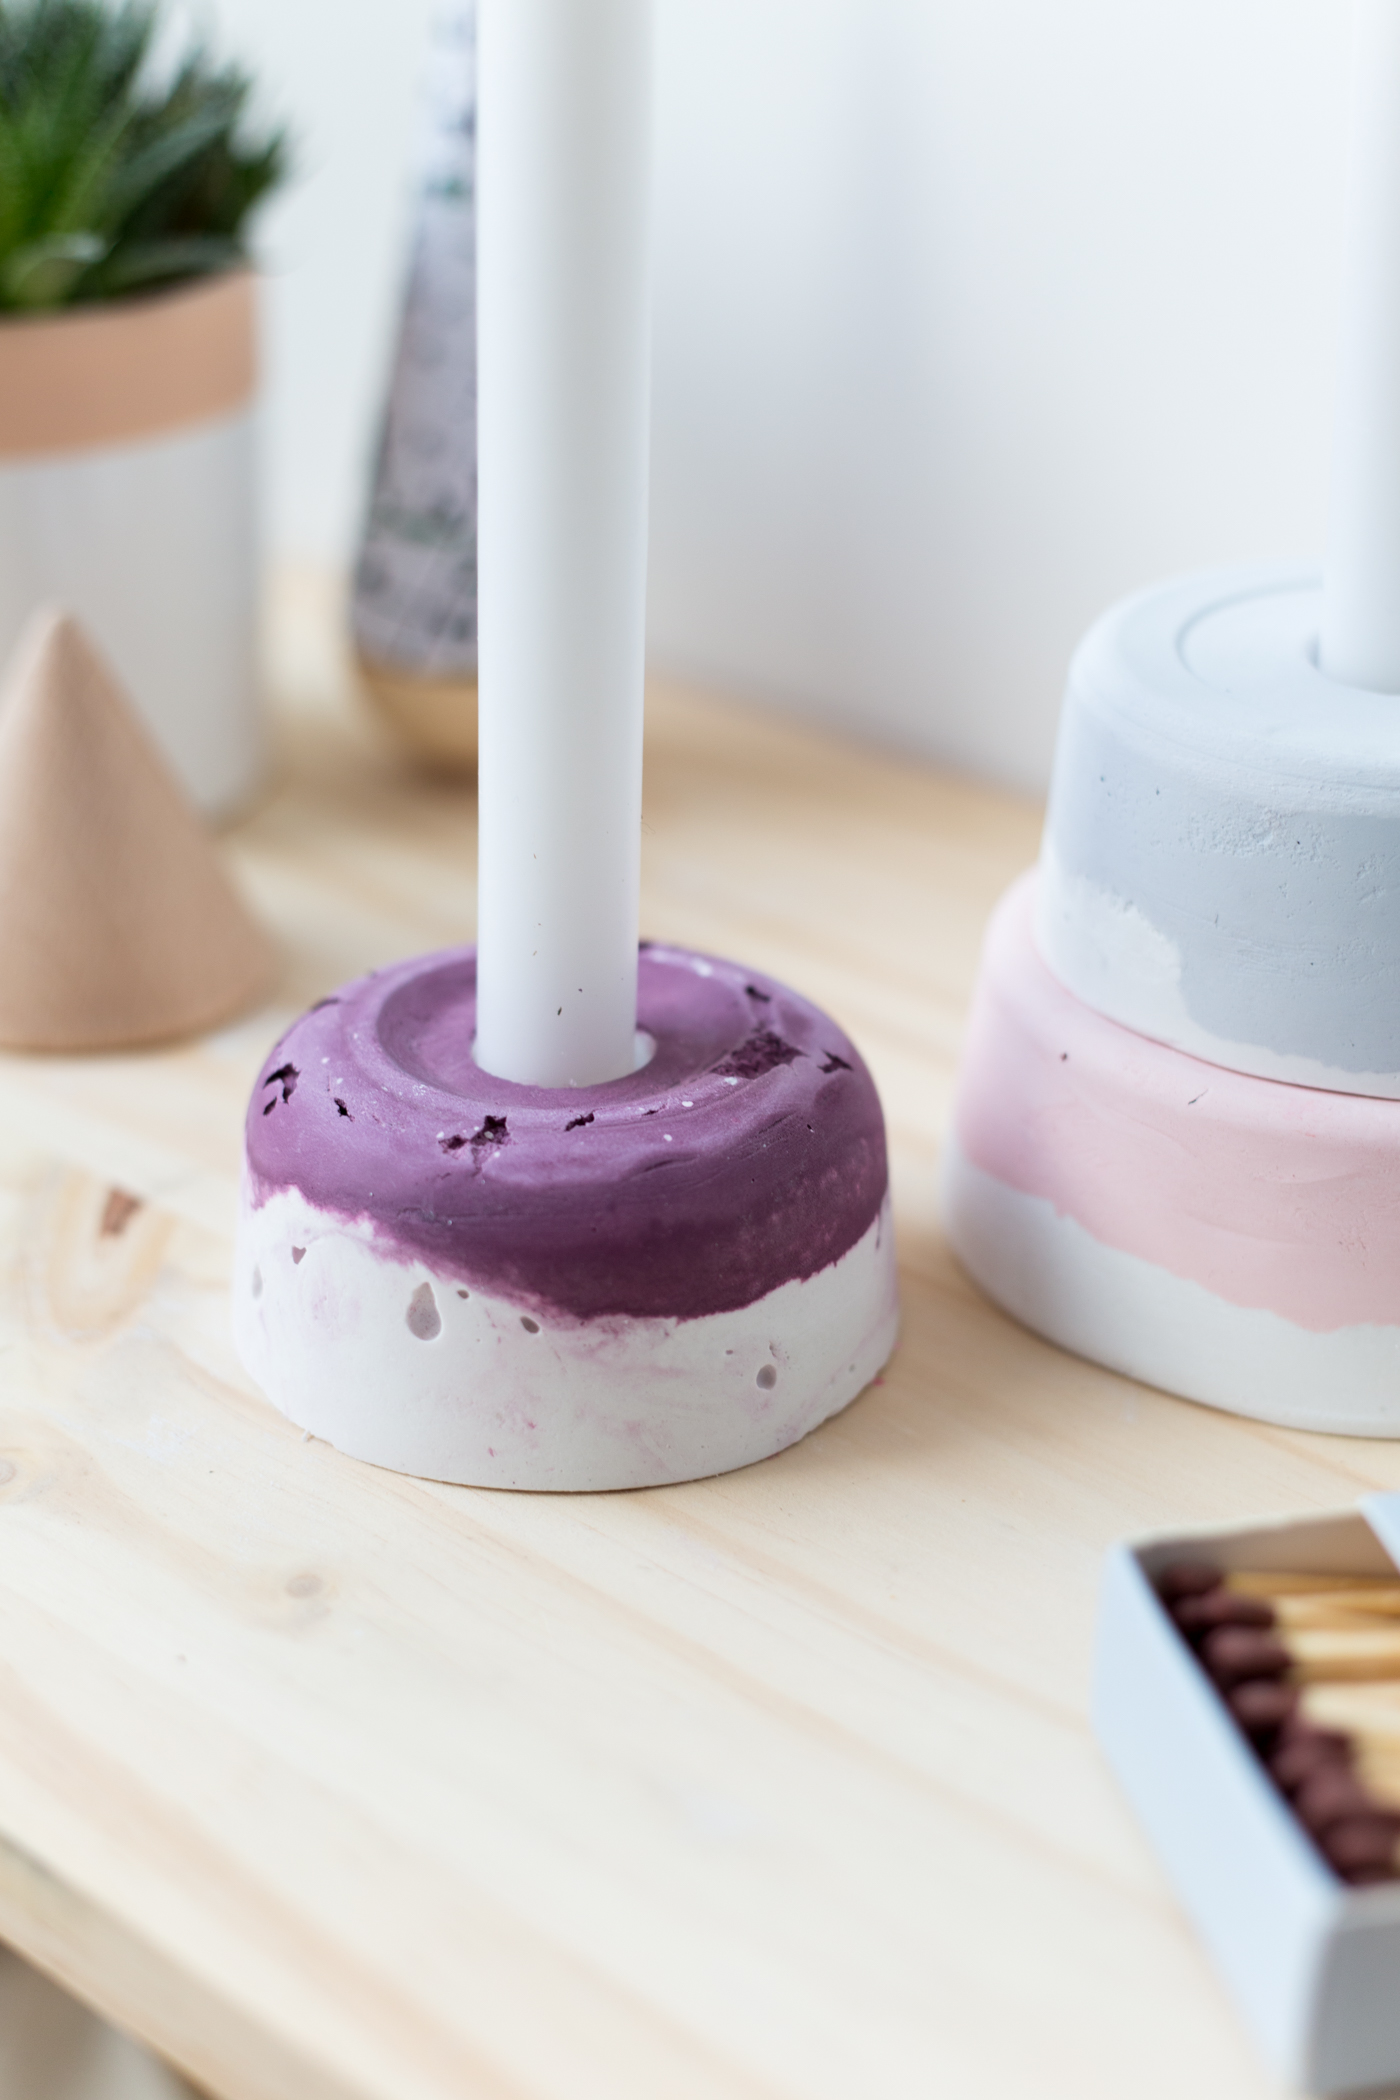
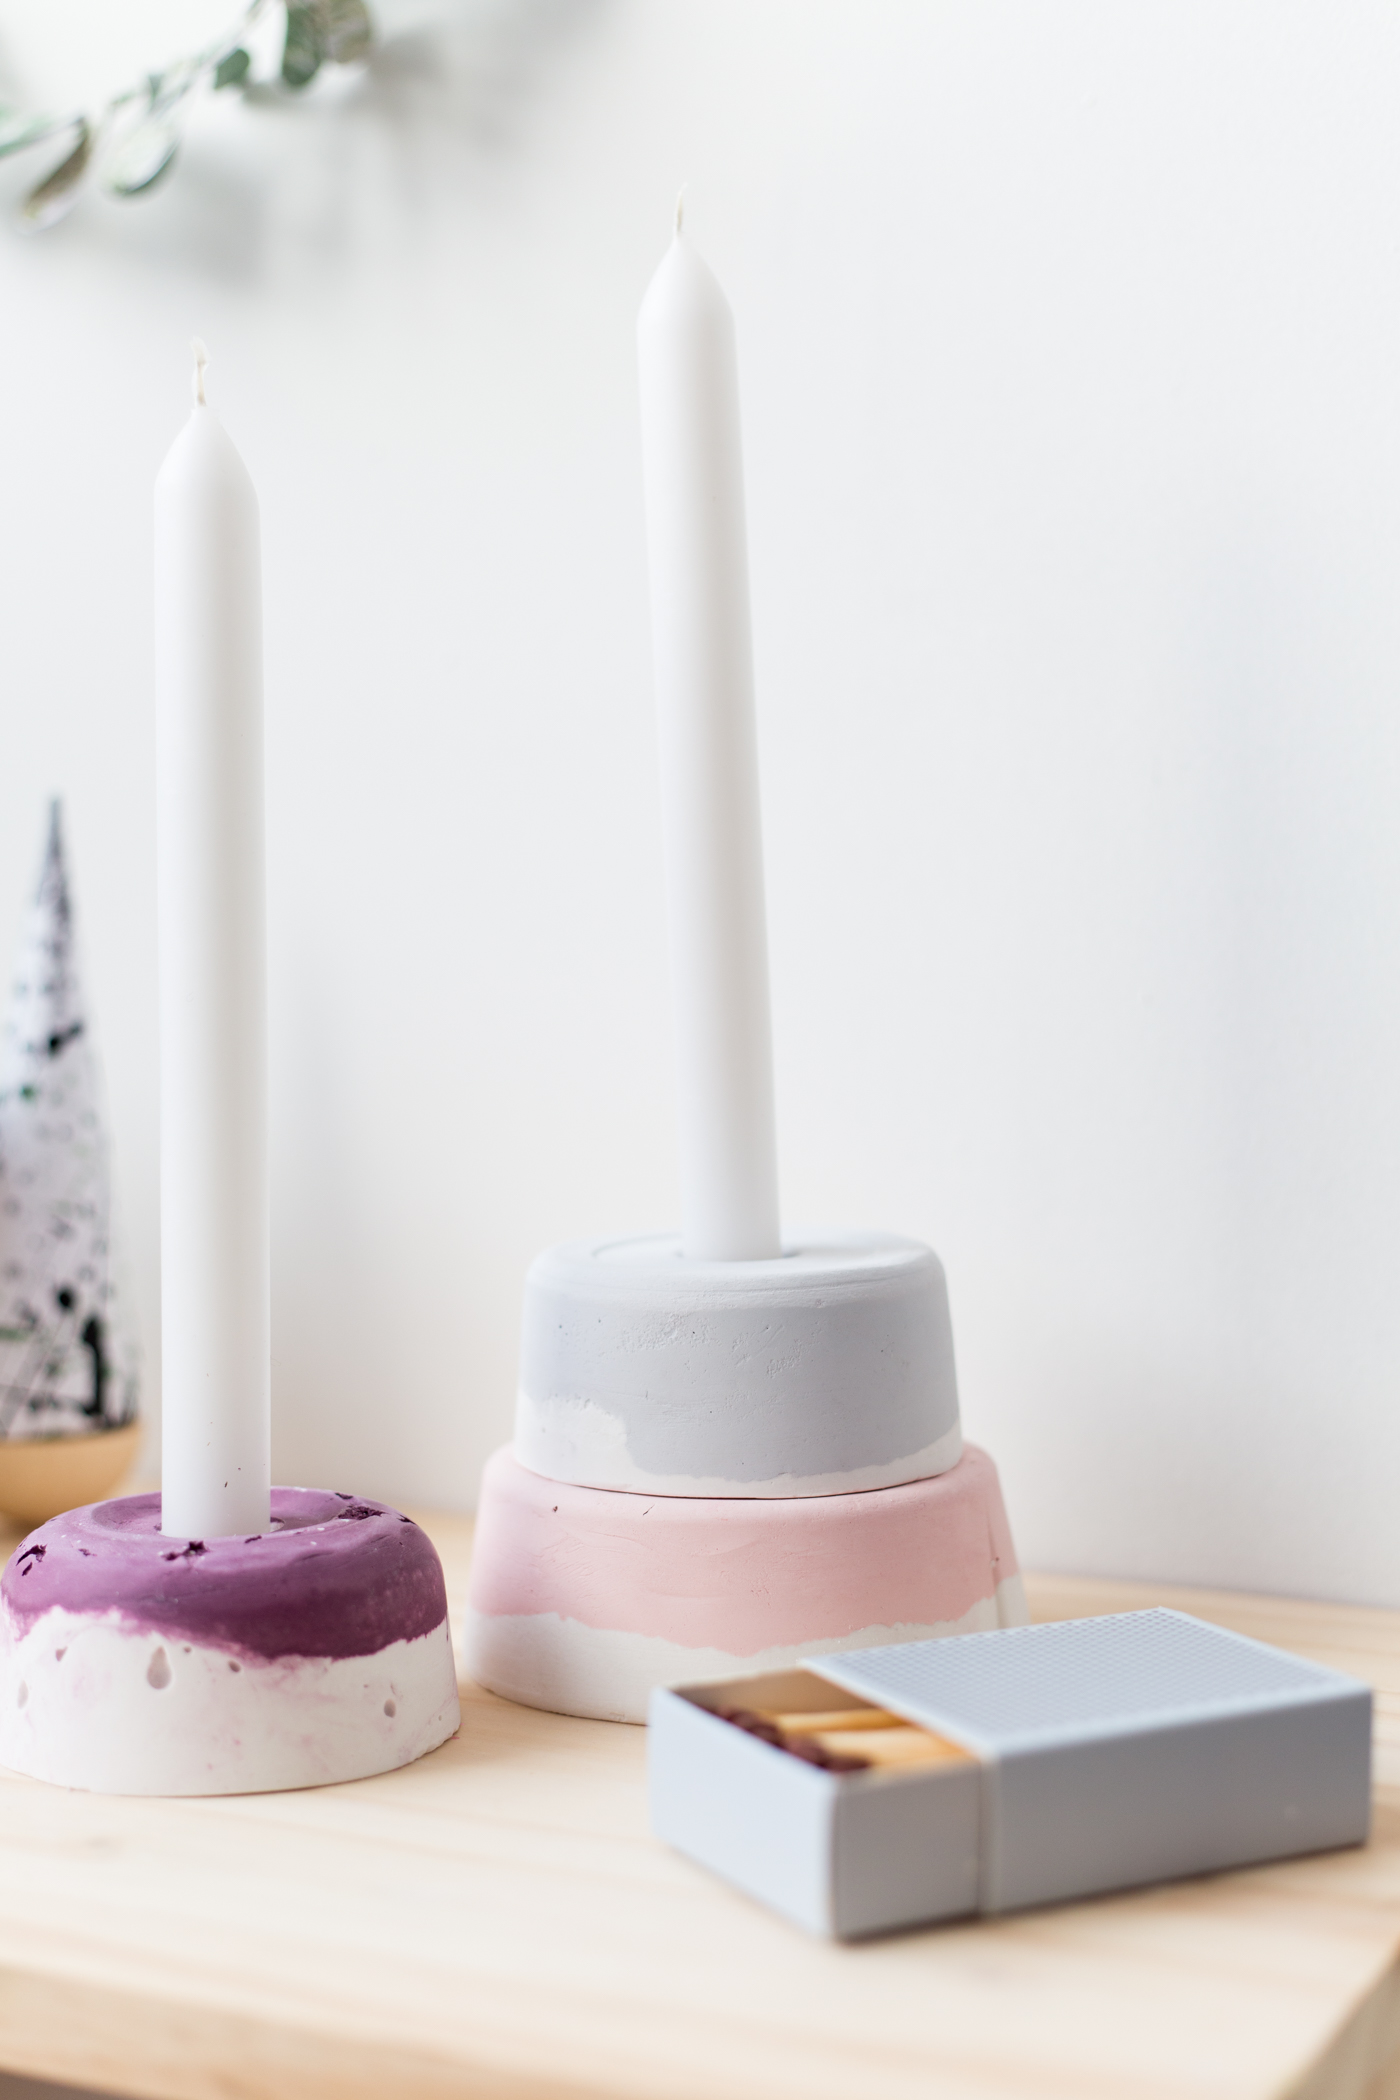
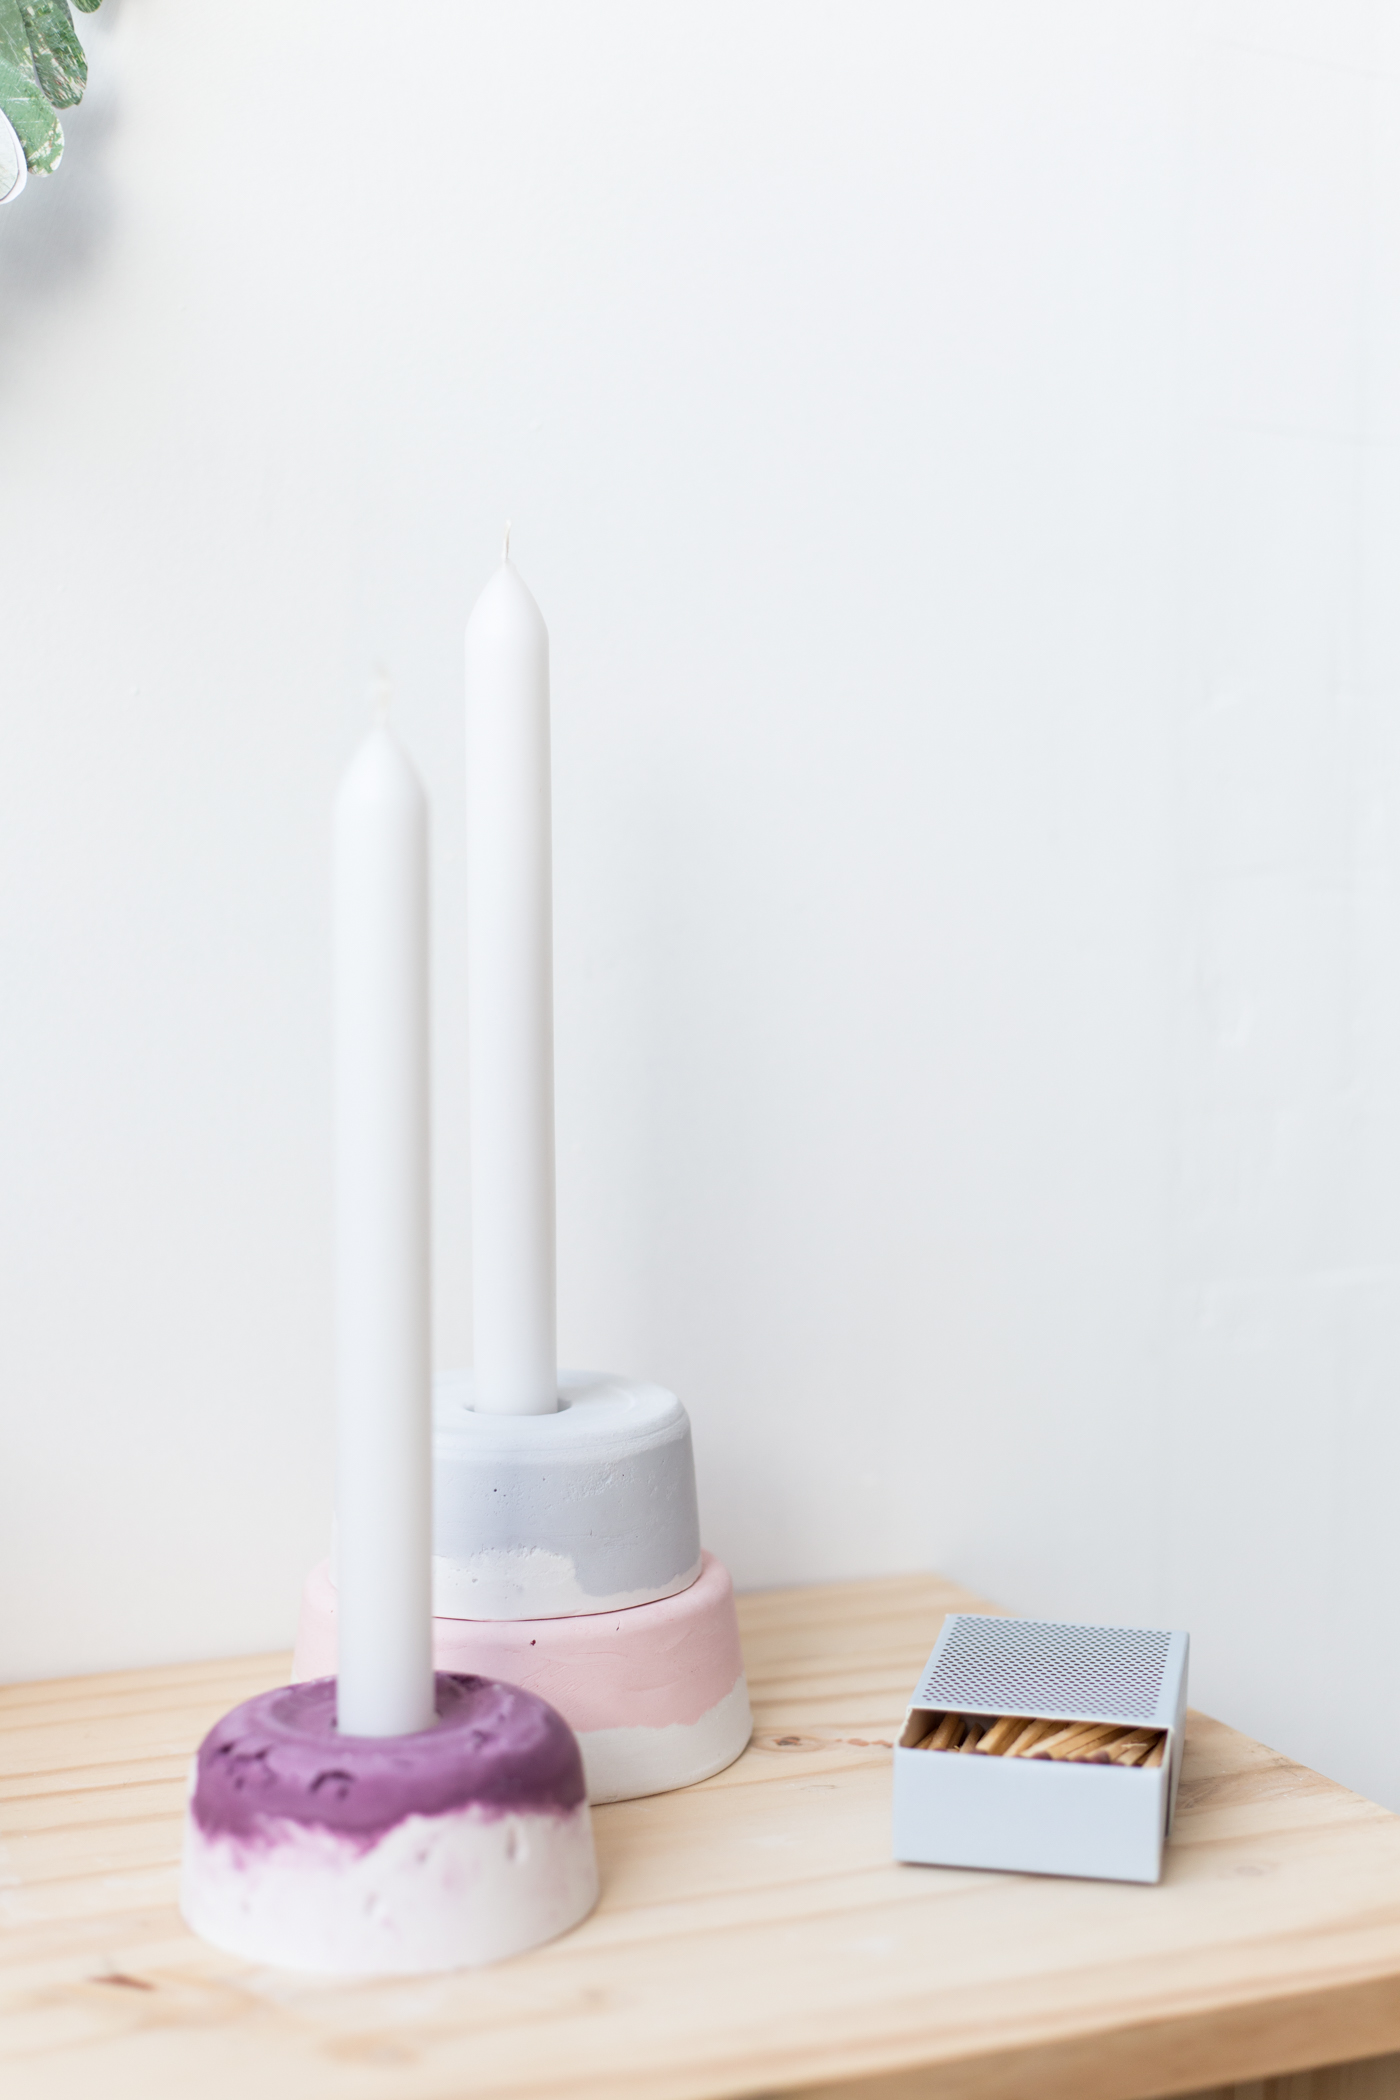
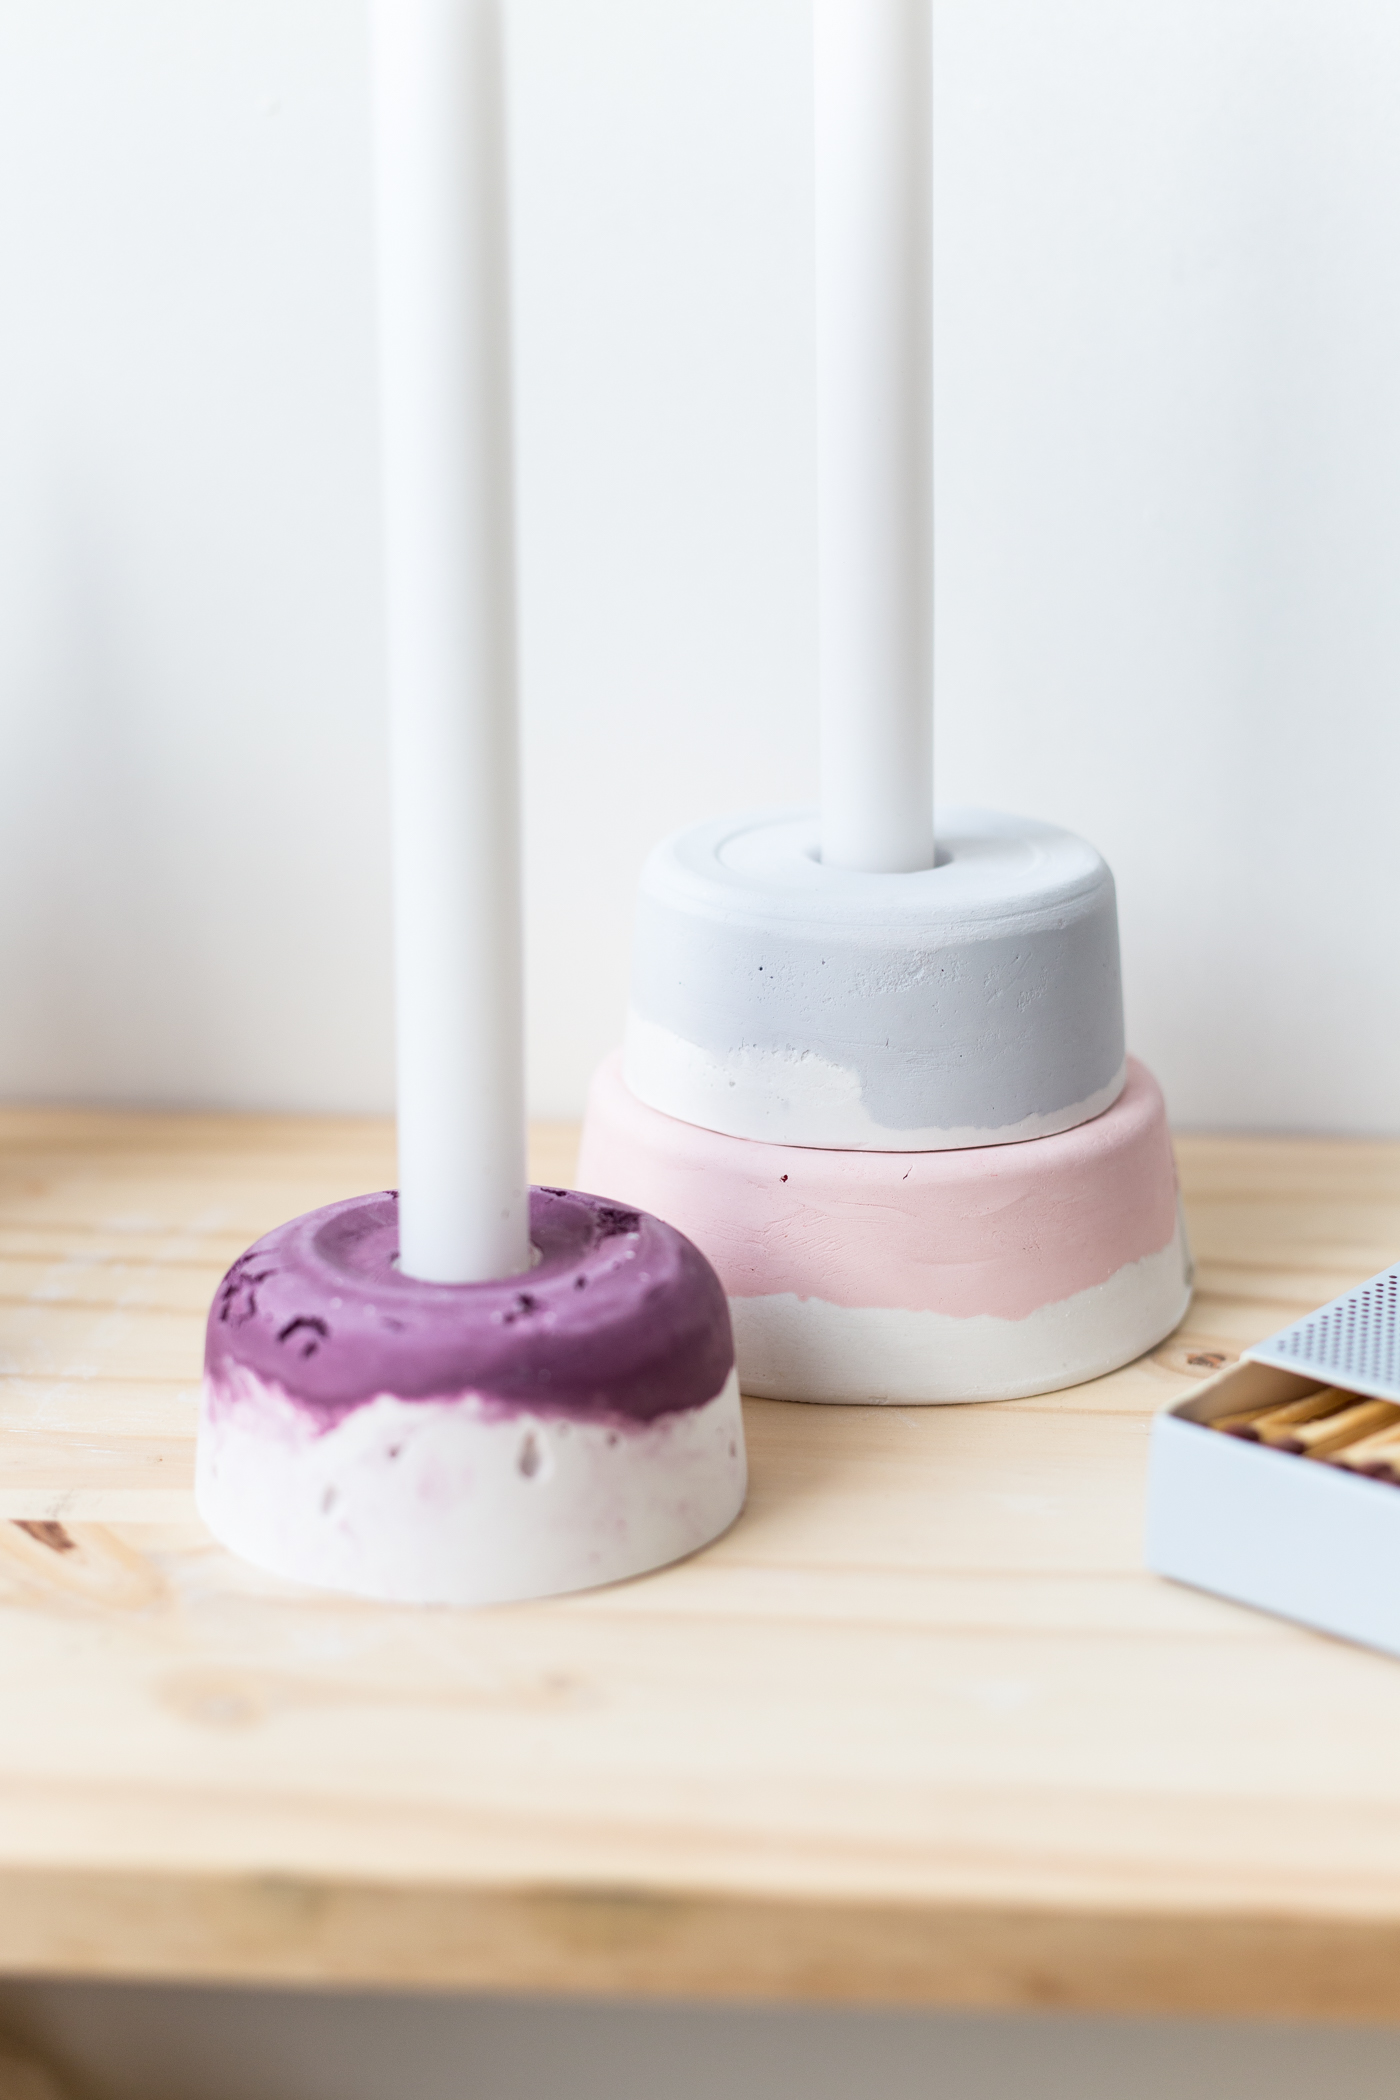
- 50ml Dulux tester pots in Party Surprise 4, Frosted Steel and Mulberry Burst
- Plaster of Paris
- Disposable Tupperware pots
- Vaseline
- Lollipop Sticks
- Paper cups
- Drill and drill bits
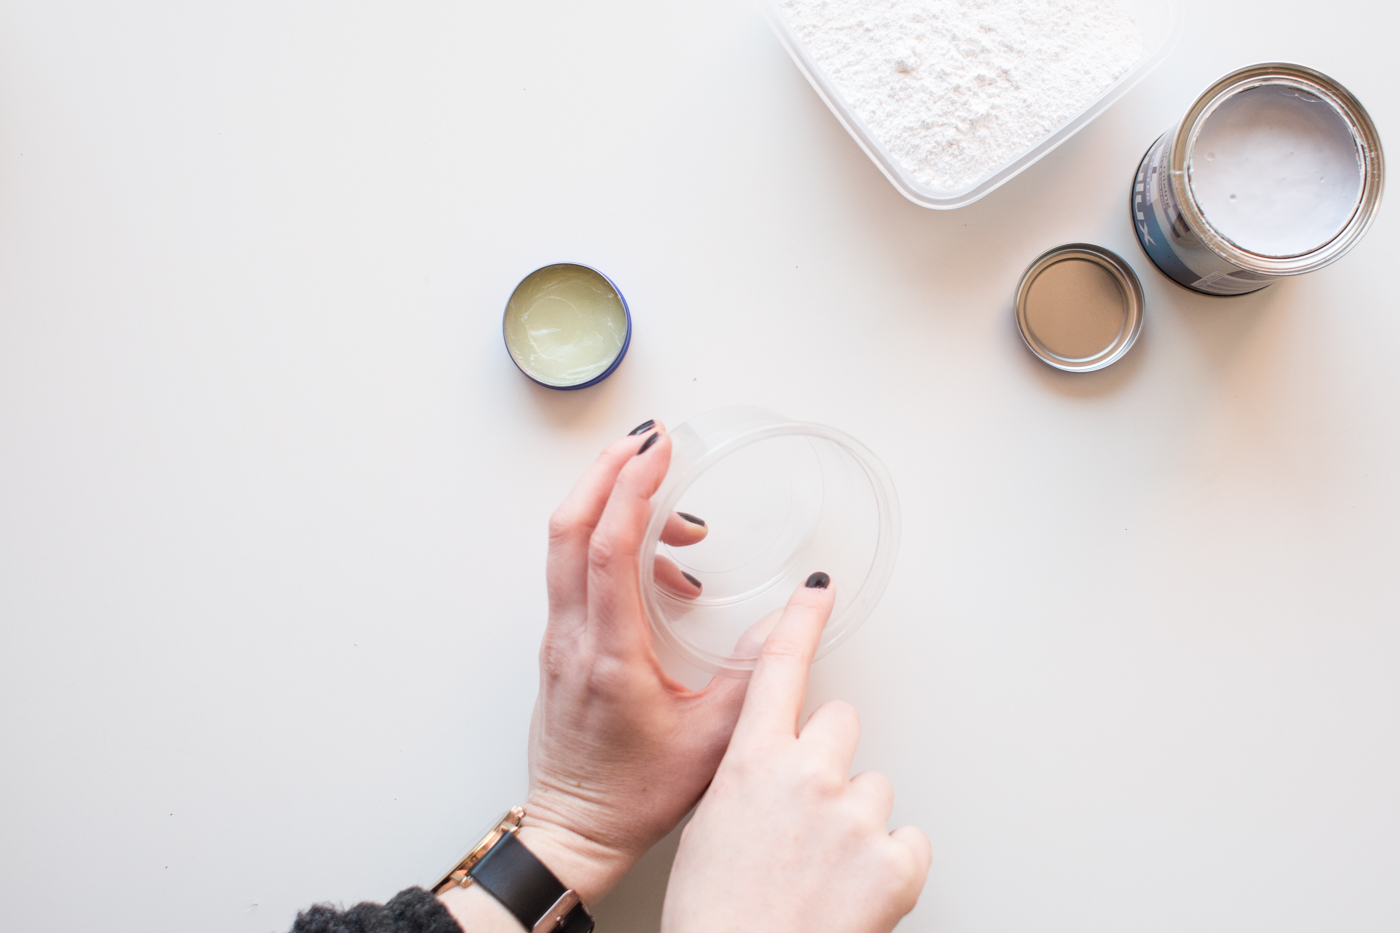
1. Cover the inside of the pots in vaseline. This will stop the plaster sticking to the sides of the containers and make the pieces easier to remove.
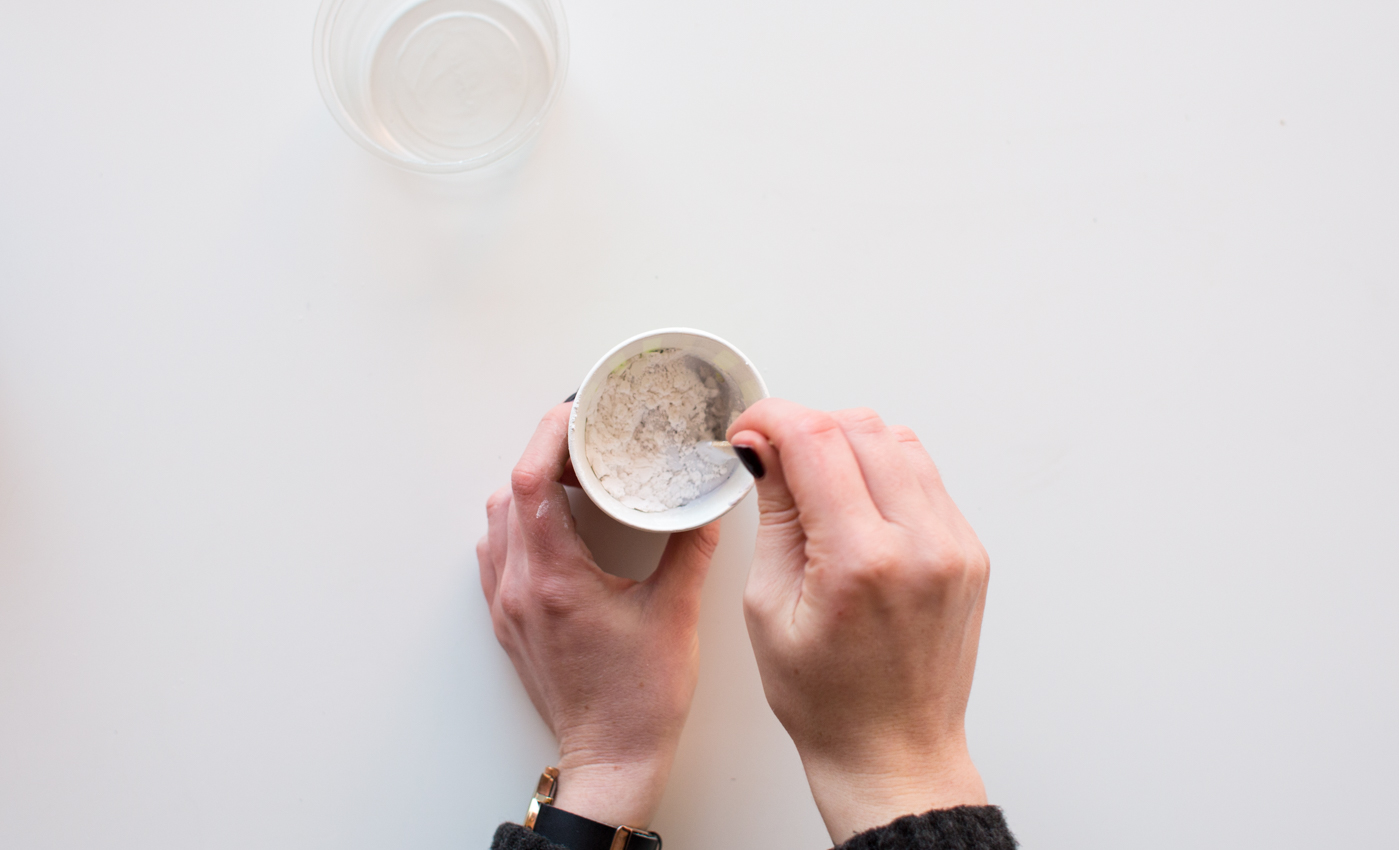
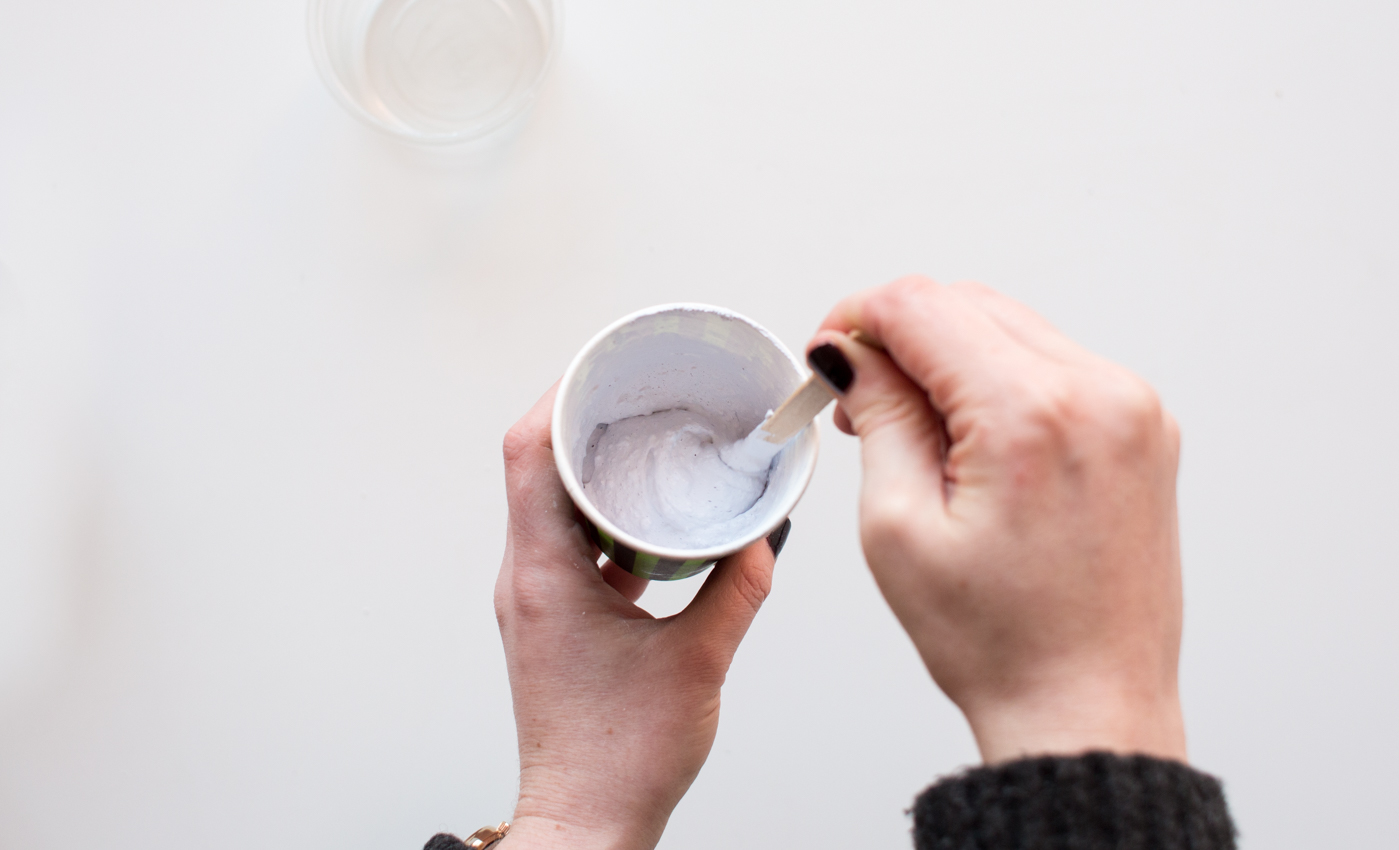
2. Fill the cup ¾ of the way up with the plaster of Paris. Depending on how strong you want the colour add 1-2 teaspoons of paint. Now add around a quarter cup of water and mix. You’re aiming for a smooth, creamy consistency. If the mixture is gritty add water a few drops at a time. If it seems too watery add more plaster until you reach a thicker texture.
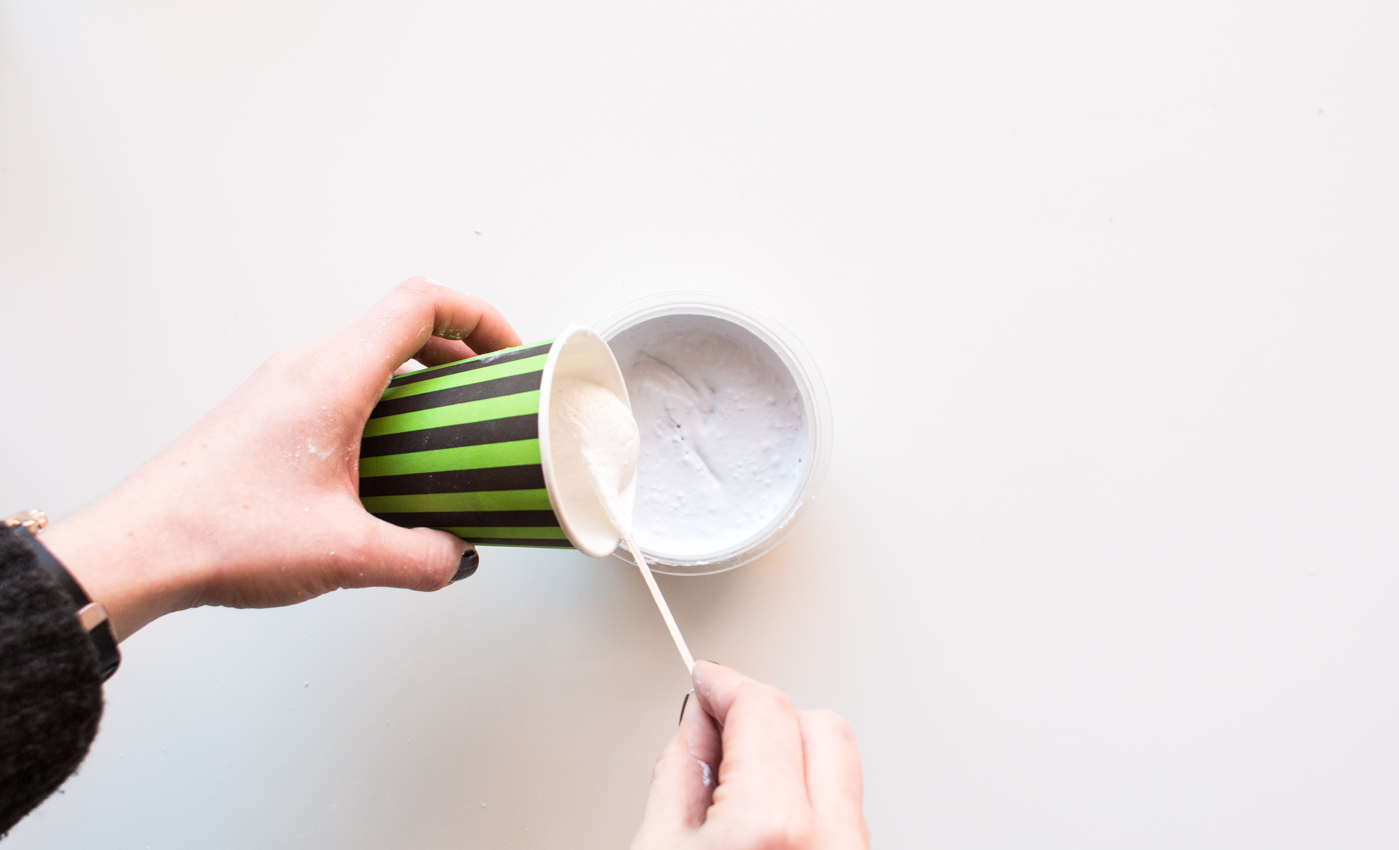
3. Pour the dyed plaster into the container. Mix up more plaster in another cup. This time leaving out the paint. Pour this into the container also. Keep mixing more plaster until you have filled the cup. I like to work in smaller batches to make sure I don’t mix too much and waste the plaster.
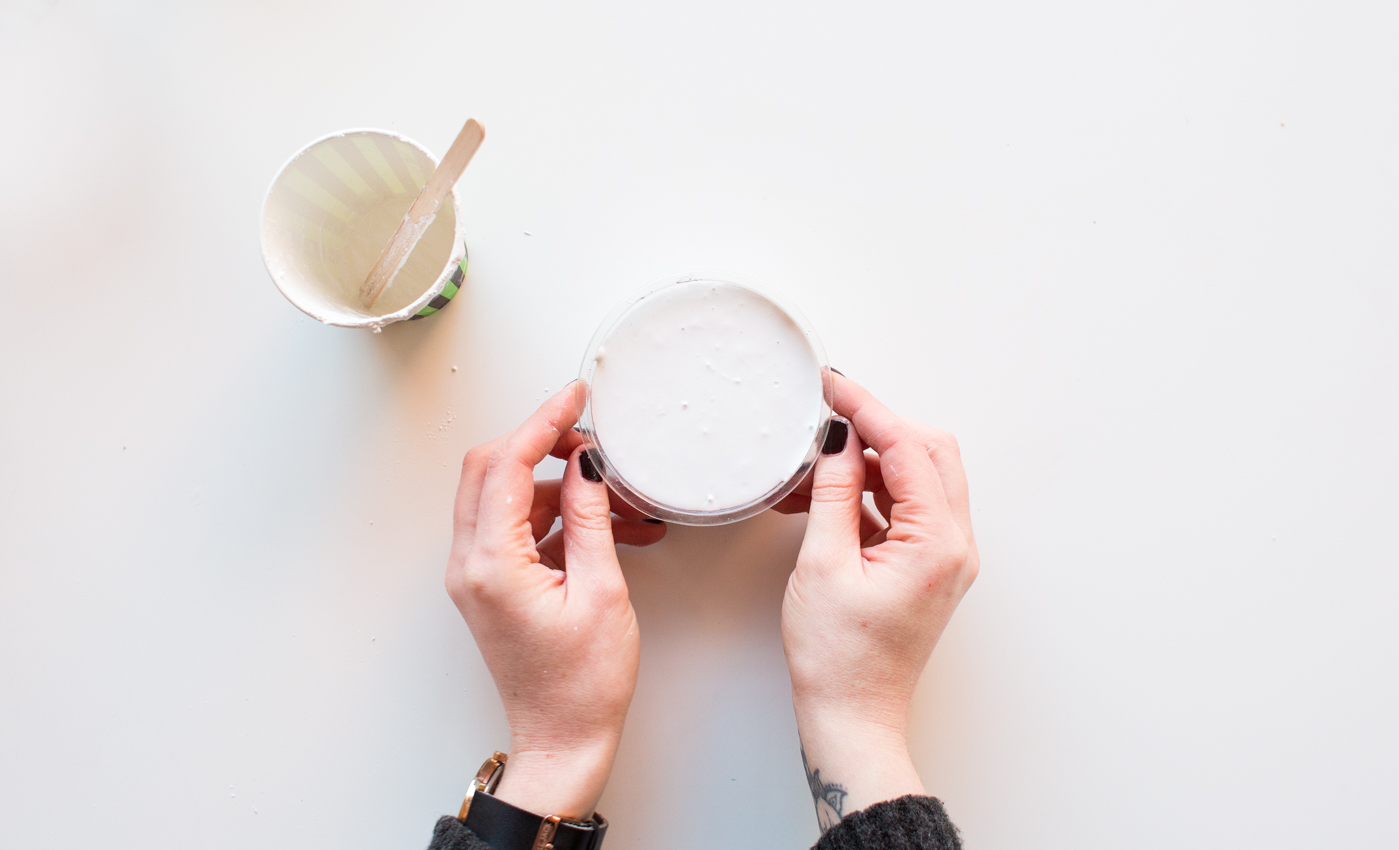
4. Once the container is full tap it against the table to bring the air bubbles to the surface. Leave the plaster to dry for at least 24 hours in a warm place.
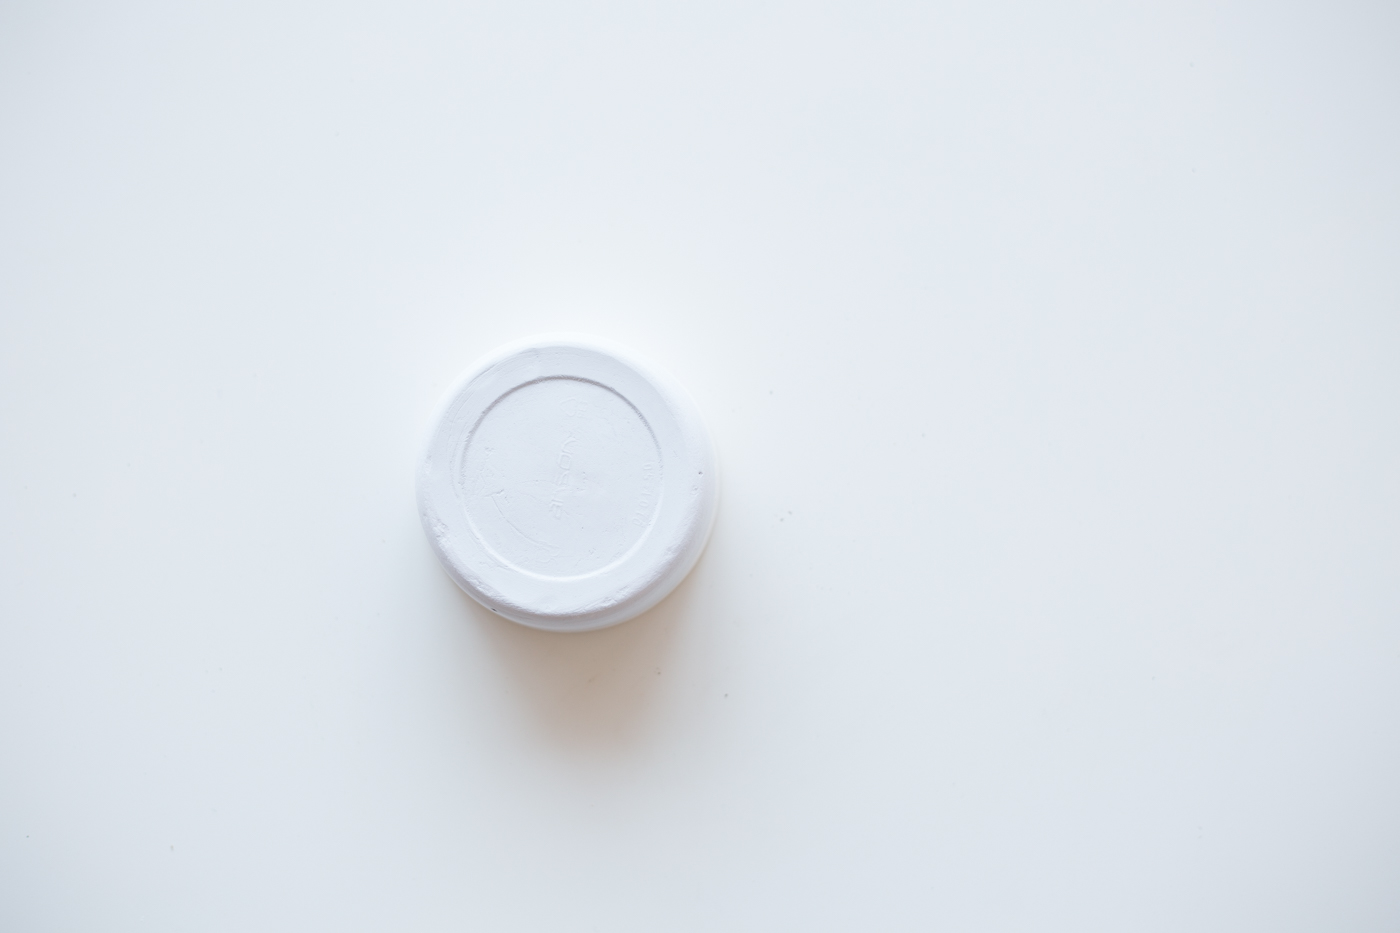
5. When the plaster has dried gently tap it out of the container and sand out any rough areas.
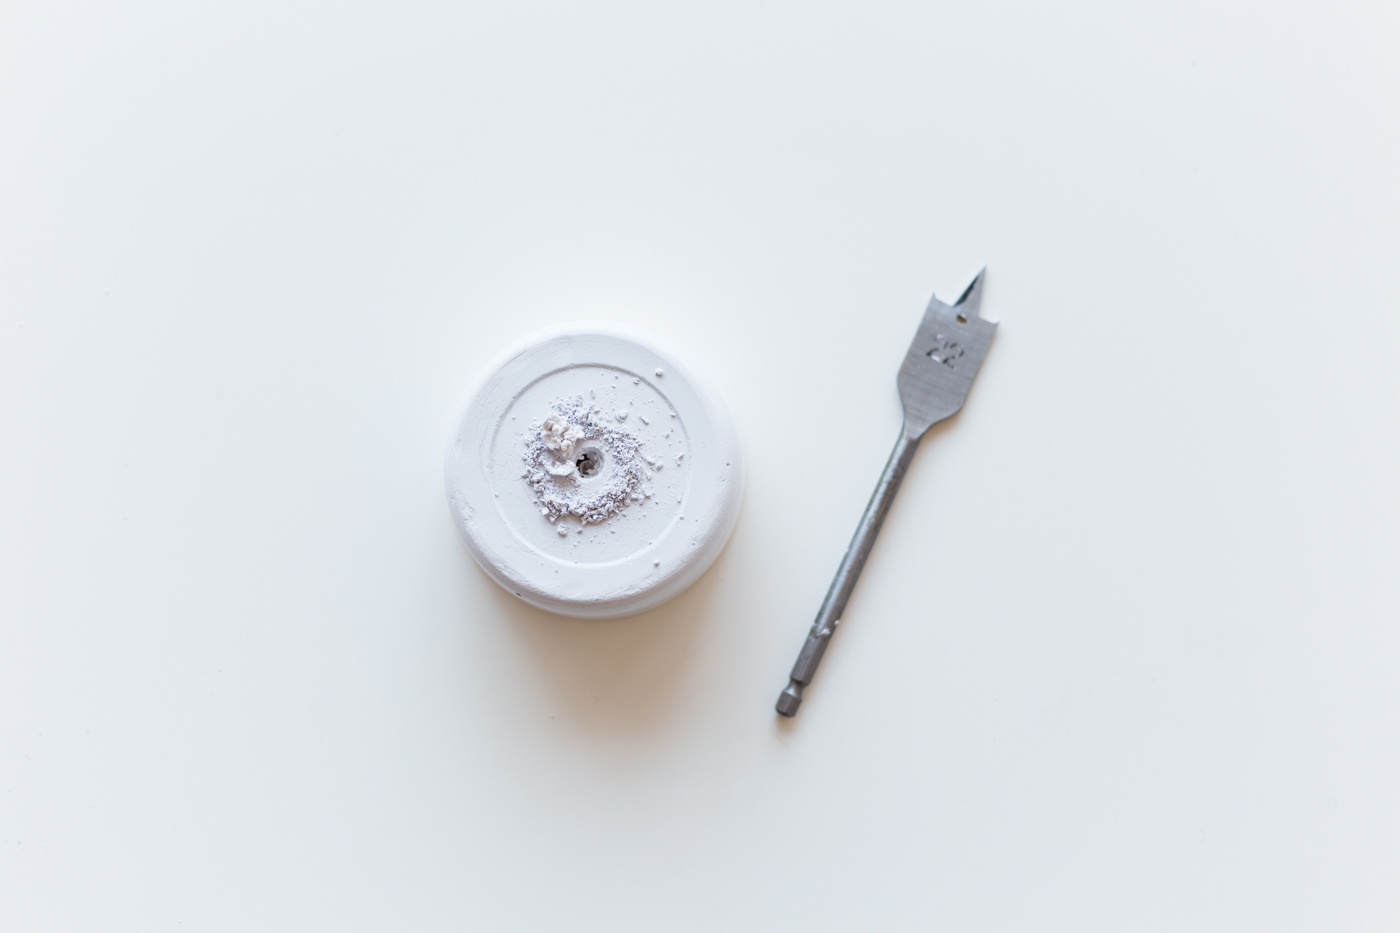
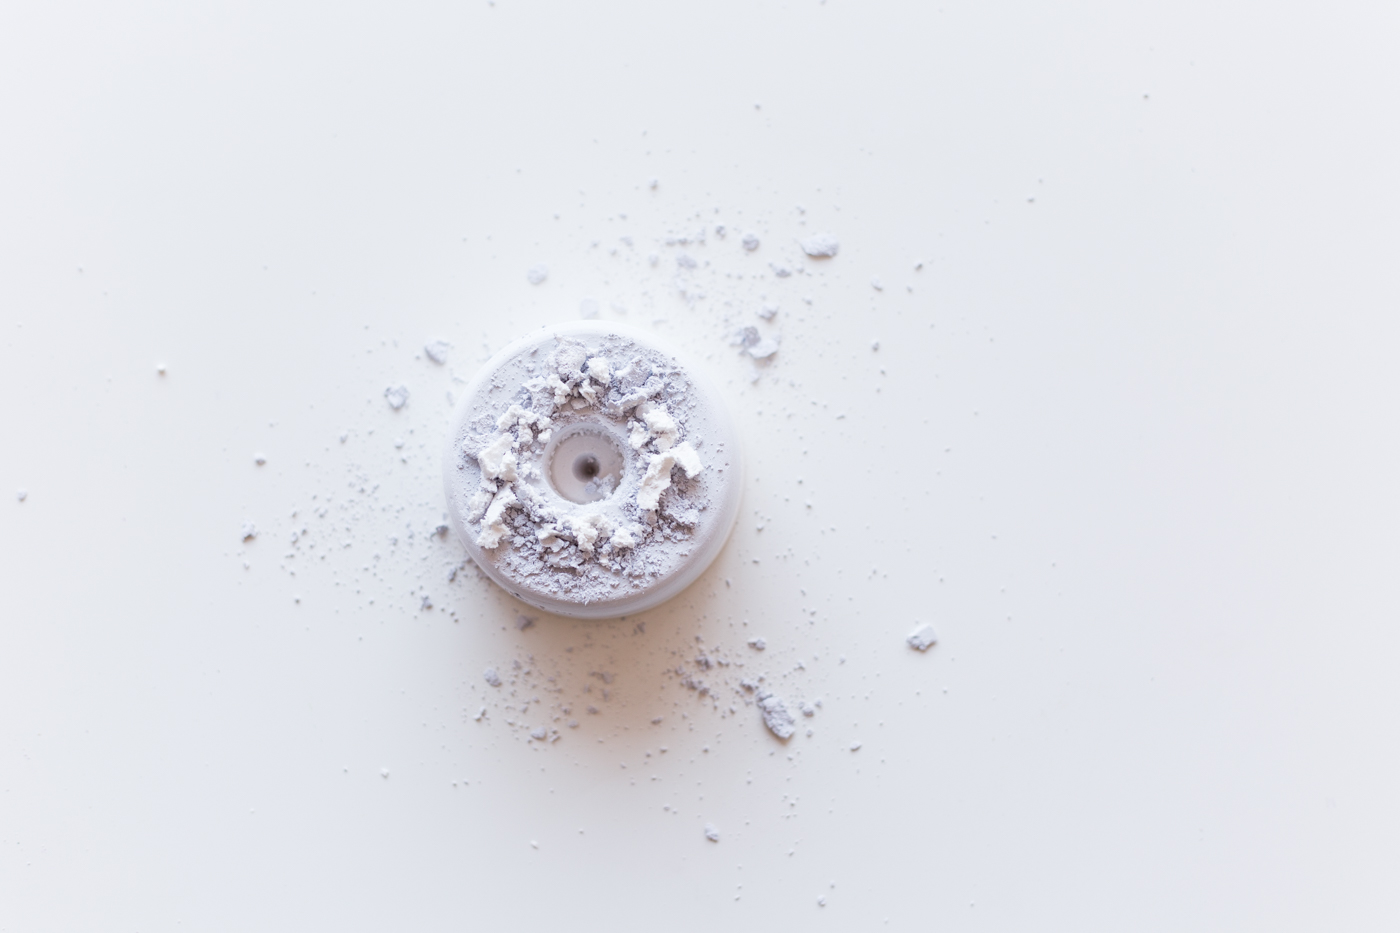
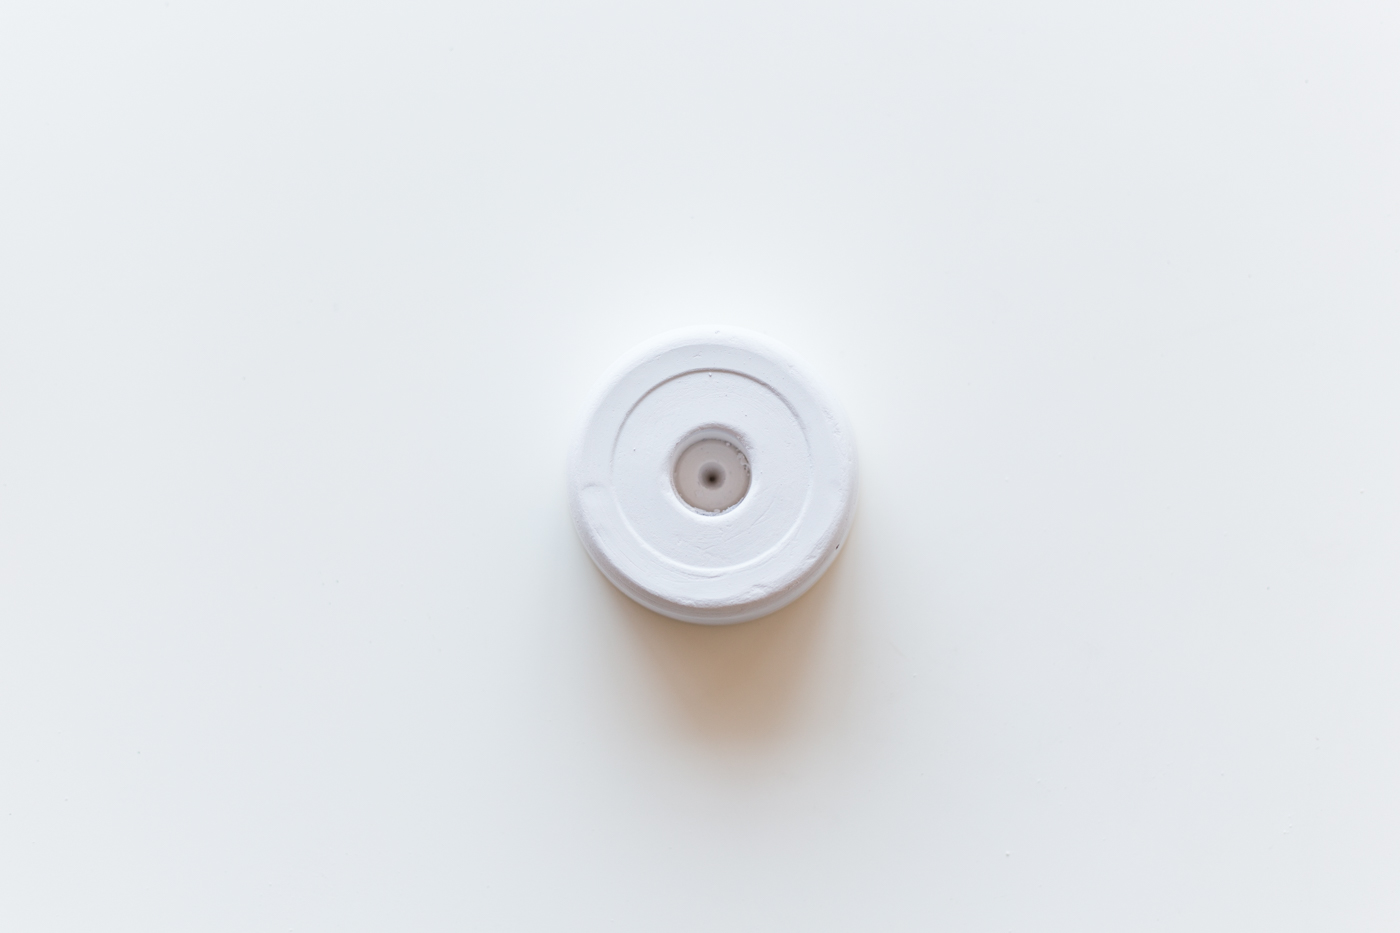
6. Using a small masonry drill bit make a small hole in the centre of the top surface. Measure the width of the bottom of the candle. This might taper inwards so find the largest part from the bottom inch. Using a drill bit the same size drill into the top of the plaster using your smaller hole as a guide. Clean out the excess plaster and sand smooth.
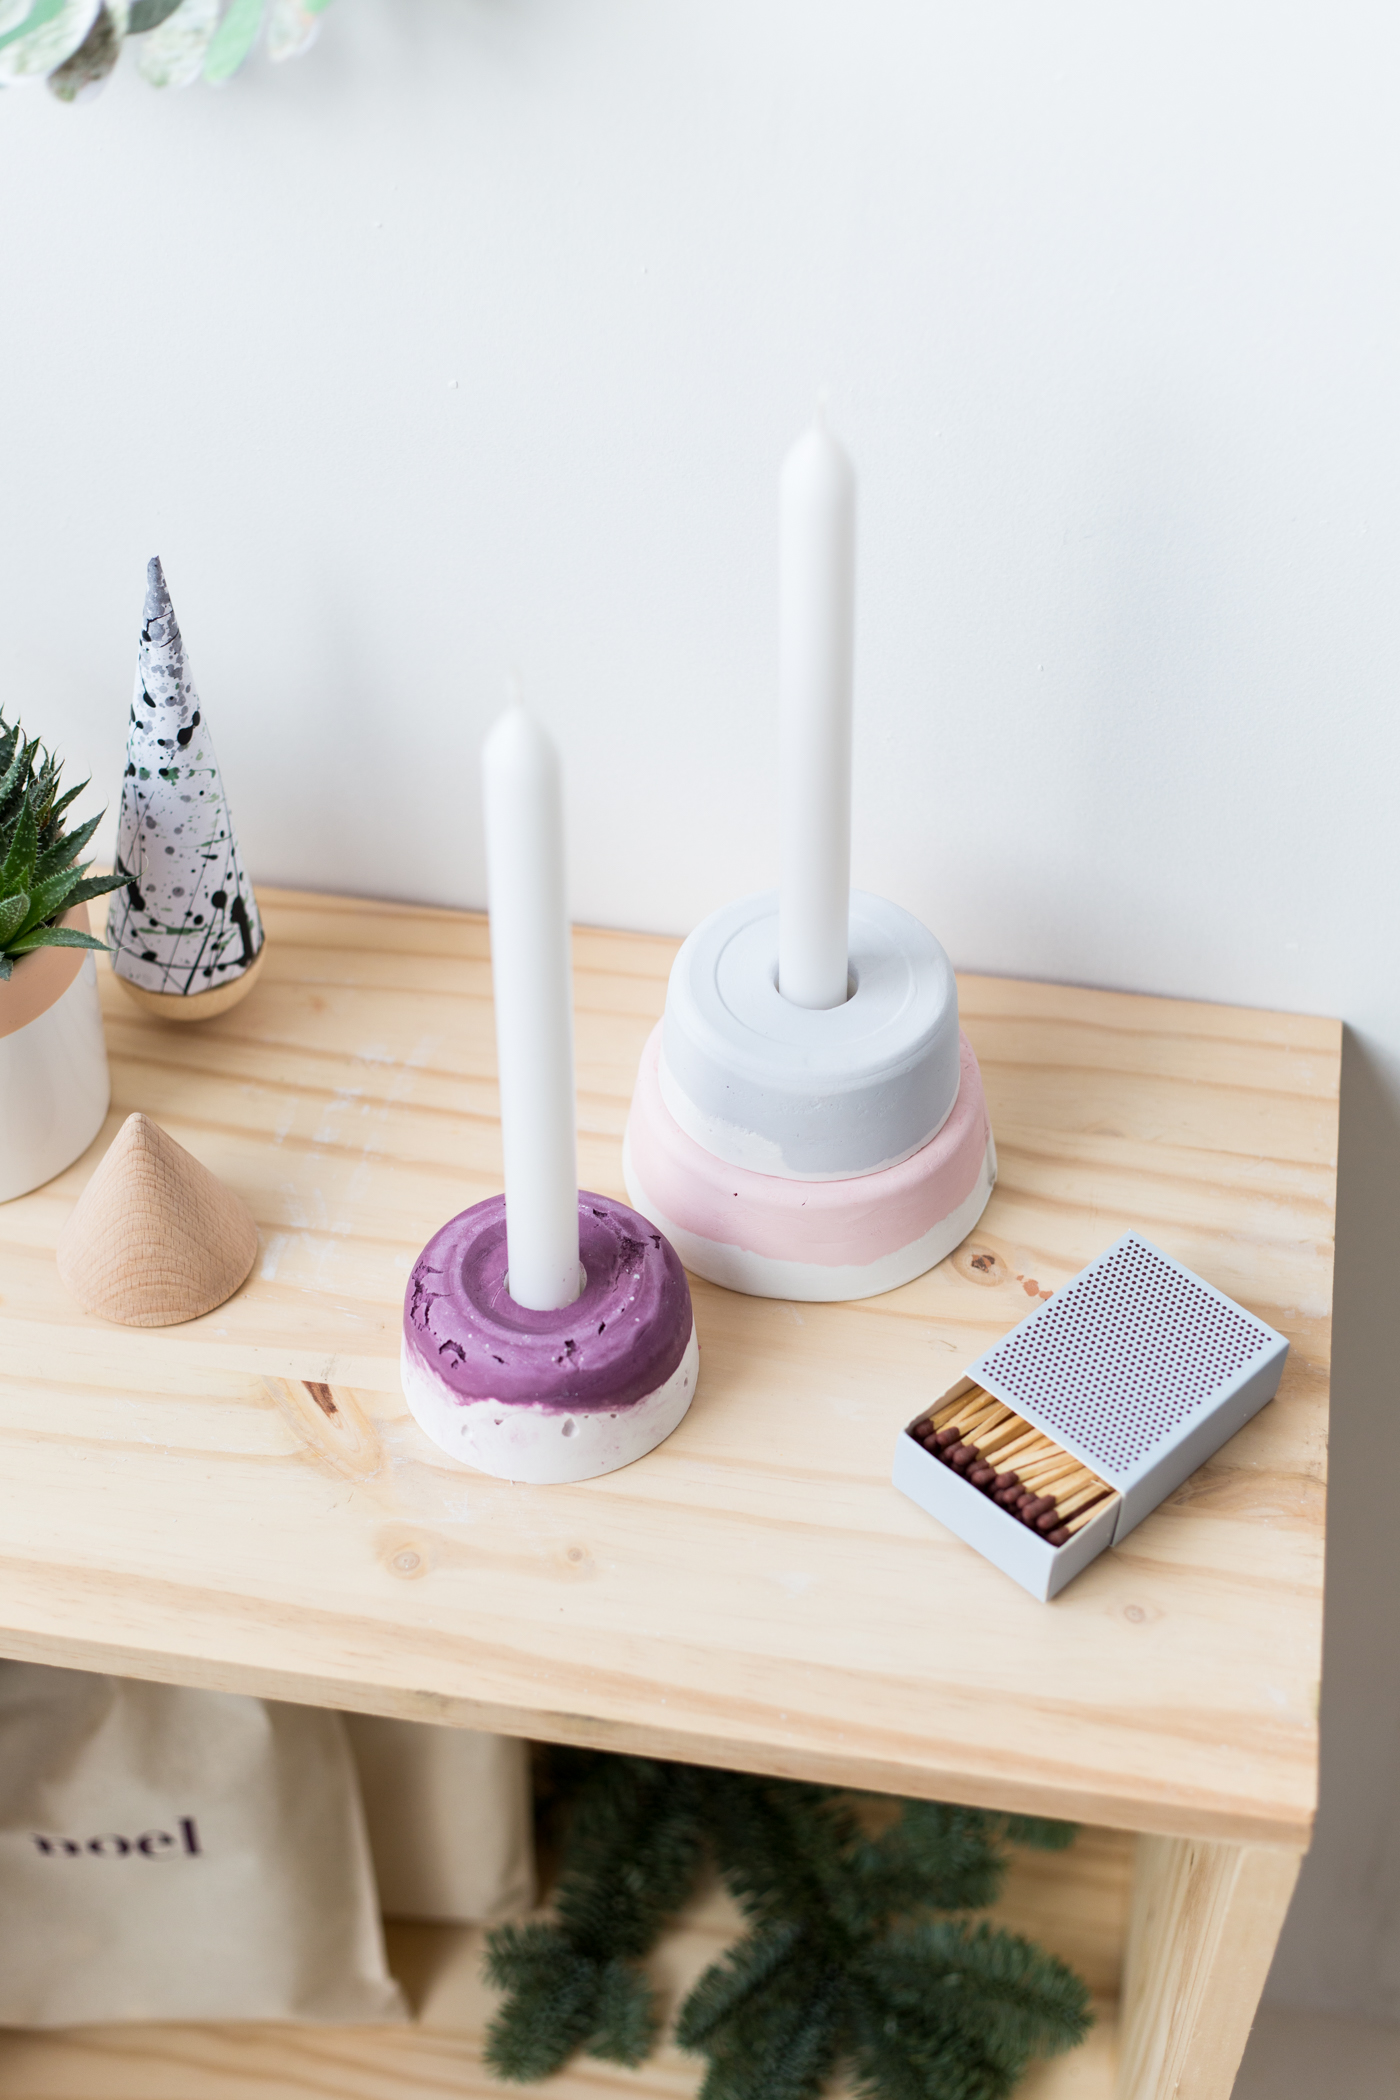

Use different sized containers to create candle holders you can stack and layer up. Raid your plastics recycling for ideas and interesting shapes. This is one of those tutorials that’s actually much easier and quicker than it looks. I’d love to know if you try it out so please do tag me on Instagram and use #12ShadesofChristmas to show us!


*This post was sponsored by Dulux. Thank you for supporting the companies that support Fall For DIY
The post appeared first on .


